Why the Pro Case is the foundation for iPhone 13 Pro Max lenses
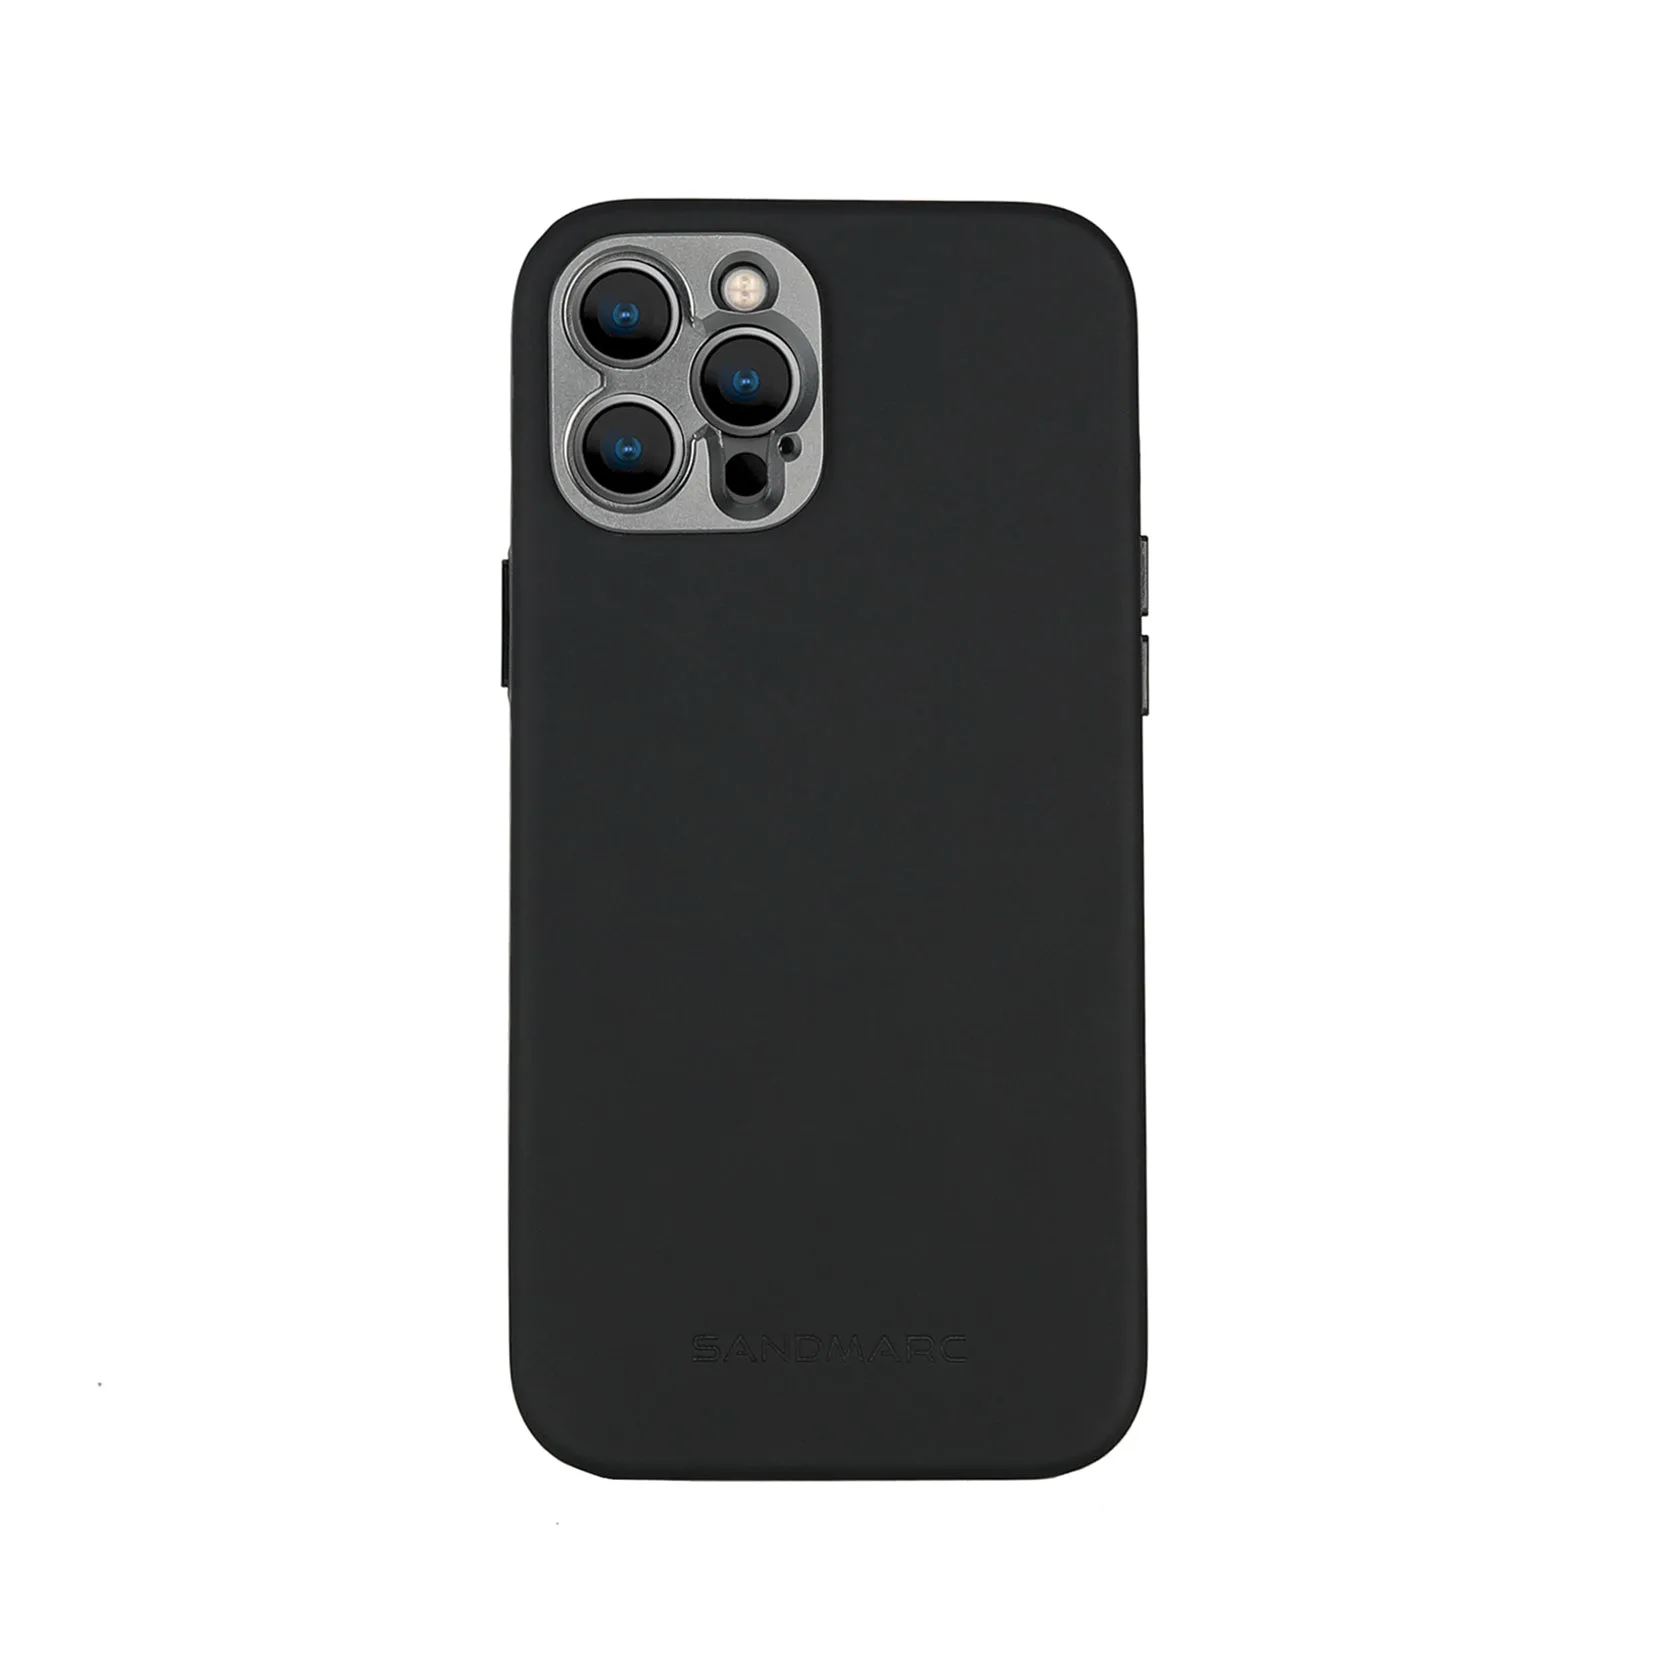
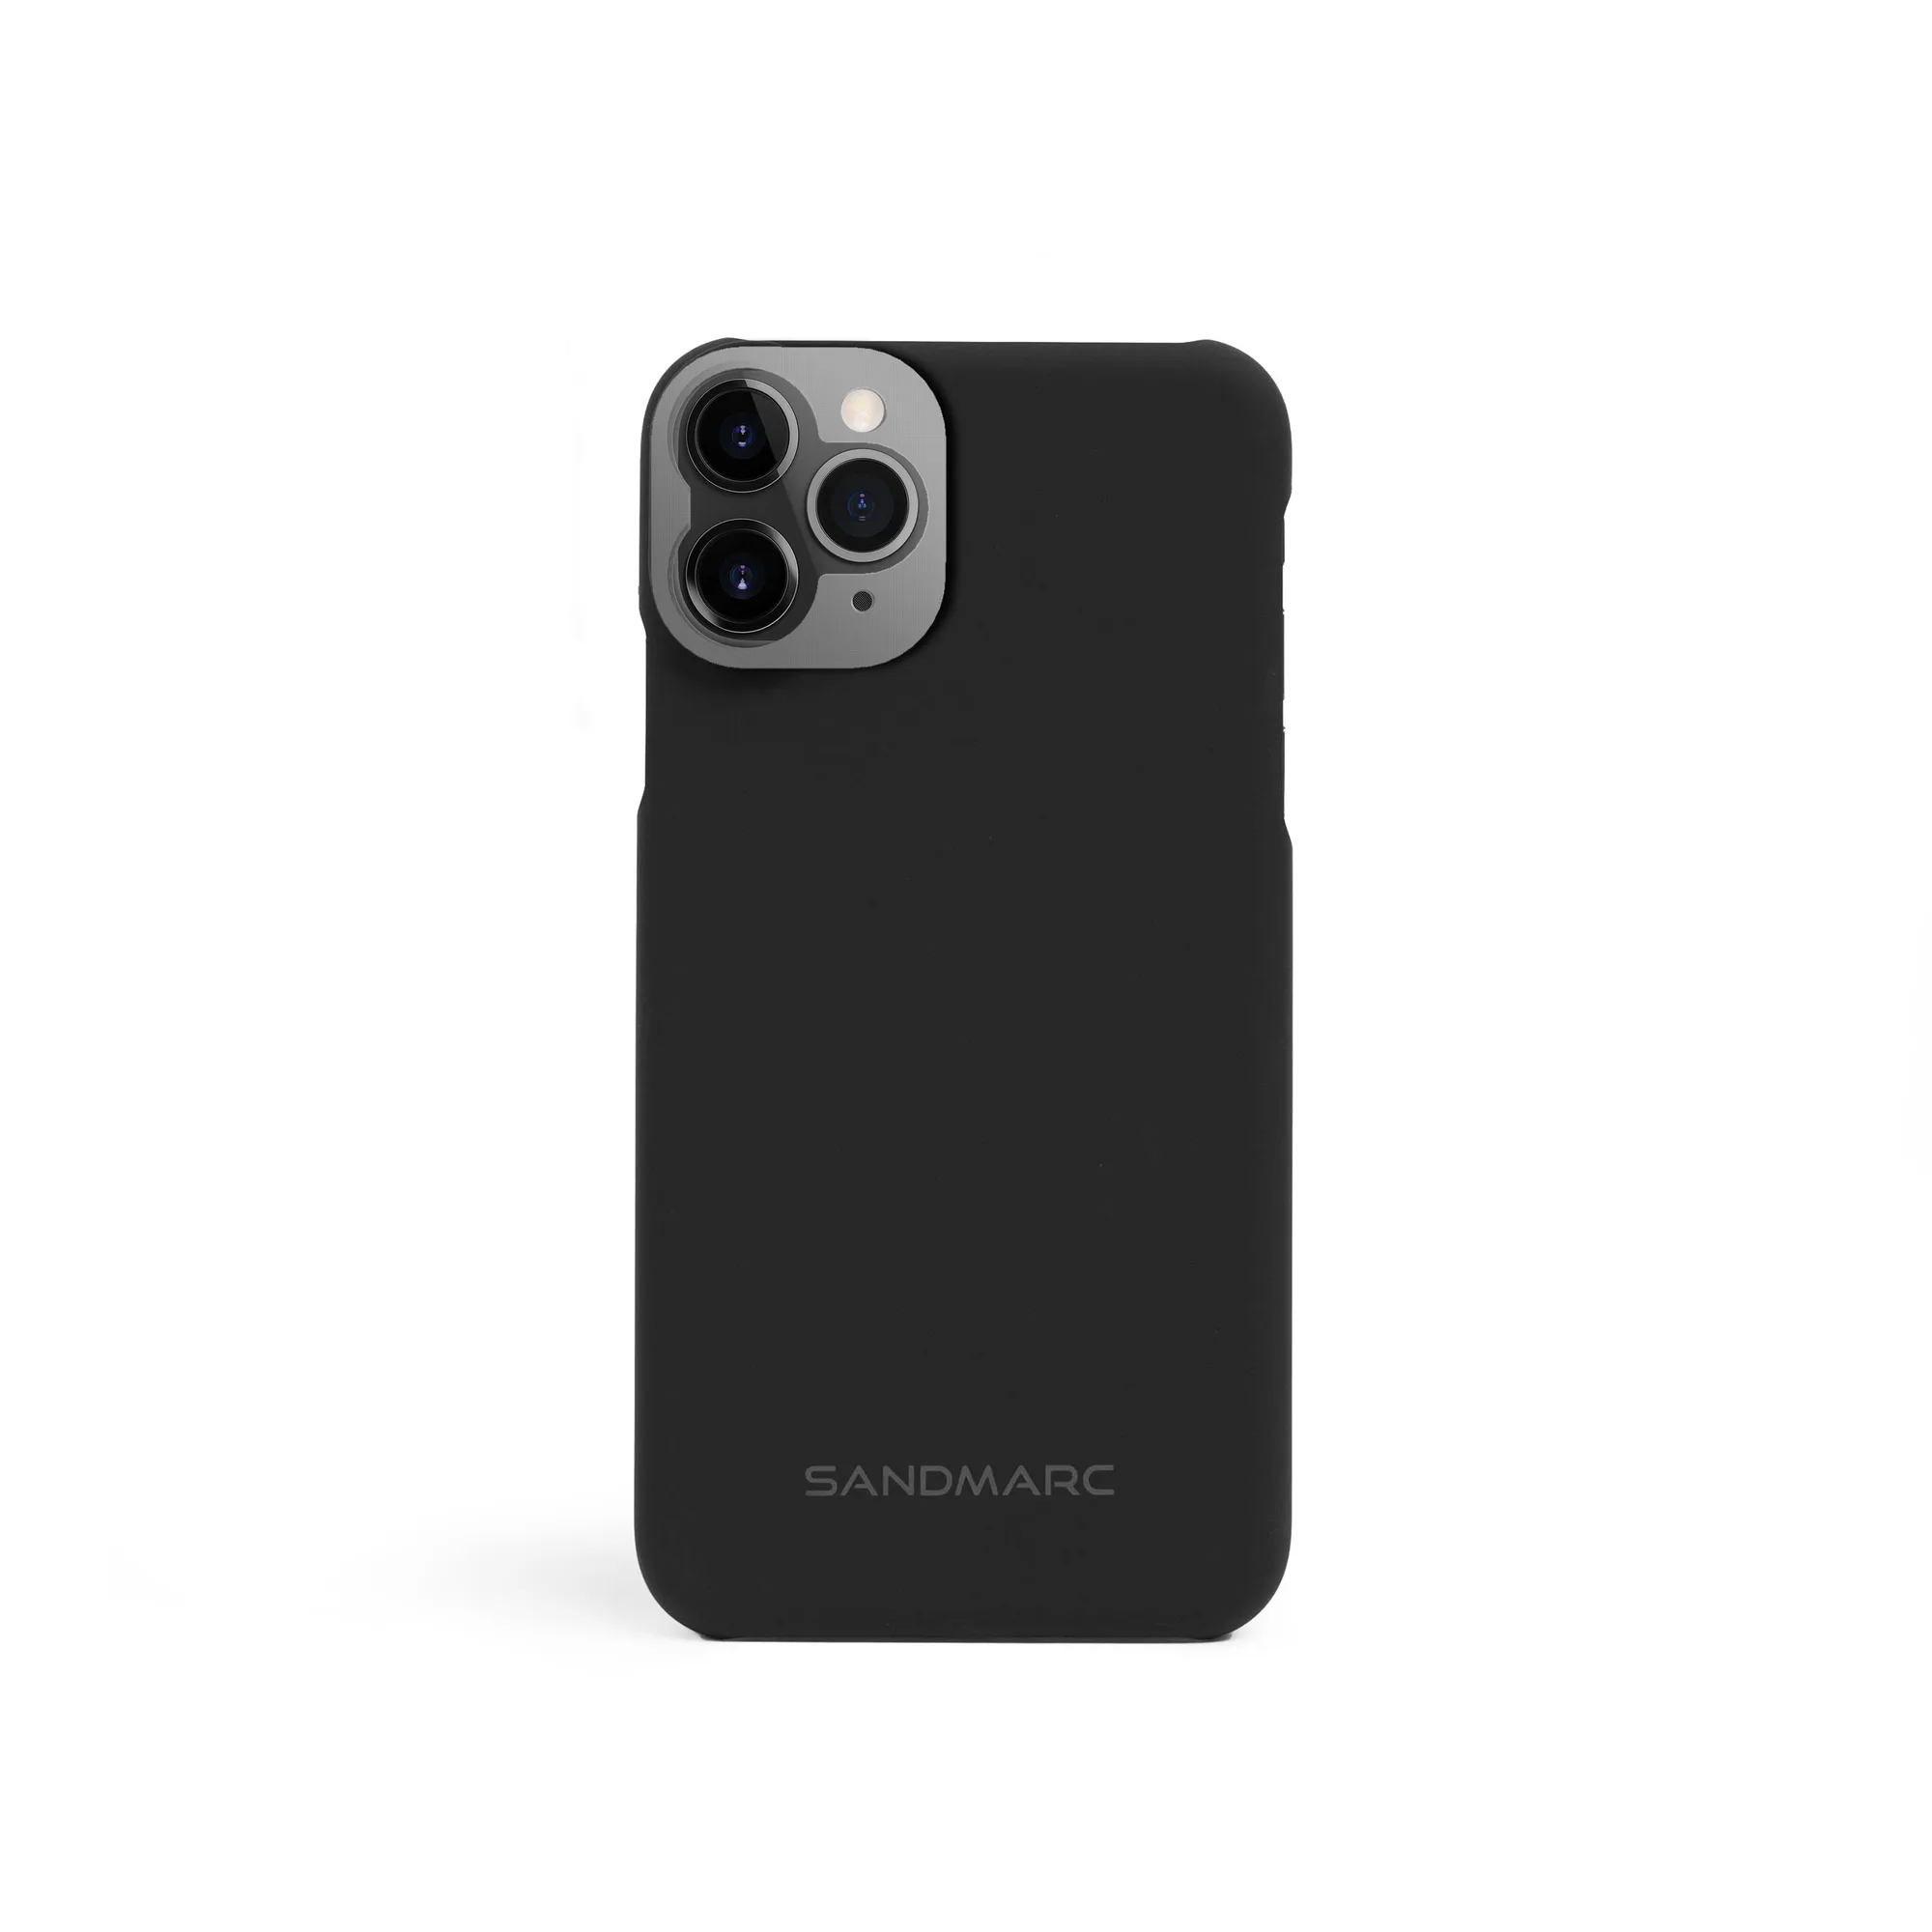
The SANDMARC Pro Case for iPhone 13 Pro Max is a magnet-enabled case that adds comfort, durability, versatility and style while keeping a minimal design. Its key feature for photographers is the built-in compatibility with SANDMARC lenses and filters, which lets you attach additional optics without removing the case.
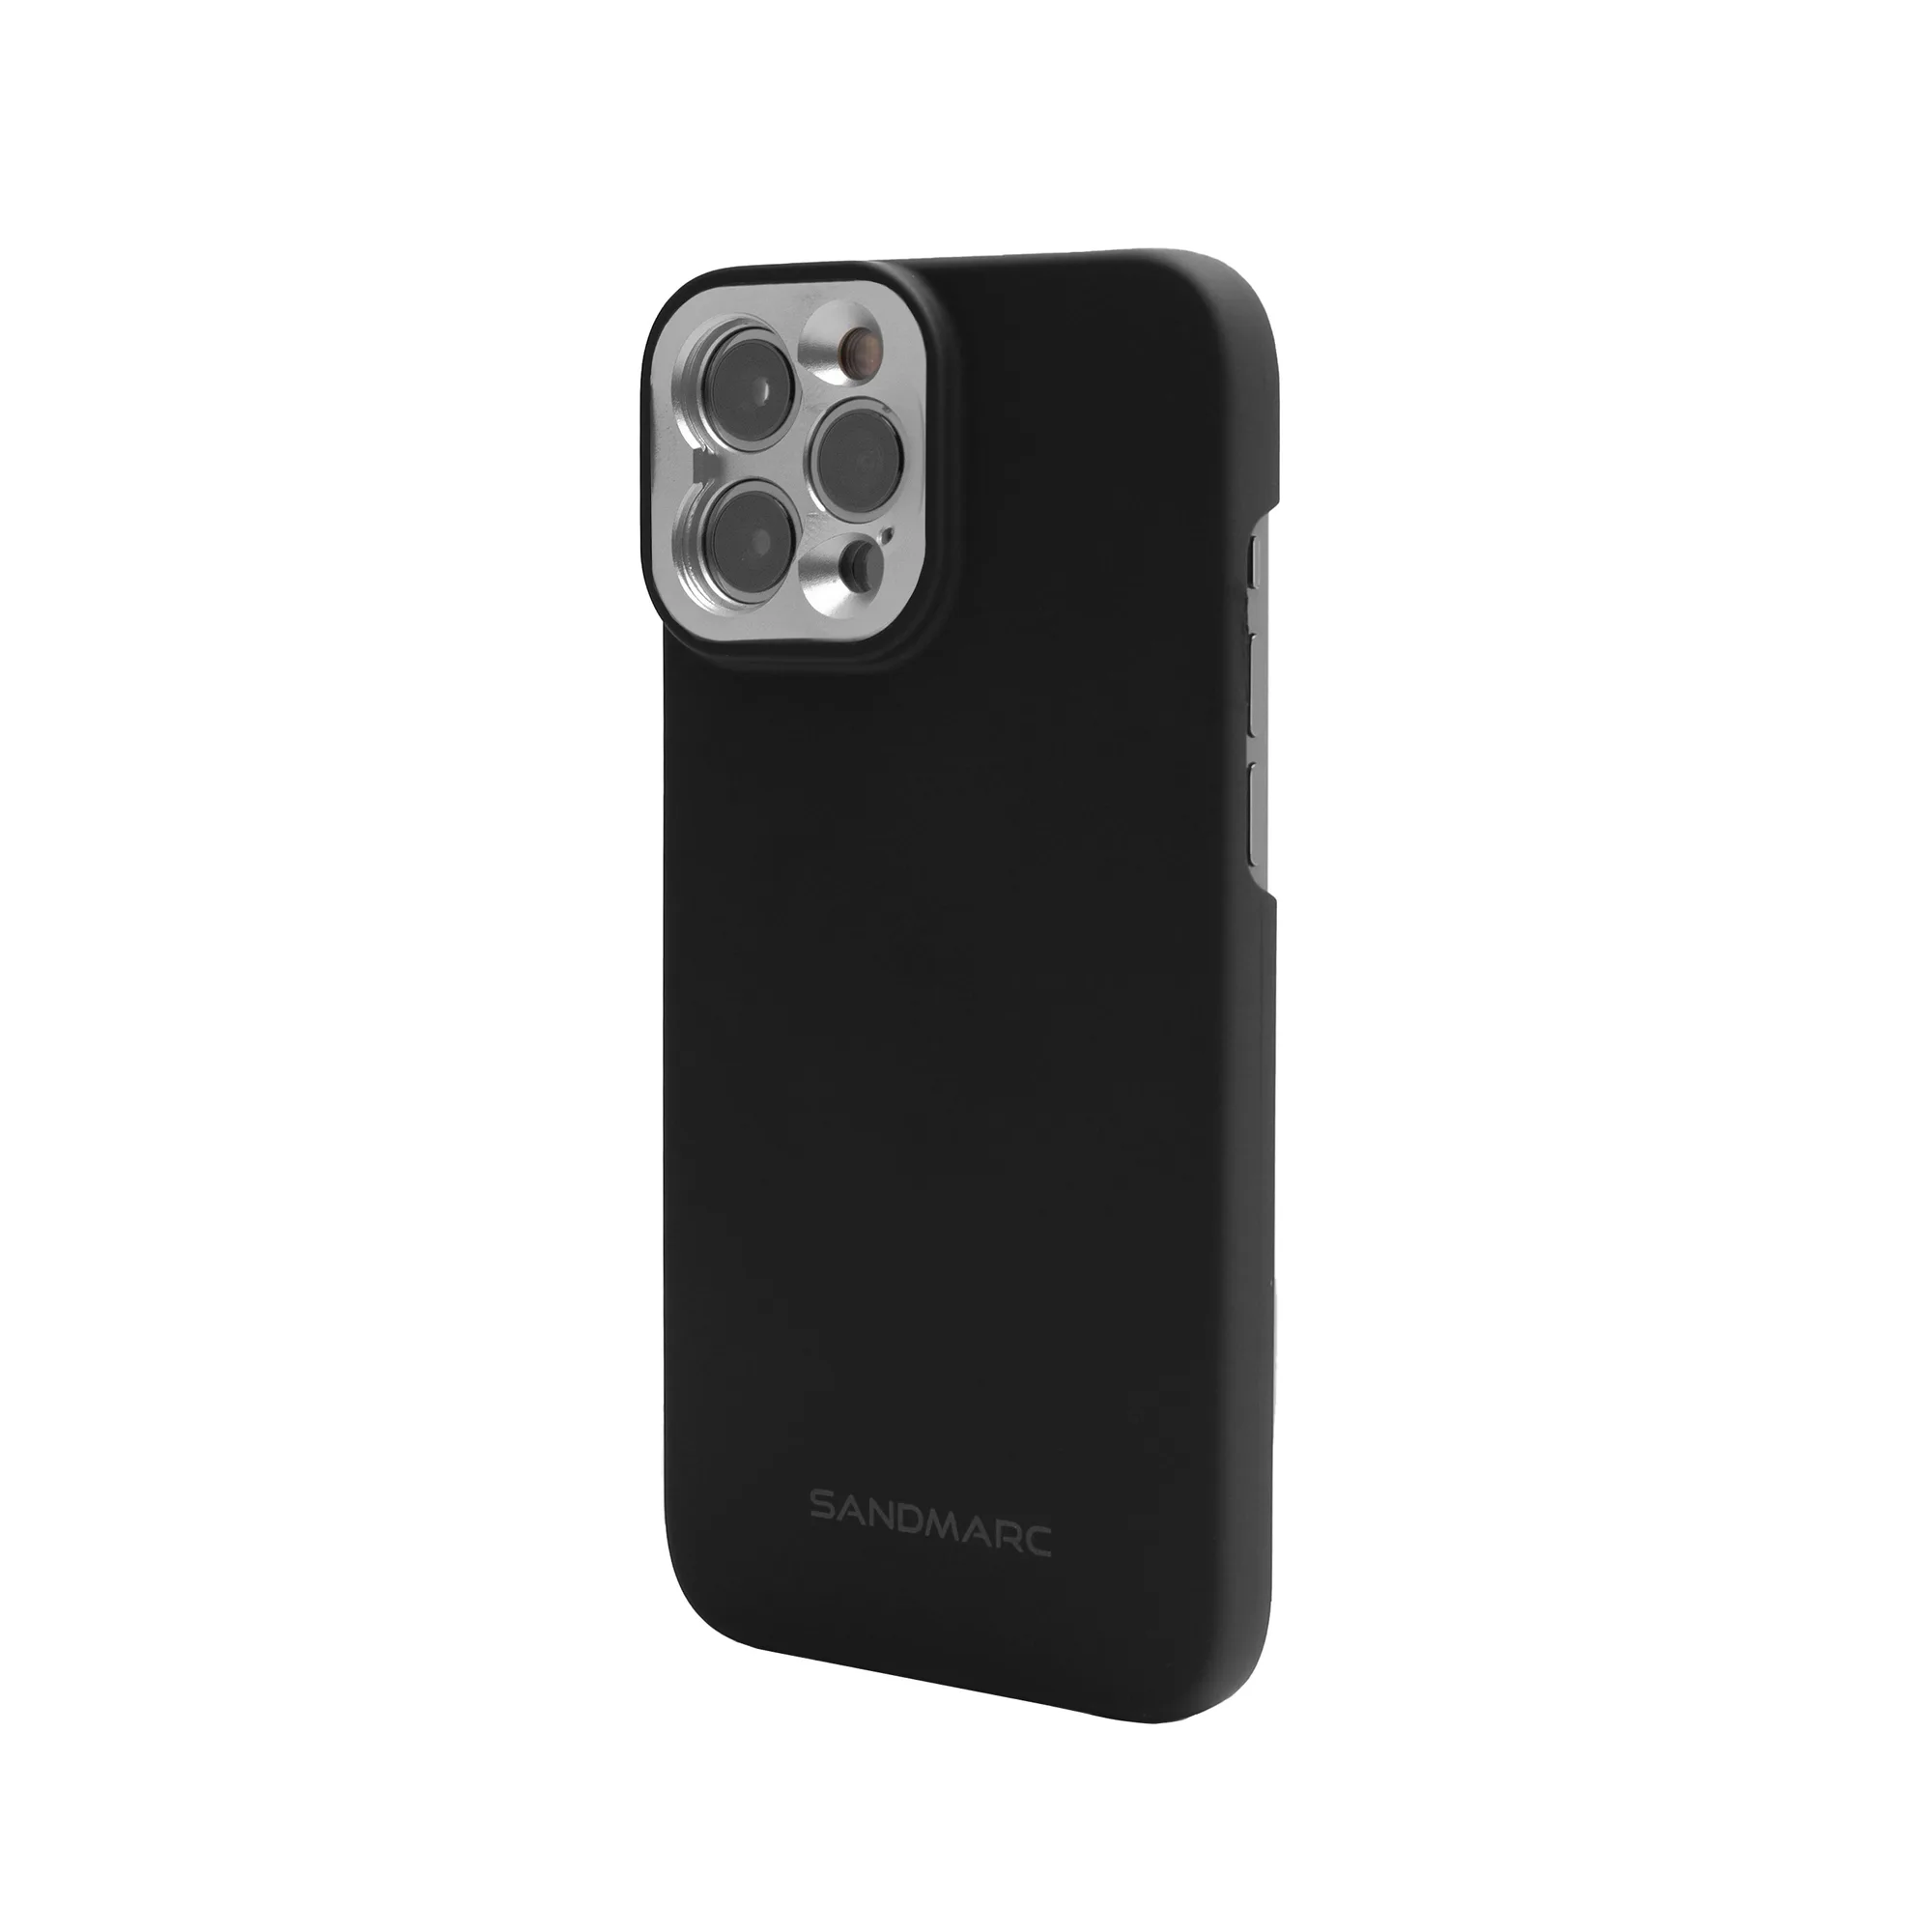
The case also includes a gunmetal aluminum finish around the camera area, designed to protect your iPhone camera from exposure. That matters when you're swapping lenses regularly and want to avoid scratches or bumps on the most precious part of your iPhone.
What the Pro Case for iPhone 13 Pro Max provides
-
Pro Case - iPhone 13 Pro Max: Minimal magnet-enabled design that seamlessly attaches with SANDMARC lenses & filters. This is the core reason to choose this case: it turns your iPhone 13 Pro Max into a lens-ready camera without adding bulk.
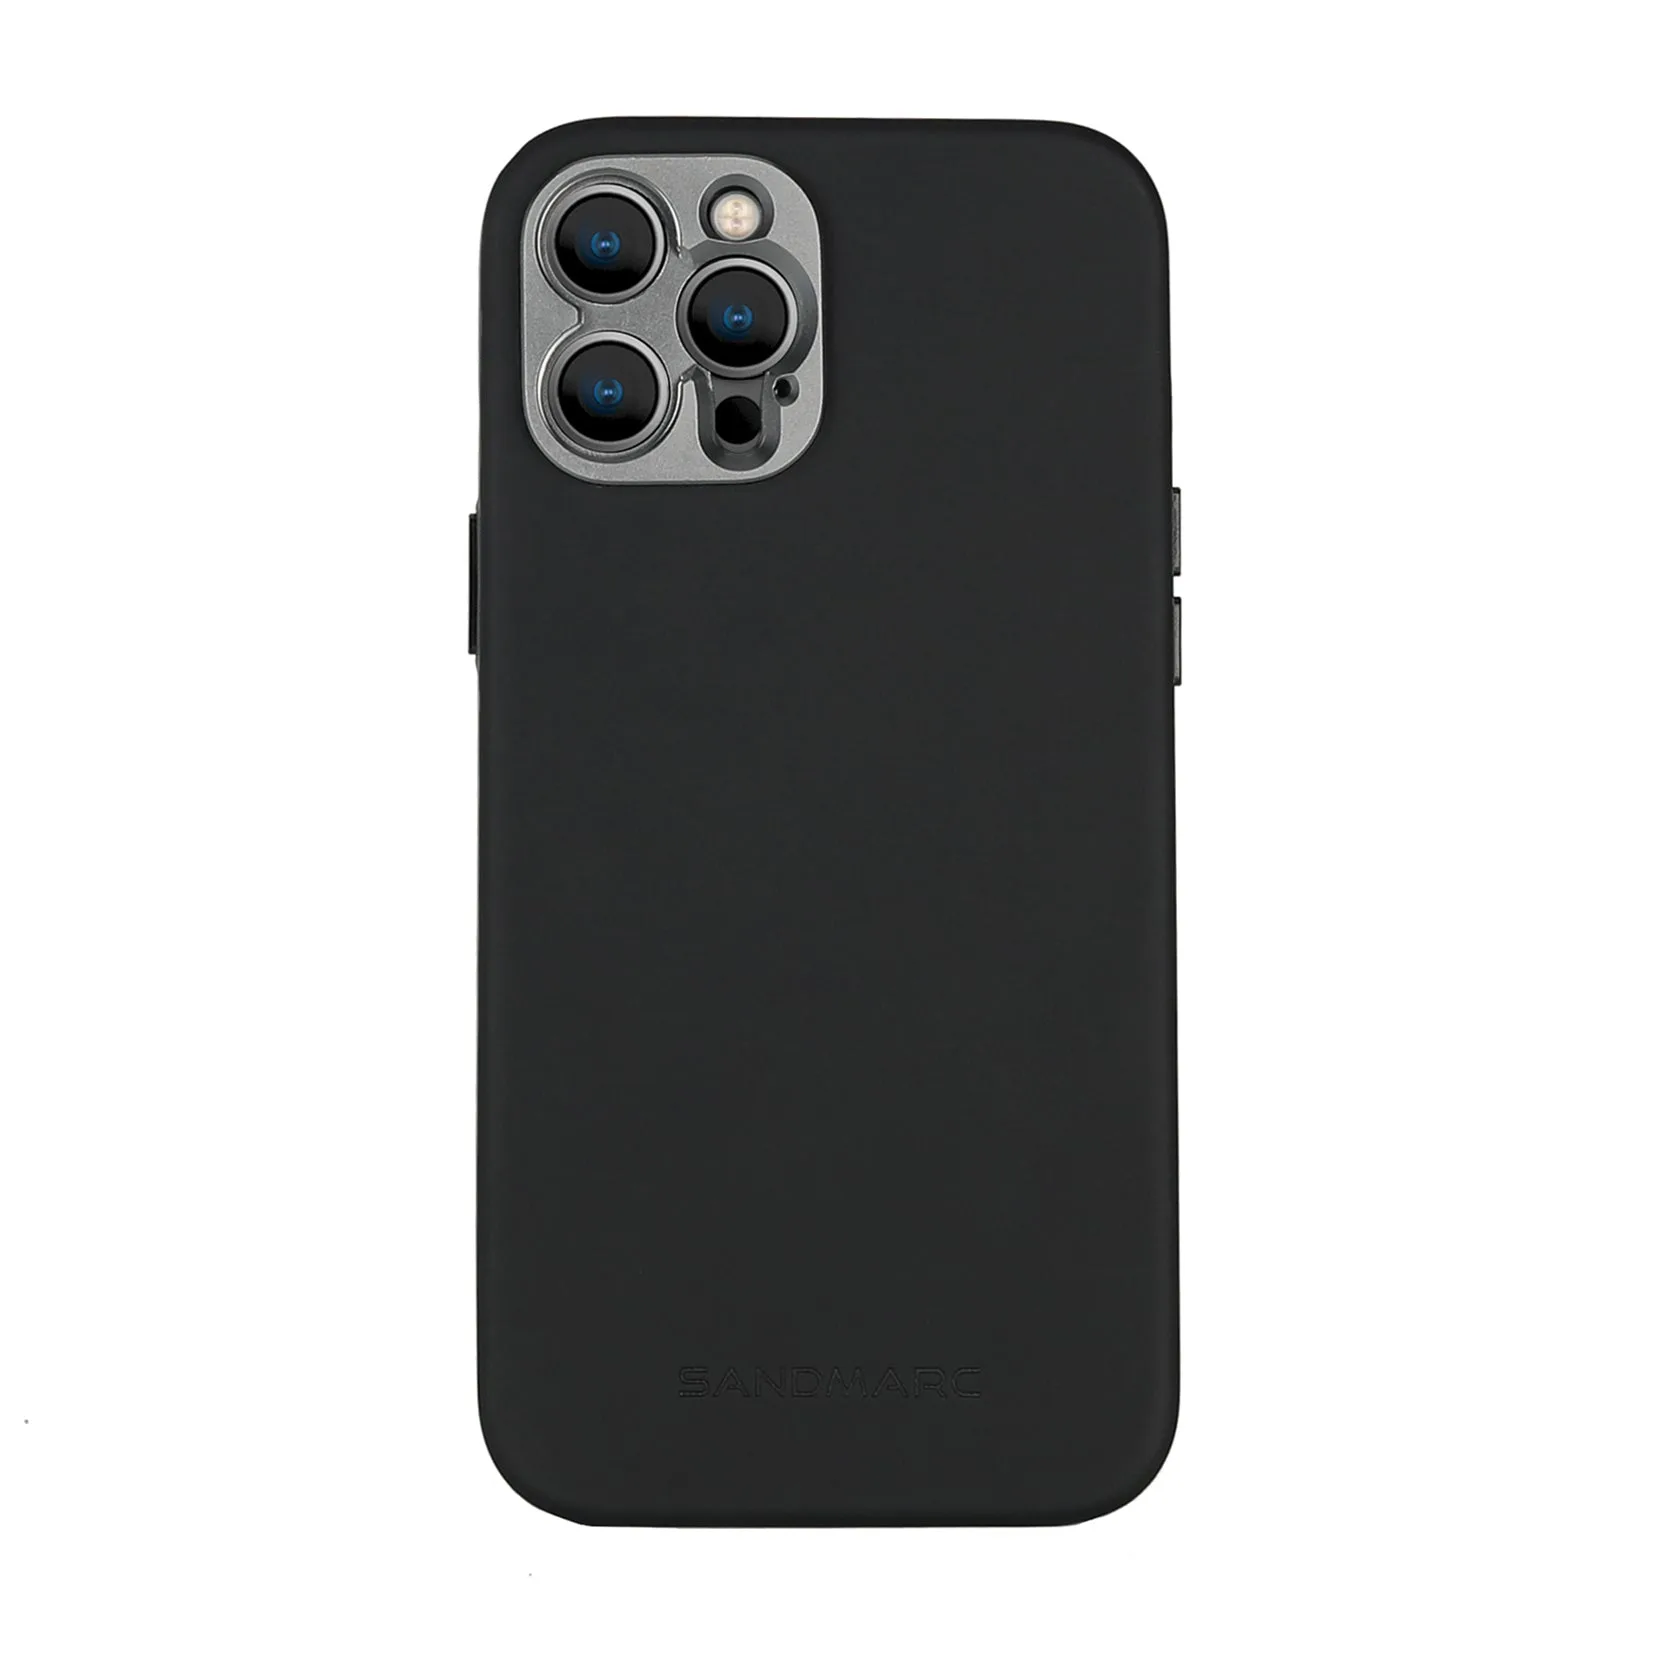
Pro Case - iPhone 13 Pro Max
-
Pro Case - iPhone 13 Pro Max: Gunmetal aluminum finish designed to protect your iPhone camera. The raised aluminum ring helps guard the camera module when the phone is set down or carried in a bag.
How to attach a SANDMARC lens to the iPhone 13 Pro Max case
The Pro Case is built to work with SANDMARC lenses and filters, but the exact mounting method depends on the lens model. The steps below cover the general approach; always follow the instructions that came with your specific lens.
- Step 1: Install the Pro Case on your iPhone 13 Pro Max: Press the phone gently into the case, making sure the camera cutout aligns with the lens module. The case should sit flush and the buttons should feel responsive.
- Step 2: Check the lens mount area: The Pro Case has a magnet-enabled design for attaching SANDMARC lenses and filters. Before mounting a lens, wipe the aluminum ring and the lens base with a soft cloth to remove dust or fingerprints.
- Step 3: Align and attach the lens: Bring the lens close to the case mount and let the magnets guide it into place. Many SANDMARC lenses use a bayonet or screw-in mount; rotate or press as required by your lens model until it sits securely.
- Step 4: Confirm a secure fit: Gently tug the lens to ensure it is seated. If it feels loose, remove it, check for debris, and reattach. A properly attached lens should not wobble during normal shooting.
Daily care tips for the Pro Case and lens mount
- Clean the aluminum ring regularly: Use a soft, dry cloth to wipe the gunmetal aluminum finish. Avoid abrasive cleaners that could scratch the surface.
- Keep the mount free of dust and sand: Before attaching a lens, inspect the mount area. Grit trapped between the case and lens can cause scratches or a weak connection.
- Remove the case for deep cleaning: Occasionally take the case off and clean the inside with a damp cloth (not soaking wet). Let it dry completely before reinstalling.
- Store lenses separately: When not in use, keep lenses in a protective pouch or case to prevent dust and damage. Avoid leaving a lens attached during transport unless you have a lens cap on.
What the supplied information does not cover
The product record for the Pro Case - iPhone 13 Pro Max does not include specific installation steps for every SANDMARC lens model, nor does it list supported standards, battery life, or drop-test ratings. For detailed lens mounting instructions, refer to the documentation that came with your lens. If you need confirmation on compatibility with a particular lens or filter, check the product page or contact SANDMARC support before purchasing.