Quick answer
Seal every finished model with a compatible clear coat, then keep it out of direct sun and inside an enclosed display case or cabinet. A closed case blocks most household dust, and UV-filtering glass or film slows the light damage that fades paint and yellows decals. The routine is simple: seal, shade, enclose and check twice a year.
Dust and sunlight are the two slowest threats to a finished model. Dust settles into panel lines and matte paint, and over time UV light breaks down pigments and clear decal film until a once-crisp build looks tired. Both problems are far easier to prevent than to reverse.
This guide walks through an ordered protection routine you can apply to any kit, from a single-seat jet to a display van. It uses ordinary materials, avoids risky shortcuts, and flags the one mistake that causes most of the damage people blame on age.
Why dust and UV are the real long-term enemies
Dust is abrasive and slightly acidic. Wiping a dusty model with a dry cloth drags those particles across the surface and dulls gloss, scratches clear parts and can lift decal edges. Sunlight is quieter but more permanent: UV exposure fades reds and yellows first, then bleaches darker colors, and it accelerates the yellowing of clear decal film and white paint.
The fix is not a single product but a sequence. You seal the surface so dust and UV have less to grip and less to penetrate, then you control where the model lives. A model kept in a bright windowsill will fade even with a good clear coat, and a model in a dark room still collects dust unless it is enclosed.
- Keep models at least a few feet from windows and away from halogen or strong spot lamps that emit heat and UV.
- Rotate display positions occasionally so one side does not take all the light.
Step 1: Let paint and decals cure fully before sealing
Clear coat traps whatever is underneath it. If the paint or decal solution has not fully cured, sealing can lock in solvent, cause wrinkling or leave a cloudy haze. Water-based acrylics typically need 24 hours, and solvent-based enamels can need several days depending on humidity and coat thickness.
This is the checkpoint most builders skip. If you can still smell solvent near the model, or a decal edge lifts when you lightly touch it with a clean finger, wait longer. A rushed clear coat is the main cause of fogged canopies and cracked decal film.
- Test on an inconspicuous area such as the underside before coating the whole model.
- Work in a dust-free room; a stray hair under the clear coat is permanent.
Step 2: Choose and apply a compatible clear coat
A clear coat is your model kit clear coat barrier against dust, handling and some UV. Match the chemistry to what is underneath: acrylic clear over acrylic paint, enamel or lacquer clear over solvent-based paint. Mixing incompatible types can craze the finish or dissolve decals.
Apply several thin mist coats rather than one wet coat. Thin layers level better, dry faster and are far less likely to run or trap solvent. Once cured, the clear coat also protects decals from the abrasion that happens every time you dust or move the model.
- Spray in light passes from about 20-30 cm, letting each pass flash off before the next.
- Do not clear coat clear parts such as canopies and windows unless the product is explicitly safe for them.
Step 3: Control light with UV protection models can live with
You cannot stop all light, and you should not try, since you want to see the model. Instead reduce the UV component. Display cabinets with UV-filtering glass, adhesive UV film on windows, and keeping models away from direct sun all cut the wavelength that does the most fading.
If a model must sit near a window, rotate it every few weeks so fading is even, and consider a fabric cover or closed case for the brightest hours. For a long-term collection, an enclosed cabinet with a UV filter is the single most effective upgrade you can make.
- Check whether your display glass is UV-filtering; standard glass blocks some UV but not all.
- Avoid displaying models on car dashboards or in conservatories where heat and light peak together.
Step 4: Enclose the model for dust protection model kits actually need
A display case for models does two jobs: it blocks airborne dust and it stops accidental contact. Even a simple acrylic or glass case with a small gap is far better than an open shelf, because most household dust settles from above and the sides.
Seal gaps with soft foam or felt strip where the case meets the base. Avoid airtight enclosures in damp rooms, since trapped moisture can cloud clear parts and soften decals. A little ventilation with filtered openings is better than a perfect seal in a humid climate.
- Line the base with felt or foam so the model is not scratched when you set it down.
- Keep food, pets and aerosols away from the display area; cooking grease and pet dander are hard to remove.
Step 5: Dust gently and rarely
When dust does appear, remove it with a soft, clean brush or a bulb blower rather than a cloth. Work from top to bottom so debris falls away instead of onto lower surfaces. For stubborn dust in panel lines, a slightly dampened soft brush is safer than pressure.
Never use household polish, alcohol or window cleaner on a finished model. These can attack clear coat, decals and paint in seconds. If a mark will not lift with a dry brush, stop and reassess rather than scrubbing.
- Keep one soft brush dedicated to models only so it never picks up grit.
- Dust before you move or photograph a model, not after, to avoid grinding particles in.
Step 6: Check and refresh twice a year
Set a simple twice-yearly inspection. Look for lifted decal edges, a chalky or hazy clear coat, and any color shift compared with a photo of the model when new. Early lifting can often be pressed back down with a little decal solution before it curls permanently.
This is also the moment to rotate display positions, check for condensation inside cases and replace any UV film that has yellowed. A ten-minute check twice a year is far less work than repainting a faded model.
- Photograph each finished model at completion so you have a reference for fading.
- Note the date you applied clear coat so you know when a refresh may be due.
Your six-step protection sequence
- Cure completely: Wait until paint and decals are fully dry and odor-free before applying any clear coat. Checkpoint: if you can smell solvent or a decal edge lifts, wait another day.
- Seal with compatible clear coat: Apply several thin mist coats of a clear coat matched to your paint chemistry. Common mistake: one heavy wet coat that runs, traps solvent or fogs clear parts.
- Reduce UV exposure: Use UV-filtering glass or film and keep models out of direct sun and hot spotlights. Rotate models periodically so fading stays even.
- Enclose the model: Place the model in a display case or closed cabinet with a soft-lined base. Avoid airtight seals in damp rooms; trapped moisture can cloud clear parts.
- Dust gently: Use a soft dedicated brush or bulb blower, working top to bottom. Never use household polish, alcohol or window cleaner on a finished model.
- Inspect twice a year: Check for lifted decals, haze and color shift, then rotate and refresh as needed. Photograph each model when new so you have a fading reference.
Products that fit this routine
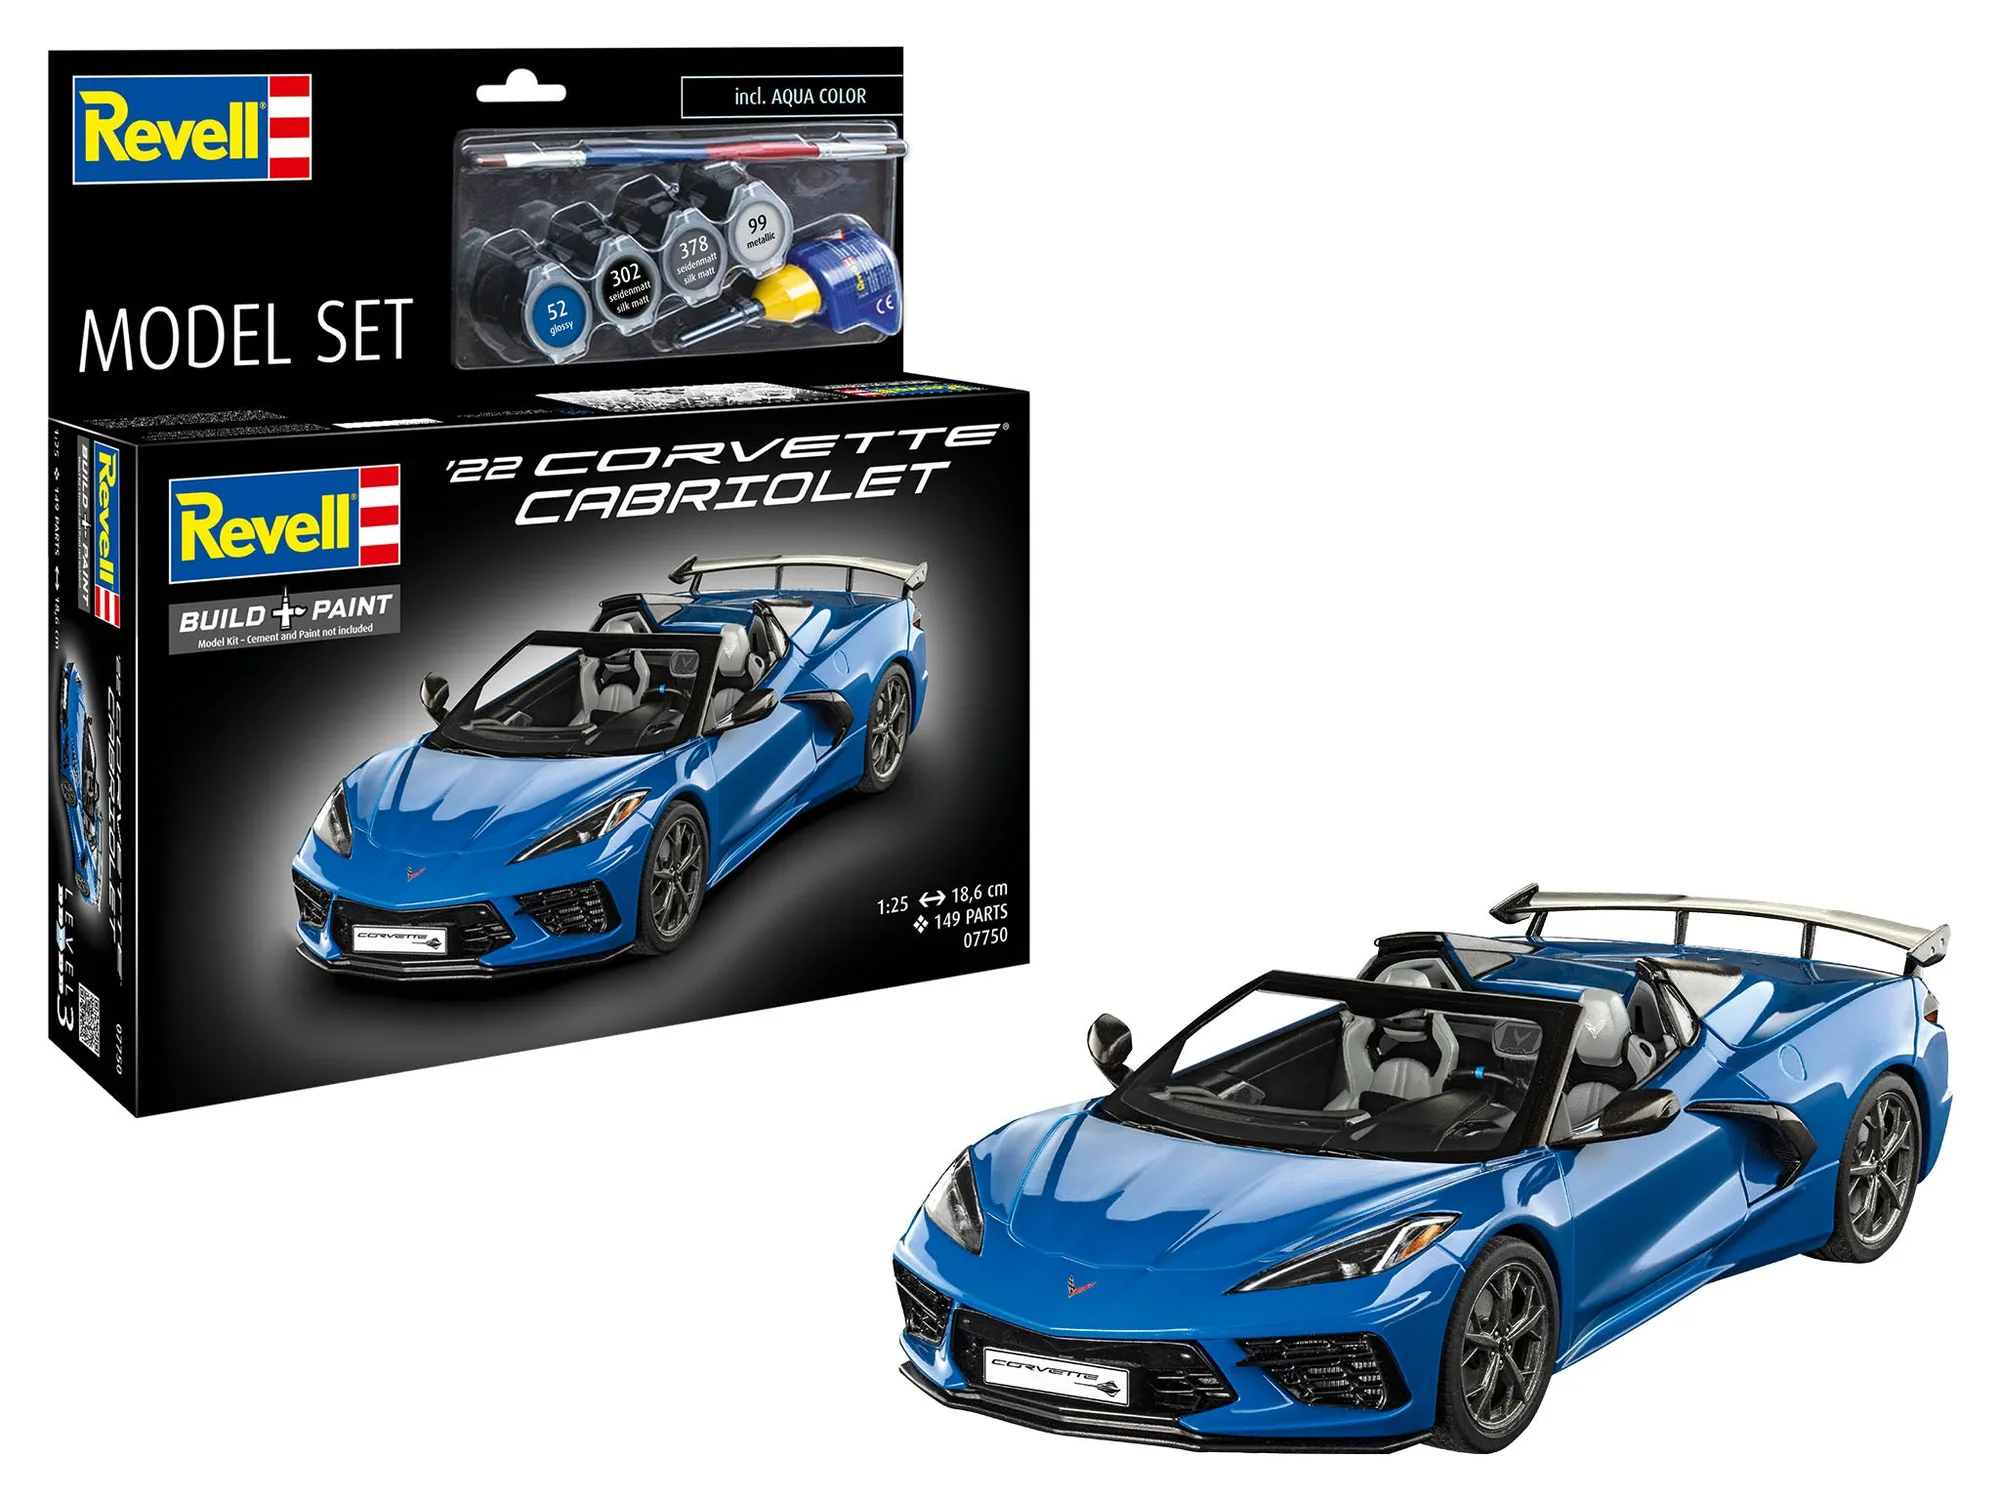
- Model Set Corvette C8 Cabriolet: This model set is described as an all-round, worry-free package that includes the glue and colors needed to start building right away, avoiding the common problem of missing supplies when a new kit is unpacked. A kit that already includes glue and paint means fewer interruptions during the build, so you are more likely to reach the clear-coat stage and protect the finish properly.
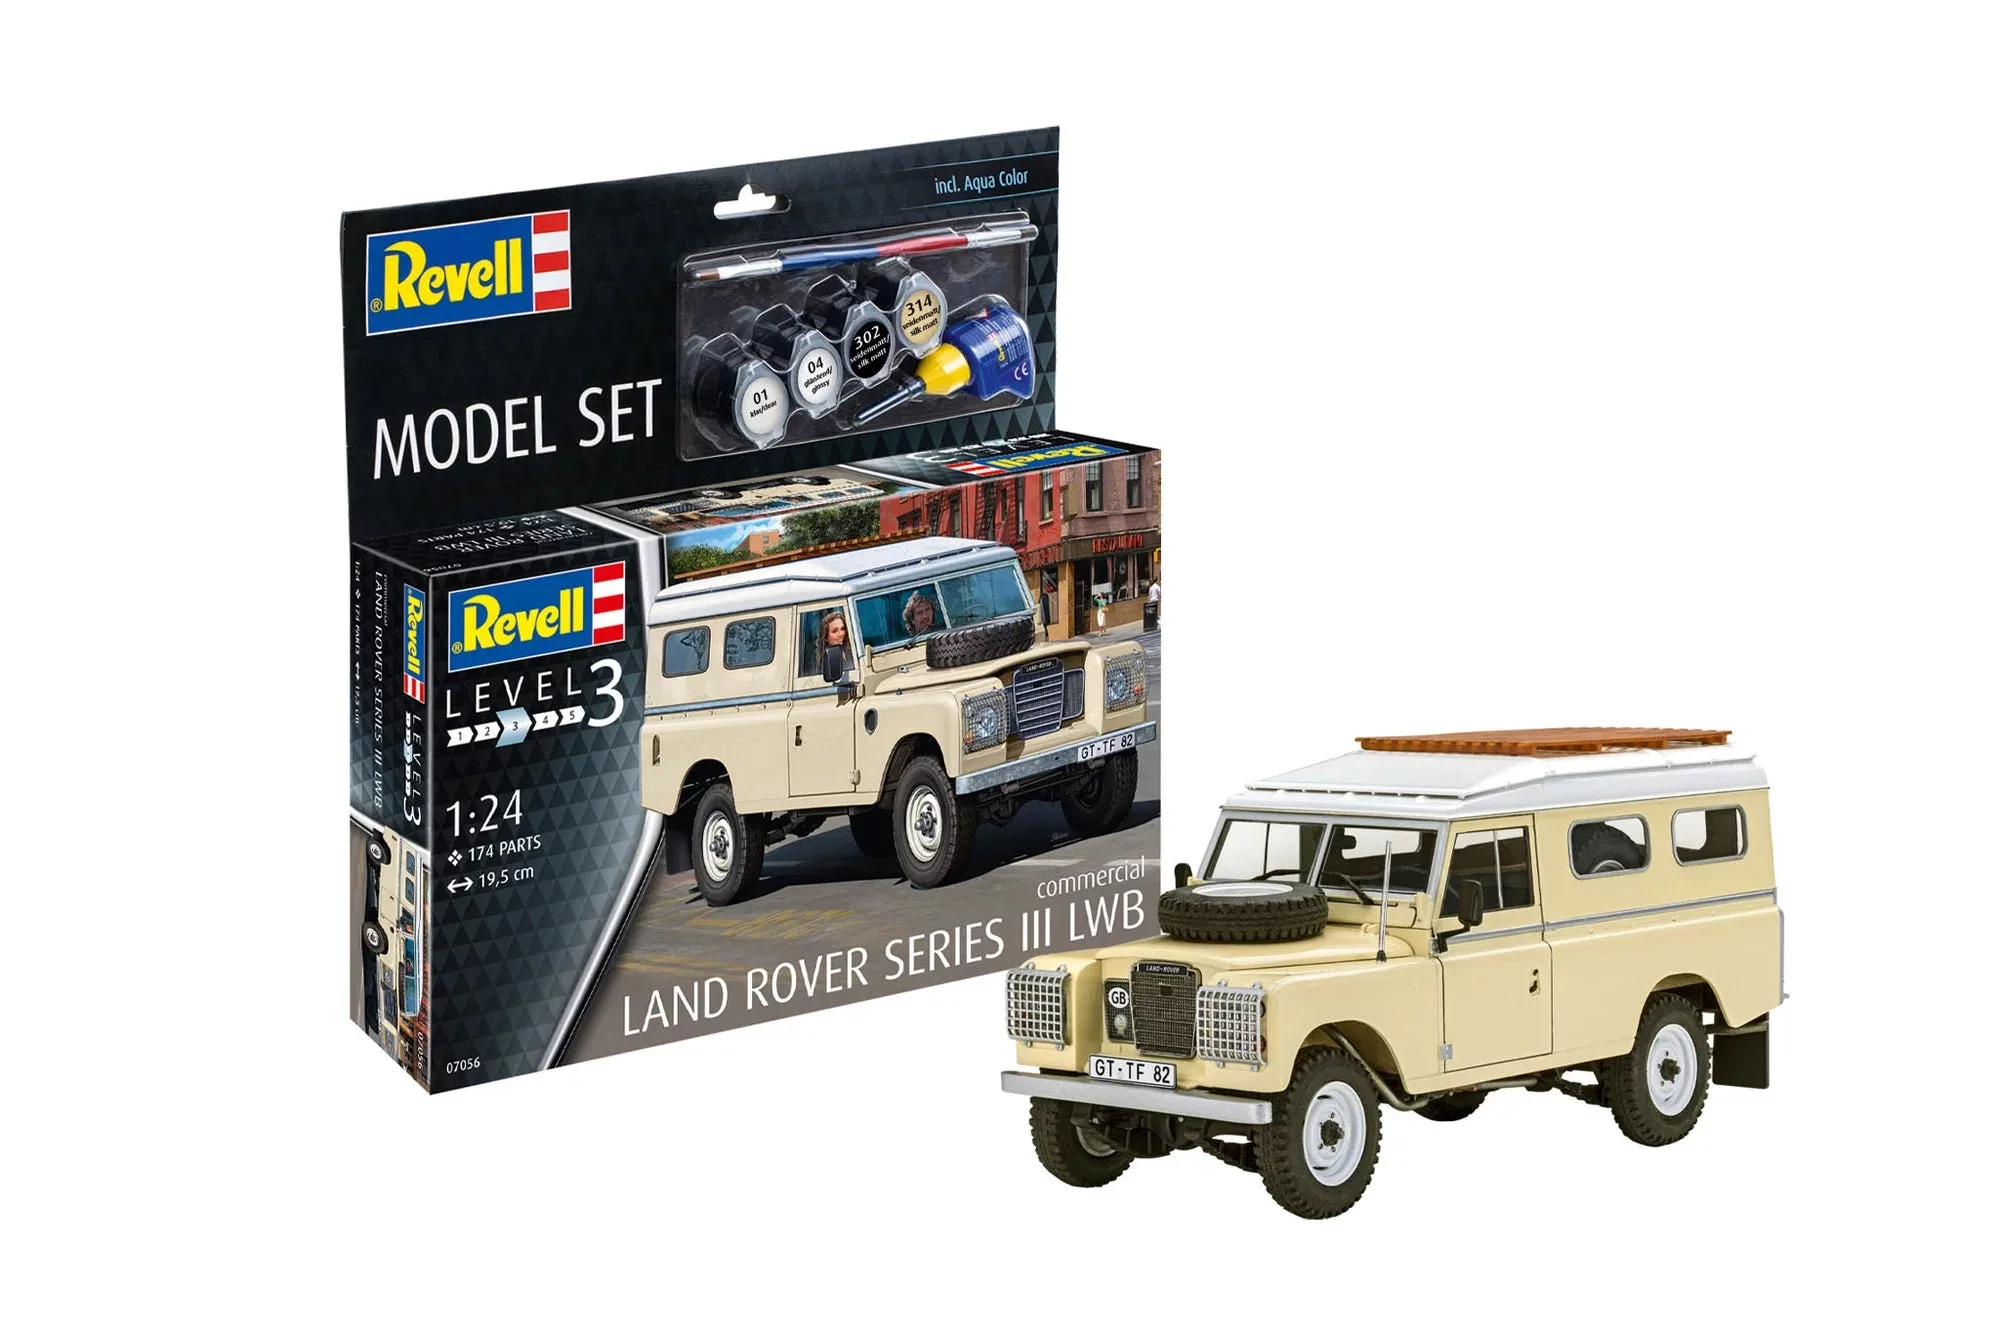
- Model Set Land Rover Series III LWB (commercial): The set includes a multi-part four-cylinder engine, right or left hand drive options, a decal sheet with license plates for several countries, and basic colors, glue and brushes. The included decals and paint are exactly the surfaces that need sealing and UV protection, so this kit is a good candidate for the full clear-coat and display routine.
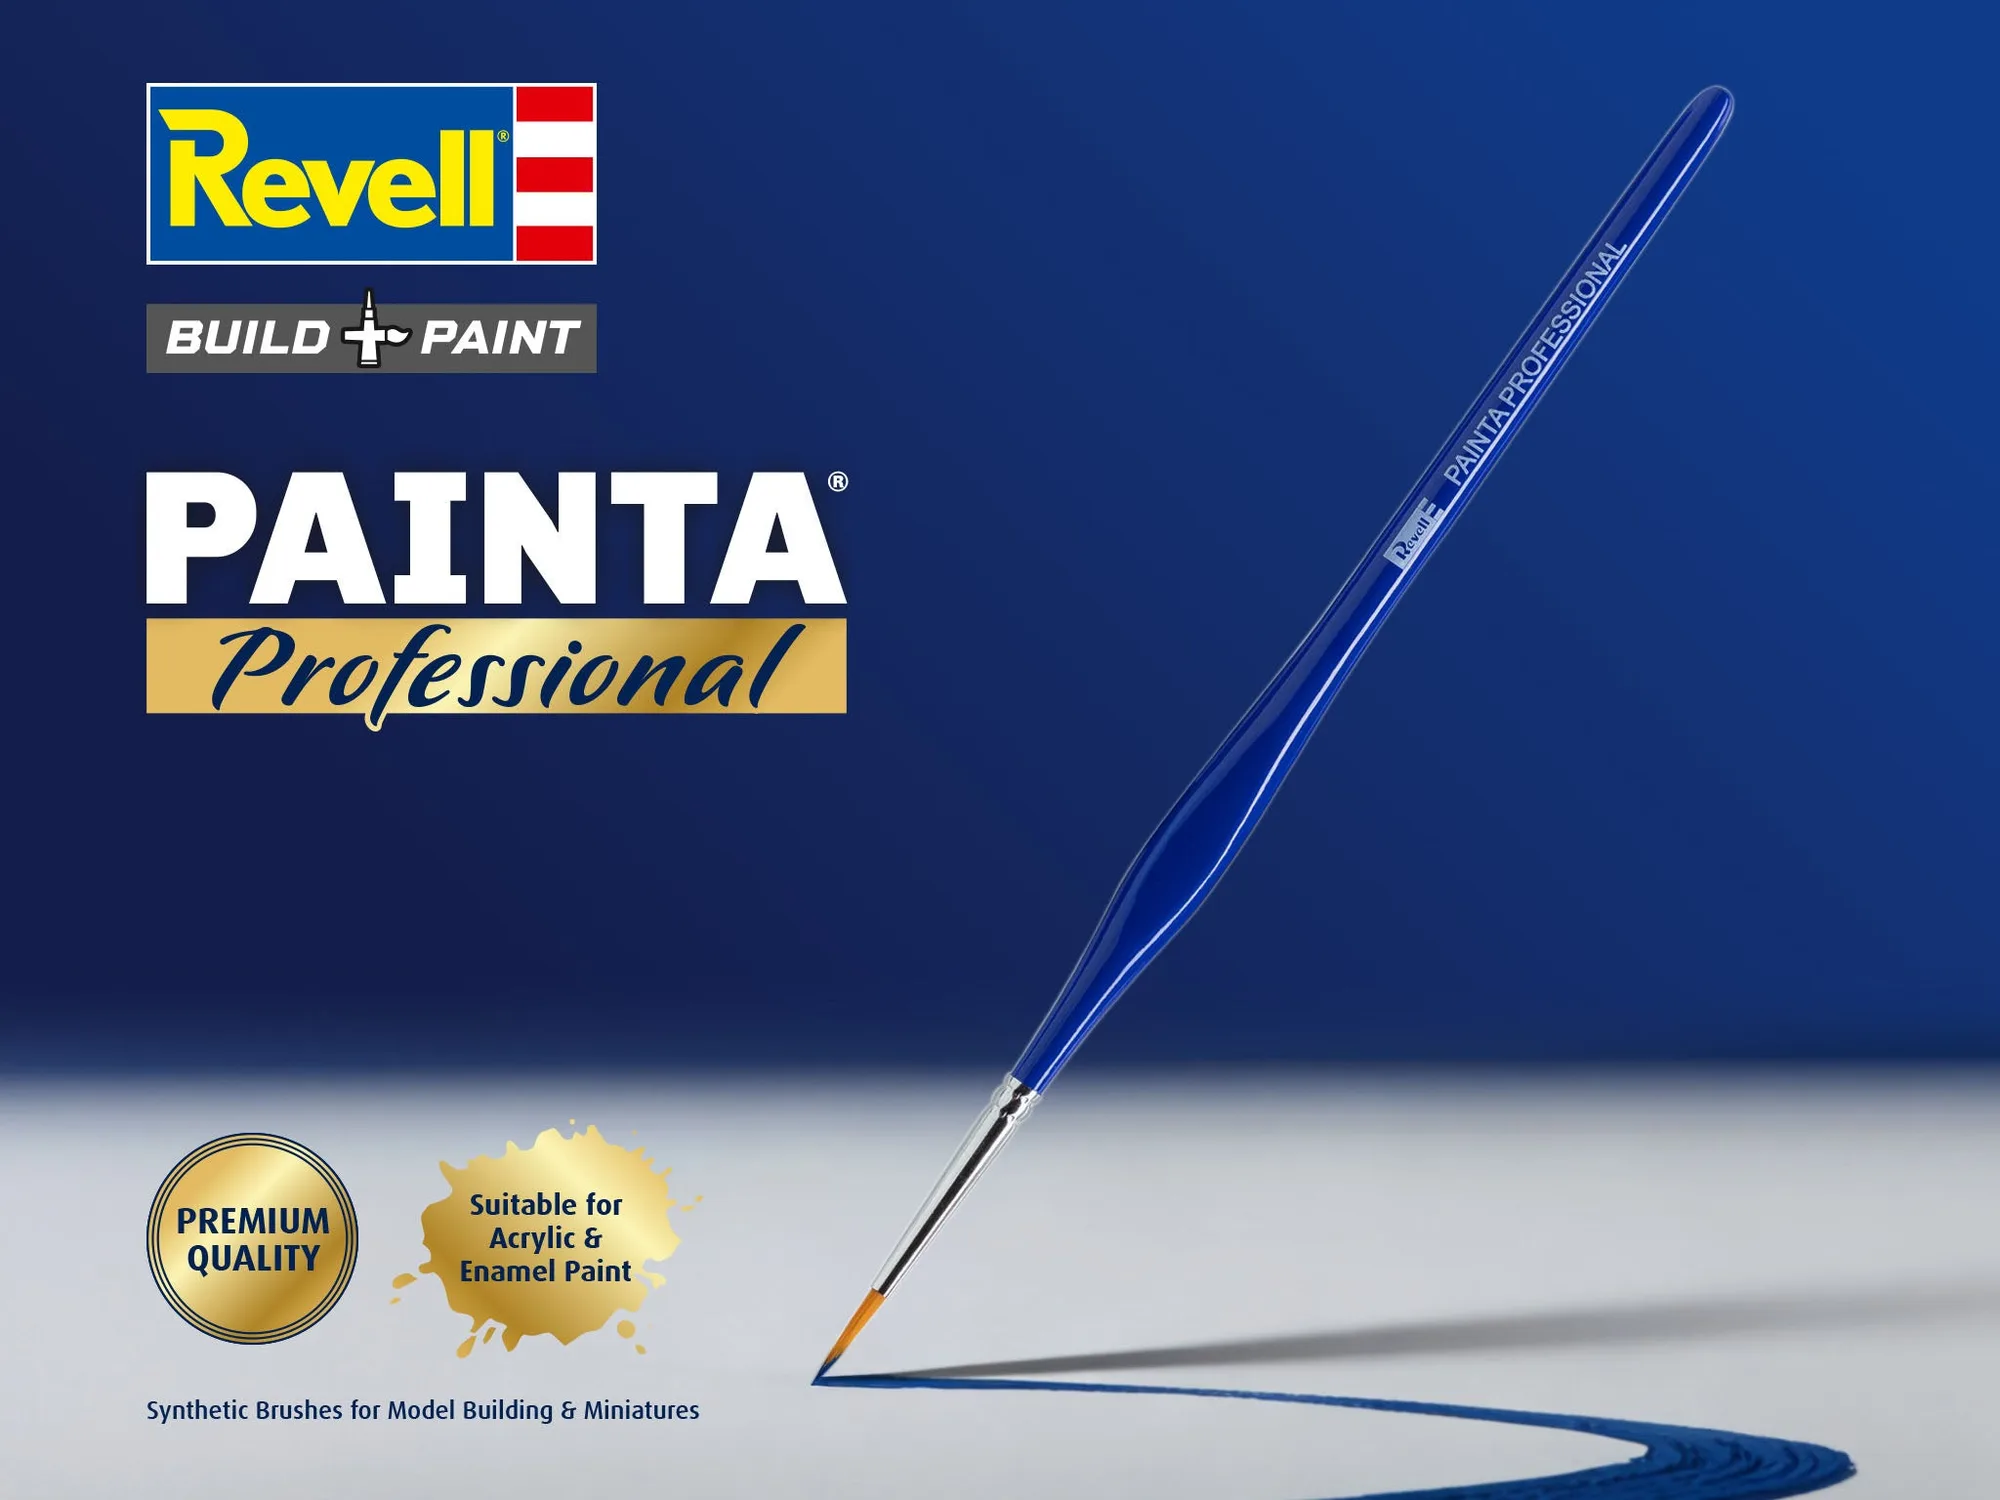
- Painta Professional Brush, Size 00: The size 00 brush has an ultra-fine tip designed for the smallest areas and razor-sharp lines when working on details, with high-quality synthetic fibers for optimal color handling. A fine brush lets you touch up small decal edges or paint chips without disturbing surrounding areas, which is useful during the twice-yearly inspection step.
Protecting a model is mostly about order and patience: cure, seal, shade, enclose, dust gently and check twice a year. Do those six things and your decals and paint will hold their color and crispness far longer than an unprotected build left on an open shelf.