Quick answer
The safest way to store a climbing set is to use a low, wall-anchored rack that holds each piece flat and within easy reach of an adult. Sort by weight and size, keep heavy wooden frames on the bottom, and never stack loose parts above shoulder height. A rack for playroom use should be fixed to a stud or masonry wall and checked monthly for loose hardware.
A climbing set that lives in the playroom needs a home base. Without one, bars, boards, and wall panels end up leaning against furniture or buried under toys, which makes daily play harder and creates tipping risks. A dedicated climbing equipment rack solves both problems at once.
This guide walks through a practical storage setup you can build in an afternoon. You will sort your gear, choose the right rack position, anchor it properly, and create a simple routine that keeps kids climbing gear storage safe as your child grows.
Step 1: Sort Your Climbing Set by Weight and Use
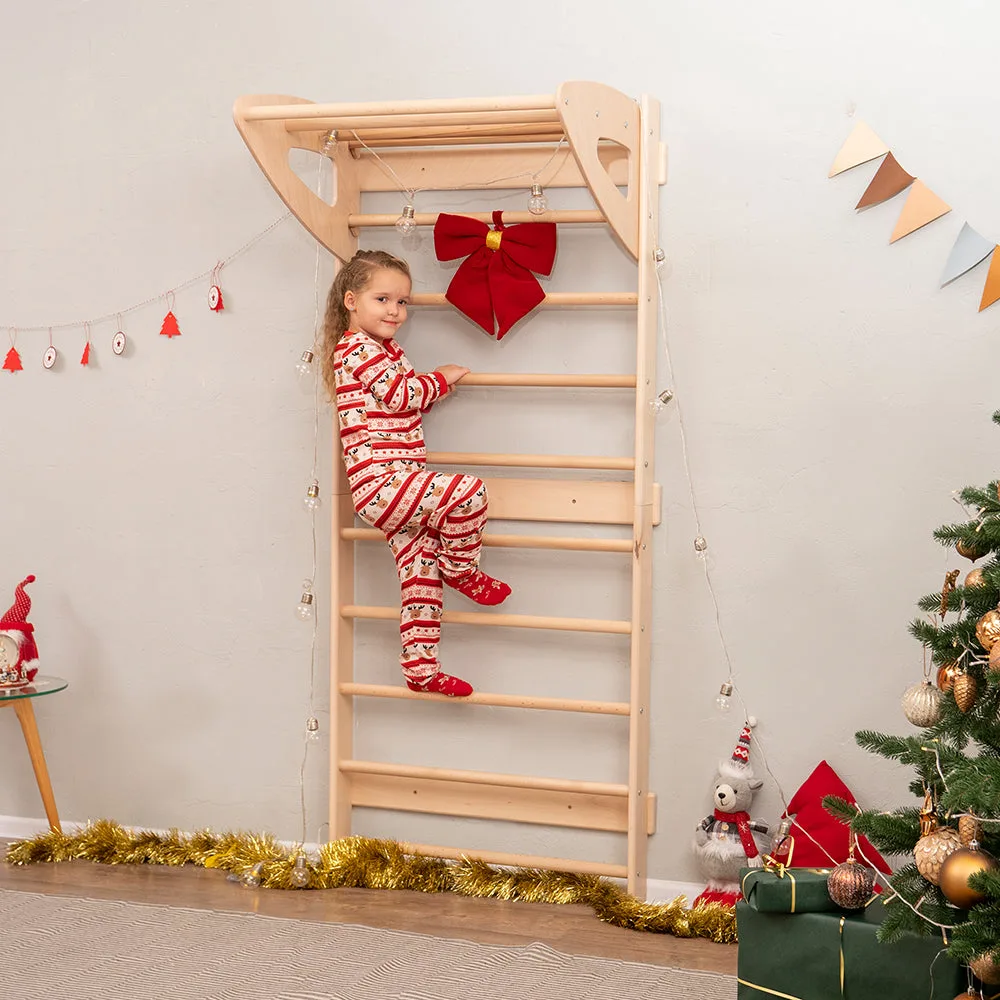
Before you buy or build anything, empty the playroom and group every piece by weight and frequency of use. Heavy wooden frames, like a Swedish Wall panel or a folding climbing triangle, belong in the heavy category. Lighter items such as ramps, balance boards, pillows, and climbing holds go in a separate pile. This matters because a rack that holds a 5 kg balance board may not safely hold a 20 kg wall section.
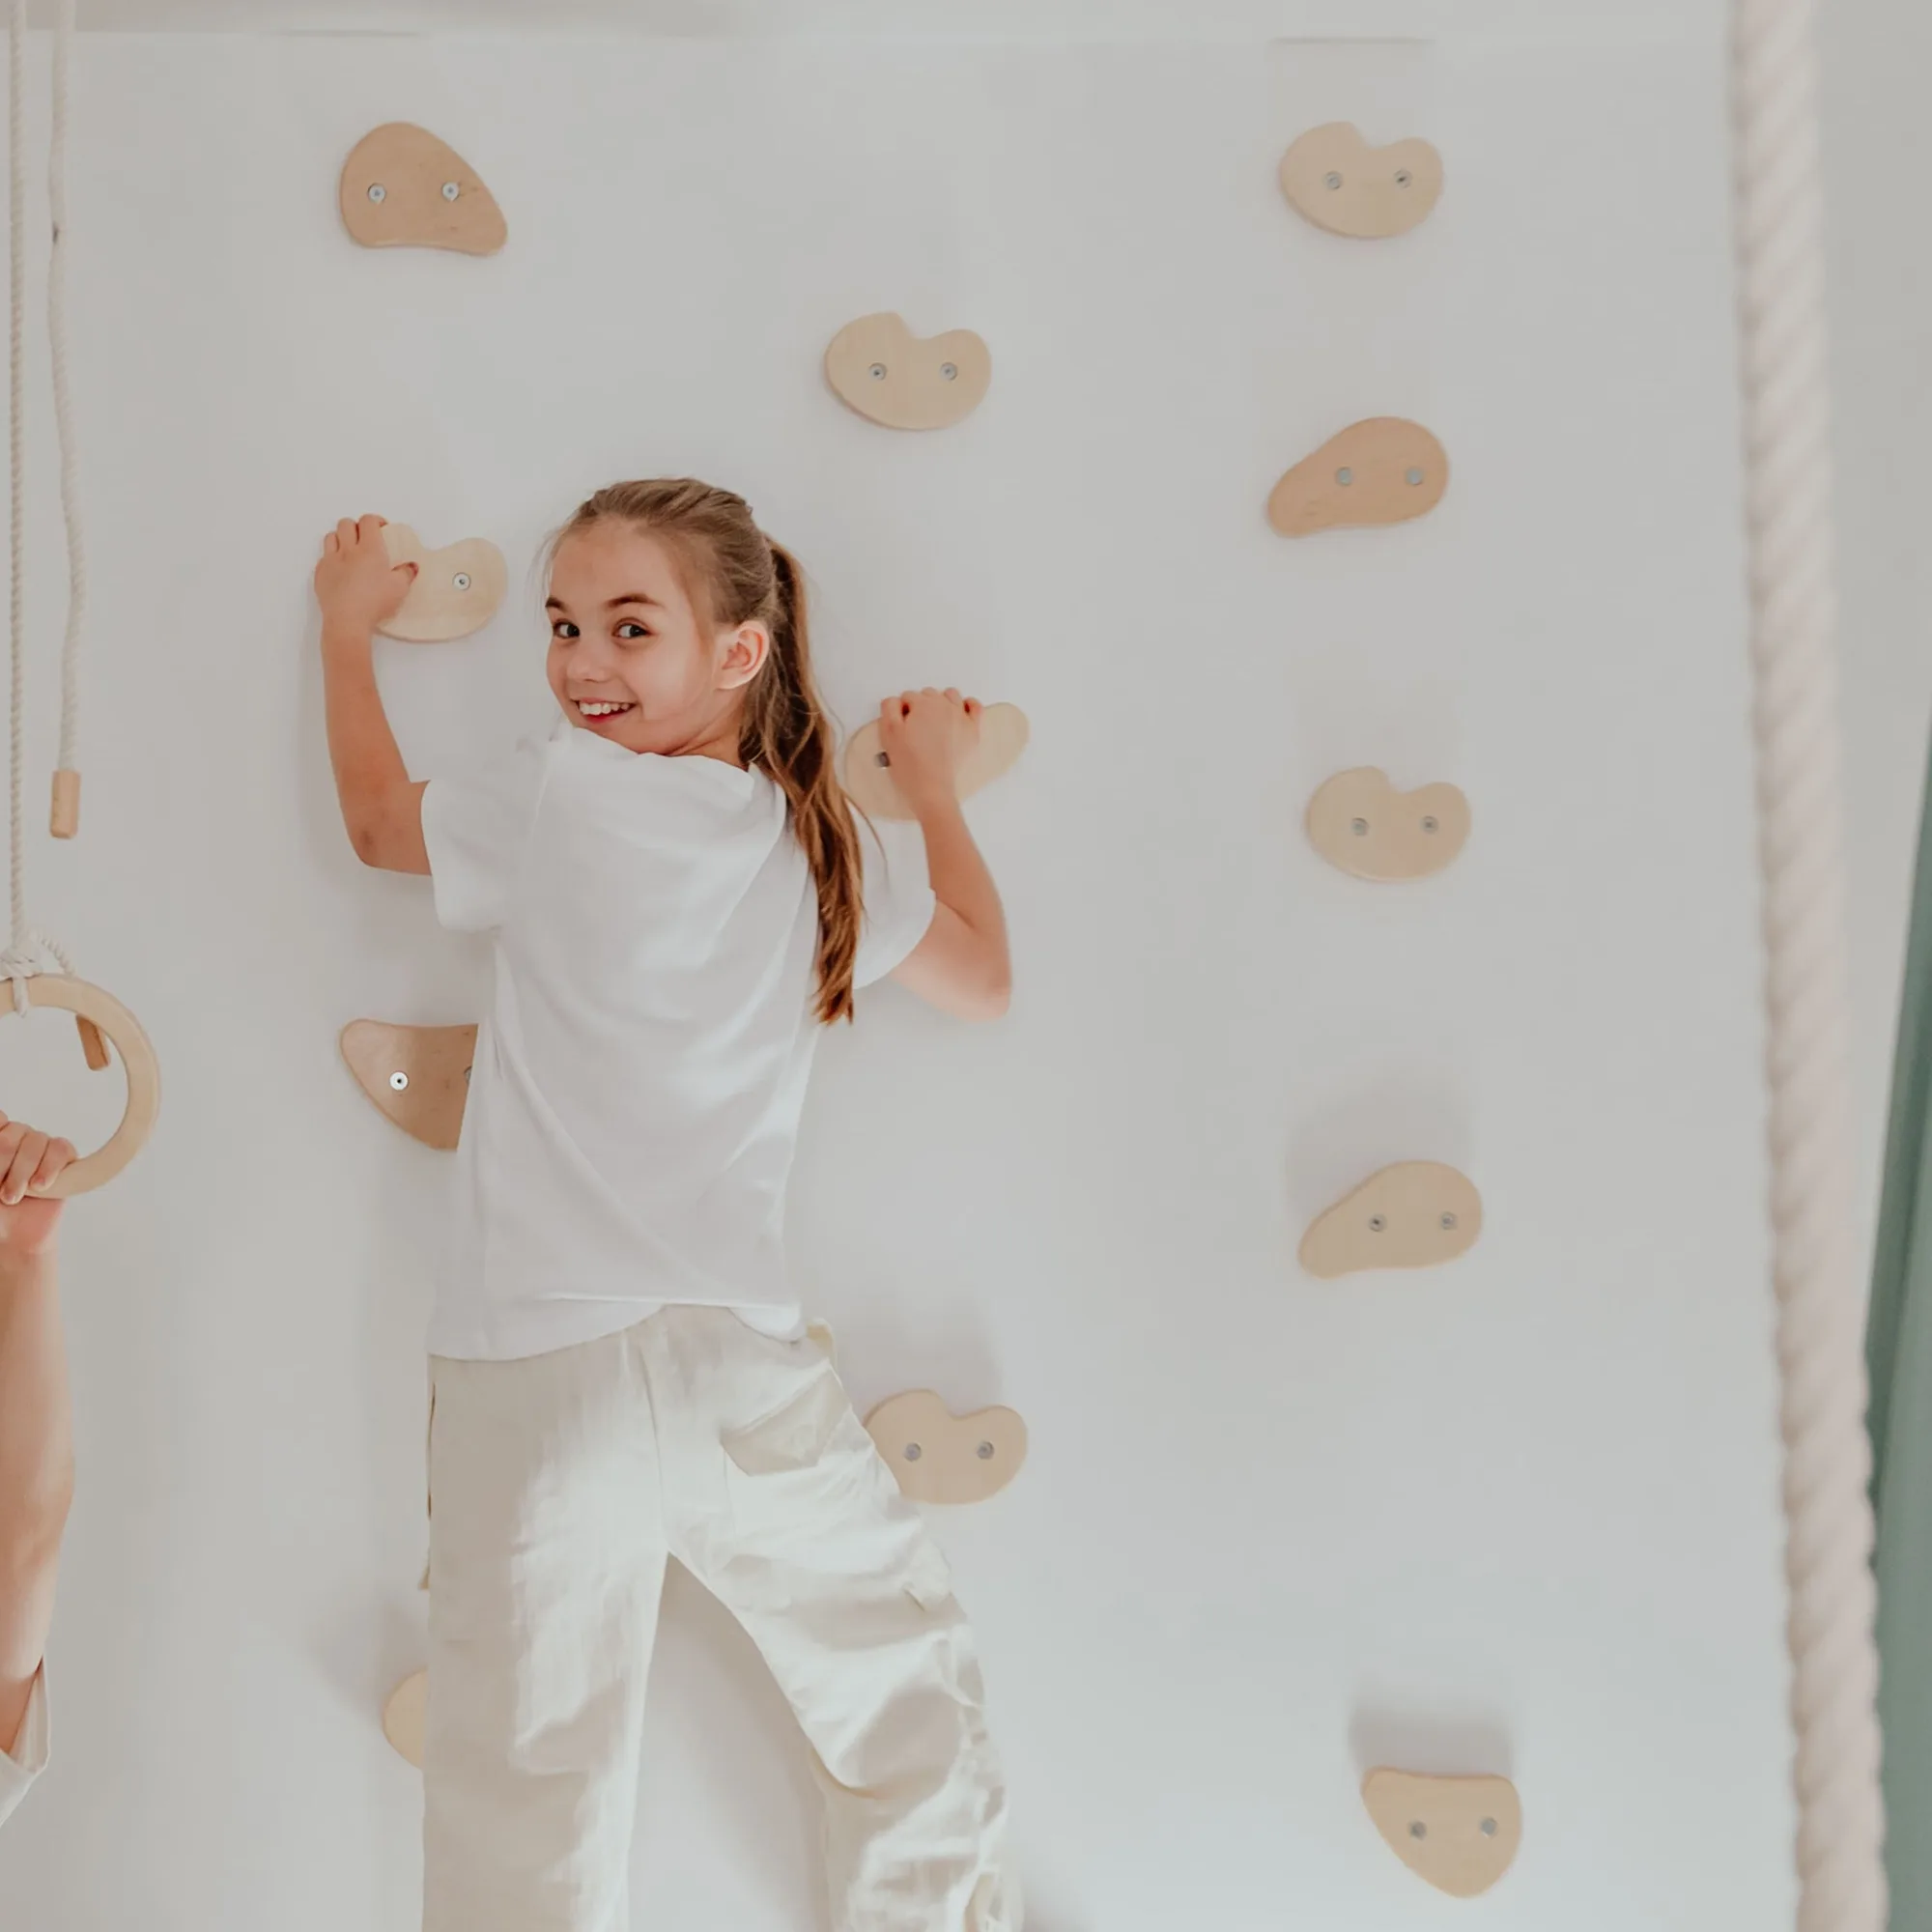
climbing holds
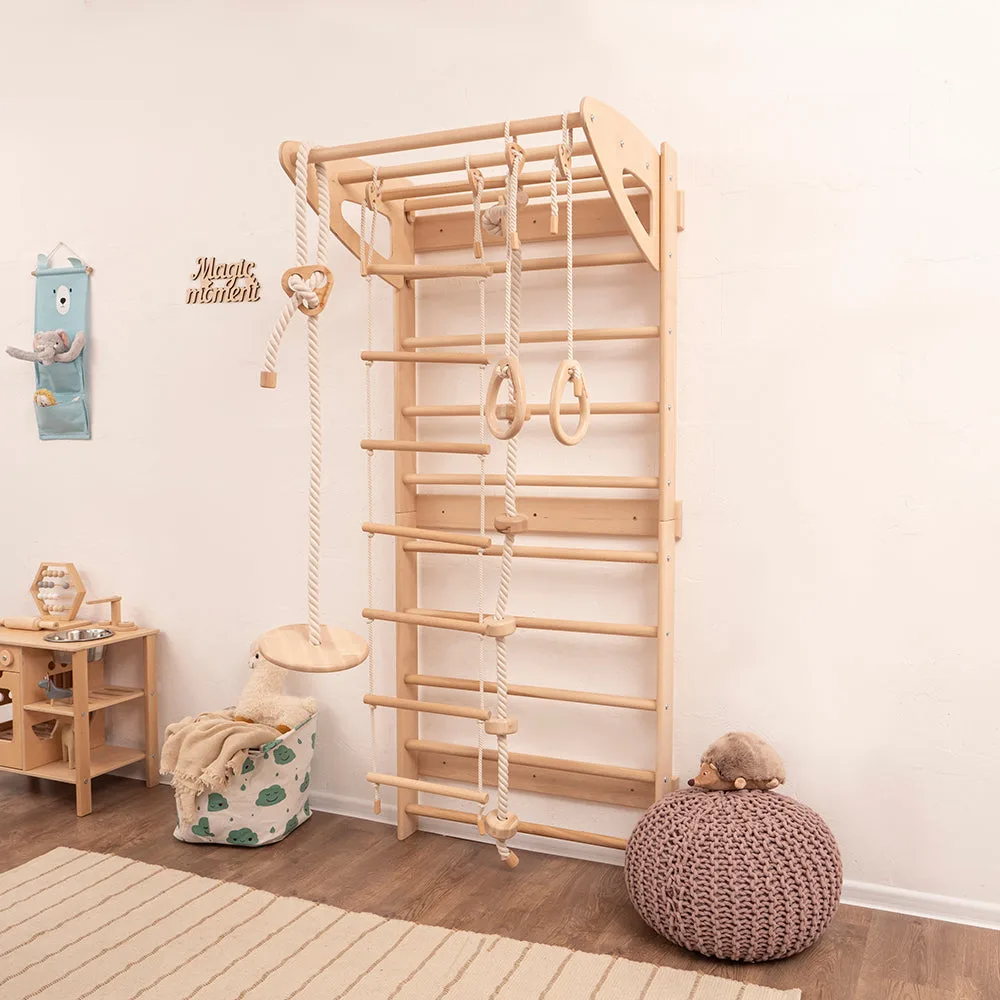
Next, mark how often each item is used. Daily pieces should sit at arm height so kids can grab them without climbing. Seasonal or occasional pieces can go higher or deeper in the rack. If you store a full set like the Swedish Wall Gym Set with Accessories, keep its smaller accessories in one labeled bin so nothing gets lost between sessions.
- Weigh or estimate each piece before choosing a shelf rating.
- Keep the most-used items between knee and shoulder height.
- Label bins by set name so pieces return to the right place.
Step 2: Choose a Rack That Matches Your Gear
Not every rack suits every climbing set. A wall-mounted rack with adjustable arms works well for long, flat items like ramps and climbing boards. A freestanding shelving unit with deep bins is better for odd-shaped pieces such as pillows, tents, and small holds. Measure the longest and widest piece first, then add 10 cm of clearance on each side so nothing overhangs.
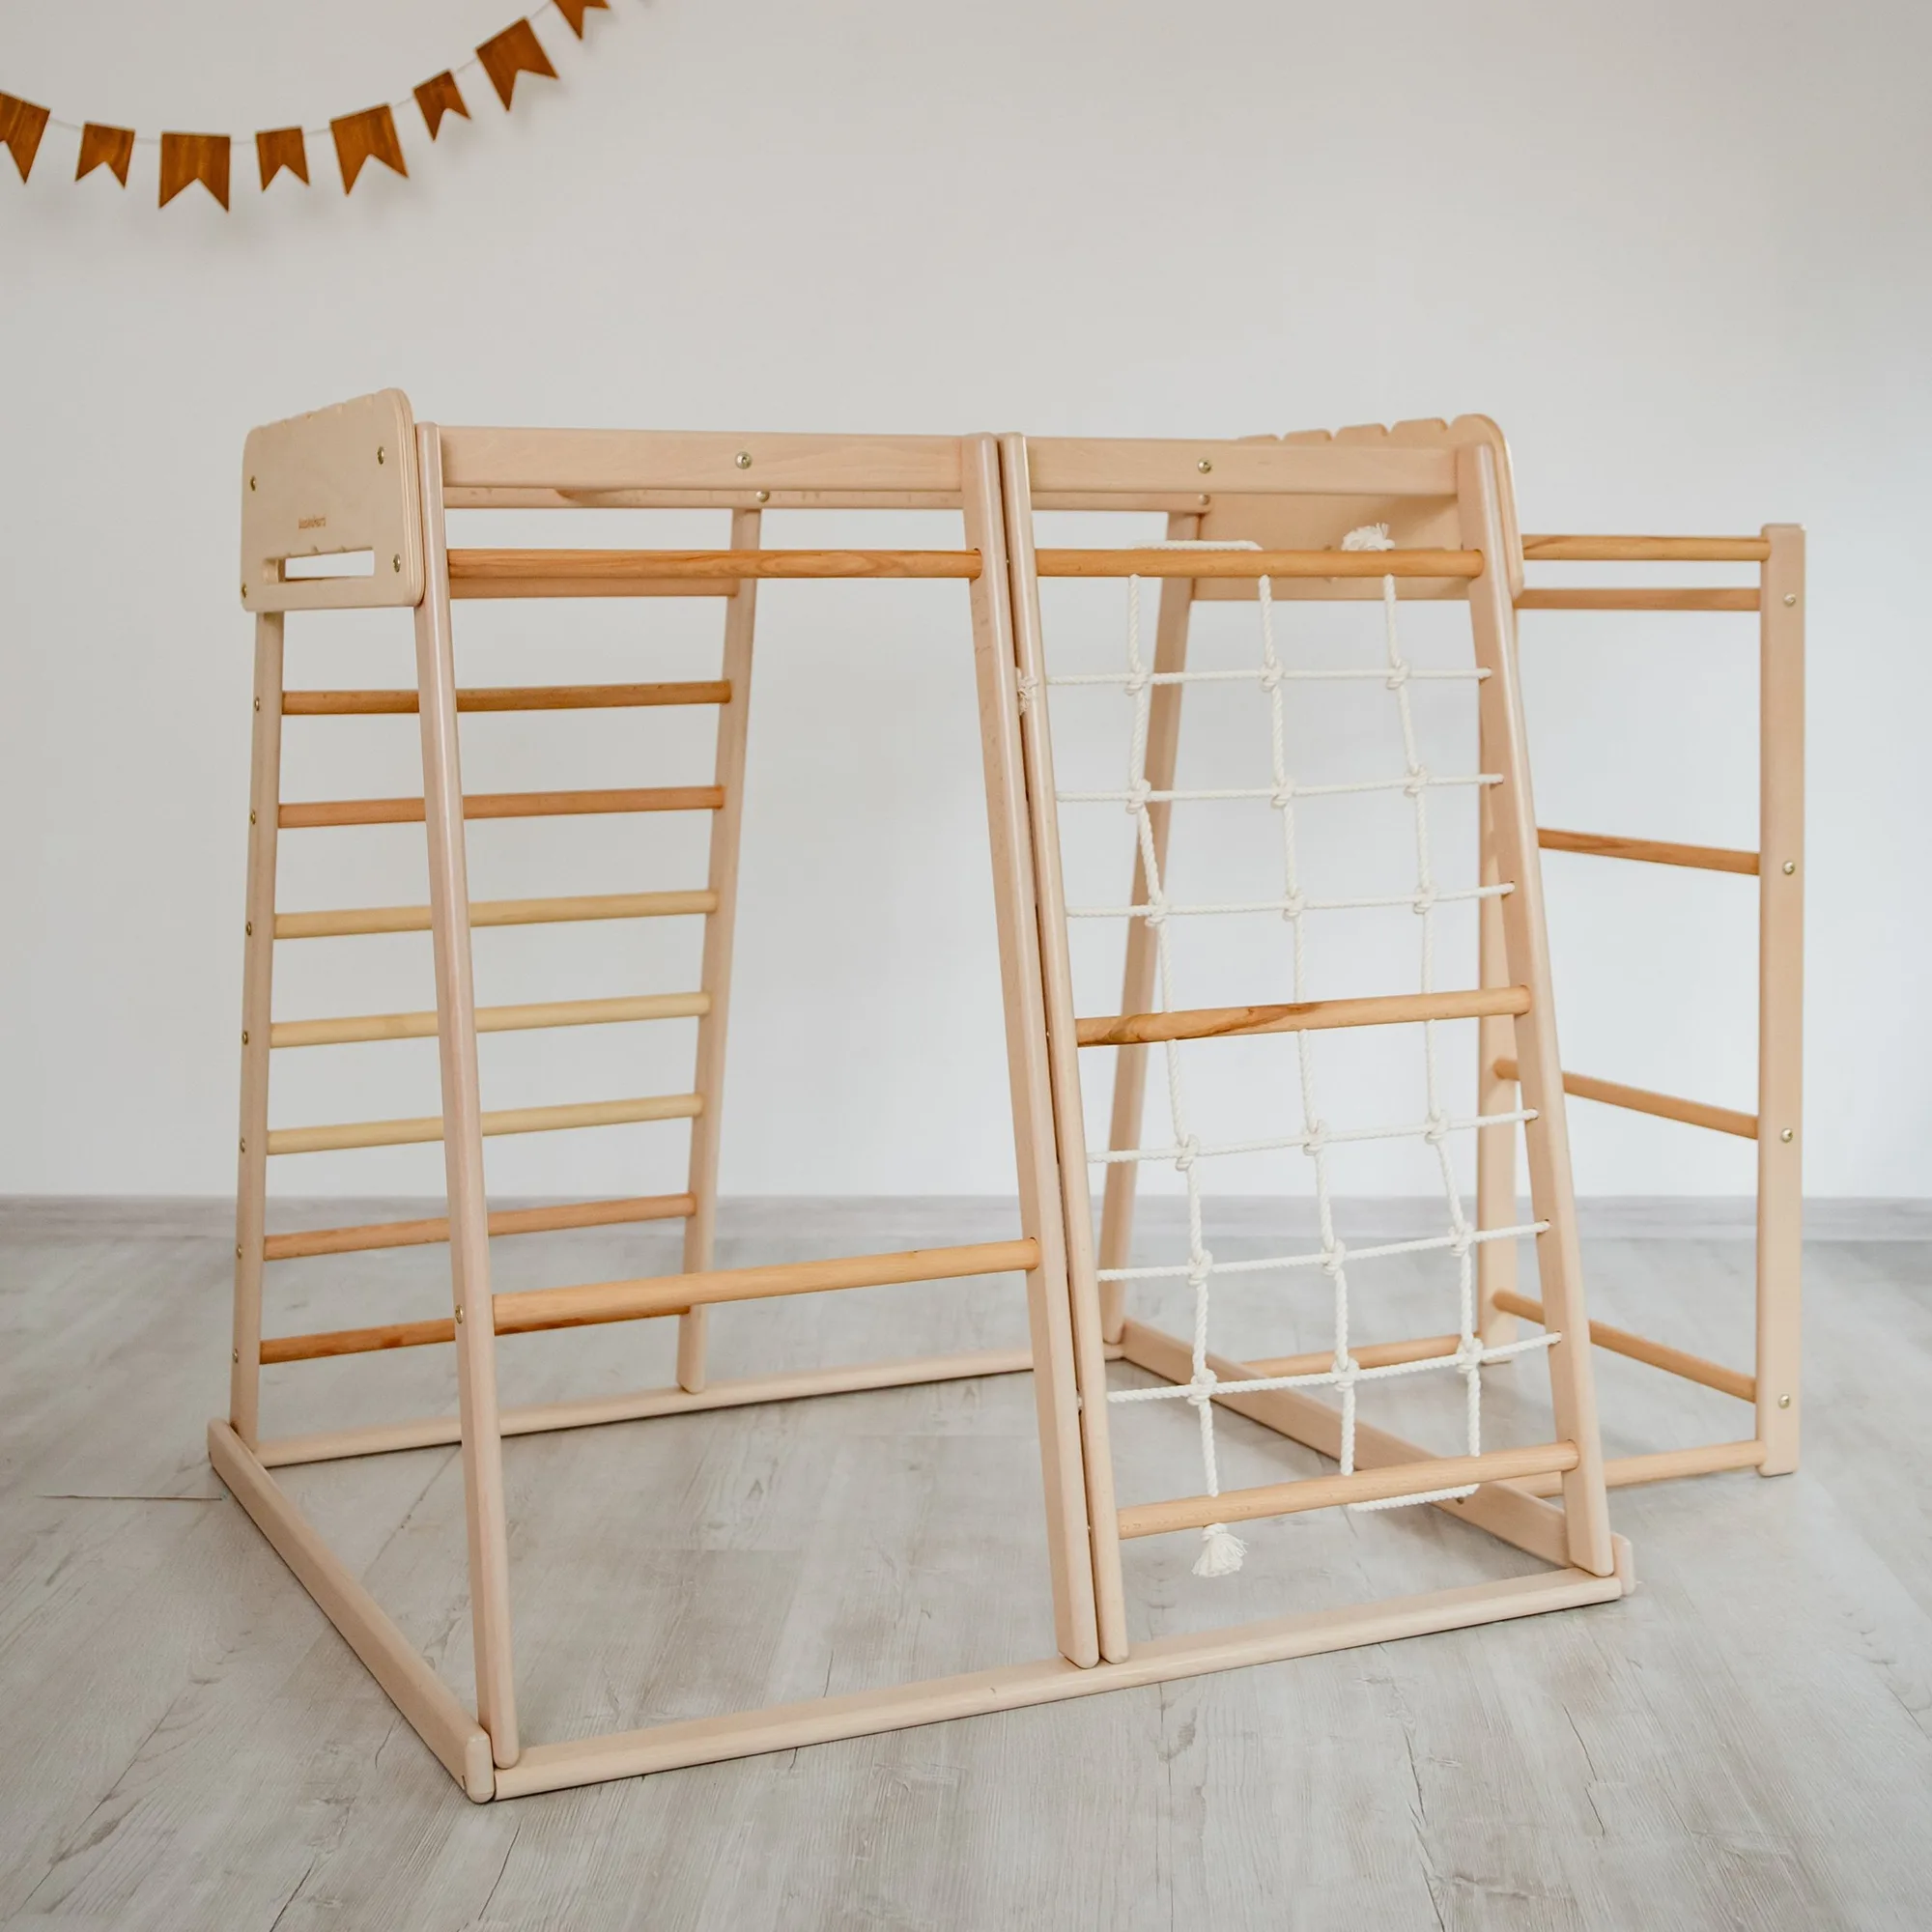
If you own a compact set like the Jungle Gym Playset, a single low shelf with two bins may be enough. If your playroom holds a larger setup, such as the Monkey Bars Jungle Gym, plan for a taller unit with at least three levels. The goal is a rack for playroom use that fits your actual gear, not one you have to fight every day.
- Measure the longest piece before buying any rack.
- Choose adjustable arms for flat panels and bins for small parts.
- Leave 10 cm of clearance around each stored item.
Step 3: Pick a Safe Rack Position
Place the rack on an interior wall away from windows, heaters, and doors that swing open. Avoid spots where a child could climb the rack to reach a window or shelf. The floor beneath should be level and free of clutter so you can step back and inspect the rack without tripping.
Keep the rack out of the main landing zone of any climbing equipment. If a child jumps or dismounts from a wall or bar, they should never land against the rack. A simple rule: the rack stores gear, it is not part of the play structure.
- Choose an interior wall away from heat sources and windows.
- Keep the rack outside the fall zone of every climbing piece.
- Leave clear floor space in front of the rack for inspection.
Step 4: Anchor the Rack to the Wall
A rack that can tip is a hazard, even if it only holds light gear. Anchor it to wall studs with screws rated for at least twice the total weight of the stored items. If you cannot find a stud, use appropriate masonry anchors or a furniture anti-tip strap. Never rely on drywall plugs alone for a loaded rack.
Check the anchor points after installation by gently pulling the rack toward you. If it moves, stop and re-anchor. This step is the single most important safety checkpoint in the whole process, and it takes less than five minutes.
- Anchor into studs or masonry, not drywall alone.
- Use hardware rated for at least double the loaded weight.
- Test the rack with a firm pull before loading it.
Step 5: Load the Rack Heaviest-First
Load heavy wooden frames on the bottom level and lighter items above. This keeps the center of gravity low and reduces the chance of a tip-over if a child bumps the rack. Place long items horizontally so they cannot slide out, and use small bins or dividers for loose parts like climbing holds and hardware.
Do not stack items above shoulder height. If a piece does not fit below that line, it belongs in a different storage spot or needs to be disassembled. For sets with many small accessories, such as the Swedish Wall Gym Set with Accessories, keep the accessories in a single labeled bin on the middle shelf.
- Heaviest items on the bottom shelf.
- Nothing stored above shoulder height.
- Use dividers or bins for small parts.
Step 6: Create a Monthly Check Routine
Once a month, empty the rack and inspect every anchor, shelf pin, and bracket. Tighten anything loose and replace worn straps or bins. Wipe wooden pieces with a dry or slightly damp cloth, and check for splinters or cracks before they become a problem.
This routine also gives you a chance to reassess the setup as your child grows. A rack that worked for a toddler may need re-sorting when they start using a larger climbing wall. Adjust the layout instead of adding more gear to an already full rack.
- Inspect anchors and brackets monthly.
- Wipe wooden pieces and check for damage.
- Re-sort the rack as your child's equipment changes.
Your Rack Setup Checklist
- Sort by weight: Group heavy wooden frames separately from light accessories and small parts. Checkpoint: if you cannot lift a piece safely alone, it belongs on the bottom shelf.
- Measure and choose: Pick a rack that fits your longest piece with 10 cm clearance on each side. Checkpoint: adjustable arms for flat panels, bins for small parts.
- Position safely: Place the rack on an interior wall outside every fall zone and away from heat. Checkpoint: no climbing equipment should land against the rack.
- Anchor to studs: Use hardware rated for at least double the loaded weight and test with a firm pull. Checkpoint: if the rack moves, stop and re-anchor before loading.
- Load heaviest-first: Put heavy frames on the bottom and keep nothing above shoulder height. Checkpoint: the rack should feel stable when fully loaded.
- Inspect monthly: Tighten anchors, wipe wooden pieces, and re-sort as your child grows. Checkpoint: replace any worn strap or bin immediately.
Products That Fit This Storage Plan
- Swedish Wall Gym Set with Accessories: This full set includes both the Swedish Wall and a carefully selected range of accessories, giving your child endless opportunities for movement, creativity, and fun. Because the set includes many small accessories, it benefits most from a labeled bin on the rack so pieces stay together and nothing gets lost.
- Jungle Gym Playset: This multifunctional Jungle Gym Playset in natural wood color is designed for children aged 18 months to 6 years and includes a climbing trapeze frame as a starting piece. Its compact, multi-piece design fits on a single low shelf with two bins, making it a good match for small playrooms.
- Monkey Bars Jungle Gym: Designed for children ages 3 and up, this gym turns everyday play into meaningful growth as kids climb, swing, and build strength. A larger set like this needs a taller rack with at least three levels so heavy bars stay low and lighter parts stay reachable.
A good climbing equipment rack is less about fancy shelving and more about weight, height, and anchoring. Sort your gear, choose a rack that fits your longest piece, fix it to a stud, and load it heaviest-first. Do that, and your playroom stays organized while your kids keep climbing safely.