Quick answer
Start with the Rainbow Junior Artist Kit and paint the stripes from lightest to darkest, saving the fluffy cloud for last so it stays clean. Treat the first canvas as a practice run, not a masterpiece.
Why the rainbow works as a first canvas
A rainbow is a forgiving subject for a young painter. The shape is simple, the colors are already familiar, and a wobbly stripe still reads as a rainbow. That makes it a better confidence builder than a detailed figure or a scene with many small shapes.
The Rainbow kit also gives you a built-in color order. Instead of asking a child to mix colors from scratch, they can focus on loading the brush and following a line. That is the real skill a beginner painting for kids should practice first.
Set up for fewer surprises
Lay newspaper or a washable mat under the canvas and keep a damp cloth within reach. Pour only a small amount of each color; refilling is easier than cleaning up a flooded palette. If your child is easily distracted, set the canvas at their height and remove extra toys from the table before opening the kit.
When to step in and when to step back
Step back for color choices and brush pressure. Step in only for structural problems, such as paint running into a neighboring stripe or a cloud that is about to swallow the whole canvas. The goal is a finished painting your child recognizes as their own, not a perfectly even arc.
If your child loses interest halfway through, stop and let the paint dry. The Rainbow canvas can be finished in a second short session, and a break often prevents a rushed, muddy result.
How to paint the Rainbow kit step by step
- 1. Protect the work area and open the kit: Cover the table, set out the canvas, and place only the first two or three paint colors within reach. Keep the rest closed until needed. Checkpoint: the canvas should sit flat and the child should be able to reach it without leaning across wet paint.
- 2. Lightly plan the arc before painting: Use a pencil to sketch two or three faint guide arcs across the canvas, or trace the curve with a finger first. Keep the lines light so they disappear under paint. Common mistake: pressing hard with the pencil, which can dent the canvas and show through thin paint.
- 3. Paint the lightest stripe first: Start with yellow or another light color along the top arc. Load the brush lightly and pull it in one direction rather than scrubbing back and forth. Checkpoint: the stripe should look even, not patchy; a second thin coat later is better than one heavy coat now.
- 4. Work down through the colors: Add each next stripe below the previous one, letting the brush follow the curve. Rinse the brush between colors and blot it on a cloth so you do not carry one color into the next. Common mistake: skipping the rinse, which muddies the bright stripes the kit is designed for.
- 5. Let the stripes dry before adding the cloud: Pause until the stripes are touch-dry. Then paint the fluffy cloud at the end of the rainbow with a light, dabbing motion rather than a sweeping stroke. Checkpoint: the cloud should sit on top of the rainbow, not blend into it.
- 6. Review and touch up: Once everything is dry, look for thin or skipped spots and add a small second coat only where needed. Leave the painting flat to dry completely before hanging. Next action: write the child’s name and the date on the back so the first canvas becomes a keepsake.
About the kit used here
-
Rainbow: The Rainbow kit is built around layering bright stripes of color and adding a fluffy cloud. The stripe-by-stripe approach gives a child a clear order of work and a natural place to pause between colors.
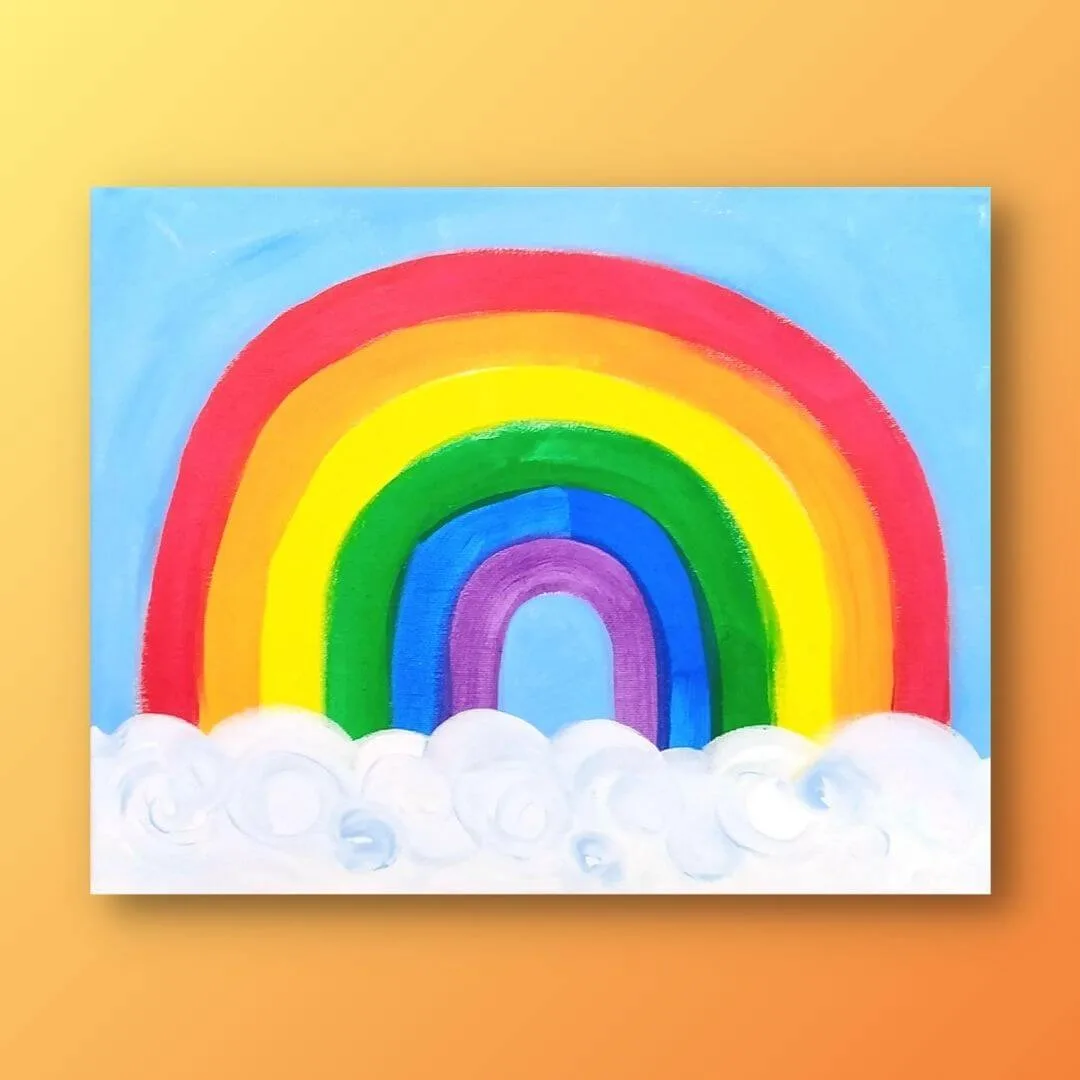
Rainbow