Quick Answer
For a brilliant reflective glitter manicure, sprinkle RD06 Reflective Diamond Glitter onto uncured gel polish, press it in lightly, cure for 60 seconds under an LED/UV lamp, then seal with a top coat. This method locks in intense sparkle that shines in both daylight and flash photography.
Why Reflective Glitter Beats Regular Glitter
Reflective glitter is made with special particles that bounce light back toward the source, creating a bright, mirrored effect. Regular glitter scatters light, so it sparkles less intensely and can look dull in photos. Reflective glitter is perfect for events, parties, or anytime you want your nails to be the center of attention.
The key difference is the particle shape: reflective glitter uses tiny glass-like beads or faceted pieces that act like miniature mirrors. This is why it shows up so vividly under camera flash or direct sunlight. If you love nail art that photographs well, reflective glitter is the way to go.
Choosing the Right Base
The base color you choose dramatically affects the final look. For a true diamond-like sparkle, use a dark or neutral base like black, navy, or deep burgundy. These colors create contrast that makes the glitter pop. Lighter bases can work, but they may mute the reflective effect.
You can apply the glitter over any gel polish color, but for maximum impact, stick to darker shades. Also, ensure the base is fully cured before applying the glitter layer, so the glitter doesn't sink or mix with the color.
Tools You'll Need
To apply reflective diamond glitter, you need a few essential tools: a gel polish base, a small brush or spatula for sprinkling, a UV/LED lamp, and a top coat. You might also want a fan brush to remove excess glitter before curing.
If you don't have a dedicated glitter applicator, a clean eyeshadow brush works just as well. Just make sure it's dry and free of oils to prevent clumping.
Step-by-Step Application Guide
- Prep Your Nails: Start with clean, dry nails. Push back cuticles and lightly buff the nail surface to remove shine. Apply a thin layer of gel base coat and cure for the recommended time. Skipping prep can cause lifting, so take your time.
- Apply a Dark Base Color: Paint a thin layer of dark gel polish (like black or navy) and cure. Repeat for full opacity if needed. Dark bases make the reflective glitter stand out. Cure each layer fully to avoid tacky spots.
- Apply a Sticky Layer: Apply a thin, even layer of uncured gel polish (either a top coat or a clear builder gel) to serve as the adhesive for the glitter. Do not cure yet. Too thick a layer can cause the glitter to slide; keep it thin.
- Sprinkle the Glitter: Using a brush or spatula, sprinkle RD06 Reflective Diamond Glitter generously over the uncured gel. Ensure full coverage, then gently press the glitter into the gel with a clean finger or tool. Press firmly to embed the glitter, but avoid pressing too hard to prevent denting the gel.
- Remove Excess Glitter: Use a fan brush or a soft makeup brush to gently sweep away any loose glitter that isn't stuck to the gel. This prevents a messy finish. Do this before curing to avoid glitter flying off during cure.
- Cure the Glitter: Place your nails under an LED/UV lamp and cure for 60 seconds. This hardens the gel and locks the glitter in place. If you have a weaker lamp, extend curing time to ensure full hardening.
- Seal with Top Coat: Apply a generous layer of no-wipe top coat, making sure to cover the edges and tips. Cure for 60 seconds. This seals the glitter and adds a smooth, shiny finish. Cap the free edge to prevent chipping and prolong the wear.
Product Spotlight
-
RD06 - REFLECTIVE DIAMOND GLITTER: 2Guys Reflective Diamond Glitter is a pink-tinted glitter that transforms into an intense reflective glow under flash or direct light. This means your nails will look stunning in person and in photos, making it ideal for special occasions or content creation.
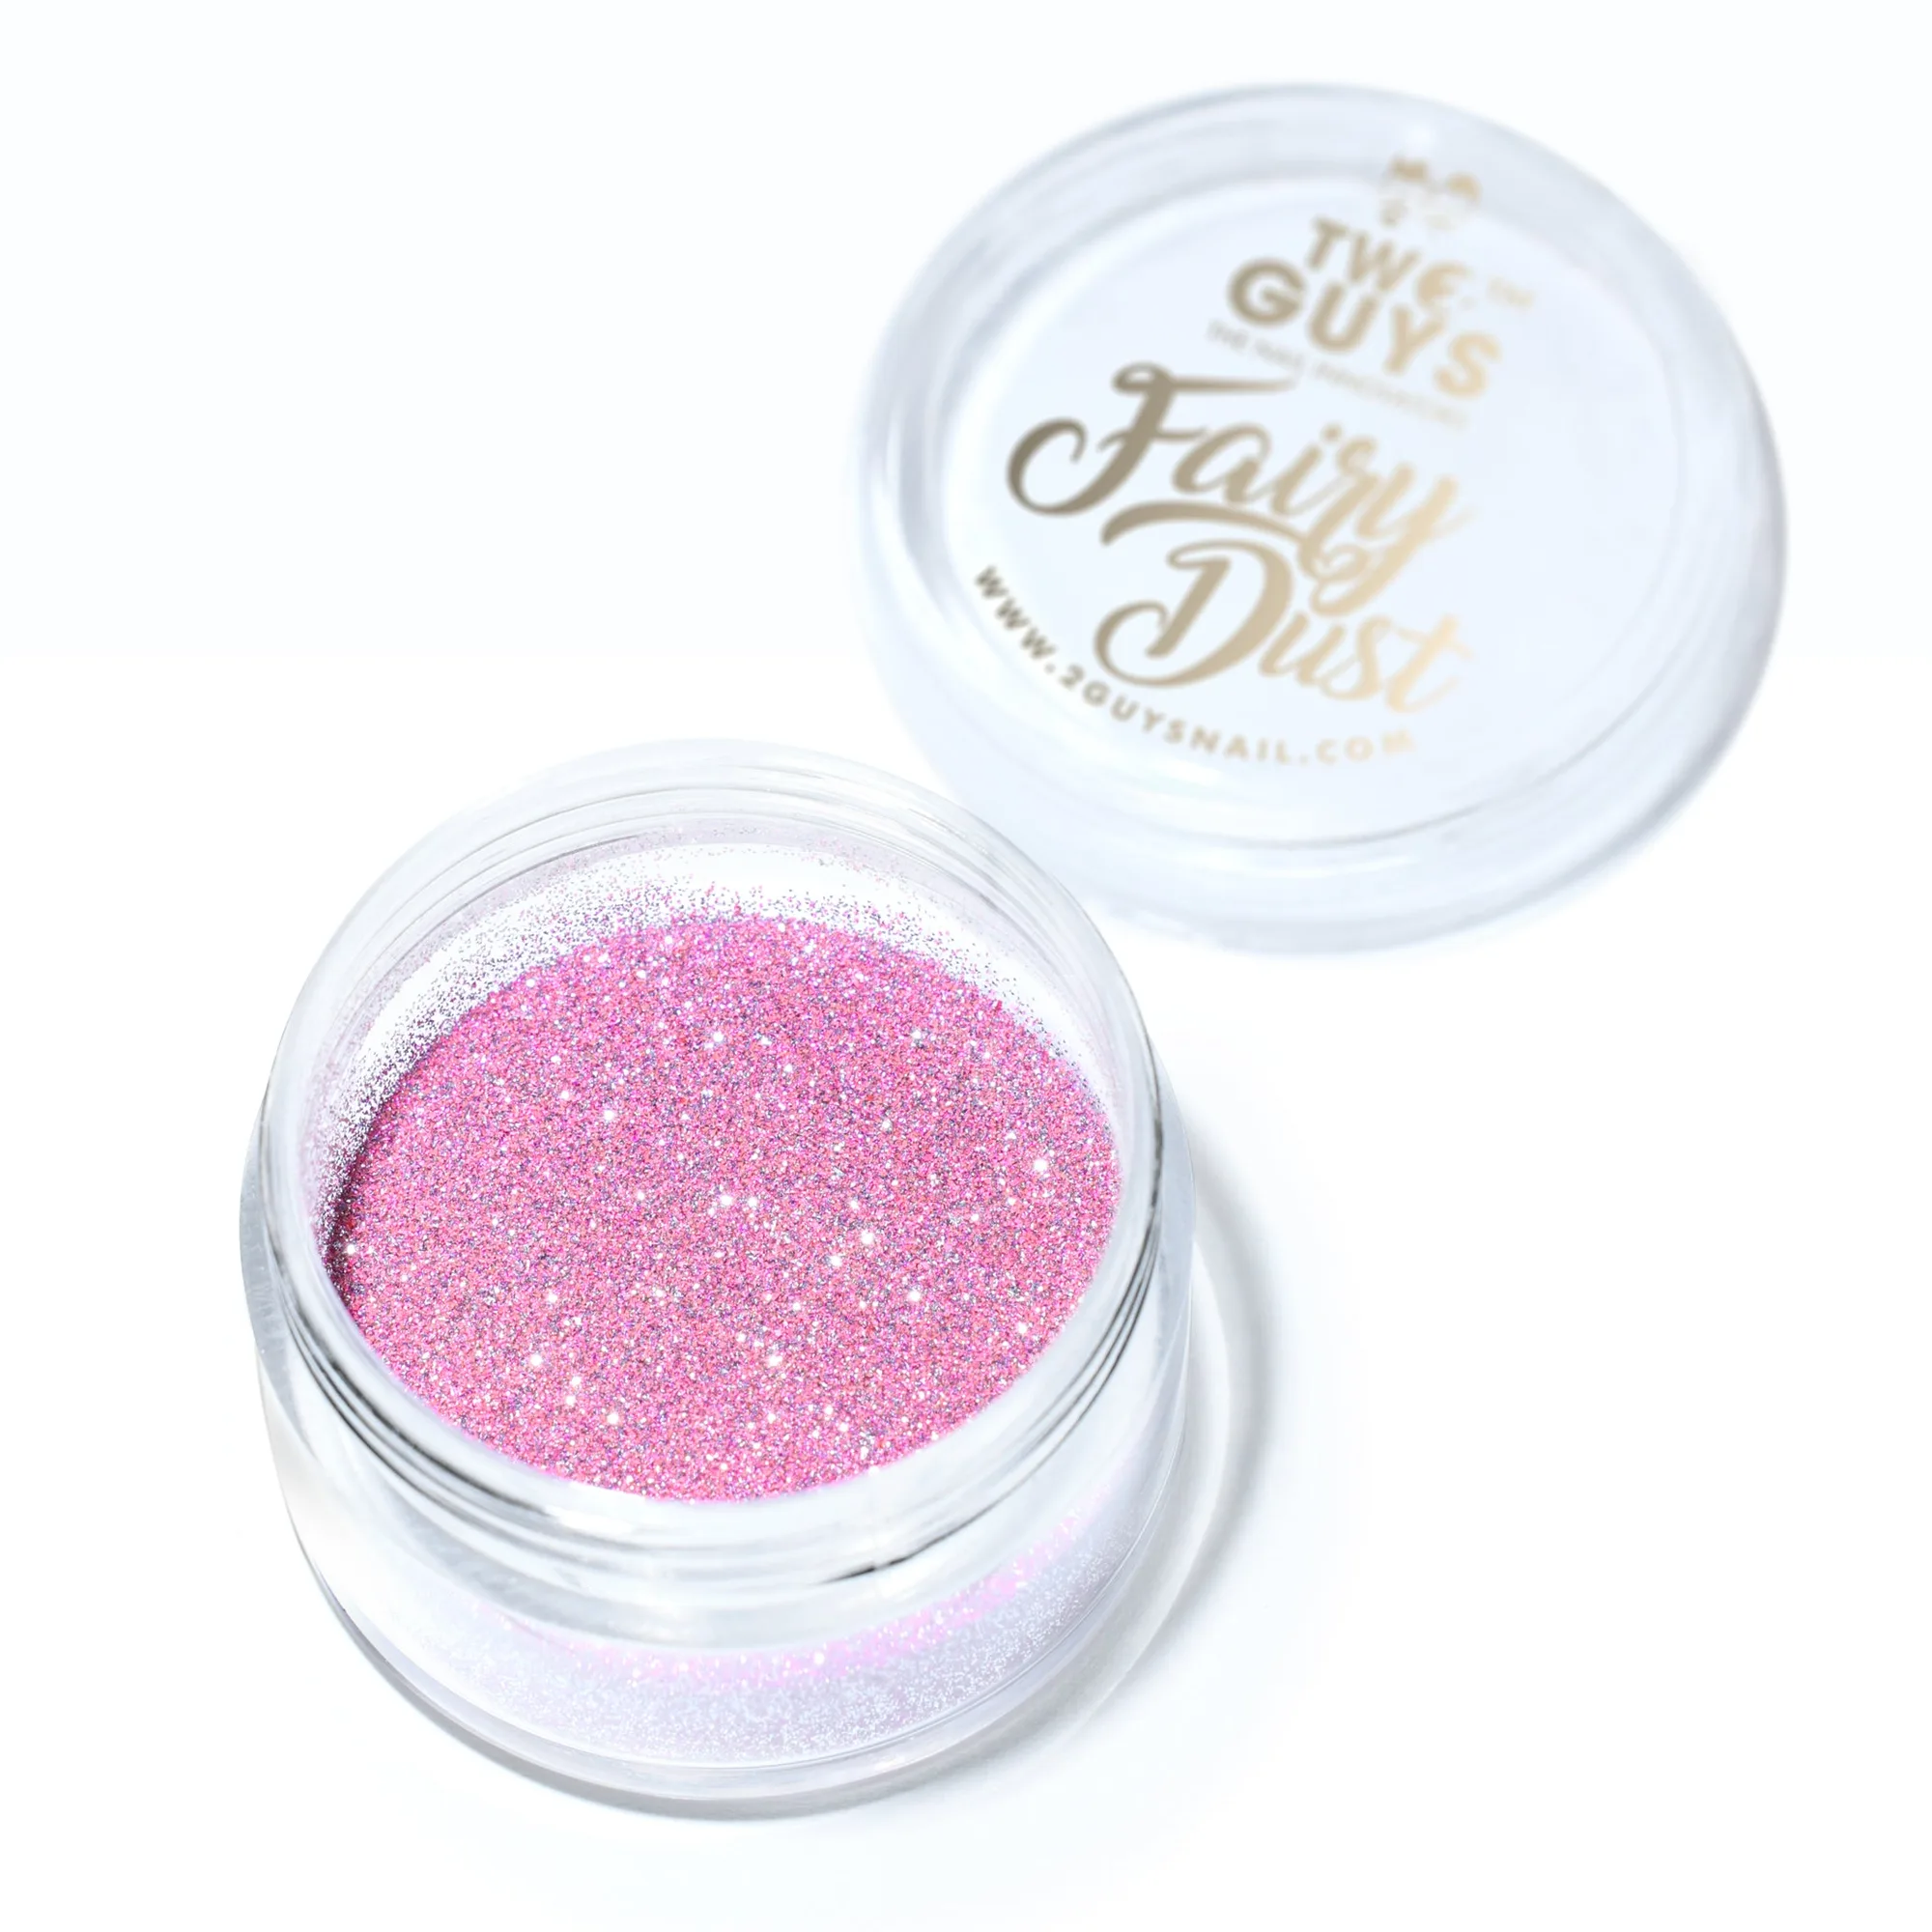
RD06 - REFLECTIVE DIAMOND GLITTER