Quick answer
Treat resin terrain like a detailed display miniature that happens to live on a game table: clean it gently, seal painted surfaces, store it padded rather than stacked, and handle it by the base. Resin is more brittle than Dwarvenite and heavier than it looks, so most resin problems come from drops, pressure, and heat, not from normal play.
Resin pieces occupy a specific niche in a terrain collection: crisp detail, sharp edges, and fine texture that soft plastic struggles to reproduce. That detail comes with different handling rules than Dwarvenite, and most of the questions readers send in are variations on the same handful of concerns.
Below are short, standalone answers to the resin terrain questions that come up most often. Each one is written to be read on its own, so you can jump straight to the issue in front of you.
How do I clean resin terrain without damaging the detail?
Dust is the main enemy, and it settles into the deepest recesses where a cloth cannot reach. Start with a soft makeup brush or a clean, dry paintbrush and work the dust out of crevices before you introduce anything wet. For painted pieces, a barely damp cloth on flat surfaces is fine, but keep water out of deep detail where it can sit and soften paint over time.
Skip household cleaners, alcohol, and abrasive pads. They strip paint and can dull the surface sheen that makes resin detail read well under game lighting. If a piece is genuinely grimy, use a drop of mild dish soap in lukewarm water, rinse quickly, and let it air dry fully before it goes back in storage.
- Dry-brush first; only introduce moisture when dust alone will not come off.
- Never soak a painted resin piece, even briefly.
- Let pieces dry completely before storage to avoid trapping moisture against paint.
Can I paint resin terrain the same way I paint Dwarvenite?
The painting process is similar, but the prep is not. Resin holds sharper detail, so thin your paint more than you would on Dwarvenite and build color in layers rather than covering in one pass. Thick paint fills the fine texture that makes resin worth owning in the first place.
Always prime resin before painting. A thin, even primer coat gives paint something to grip and protects the surface underneath. After painting, seal the piece with a matte varnish to protect edges that get handled every session, such as doorways, steps, and protruding details.
- Prime first, then thin your paints; multiple light coats beat one heavy coat.
- Seal after painting, especially on pieces players touch during play.
- Test any new paint or varnish on the underside of a piece before committing.
How should I store resin terrain so it does not break?
Resin is more brittle than Dwarvenite, so the storage rule is simple: nothing heavy on top, nothing pressing against protruding detail. Store pieces upright or on their bases in a padded bin, with foam, bubble wrap, or a soft cloth between layers. Stacking resin flat in a crowded box is the fastest way to snap a thin edge.
Heat matters too. Do not leave resin in a hot car or a garage that bakes in summer, because warm resin softens and can warp under its own weight or the weight of whatever is stacked above it. A climate-controlled shelf or a padded case in the house is the safer home.
- Pad between layers; never let resin pieces rest directly on each other.
- Keep resin out of hot cars and unconditioned storage.
- Transport resin separately from heavy Dwarvenite tiles.
Is resin terrain durable enough for regular play?
Yes, with realistic expectations. Resin handles normal table use well, including being picked up, moved, and placed during a session. What it does not handle well is impact and point pressure: a drop onto a hard floor, a heavy book set on top of a bin, or a piece shoved across a table can chip or crack it.
The practical approach is to treat resin as the detail layer of a build and Dwarvenite as the structural layer. Put resin where it draws the eye, keep it off the floor, and handle it by the base rather than by thin protrusions. That routine prevents the vast majority of damage.
- Lift resin by the base, never by a thin edge or protruding detail.
- Place resin on stable surfaces, not on the edge of a table.
- Expect chips at high-contact points over years of use; touch-ups are normal.
Can I mix resin pieces with Dwarvenite in the same build?
Mixing the two materials is one of the best uses of resin. Dwarvenite tiles anchor the layout and take the abuse of repeated assembly, while resin pieces add the fine detail that sells a scene. The main friction point is connection: resin pieces generally do not share the same magnet and peg system as Dwarvenite tiles, so plan their placement as accents rather than structural corners.
Set resin pieces on top of or beside a stable Dwarvenite footprint so they are not load-bearing. If a resin piece sits at a spot players will reach across repeatedly, give it a little clearance so it is not knocked into a wall or off the table.
- Let Dwarvenite carry the structure; let resin carry the detail.
- Do not rely on resin pieces to hold a layout together.
- Leave clearance around resin accents in high-traffic play areas.
What should I do if a resin piece chips or cracks?
Small chips are common and usually cosmetic. If the chip exposes bare material on a painted piece, a touch of matching paint followed by a thin varnish coat will hide it and protect the exposed area. Clean the spot first and let it dry fully before painting so the repair bonds properly.
For a clean break, a small amount of appropriate adhesive applied sparingly to both surfaces will usually hold, especially if the piece is not load-bearing. Clamp or support the piece while it cures, and avoid flexing it afterward. If a structural piece has shattered into several pieces, replacing it is often more reliable than a repair that will fail under play.
- Clean and dry the area before any touch-up paint or adhesive.
- Use adhesive sparingly; squeeze-out is harder to hide than a tight seam.
- Support the piece while curing and avoid stress on the repair afterward.
Do unpainted resin pieces need different care than painted ones?
Unpainted resin is actually the more forgiving option day to day, because there is no paint layer to chip. It still needs the same protection from impact, heat, and heavy stacking, but you do not have to worry about surface wear changing its appearance. Many players keep a mix: unpainted pieces for heavy-use spots and painted pieces for focal points.
If you plan to paint later, store unpainted pieces clean and dry so primer and paint adhere well when you get to them. Dust and handling oils are the two things that most often cause paint to bead or flake on resin, and both are easy to remove with a gentle wash and a full dry before priming.
- Unpainted resin tolerates handling better but still needs padding in storage.
- Wash and fully dry unpainted pieces before priming.
- Keep unpainted and painted pieces separated so paint does not transfer.
Resin care quick reference
Cleaning
Dry-brush dust out of recesses first. Use only lukewarm water and a drop of mild soap when needed, then dry completely. No alcohol, no abrasives, no soaking.
Painting
Prime thin, paint in layers, and seal with matte varnish once finished. Heavy single coats bury the detail you paid for.
Storage
Pad between pieces, store upright, and keep resin out of hot cars and unconditioned spaces. Nothing heavy on top, ever.
Handling
Lift by the base, avoid pressure on thin protrusions, and give resin accents clearance in play areas. Drops and point pressure cause most damage.
Repairs
Touch up chips with matching paint and varnish; repair clean breaks sparingly and support while curing. Shattered structural pieces are usually better replaced.
Resin and detail pieces worth knowing
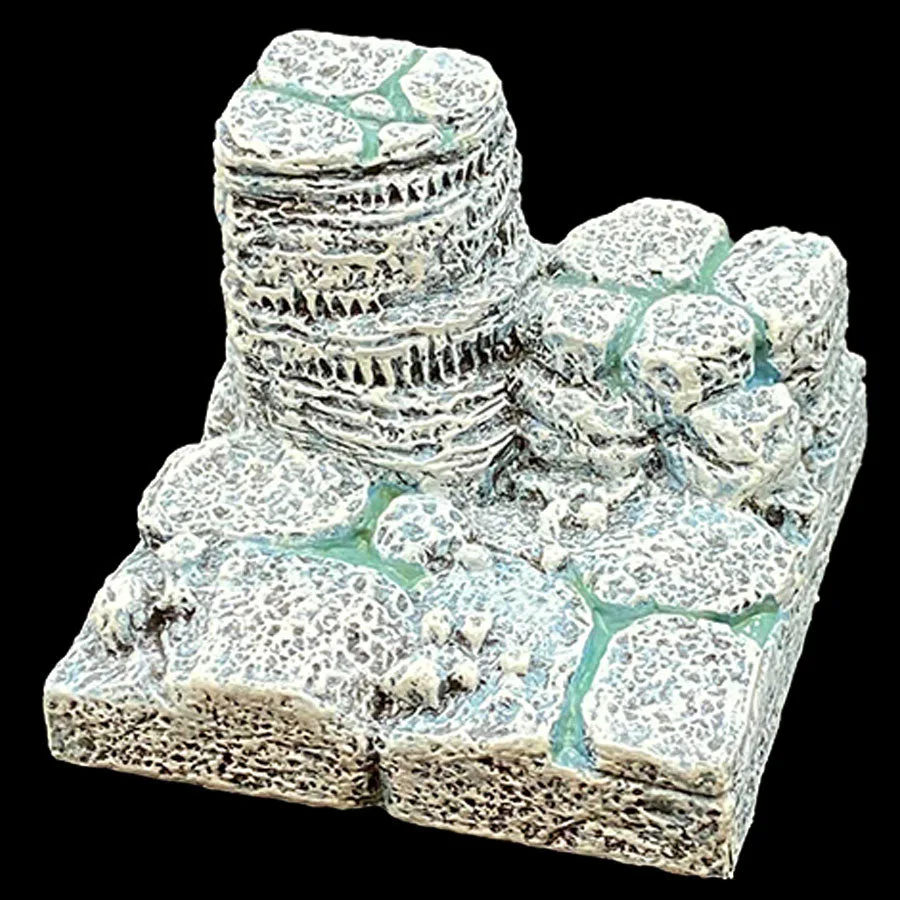
- Stepped Floor (Floor C)-ice painted (Painted): An individual painted terrain piece from the KS2 line, finished in ice and designed for cavern and ice environments, with anchor magnets for stable placement. The anchor magnets do the stabilizing work, so the piece stays put during play and you are not constantly nudging a stepped surface back into position.
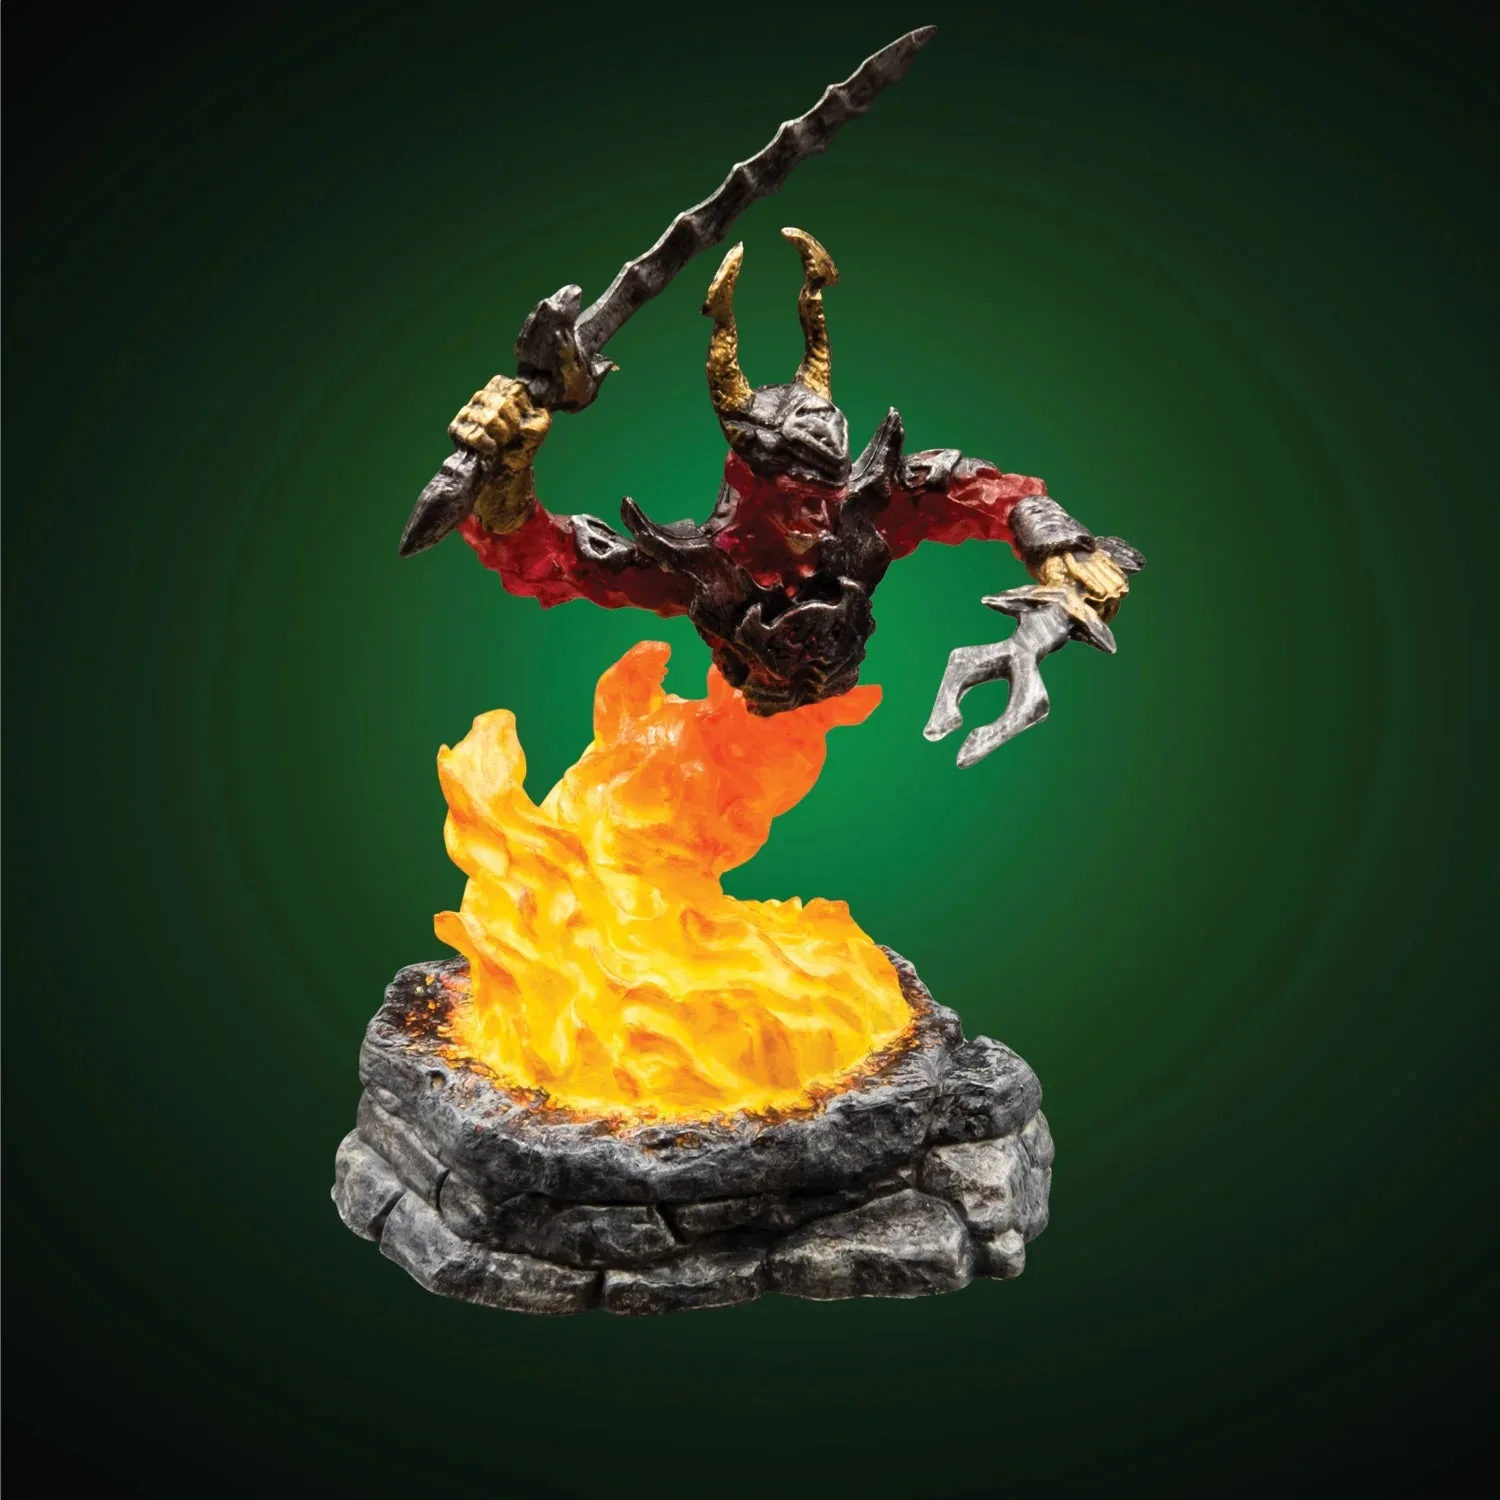
- Fire Elemental Myrmidon (Unpainted): A Dwarvenite set that includes an LED, described as bursting forth with new life. Unpainted, it gives you full control over the finish, and the LED makes it a natural focal point rather than a piece that blends into the layout.
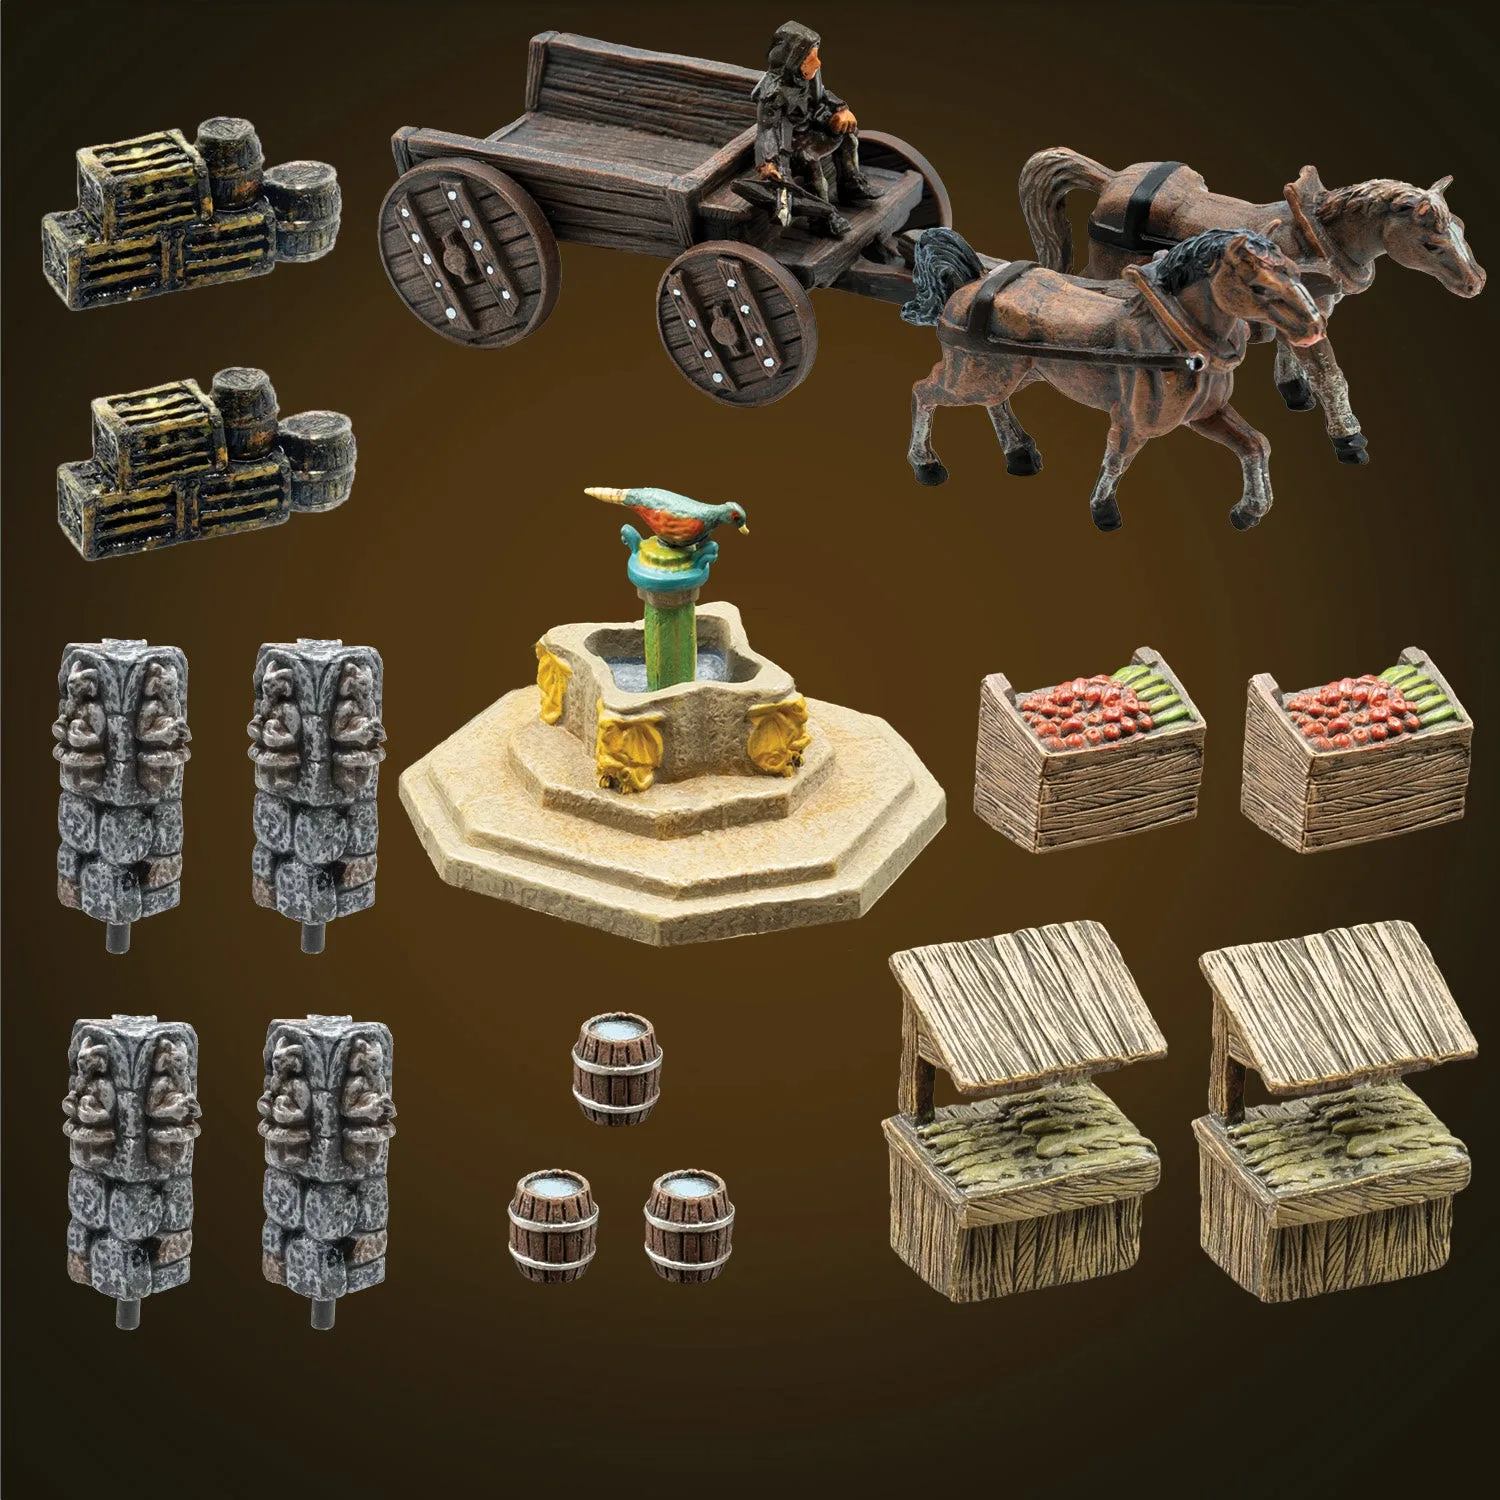
- Wicked City Accessory Add-On Pack Bundled with BOTM-0620-P (Painted): A 15-piece set including 2 crates and barrels, 4 stone gargoyle posts, 3 water barrels, 1 smuggler's wagon, 2 fruit stalls, 2 fish stalls, and 1 pheasant fountain. Small painted accessories like these add the lived-in detail that makes a street scene read as a place, and they are easy to store padded between sessions.
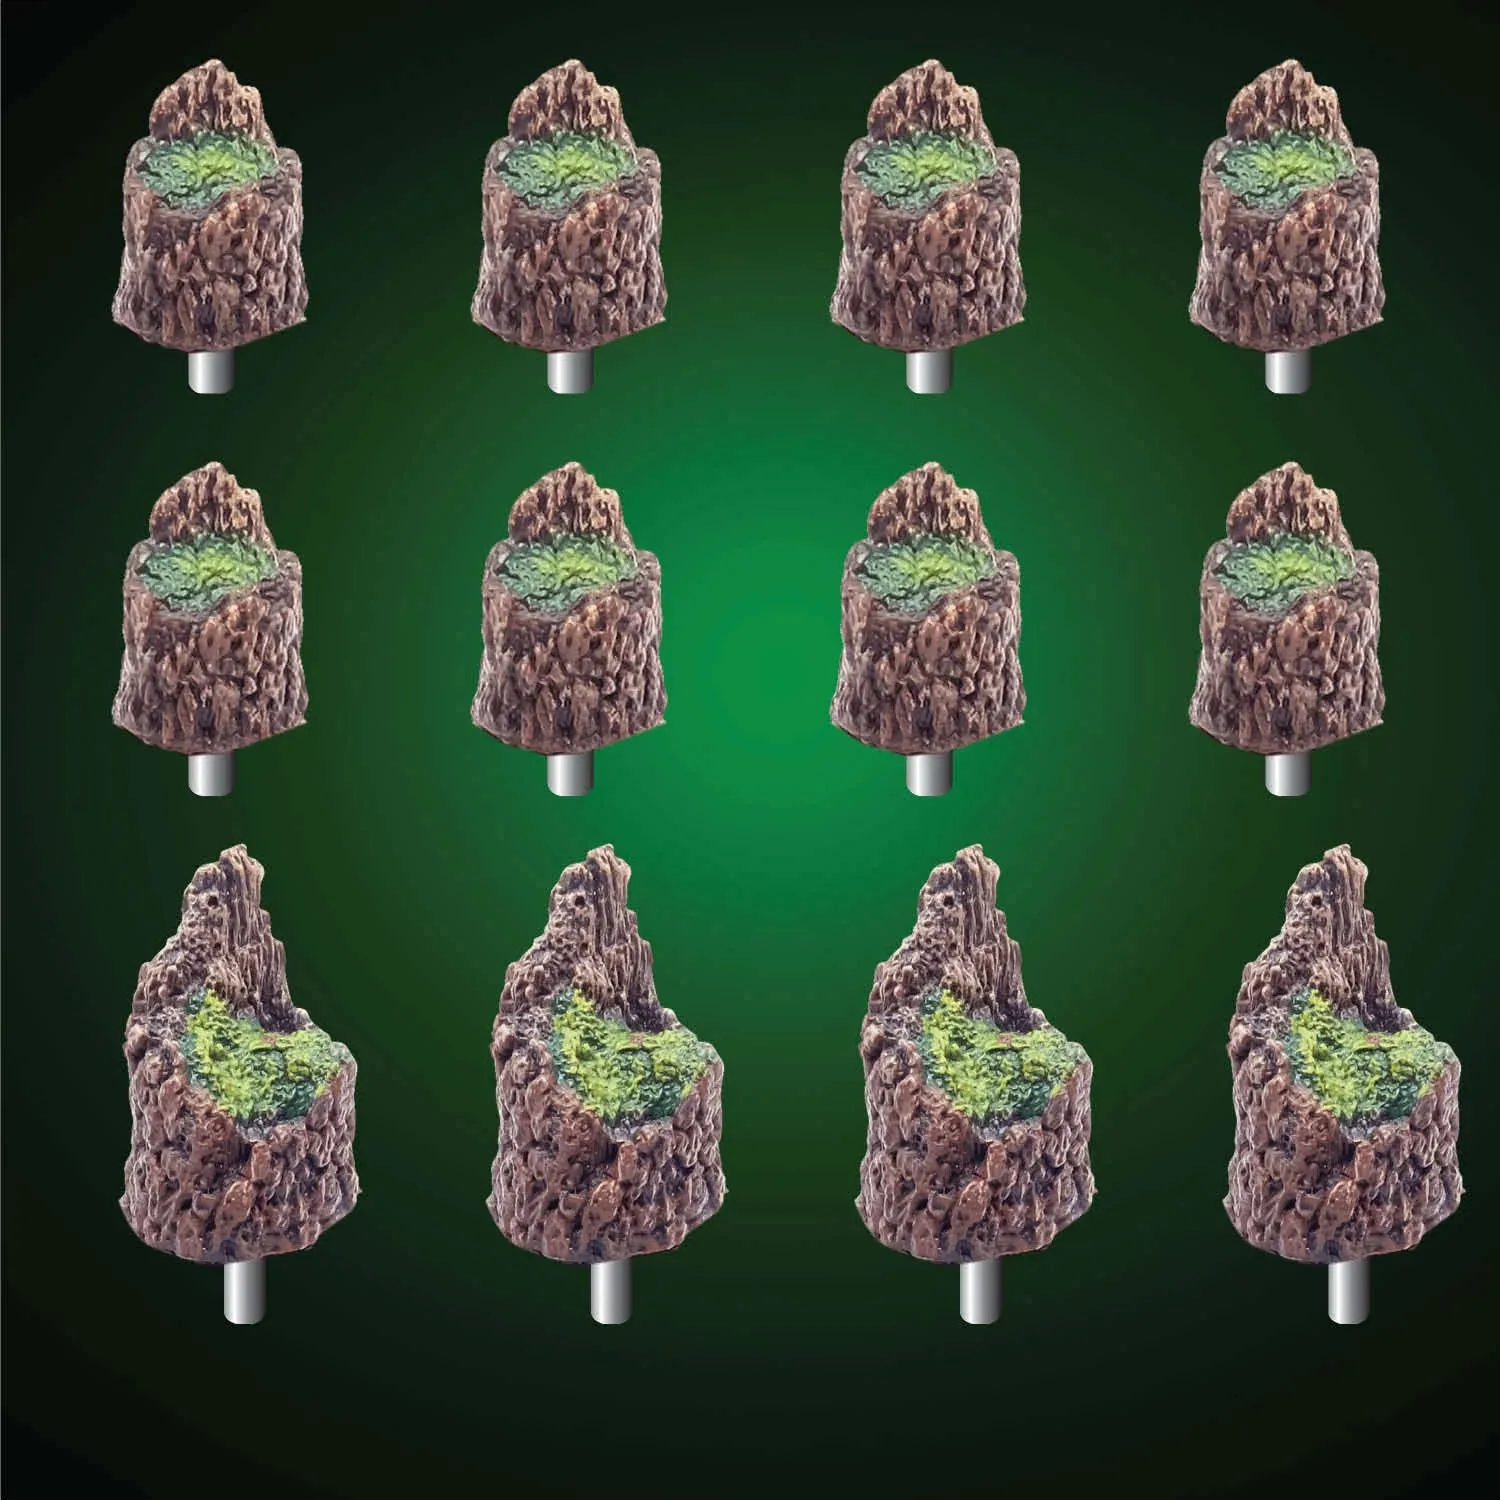
- Stump Toppers Pack (Unpainted): A pack designed to cover bare tree stumps and turn them into dead and broken tree remains. A cheap way to change the story of an existing forest build without buying new trees, and unpainted means you can match your existing bark palette.
Resin rewards a little routine: clean it dry, seal what you paint, store it padded, and handle it by the base. Do that and the detail that makes resin worth owning stays intact through years of sessions.