Quick answer
Adjust a Re-FLEX3D sling in this order: choose and confirm your mount points, set the rear attachment, set the front attachment, then tune total length so the rifle hangs at the height you want. Make one change at a time, wear the gear you actually shoot in, and recheck the fit while wearing a plate carrier or chest rig.
Before you start: what to have on hand and what to decide
You only need the sling, the rifle, and the gear you normally wear. Decide two things first: whether you want the rifle to hang high and tight against your chest or lower for more freedom of movement, and whether you will run the sling over or under a plate carrier. Those two answers determine almost every adjustment that follows.
The Re-FLEX3D sling uses QD buckles, so mounting and swapping between rifles is quick. That also means your fit is only as good as the mount points you choose, so settle those before you start shortening or lengthening anything.
Choose mount points that match how you carry the rifle
For a two point sling fit, the front mount usually goes on a handguard or rail near the receiver, and the rear mount goes on the stock. Keep both mounts on the same side of the rifle so the sling lies flat instead of twisting across the body.
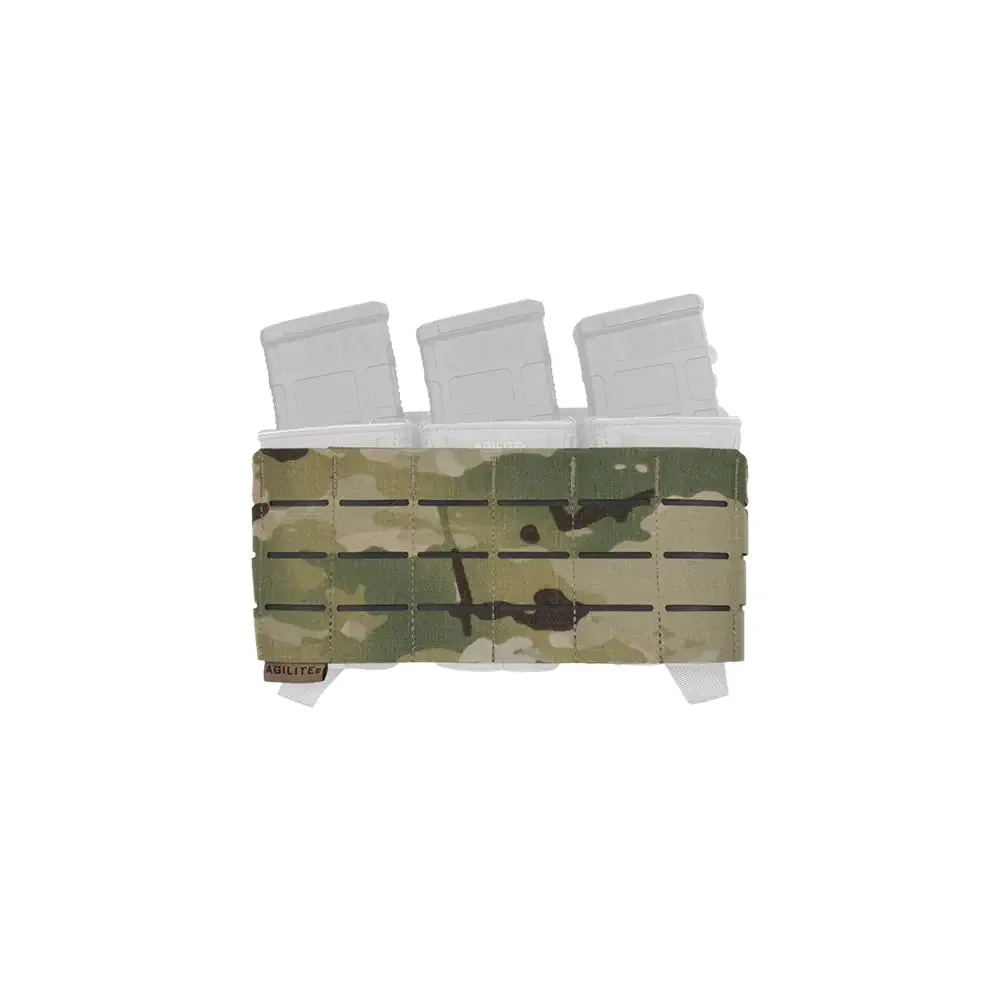
If you run a plate carrier, check that the front mount does not sit where your support hand or magazine pouches live. On a Pincer Placard setup, the front of the carrier gets crowded quickly, so pick a mount point you can reach without shifting your grip.
- Front mount: near the receiver on the support side for a stable hang.
- Rear mount: on the stock, positioned so the sling clears your cheek weld.
- Same side front and rear keeps the sling flat and reduces twisting.
Set the rear attachment first, then the front
Loosen both adjustment points before you start. Set the rear attachment so the sling sits at the height you want on your shoulder or across your back, then lock it down. Work on the front adjustment after that, because the front end controls how the rifle sits against your body when you are not actively holding it.
Make one change at a time and put the rifle on between changes. Chasing two adjustments at once is the fastest way to end up with a sling that feels right standing still and wrong the moment you move.
Tune total length for standing, kneeling, and seated positions
Tactical sling length is a compromise. A shorter sling keeps the rifle tight and stable for standing and moving, but it can limit how far you can extend into kneeling or seated positions. A longer sling gives you reach but lets the rifle swing when you run.
Set the length so the rifle hangs where you can bring it to your shoulder without hunting for it, then test it in the lowest position you actually shoot from. If you have to fight the sling to get the stock into your shoulder, it is too short for that position.
- Standing and moving: shorter length for control.
- Kneeling and seated: add length so you can extend without binding.
- If the rifle swings into your legs when you run, shorten slightly.
Check the fit with your full kit on
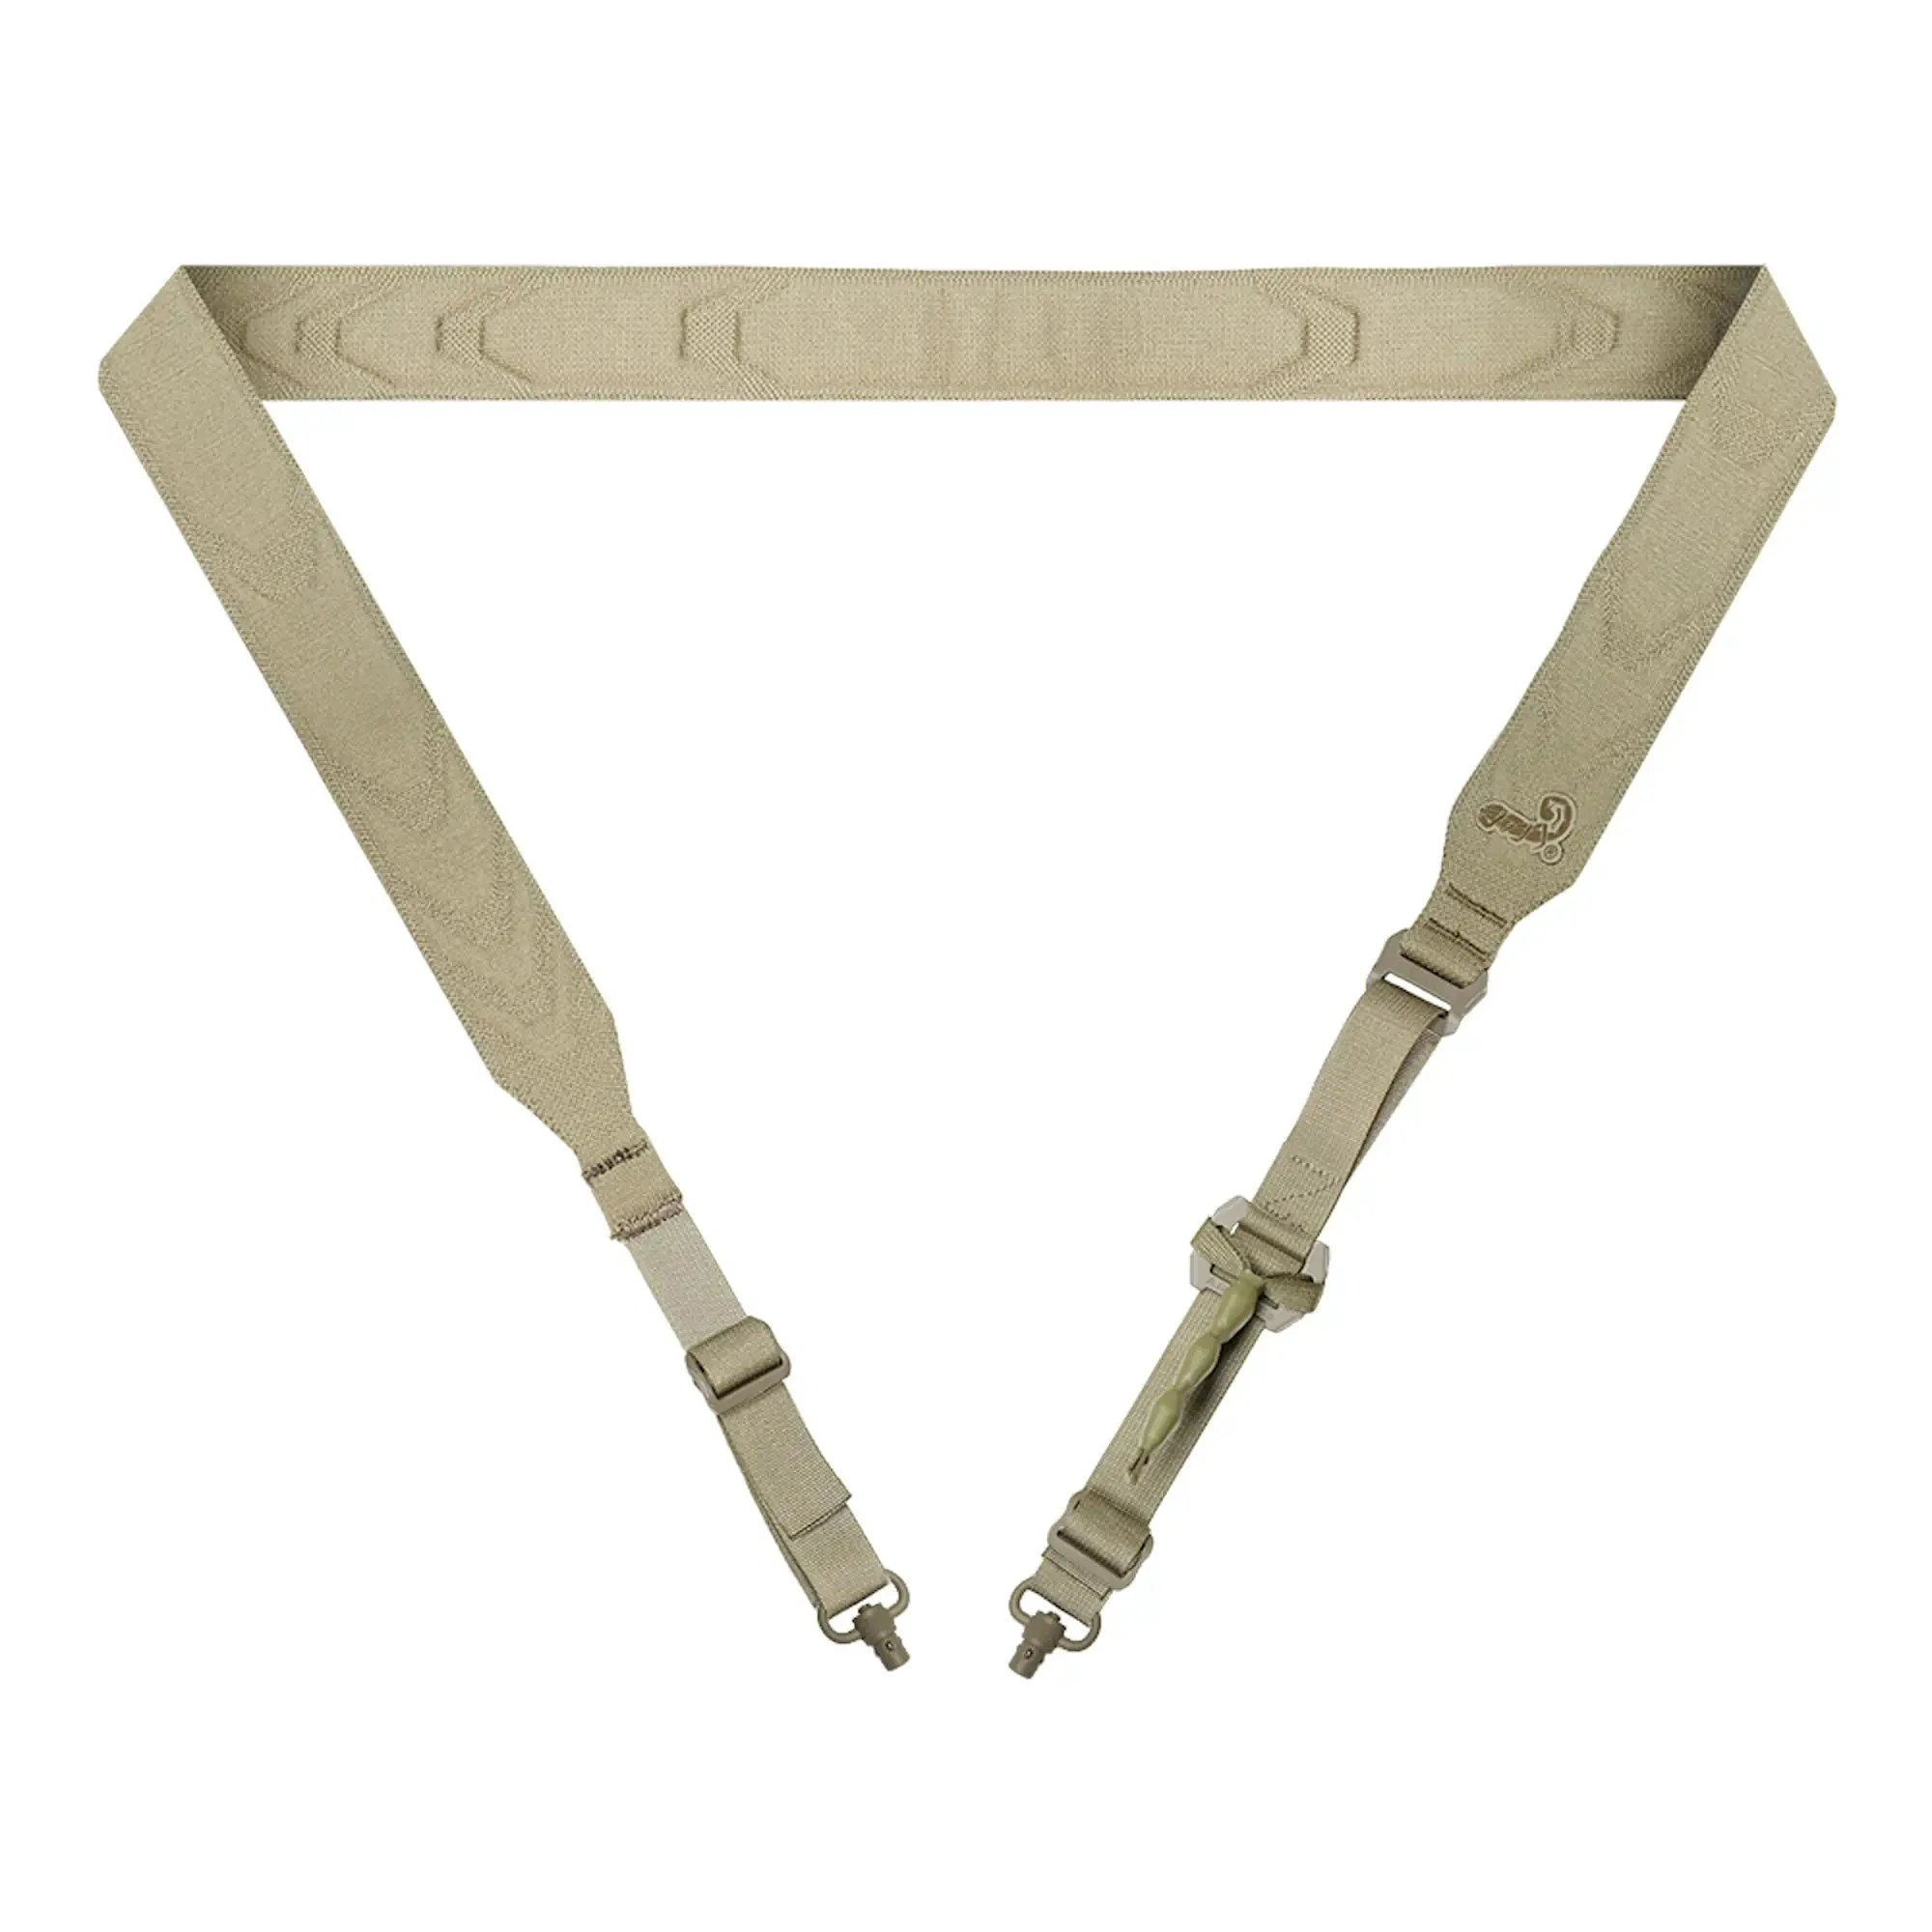
A sling that fits over a t-shirt will often feel wrong over a plate carrier. Put on the carrier, chest rig, or belt you actually use, then repeat the length check. The Re-FLEX3D sling is designed to flex and absorb shock, so it should sit close to the body without digging in at the shoulder.
If you run side armor or a heavier carrier, the extra bulk changes where the sling rides. Adjust for the kit you wear most, not the lightest version of it.
Step-by-step sling adjustment process
- 1. Loosen both adjustment points: Start with the sling fully slack at the rear and front so you are not fighting tension while you set mount points. Common mistake: trying to adjust a tight sling and guessing at length instead of measuring it.
- 2. Confirm mount points on the same side: Put the front mount near the receiver on the support side and the rear mount on the stock, keeping both on the same side of the rifle. Checkpoint: the sling should lie flat against the rifle, not twist across the body.
- 3. Set the rear attachment height: Adjust the rear so the sling sits where you want it on your shoulder or back, then lock that end down before touching the front. Common mistake: setting the front first, which changes the rear position and forces a second round of adjustment.
- 4. Set the front attachment: Tune the front end so the rifle sits against your body the way you want when you are not actively holding it. Checkpoint: with the rifle hanging, the stock should rest where you can reach it without leaning.
- 5. Tune total length in your lowest shooting position: Test standing, kneeling, and seated. Add length until you can extend without binding, then shorten slightly if the rifle swings when you move. Common mistake: setting length while standing only, then finding it too short in kneeling.
- 6. Recheck with your plate carrier or chest rig on: Put on the kit you actually shoot in, including side plates if you use them, and repeat the length check. Next step: mark or note your final adjustment so you can return to it after swapping rifles.
Product facts that affect your setup
- Re-FLEX3D™ Rifle Sling: The Re-FLEX3D Rifle Sling comes with QD buckles and uses a patent-pending lightweight 3D-knit construction for natural flex and shock absorption. QD buckles let you move the sling between rifles or swap mount points without tools, and the flex is what keeps the sling comfortable when it sits tight against your shoulder or carrier.
- Pincer™ Placard 2nd Layer MOLLE: The Pincer Placard 2nd Layer MOLLE adds a MOLLE layer to the Pincer Placard and includes side MOLLE for mounting pistol, multitool, or similar pouches. If you run this on your carrier front, it changes where your sling can sit without snagging, so plan your front mount point around the pouches you actually carry.
- Level 3ST Ceramic Side Armor Plates - Blindside™: Level 3ST Ceramic Side Armor Plates - Blindside come in a pair of 2 and are designed for ballistic side coverage. Side plates add bulk at the waist and ribs, which can change how a sling rides across your body, so recheck your length after adding them.