Quick answer
Build the Titanic model set in stages: dry-fit the hull and superstructure first, paint sub-assemblies before joining them, then add fragile details like railings and rigging last. Display the finished model on a stable shelf away from direct sunlight and handle it by the base, not the masts.
Titanic
Prepare the workspace and check the kit
Before you start, clear a well-lit area and lay out the sprues. Keep small parts in a shallow tray so they do not roll away. The Titanic model set includes fine components, so a clean, uncluttered bench reduces the chance of losing pieces or snapping thin plastic.
Dry-fit the hull and major sub-assemblies
Test-fit the hull halves, decks, and superstructure without glue. This reveals gaps, flash, or alignment issues early. If parts need trimming, do it now rather than after cement is applied. A dry fit also helps you plan the build order, especially around the promenade decks and funnels.
Paint in sub-assemblies before final assembly
Painting flat, separated parts is easier than reaching into tight corners later. Work in thin coats and let each dry fully. For the Titanic, the hull, decks, and funnels are the largest color areas; doing them first avoids accidentally spraying delicate railings or rigging. If you are unsure about exact colors, check the kit instructions or reference photos rather than guessing.
Join the hull, decks, and superstructure
Apply cement sparingly along the joining surfaces and press parts together until they hold. Use tape or clamps where possible to keep alignment. Wipe away excess glue immediately with a clean brush or cloth, because dried cement can mar the hull finish. Work from the center outward to keep the hull symmetrical.
Add fine details and rigging last
Railings, masts, and rigging are the most fragile parts. Install them after the main structure is solid and painted. Use tweezers for small pieces and a tiny amount of cement. If the kit includes thread for rigging, anchor it at one end first, then pull it taut and secure the other end. Avoid over-tensioning, which can bend masts.
Display the finished model safely
Place the Titanic on a level shelf away from direct sunlight, which can fade paint and weaken plastic over time. Keep it out of high-traffic areas and away from pets or open windows. Handle the model by the base or hull only, never by the masts or railings. A simple acrylic display case or a clear plastic cover will reduce dust without requiring frequent cleaning.
Step-by-step assembly and display process
- Dry-fit all major parts: Test-fit the hull, decks, and superstructure without glue. Check for gaps or misalignment and trim flash if needed. Checkpoint: parts should sit flush before you apply any cement.
- Paint sub-assemblies: Paint the hull, decks, and funnels separately in thin coats. Let each coat dry completely before handling. Checkpoint: no bare plastic should be visible in areas that will be hard to reach later.
- Assemble the main structure: Cement the hull halves, then add decks and superstructure. Use tape or clamps to hold alignment and wipe excess glue immediately. Checkpoint: the hull should be straight and symmetrical with no glue smears.
- Attach fragile details: Install railings, masts, and rigging last using tweezers and minimal cement. For rigging, anchor one end, pull taut, then secure the other. Checkpoint: rigging should be taut but not so tight that masts bend.
- Display and protect: Place the model on a stable shelf away from sunlight and traffic. Handle by the base or hull only. Consider a display case to reduce dust. Checkpoint: the model should sit level and be safe from accidental bumps.
Product facts
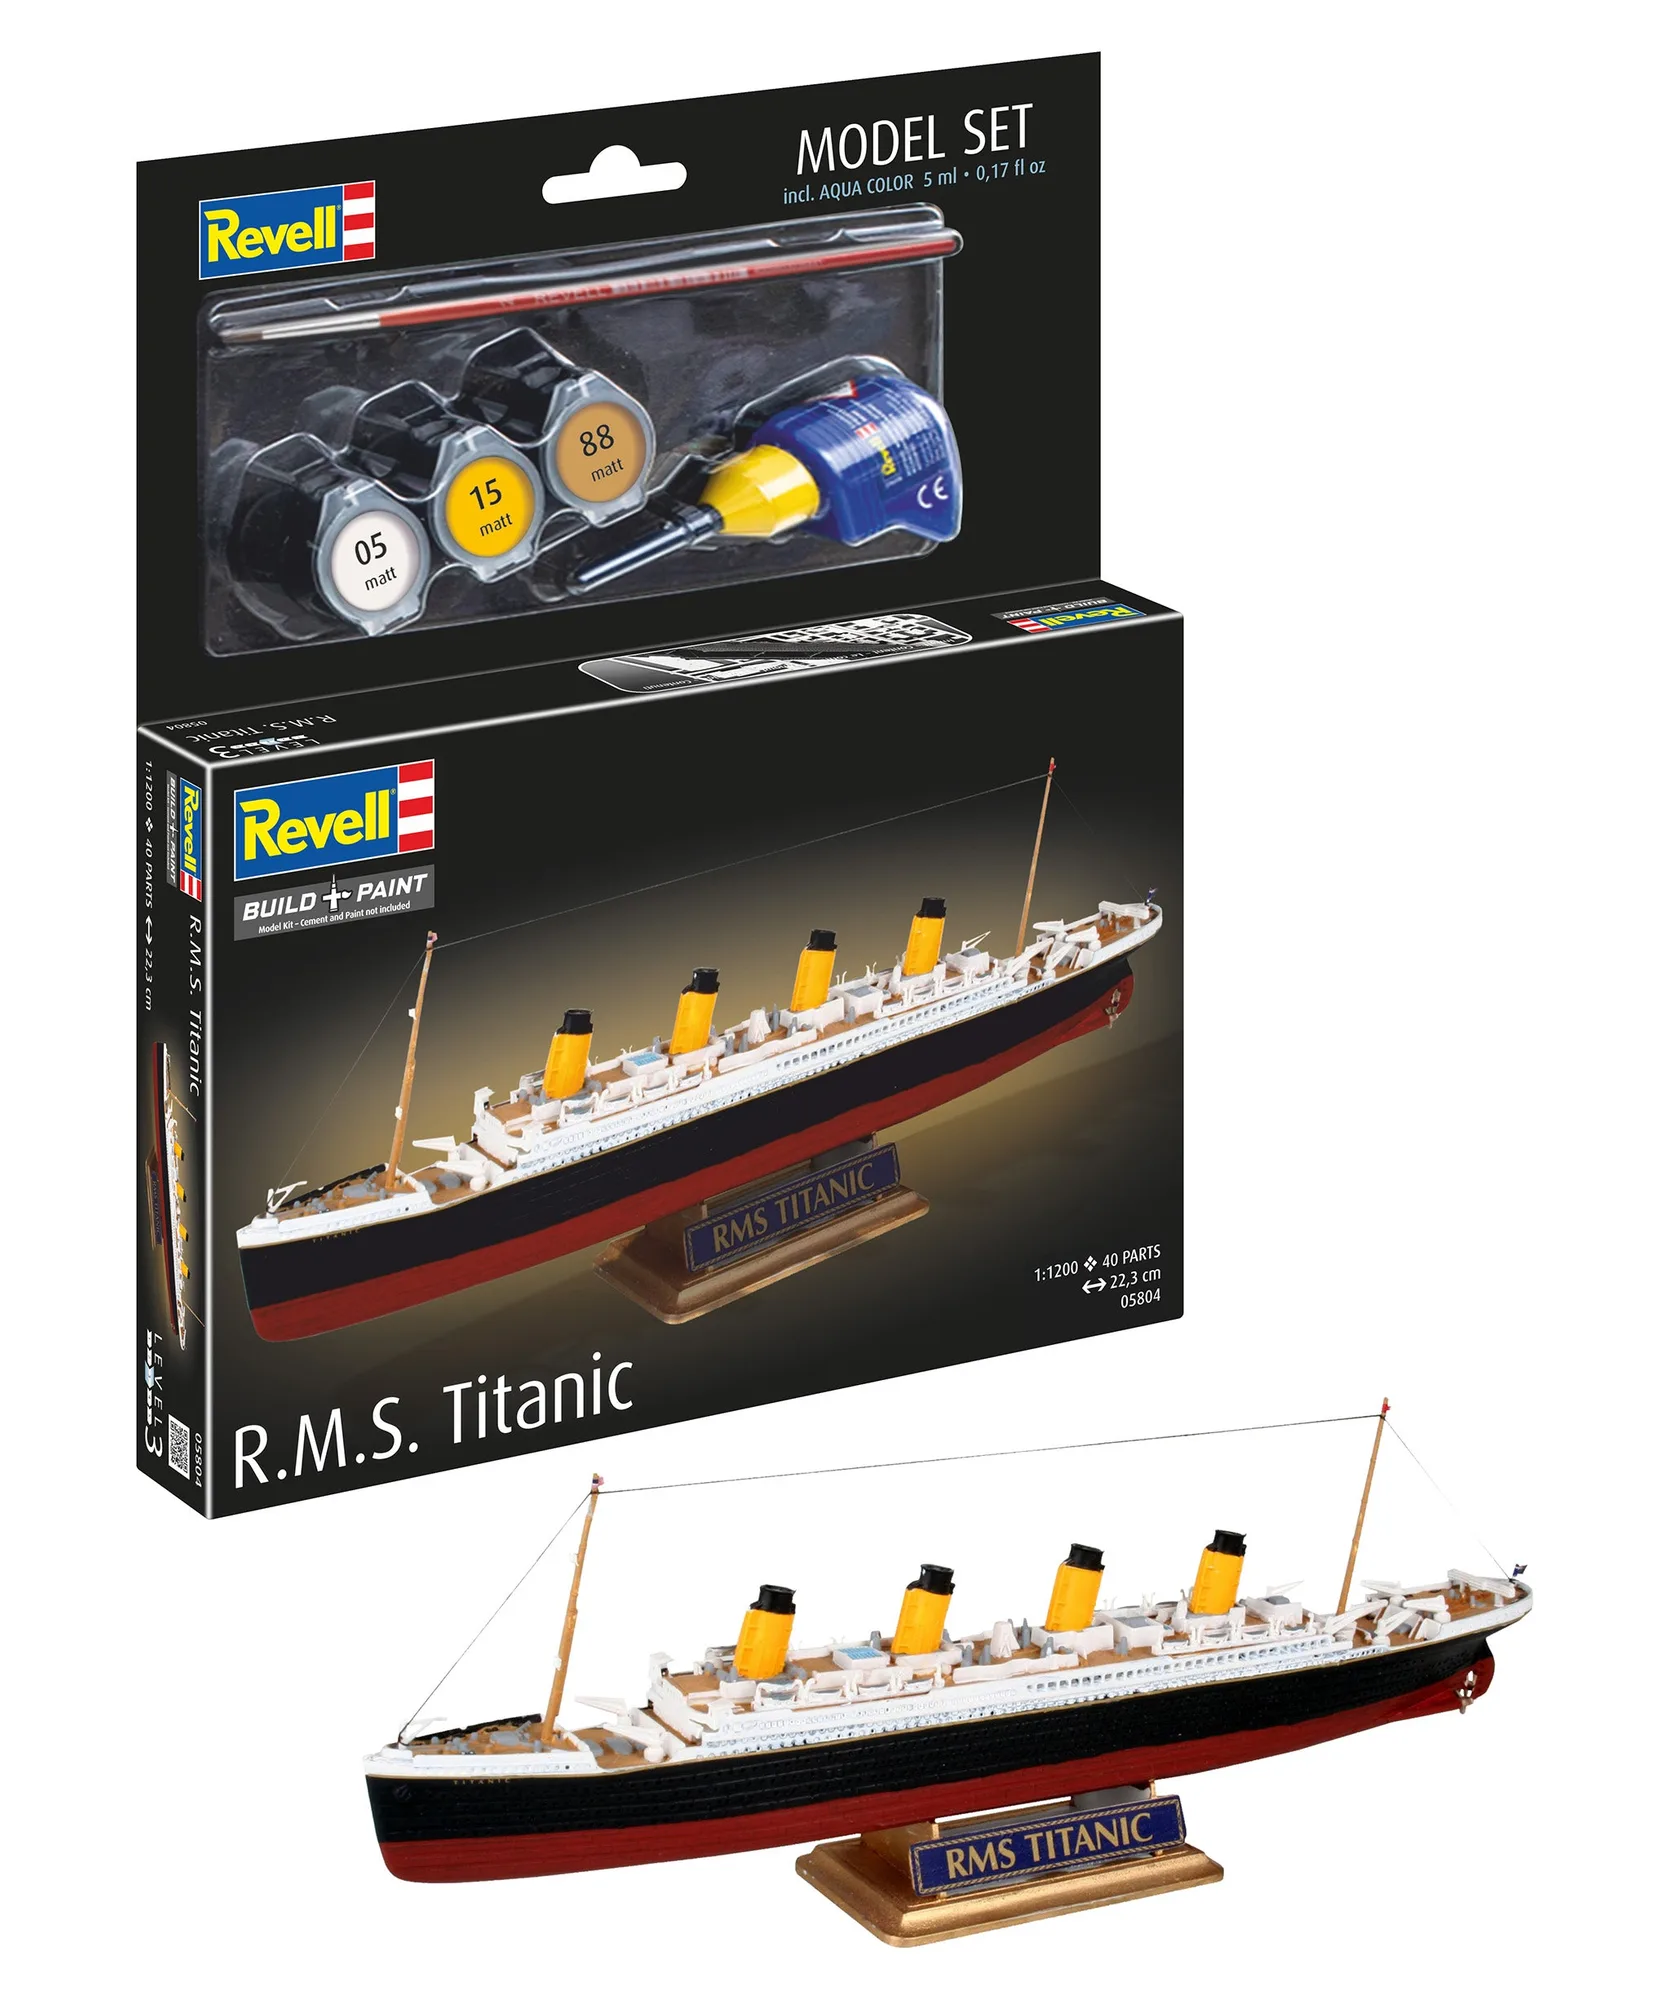
- Model Set R.M.S. Titanic: The Titanic became tragically famous for the events that occurred during her maiden voyage on April 14, 1912. The “Queen of the Seas”, sailing for the White Star Line, was supposed to carry 1,316 passengers from Southampton to New York. At around 11:40 p.m. that night, the British luxury liner collided with an iceberg in the Atlantic and was torn open over a length of almost 100 m on the starboard side. These historical details can guide painting and display choices, such as the White Star Line livery and the ship's scale context.