Quick answer
Mount your swivel vise so the base sits flat on a solid bench, tighten the lockdown firmly, and pad the jaws before clamping delicate parts. Use the 360-degree rotation and 45-degree tilt to bring the work to your hands, not the other way around. If the vise still slips, marks parts, or will not hold an angle, the cause is usually the mount, the pads, or a loose swivel mechanism.
Match the vise to the part, not the other way around
Small-part work fails when the vise is too big, too rough, or too rigid for the job. A 360 rotating swivel vise earns its place when you need to flip, tilt, or rotate a part without unclamping it. Before mounting, check three things: the part's largest dimension, the force you will apply, and whether you need to reach all sides. If the part is longer than the jaw opening or needs more clamping force than a compact vise can deliver, step up to a larger bench vise or use a fixture plate instead.
Bench vise mounting tips that stop slipping
Most swivel vise problems start at the bench. Clean the bench surface and the vise base, then position the vise so the handle swings freely and the jaws sit slightly forward of the bench edge. Bolt through the bench if you can; if you must use clamps, use two and place them opposite each other. Tighten the swivel lockdown after every angle change. A vise that rotates under hand pressure is not locked, and continuing to work will round off the locking mechanism.
Hobby vise positioning for jewelry, models, and electronics
Position the vise at roughly elbow height when your forearm is parallel to the floor. That height lets you use your wrist and fingers for fine work instead of your shoulder. For jewelry and small models, keep the vise close to your body and rotate the head toward your dominant hand. For electronics, tilt the vise so the board faces you at a slight angle, which reduces glare and makes it easier to reach solder joints. If you work on both sides of a part, rotate the vise rather than walking around the bench.
Vise jaw marks prevention without losing grip
Bare serrated jaws will leave marks on soft metals, plastic, and finished surfaces. Use jaw pads made from brass, aluminum, leather, or nylon sheet. Cut them slightly narrower than the jaw width so they do not shift, and replace them when they compress or tear. For wire and small tubing, grip with flat nose pliers first, then hold the pliers in the vise if the part is too small for the jaws. Never rely on padding to fix a vise that is too loose; pads reduce grip, so tighten the vise just enough to hold the part without crushing it.
Swivel vise maintenance that keeps motion smooth
Wipe the swivel base and threads with a dry cloth after each session. Add a drop of light machine oil to the swivel joint and the threaded rod, then work the vise through its full rotation and tilt range to spread the oil. Check the lockdown bolt and the jaw screws for looseness. If the vise develops play in the swivel, stop using it for forceful work and inspect for worn or missing parts. A vise that wobbles under load can slip and damage the part or your hand.
Diagnosis: common swivel vise problems
- Vise rotates while you work: The swivel lockdown is not tight enough, or the base is not flat on the bench. Clean the mating surfaces, reseat the vise, and tighten the lockdown firmly before applying pressure. If it still rotates, the locking mechanism may be worn; stop using it for forceful work and inspect or replace the vise.
- Part slips out of the jaws: The jaws are too smooth for the part, the part is too small for the jaw opening, or you are using soft pads that reduce grip. Switch to serrated jaws for metal wire, or hold the part with flat nose pliers and clamp the pliers. If the part is smaller than the jaw opening and cannot be gripped safely, choose a smaller vise or a different holding method.
- Jaws leave marks on the part: You are using bare serrated jaws on a soft or finished surface. Add brass, aluminum, leather, or nylon jaw pads and tighten only until the part stops moving. If marks still appear, reduce clamping force or switch to a hand-held tool like round nose pliers for delicate shaping.
- Swivel feels gritty or stiff: Debris or dried lubricant is in the swivel joint. Wipe the joint clean, add a drop of light machine oil, and work the vise through its full rotation and tilt range. If the motion stays stiff or develops play, stop using the vise for precision work until it is serviced or replaced.
Product facts
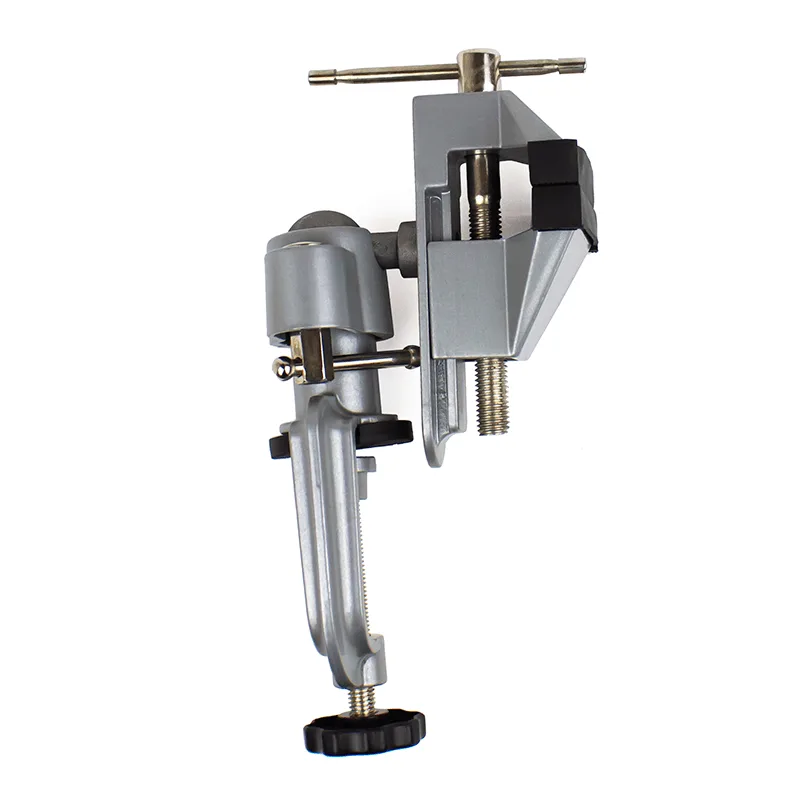
- 360° Rotating Swivel Vise: Excel Blades 360 Degree Rotating Table Vise 56003 tilts at a 45-degree angle in all directions and uses a 360-degree vise grip; it is lightweight yet strong enough for tough projects. The 45-degree tilt and full rotation let you reach all sides of a small part without unclamping, which is the main reason to choose a swivel vise over a fixed one.
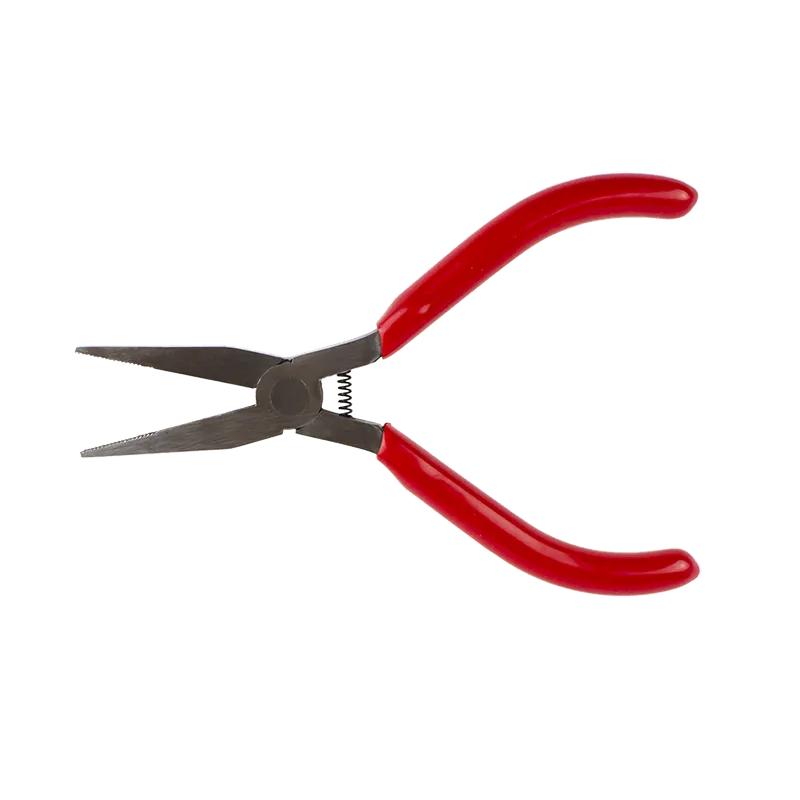
- Flat Nose Pliers: Excel Blades 5" Flat Nose Pliers have precision serrated jaws and are made from carbon steel for wire bending, shaping, and cutting in jewelry, electronics, and model building. Serrated jaws grip wire and small parts that would slip in a smooth vise jaw, and the carbon steel body stands up to repeated bending and cutting.
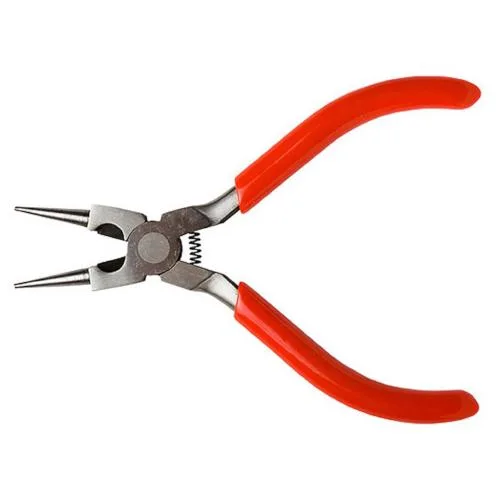
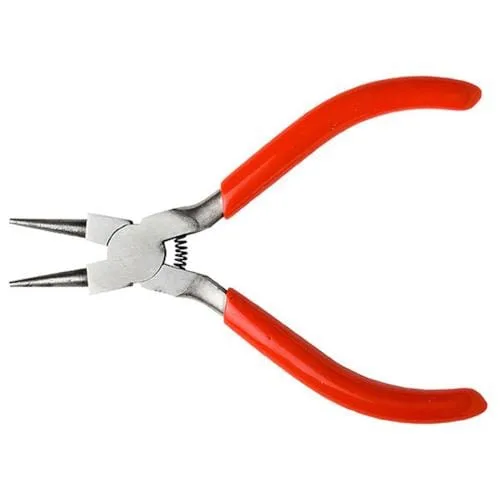
- Round Nose Pliers with Side Cutter: Excel Blades Round Nose Pliers with Side Cutter are made of carbon steel with plastic grip handles, spring-loaded technology to reduce hand cramping, and a tapered nose with fine tips for bending wire and jewelry making. The spring-loaded handles and fine tapered tips are useful when you need to shape small wire loops that are too delicate for vise jaws, and the side cutter saves a tool change.