Quick Answer
To set up your Baronfig planner for maximum productivity, start by defining your planning rhythm and key categories, then set up monthly and weekly spreads that match your workflow. Avoid overcomplicating the layout—keep it simple-358900">simple-358888">simple so you actually stick with it.
Why Planner Setup Matters for Productivity
A well-structured planner setup turns a blank notebook into a daily productivity tool. Without a clear system, you might waste time flipping pages or re-writing tasks. The goal is to create a layout that supports your natural workflow, whether you prefer daily logs, weekly overviews, or monthly goal tracking.
Baronfig planners are designed for flexibility, so you can adapt them to your needs. The key is to resist the urge to fill every page with elaborate decorations—functionality should come first. A simple, consistent setup helps you build a habit that lasts.
Step-by-Step Planner Setup for Productivity
- Define Your Planning Rhythm: Decide how often you will plan—daily, weekly, or monthly. Most people find a weekly overview with daily task lists strikes the right balance between detail and simplicity. Block time on Sunday evening or Monday morning for this ritual. Checkpoint: If you skip planning sessions for more than a week, your rhythm is too ambitious. Scale back to a simpler frequency.
- Create Key Categories: List the main areas of your life or work that need tracking—such as work tasks, personal goals, health, and finances. Assign a color or symbol to each category so you can scan your week at a glance. Common mistake: Using too many categories. Stick to 4–6 to avoid visual clutter.
- Set Up Monthly and Weekly Spreads: Dedicate the first page of each month to a monthly overview with key dates and goals. Then create a weekly spread with sections for tasks, appointments, and notes. Leave space for reflection or next week’s priorities. Checkpoint: If you find yourself rewriting the same tasks across weeks, move them to a separate master task list instead.
- Add a Daily Task Section: Each day, list your top 3–5 priorities. Use checkboxes or dots to mark progress. Avoid overloading the list—if you finish early, you can always add more. Common mistake: Listing more than 7 tasks per day leads to frustration. Keep it realistic.
- Review and Adjust Weekly: At the end of each week, review what worked and what didn’t. Adjust your layout or categories as needed. This habit turns your planner into a living system that evolves with you. Verdict: A weekly 10-minute review is the single most impactful habit for maintaining productivity with any planner.
Products to Complement Your Planner Setup
- Pattern: The Pattern product from Papier offers a clean and simple design suitable for everyday use, available in a Standard option with personalization via a title of your choice. A simple, personalized notebook cover or insert can help you separate different planning sections without adding bulk, keeping your setup streamlined and easy to navigate.
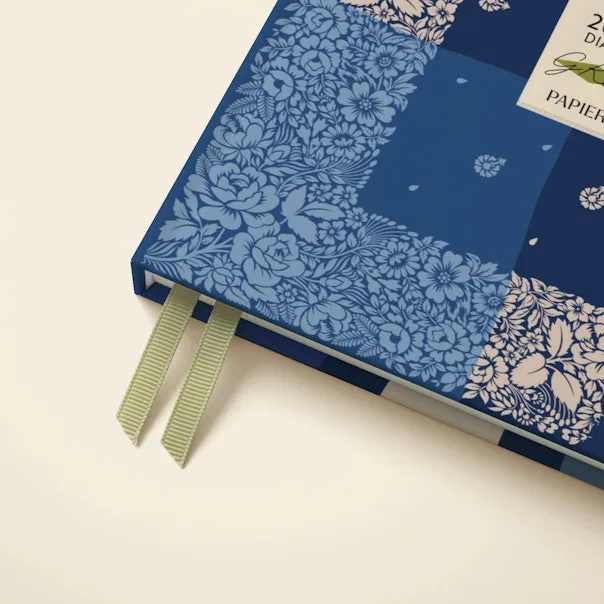
- Blooming Bouquet: Blooming Bouquet is a stationery item from Papier designed to bring a fresh, floral touch to your everyday writing, suitable as a thoughtful gift or personal use. Adding a touch of visual charm to your planner area can make the planning process more enjoyable, which encourages consistent use—a key factor in long-term productivity.