Quick answer
Start with a Paterson changing bag, a 2-reel developing tank, and a set of 8x10 developing trays. This core kit lets you process film and prints at home without a dedicated darkroom.
Why Paterson equipment fits home darkrooms
Paterson gear is designed for home use: the changing bag replaces a darkroom, the tank processes film in daylight, and the color-coded trays keep your chemicals organized. You don't need a permanent space or plumbing to get started.
How to set up your home darkroom
- Choose your workspace: Find a clean, dry area with a flat surface. A bathroom or kitchen counter works. You need space for the changing bag, tank, and trays. Avoid direct sunlight and drafts. Make sure the room can be darkened easily—or use the changing bag as your darkroom.
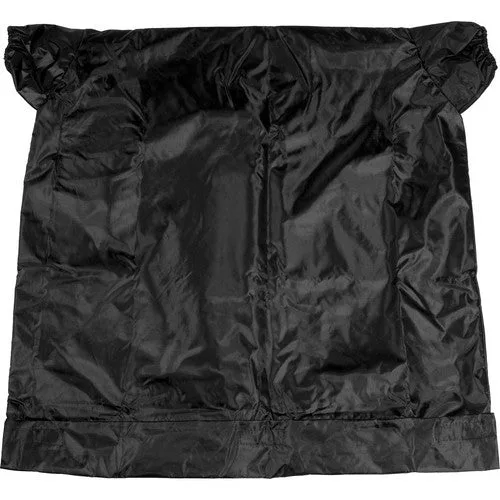
- Prepare the changing bag: Unzip the Paterson changing bag and place the tank body, reels, and exposed film cassettes inside. Seal the bag, then insert your arms through the light-tight sleeves. Check that the bag is fully zipped before starting. Common mistake: leaving a zipper gap that lets in light. Double-check the seal before you begin.
- Load film onto reels: Inside the bag, open the film cassette and guide the film onto the reel using the Paterson ratchet mechanism. Start the film on the reel core, then rotate the reel halves to advance the film. Use scissors to trim the leader if needed. If the film kinks, stop and redo. A kinked roll can cause uneven development and scratches.
- Load reels into tank: Place the loaded reels onto the center column of the Paterson tank. Close the tank lid firmly. Only now can you remove the tank from the changing bag—the tank is light-tight once sealed. Check that the lid clicks into place. A loose lid will fog your film.
- Prepare chemical solutions: Mix developer, stop bath, and fixer according to their instructions. Pour each into a labeled Paterson tray. Use the color-coded trays (e.g., green for developer, blue for stop, red for fixer) to avoid cross-contamination. Keep chemicals at the recommended temperature (usually 20°C/68°F). Use the thermometer dip in the tray to check.
- Develop the film: Pour developer into the tank through the light-tight lid, agitate according to the film's instructions, then pour out. Repeat with stop bath and fixer. Finally, wash the film with water. Agitation matters: too little causes uneven development, too much can cause surge marks. Follow the film's recommended pattern.
- Dry and store negatives: Hang the developed film in a dust-free area using clips. Let it dry completely before cutting and storing in sleeves. Avoid touching the emulsion side. Dust is your enemy. Dry in a still, clean space or use a film drying cabinet.
Product facts
-
Paterson 3 x Developing Trays for 8 X 10" Paper: These 8x10 trays come in three distinct colors for easy chemical identification and include a pour spout and a molded dip for a thermometer. Color coding prevents mixing up developer, stop bath, and fixer during printing. The pour spout and thermometer holder save time and reduce spills.
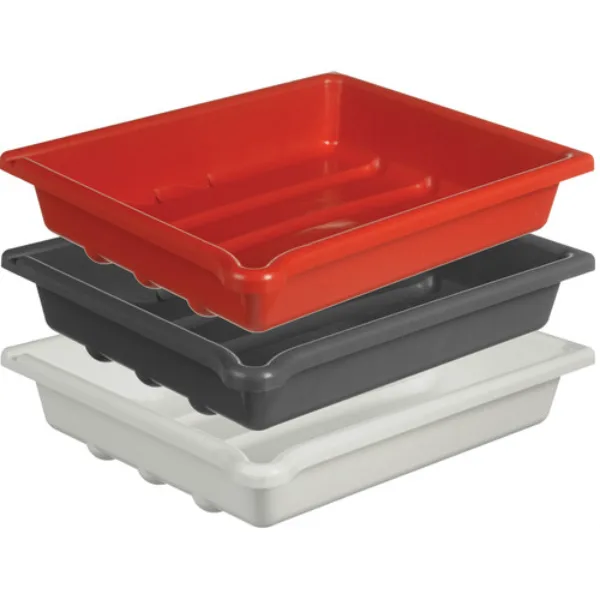
Paterson 3 x Developing Trays for 8 X 10" Paper
-
Paterson 2 Reel Developing Tank (Incl. 2 Reels) - PTP115: This tank includes two reels and is the most popular choice for beginners. It allows film processing in daylight after loading in a changing bag. You can develop two rolls of 35mm or one roll of 120 film at once. No darkroom required—just a changing bag for loading.
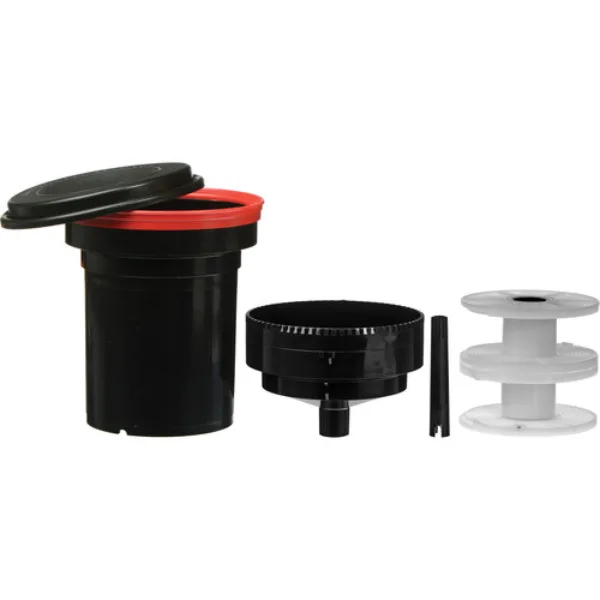
Paterson 2 Reel Developing Tank (Incl. 2 Reels) - PTP115
-
Paterson Changing Bag - 70cm: A 70cm changing bag that lets you load film onto reels and into the tank in complete darkness. Also useful for retrieving jammed film from a camera. This bag is your darkroom. It's large enough for two reels and a tank, and it's portable so you can process film anywhere.