Quick answer
To set up dog agility equipment in your backyard, start by measuring your space, choosing a durable all-in-one station like the Dog Agility Training Equipment, and following a simple step-by-step assembly process that avoids common layout and safety mistakes.
Why a dedicated agility station beats individual obstacles
Individual jump bars and weave poles can shift out of position after a few runs, which disrupts training flow and can frustrate your dog. A single assembled station—like the Dog Agility Training Equipment—keeps all obstacles at fixed, consistent distances so your dog learns muscle memory faster. The trade-off is that a combined unit takes up a larger footprint and is heavier to relocate once assembled.
Surface and safety considerations
Grass provides good traction and cushioning, but it can become muddy after rain. If you install on concrete or patio stone, place rubber mats under the equipment to reduce joint impact. The Dog Agility Training Equipment weighs about 100 lbs, so it stays stable on level ground even during energetic runs, but you should still check that the base is flush with the surface to avoid tipping.
How to set up your backyard agility course
- Measure and mark your space: Clear a flat area at least 10 ft by 15 ft. Mark the centerline where the equipment will sit, leaving 3 ft of clearance on all sides for approach and exit. Common mistake: placing the station too close to fences or garden beds, which limits your dog's run-out zone. Use spray chalk to outline the footprint before unboxing.
- Unbox and inspect all parts: Lay out every piece of the Dog Agility Training Equipment. Check that all snap-hook connectors are present and that the Starboard Poly panels have no cracks or sharp edges. Common mistake: skipping the inspection and discovering a missing piece mid-assembly.
- Snap the base frame together: Connect the base sections using the built-in hooks. Press firmly until you hear each hook click into place. The base should sit flat on the ground. Common mistake: forcing a hook that isn't aligned—back off and realign to avoid breaking the connector. Test the stability by gently rocking the frame before adding upper pieces.
- Attach the vertical supports and obstacles: Snap the upright posts into the base, then attach the jump bars, weave poles, and tunnel ring (if included) per the diagram. Tighten any locking collars by hand only. Common mistake: overtightening plastic collars, which can strip the threads.
- Do a safety walk-through and test run: Walk through the course yourself to check for wobble or pinch points. Then let your dog explore on a loose leash before running full speed. Common mistake: expecting your dog to immediately understand the sequence—start with one obstacle at a time. Schedule a weekly check of all snap hooks and connections, especially after rain or heavy use.
Product spotlight
-
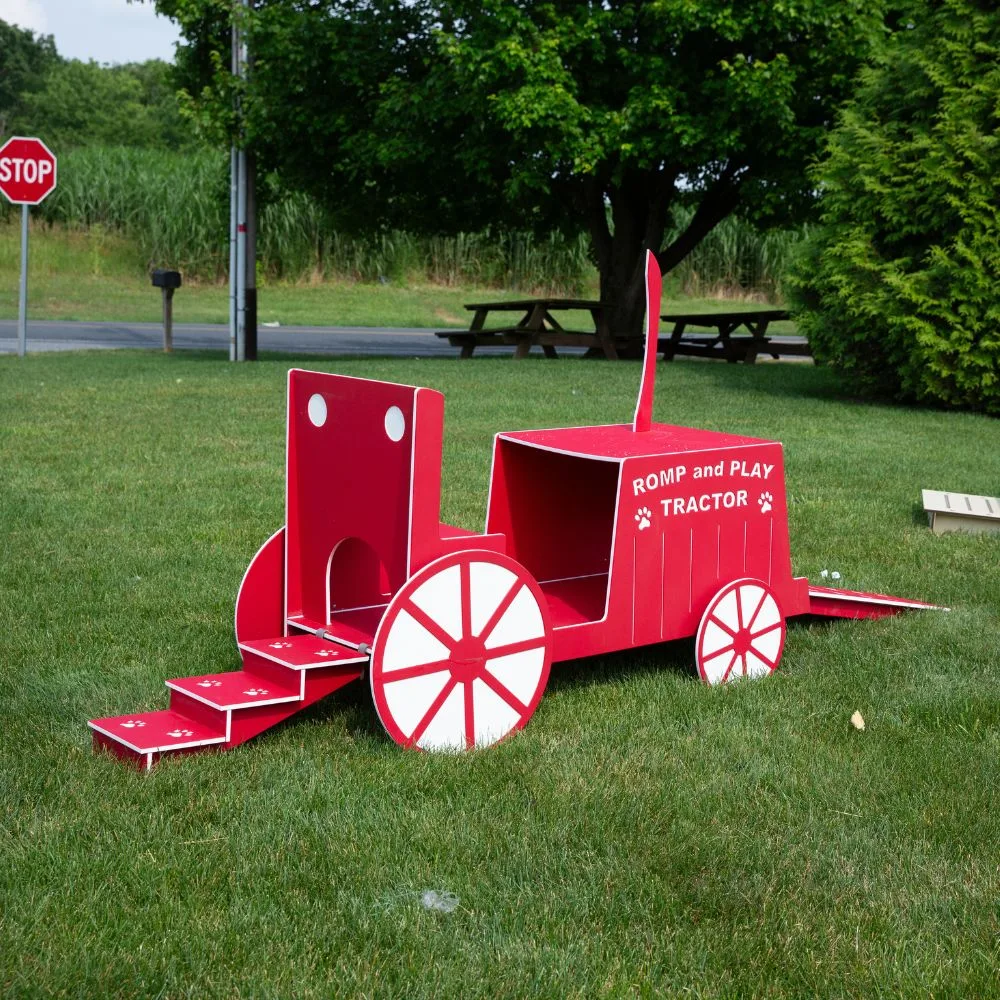
Dog Agility Training Equipment: Dimensions: 54″ x 24″ x 44″ and weighs 100 lbs. Materials: Starboard Poly. Assembly: snap hooks together. The compact footprint fits most backyards, and the snap-together assembly means you can set it up in minutes without tools—ideal for weekend projects.
Dog Agility Training Equipment