Quick Answer
The Joovy Tricycoo LX assembles in minutes with no tools—just snap the parts together, then adjust the seat and pedals to match your child's size.
Why the Tricycoo LX Grows With Your Child
The Tricycoo LX is designed as an 8-in-1 trike that adapts from a baby stroller-like mode to an independent toddler trike. Because it fits children from 6 months to 5 years, you won't need to buy a new ride every year. The key is setting it up correctly at each stage so your child is comfortable and safe.
Assembling the trike is straightforward, but the adjustments—like the parent push handle, seat position, and pedal placement—are what make it work for your child's current size. Taking a few extra minutes to fine-tune these will make the first ride much more enjoyable.
Tricycoo LX vs. Tricycoo UL: Which Setup Is Different?
If you're also considering the Tricycoo UL, note that it arrives fully assembled, while the LX requires you to snap the pieces together. The UL is lighter and more compact for folding, but the LX offers more adjustment modes and a longer usable age range.
For the LX, the setup process is the same whether you're using it in baby mode (parent-facing) or toddler mode (forward-facing). The steps below focus on the LX, but the same principles apply to most first trikes.
Tricycoo LX Assembly in 6 Steps
- Unpack and Identify Parts: Remove all parts from the box and lay them out. Identify the main frame, front fork with handlebar, rear axle with wheels, seat, and parent push handle. Check that you have all pieces before starting. Missing parts? Contact Joovy support before you begin.
- Attach the Front Wheel and Handlebar: Insert the front fork into the frame's head tube until it clicks. Slide the handlebar onto the fork and tighten any quick-release clamp. Make sure the handlebar is straight and turns smoothly. If the handlebar feels loose, tighten the clamp—don't ride with a wobbly front end.
- Snap on the Rear Wheels: Align each rear wheel with the axle and push firmly until you hear a click. Pull gently on each wheel to confirm it's locked. Repeat for the other side. A loose wheel can cause tipping—always double-check the click.
- Install the Seat and Adjust Position: Place the seat onto the frame and adjust its height so your child's feet reach the pedals comfortably. For baby mode, set the seat to face the parent; for toddler mode, face it forward. Lock the seat into place. If the seat is too high or low, your child's legs won't pedal smoothly—adjust before the first ride.
- Set the Pedals and Footrests: Position the pedals so your child can reach them with a slight bend in the knee. In baby mode, use the footrests instead. Ensure the pedals spin freely and are not obstructed. Test the pedal rotation by hand—if it catches, check for misalignment.
- Attach the Parent Push Handle and Safety Check: Insert the parent push handle into the rear socket until it clicks. Then do a final check: tighten all clamps, verify all parts are locked, and test the brakes (if equipped). Do a 'shake test'—lift the trike slightly and shake to ensure nothing rattles.
Tricycoo Models at a Glance
-
Tricycoo LX Premium Kids Tricycle First Trike: The Tricycoo LX is an adjustable 8-in-1 tricycle suitable for children aged 6 months to 5 years and assembles without screws—just snap and go. This means you can set it up quickly and adjust it as your child grows, so one purchase covers several years of use.
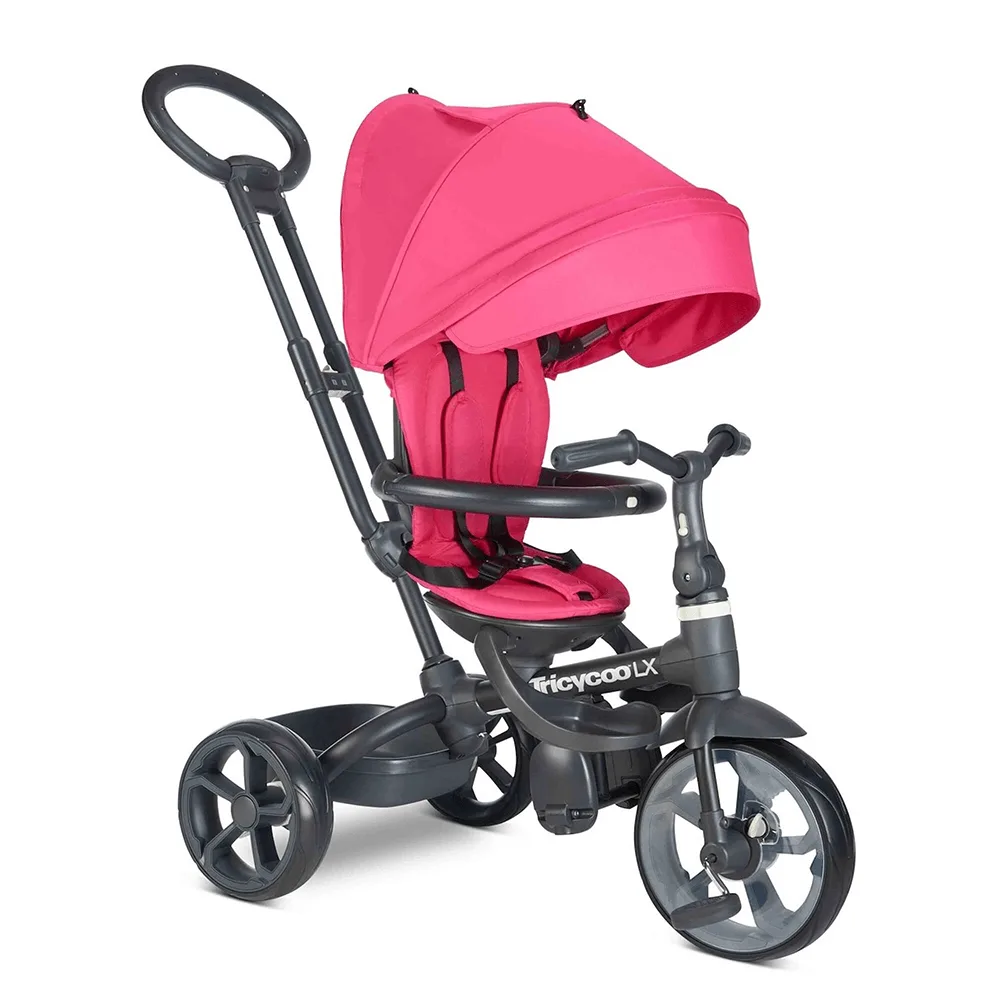
Tricycoo LX Premium Kids Tricycle First Trike
-
Tricycoo UL Kids Tricycle – Lightweight Compact Fold: The Tricycoo UL is a lightweight, easy-to-handle first trike that comes fully assembled out of the box. If you want zero assembly, the UL is the faster option, though it offers fewer adjustment modes than the LX.
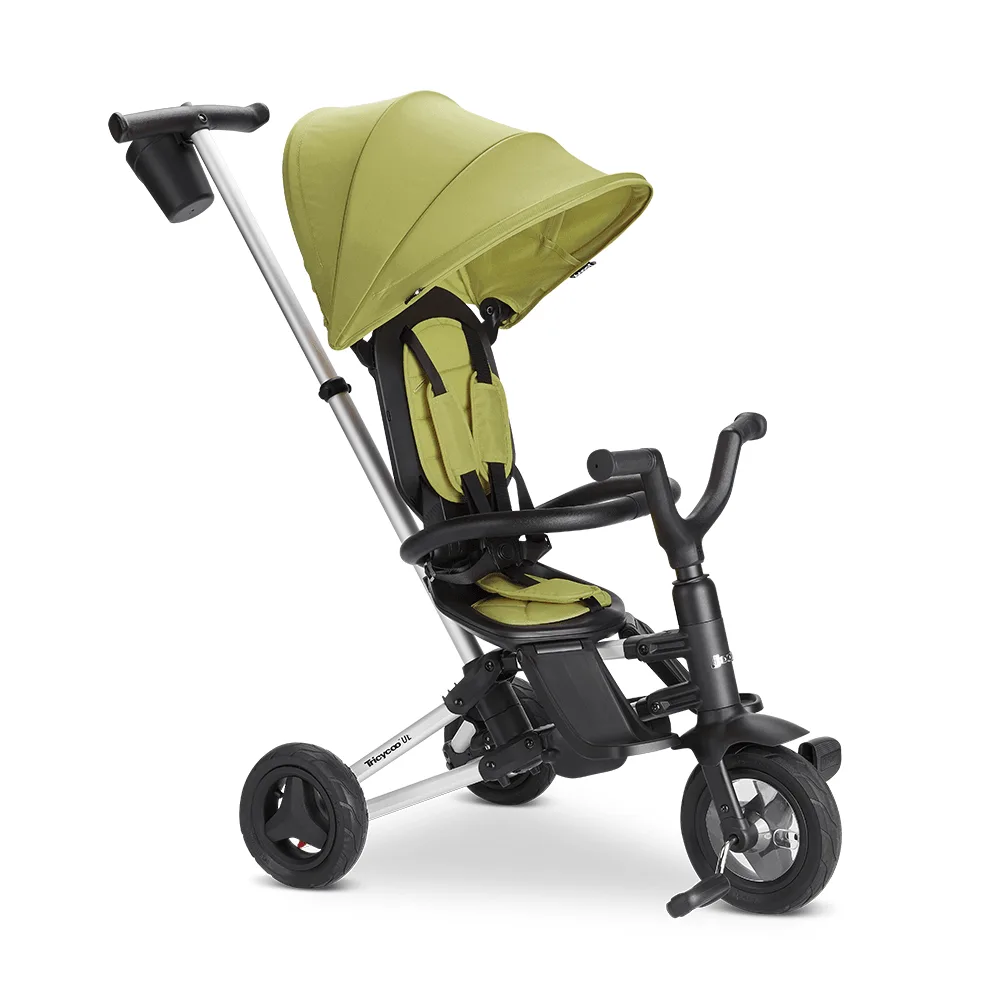
Tricycoo UL Kids Tricycle – Lightweight Compact Fold