Quick answer
To sew woven labels without puckering, pin the label flat, use a longer stitch length, and sew slowly with the label side facing up.
Why labels pucker
Puckering happens when the fabric and label move at different speeds under the needle. Woven labels are denser than most garment fabrics, so the feed dogs can push the label faster than the fabric, creating tiny gathers. A few simple adjustments prevent this.
When to skip a step
If your label is very small or you're sewing on stable fabric like denim or canvas, you can often skip the interfacing step. The natural stiffness of the base fabric may be enough to prevent shifting. For lightweight fabrics like cotton lawn or jersey, always use interfacing.
Steps to sew labels without puckers
- 1. Stabilize the fabric: Iron a small piece of lightweight fusible interfacing to the wrong side of the fabric where the label will go. This prevents the fabric from stretching while you sew. Skipping this step on stretchy or lightweight fabrics is the most common cause of puckering.
- 2. Pin the label in place: Place the label exactly where you want it and pin through all layers. Use fine pins (silk pins work well) to avoid leaving visible holes. Position pins perpendicular to the seam line so you can sew over them or remove them easily. Do not use bulky pins that distort the fabric. If the label shifts while sewing, use a dab of fabric glue stick instead.
- 3. Set a longer stitch length: Increase your stitch length to 2.8–3.5 mm (or 8–10 stitches per inch). A longer stitch reduces the number of needle holes and prevents the fabric from being pulled into the feed dogs unevenly. A standard 2.5 mm stitch is too short for woven labels and almost guarantees puckering.
- 4. Sew with the label side up: Place the label facing up under the presser foot. Sew slowly and guide the fabric evenly. If your machine has a walking foot, use it — it feeds both layers at the same rate. Sewing with the fabric side up can cause the label to shift because the feed dogs grip the fabric differently.
- 5. Press, don't iron: After sewing, press the label flat with a dry iron. Do not slide the iron — lift and place it. This sets the stitches and flattens any minor ripples without distorting the label or fabric. Sliding the iron can stretch the fabric and create new puckers around the label.
Recommended product
-
Lori Holt Made With Love Woven Labels: The Made with Love Woven Labels by Lori Holt include 15 labels in 3 different designs. They are sew-in and the perfect finish for a handmade project. These labels are made of polyester and come in multiple sizes, giving you flexibility for different projects. The sew-in design means they stay put without glue or iron-on backing.
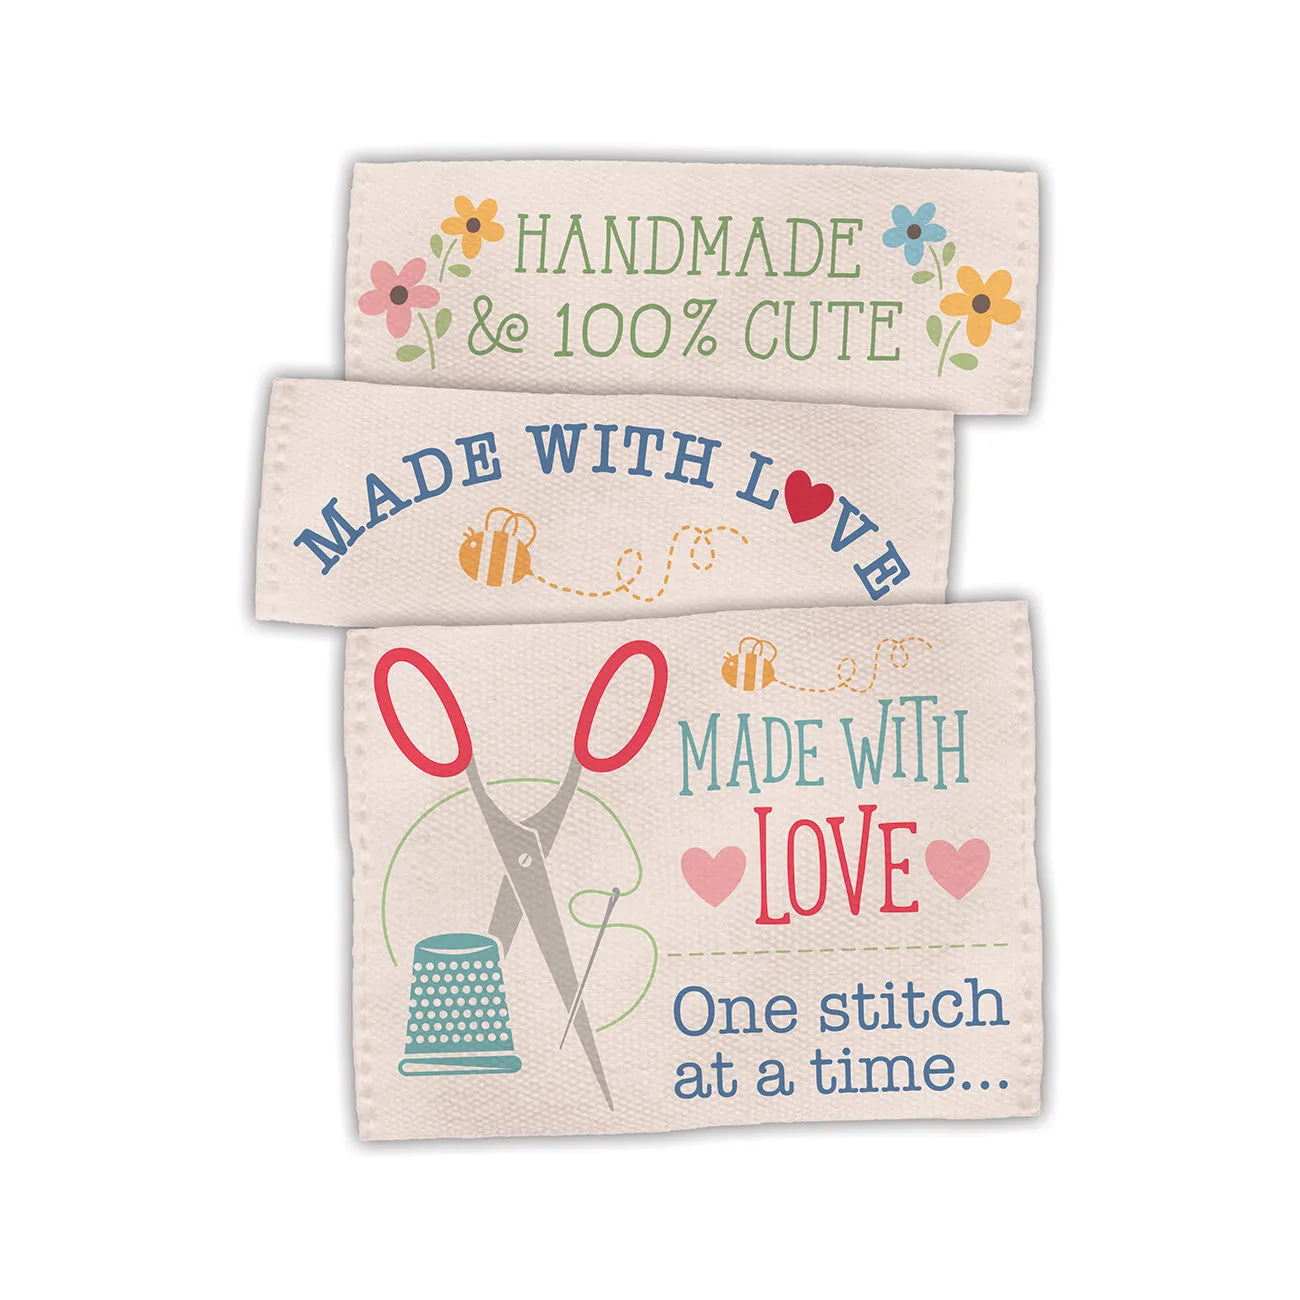
Lori Holt Made With Love Woven Labels


