Quick answer
For waxed canvas on a home machine, use a size 100/16 or 110/18 denim or leather needle, set stitch length to 3.5–4.0 mm, reduce tension slightly (around 3–4), and increase presser foot pressure if your machine allows. These settings handle the fabric's firm hand and waxy coating without skipped stitches or broken needles.
Why waxed canvas behaves differently at the machine
Waxed canvas has a dry wax finish that makes it water-resistant and gives it a firm, slightly tacky surface. That coating reduces friction between the fabric and the needle, but it also means the fabric doesn't glide like quilting cotton. The wax can build up on the needle and in the bobbin area, causing skipped stitches or uneven tension. The fabric itself is dense and doesn't drape, so your machine needs enough punching power and the right needle geometry to push through without deflecting. A 12 oz waxed canvas, like the one from Klum House, is a mid-to-heavy weight that most home machines can handle with the right setup.
Needle choice: size and type matter more than brand
A sharp, heavy needle is non-negotiable. Denim needles (also called jeans needles) have a strong shaft and a sharp point that penetrates densely woven fabric without bending. Leather needles have a cutting point that slices through the wax and fibers, which can be helpful on very firm canvas but leaves a visible hole if you rip a seam. For most waxed canvas bags, a denim needle in size 100/16 or 110/18 is the sweet spot. If your machine struggles or you hear a thumping sound, go up one size. Replace the needle after every 4–6 hours of sewing on waxed canvas; the wax dulls the point quickly.
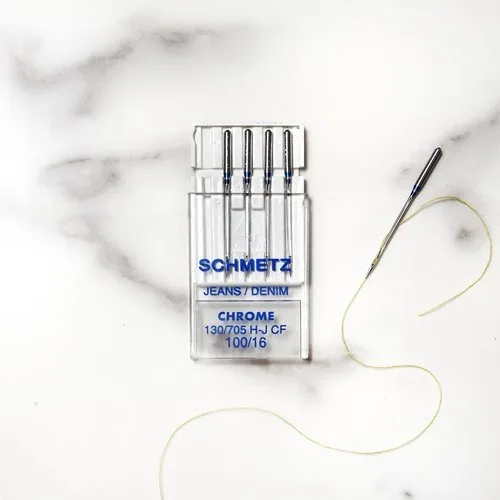
Denim needles
Stitch length and tension: start here, then adjust
Set your stitch length to 3.5–4.0 mm. Shorter stitches perforate the fabric too much and can cause tearing along the seam line; longer stitches are stronger and less likely to pull out. For topstitching, you can go up to 4.5 mm for a more pronounced look. Tension is where most people go wrong: because the wax reduces friction, the top thread can pull too tight. Start with your machine's default tension (usually 4) and lower it by one number (to 3) if you see the bobbin thread pulling up to the top. Always test on a scrap of the same waxed canvas with the same thread and needle you'll use in the project.
Presser foot pressure and machine setup
If your machine has adjustable presser foot pressure, increase it so the fabric doesn't slip between the foot and feed dogs. On many machines, this is a dial or a screw on the top left. You want enough pressure to grip the canvas but not so much that it leaves marks. A walking foot or a roller foot can help feed the thick layers evenly, especially when you're sewing through multiple layers at a seam intersection. If you don't have a walking foot, a Teflon or roller presser foot reduces drag. Also, use a fresh bobbin wound with the same heavy thread you're using on top—polyester or nylon thread in size 40 or 50 works well.
Step-by-step machine setup for waxed canvas
- Install a fresh heavy-duty needle: Choose a denim or leather needle in size 100/16 or 110/18. Insert it with the flat side facing the back of the machine and tighten the screw firmly. Common mistake: using a universal needle, which bends or breaks on dense canvas.
- Set stitch length to 3.5–4.0 mm: Adjust your machine's stitch length dial or digital setting. For topstitching, 4.0–4.5 mm gives a more visible, sturdy seam. Checkpoint: sew a test seam on scrap canvas and measure 4 stitches—they should span about 1.5 cm.
- Reduce top tension slightly: Start at your default tension (usually 4) and lower it to 3. If the bobbin thread pulls up, lower another half-step. If loops appear on the bottom, increase tension slightly. Common mistake: leaving tension at default, which causes puckering on waxed canvas.
- Increase presser foot pressure: If your machine allows, turn the pressure dial to a higher number (or tighten the screw) so the feed dogs grip the canvas. Test on scrap: the fabric should move steadily without slipping. Checkpoint: if the fabric stalls or the needle stays in one place, you need more pressure.
- Use a walking foot or roller foot if possible: Attach a walking foot to feed thick layers evenly. If you don't have one, a Teflon or roller foot reduces friction. Common mistake: forcing the fabric through, which bends the needle and causes skipped stitches.
- Sew a test seam on scrap canvas: Use the same thread, needle, and settings you'll use on your bag. Sew a 6-inch seam through two layers of waxed canvas, then inspect both sides. Checkpoint: stitches should be even, with no loops or tight spots. Adjust tension or stitch length before starting your bag.
Materials that work with these settings
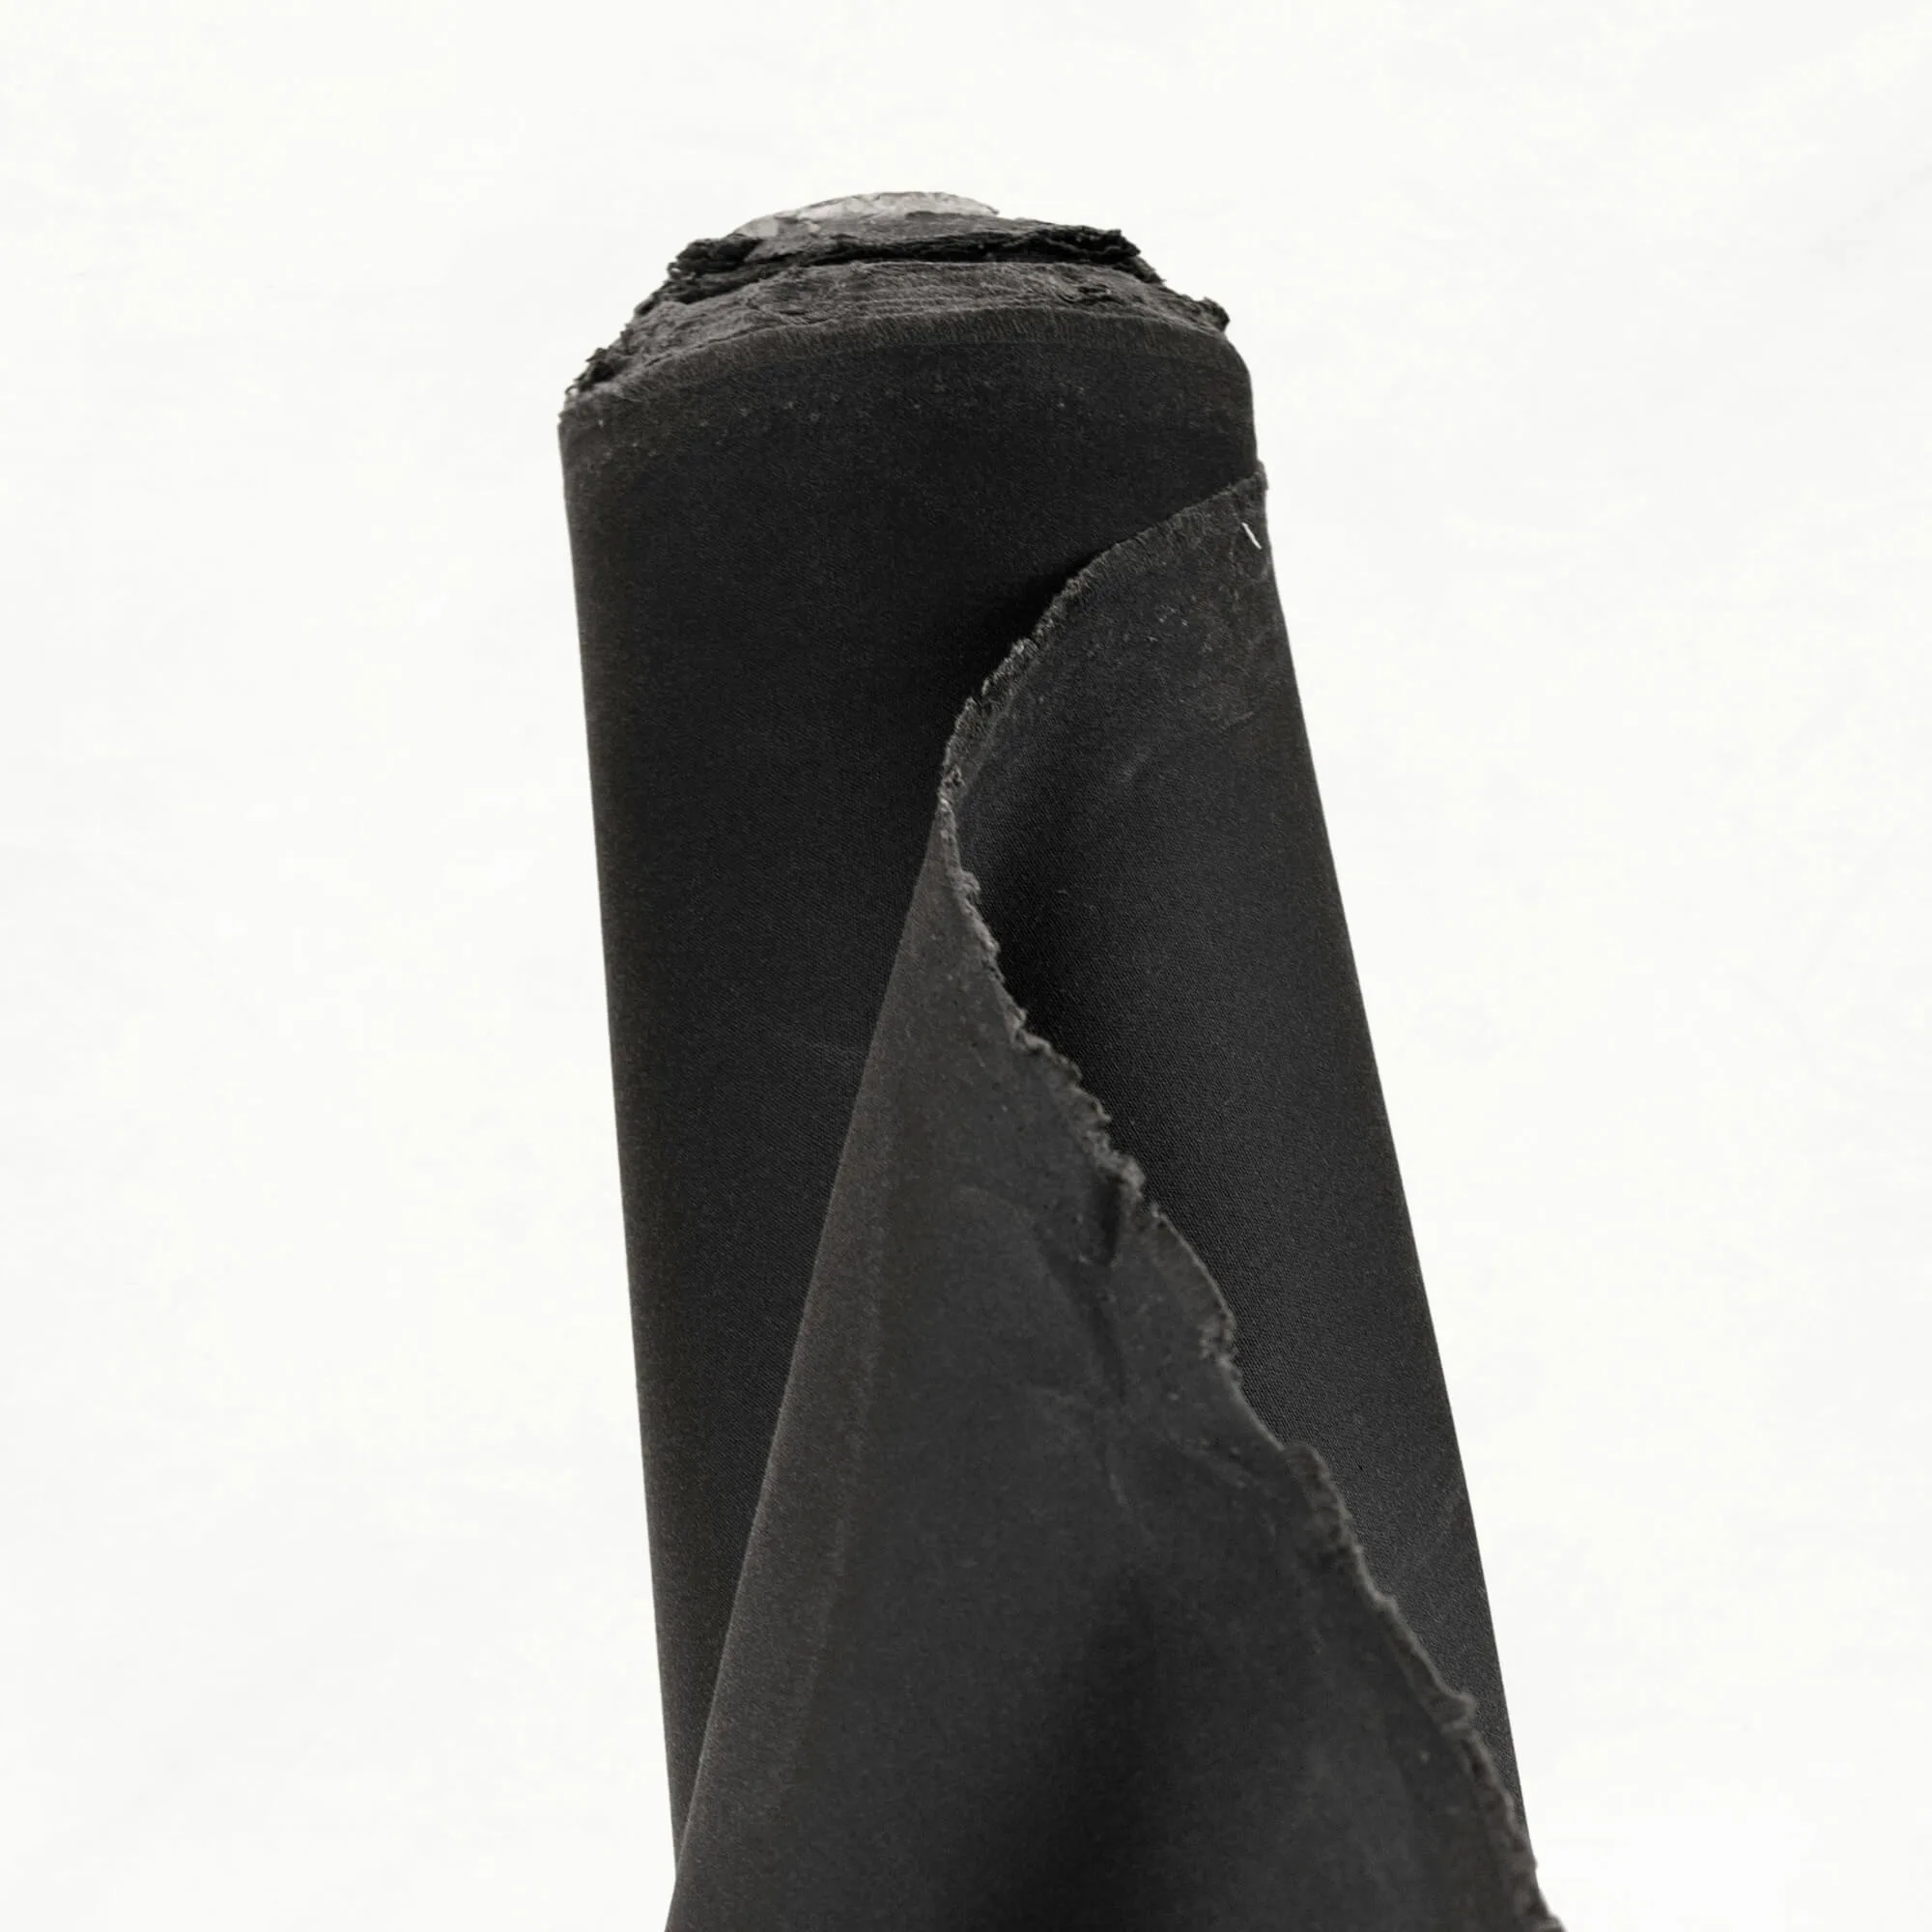
- 12 oz Black Waxed Canvas: 12 oz Black Waxed Canvas has a dry waxed finish with a firm handle and develops a distressed, worn-in appearance. Sold by the 1/2 yard. This is the exact weight and finish the settings above are calibrated for. The firm handle means you need a heavy needle and slightly longer stitch length, and the dry wax finish won't gum up your machine as much as a wet-waxed canvas.
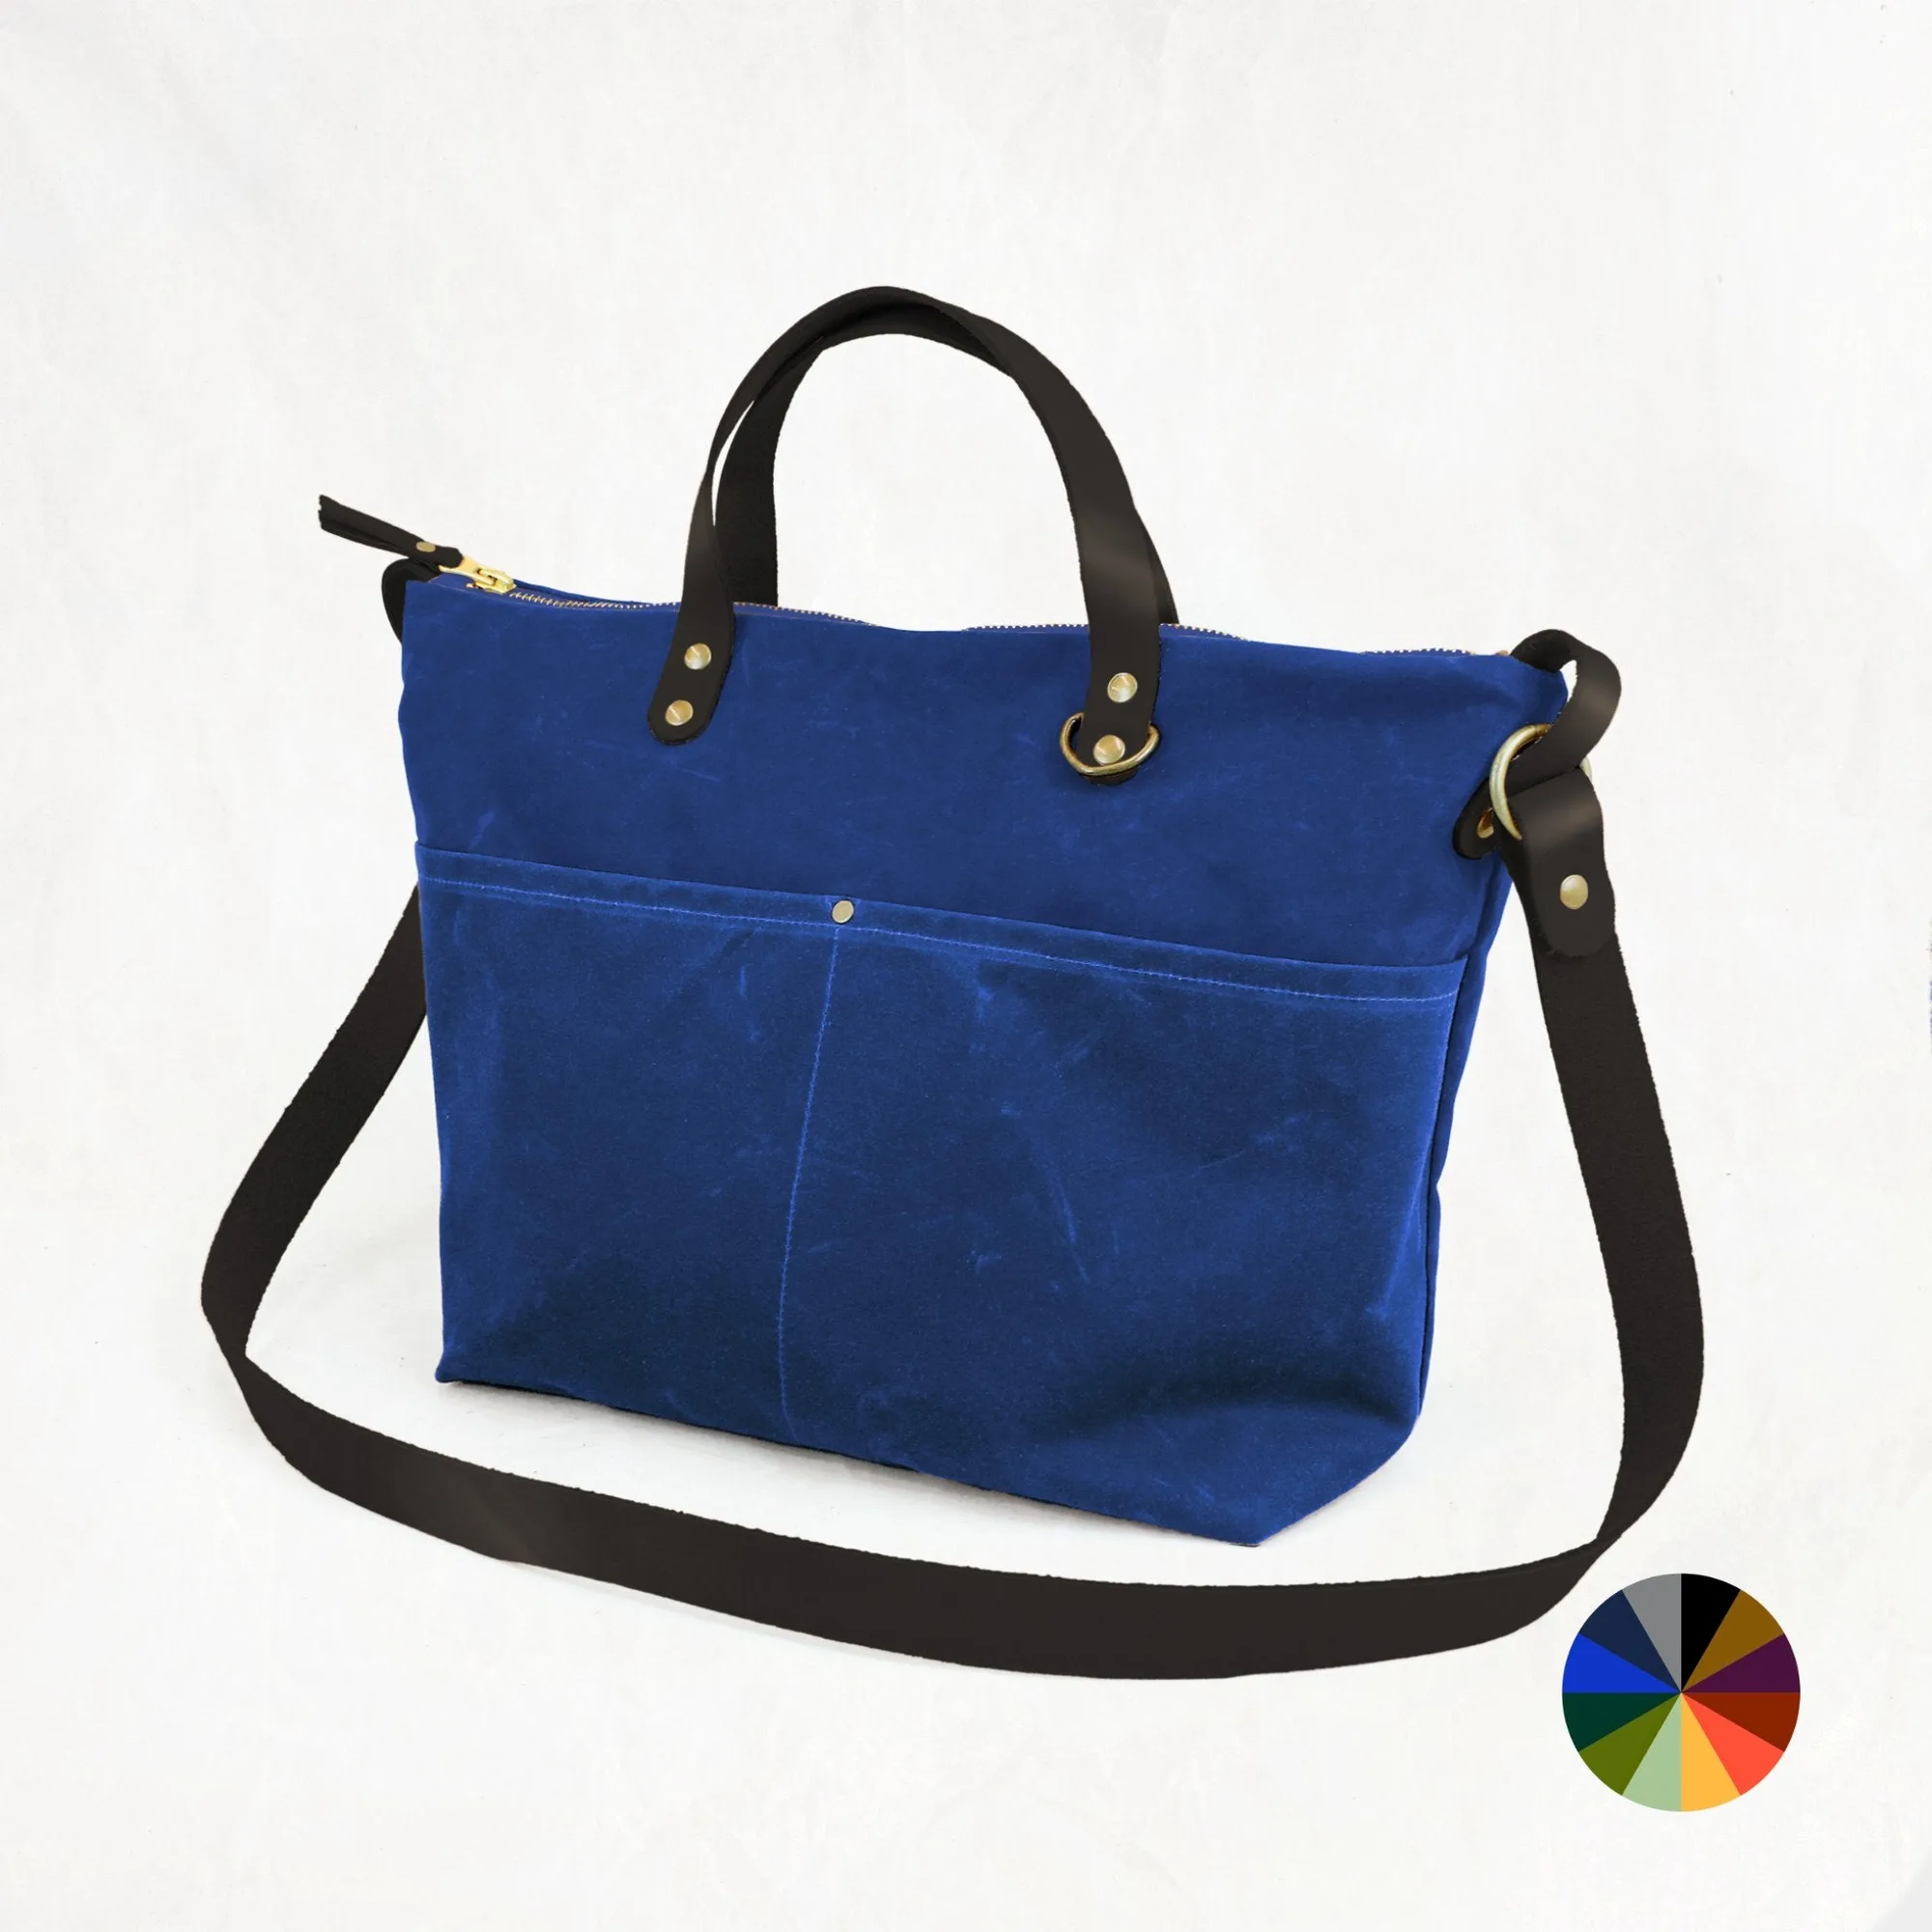
- Fremont - Cobalt Custom Bag Maker Kit: The Fremont - Cobalt Custom Bag Maker Kit includes all fabric, leather, hardware, a large-format paper pattern template, the full PDF pattern, and the PDF instructions booklet. It features a zipper top closure, interior and exterior pockets, a fully-lined interior, and sturdy leather handles. If you're sewing a bag like the Fremont, you'll be working with waxed canvas and leather handles. The leather requires a leather needle or a denim needle in good condition, and the multiple layers at the zipper and handle attachments are where your settings get tested. Having the full pattern and instructions helps you plan the order of construction so you're not fighting thick seams at the end.