Quick answer
Most tension problems aren't the tension dial at all. Rethread the machine with the presser foot up, check the bobbin is wound evenly and seated correctly, then test on a scrap of your actual fabric. Only adjust the upper tension dial if the thread still misbehaves after that.
Tension problems are the most common reason a sewing machine suddenly starts making ugly stitches, and they are also the most over-diagnosed. Nine times out of ten, the fix is a rethread, a new needle, or a correctly loaded bobbin, not a dial adjustment.
This guide separates the symptom you can see from the cause you can't, so you can stop guessing. Work through it in order and stop as soon as your stitches look balanced.
Read the stitch before you touch anything
Balanced tension means the needle thread and bobbin thread meet inside the fabric, not on top of it. If you see loops or dots of bobbin thread on the top side, the upper tension is too loose for that fabric. If the top thread pulls the bobbin thread up and puckers the fabric, the upper tension is too tight.
Sew a test seam on a scrap of the same fabric with the same thread and needle you plan to use. Tension is a relationship between thread, needle, and fabric, so a stitch that balances on quilting cotton may loop on a stretchy knit. Always diagnose on the real thing.
- Loops underneath: upper tension too loose, or the machine is threaded wrong.
- Loops on top: upper tension too tight, or the bobbin is in backwards.
- Puckered seam: tension too tight, needle too large, or the fabric is being stretched as you sew.
Rethread first, adjust second
Raise the presser foot before you thread. The tension discs close when the foot is down, so threading with the foot down leaves the thread sitting on top of the discs instead of between them. That single mistake causes more sewing machine tension problems than any worn part.
Then check the bobbin. It should drop into the case and pull out with light, even resistance, and the thread should unwind in the direction the case is designed for. If the bobbin was wound unevenly or the case is full of lint, no dial setting will fix the stitch.
- Thread with the presser foot up and the needle in its highest position.
- Snap the bobbin in until it clicks, then pull the thread through the case slot.
- Clean lint from under the bobbin case before you chase tension further.
Change the needle before you blame the dial
A bent, dull, or wrong-size needle can mimic a tension problem. A dull needle pushes fabric down instead of piercing it, which distorts the stitch and makes the seam pucker. A needle that is too large for fine fabric leaves visible holes, and one that is too small for heavy fabric deflects and skips.
Match the needle to the fabric and replace it after roughly eight hours of sewing. If you are switching between a lightweight cotton and a medium-weight knit, switch needles too. This is the cheapest fix and the one most often skipped.
- Bent needle: replace it, do not straighten it.
- Skipped stitches: try a fresh needle in the correct size before adjusting tension.
- Heavy or stretchy fabric: use the needle type your machine manual recommends.
Adjust the tension dial settings in small steps
The upper tension dial controls how tightly the needle thread is pulled. Higher numbers mean tighter tension, lower numbers mean looser. Turn it one number at a time, sew a test seam, and look at the stitch before turning again.
If loops appear underneath, increase the number. If the top thread pulls the bobbin thread up, decrease it. Most machines sit happily between 4 and 6 for standard cotton, but your number depends on your thread and fabric, so trust the test seam over the manual.
- Move one number, then test. Two or three numbers at once makes it impossible to know what worked.
- Write down the setting that works for each fabric you sew often.
- Return the dial to your default setting when you finish so the next project starts clean.
When to touch the bobbin tension adjustment
Bobbin tension adjustment is a last resort, not a first step. The bobbin case screw is tiny and easy to strip, and most machines never need it changed. Only consider it if the upper tension is correct, the machine is threaded properly, the needle is new, and the stitch still loops underneath on every fabric you try.
If you do adjust it, mark the screw position first with a permanent marker so you can return it. Turn the screw no more than an eighth of a turn at a time and test after each change. If the case is damaged or the screw will not hold, replace the bobbin case instead of fighting it.
- Mark the screw before turning so you can undo the change.
- An eighth of a turn is a real adjustment. A quarter turn is usually too much.
- If the case is scored or the screw is stripped, stop and replace it.
Stop here and choose another option
If you have rethreaded, changed the needle, cleaned the bobbin area, and tested on scrap, and the stitch is still wrong, stop adjusting. Continuing to turn the dial or the bobbin screw usually makes the problem worse and can damage the machine.
At that point, check whether the fabric and thread are simply a bad match, or whether the machine needs service. A machine that has not been cleaned or timed in years will not hold tension no matter what the dial says. If you are unsure, sew a simple kit project on stable cotton first to confirm the machine works before you tackle tricky fabric.
- Stop if two dial adjustments in either direction do not improve the stitch.
- Stop if the bobbin case screw will not hold its position.
- Stop if the machine skips stitches on every fabric, which points to timing or service, not tension.
Tension diagnosis chart
- Loops or tangles on the underside: The upper tension is too loose or the machine is threaded with the presser foot down. Rethread with the foot up, then increase the upper tension dial one number at a time.
- Top thread pulls bobbin thread to the surface: The upper tension is too tight for the fabric and thread you are using. Decrease the upper tension dial one number at a time and test after each change.
- Puckered seam with balanced-looking thread: Usually a needle that is too large, a dull needle, or fabric being stretched as it feeds. Replace the needle, reduce presser foot pressure if your machine allows, and let the feed dogs move the fabric.
- Skipped stitches on every fabric: This is rarely a tension problem. It points to a bent needle, wrong needle type, or machine timing. Change the needle first. If skips continue, stop adjusting and book a service.
- Stitch still wrong after two dial adjustments: You have reached the point where more turning does harm, not good. Stop. Recheck threading, bobbin seating, and needle, or switch to a stable woven cotton to confirm the machine works.
Useful supplies for tension testing
- Placemats Sewing Kit: Includes three coordinating cotton fabrics and is designed for straight seams and crisp corners in an afternoon. Stable woven cotton is the easiest fabric to diagnose tension on, so a simple kit gives you a low-pressure way to confirm your machine is stitching correctly.
- Saddle from Butter Suede Knits from Robert Kaufman: 88% polyester and 12% spandex, 59 inches wide, medium weight with four-way stretch. Stretchy knits are the fabric most likely to expose loose stitches and skipped stitches, so test tension on a scrap of this before sewing a full garment.
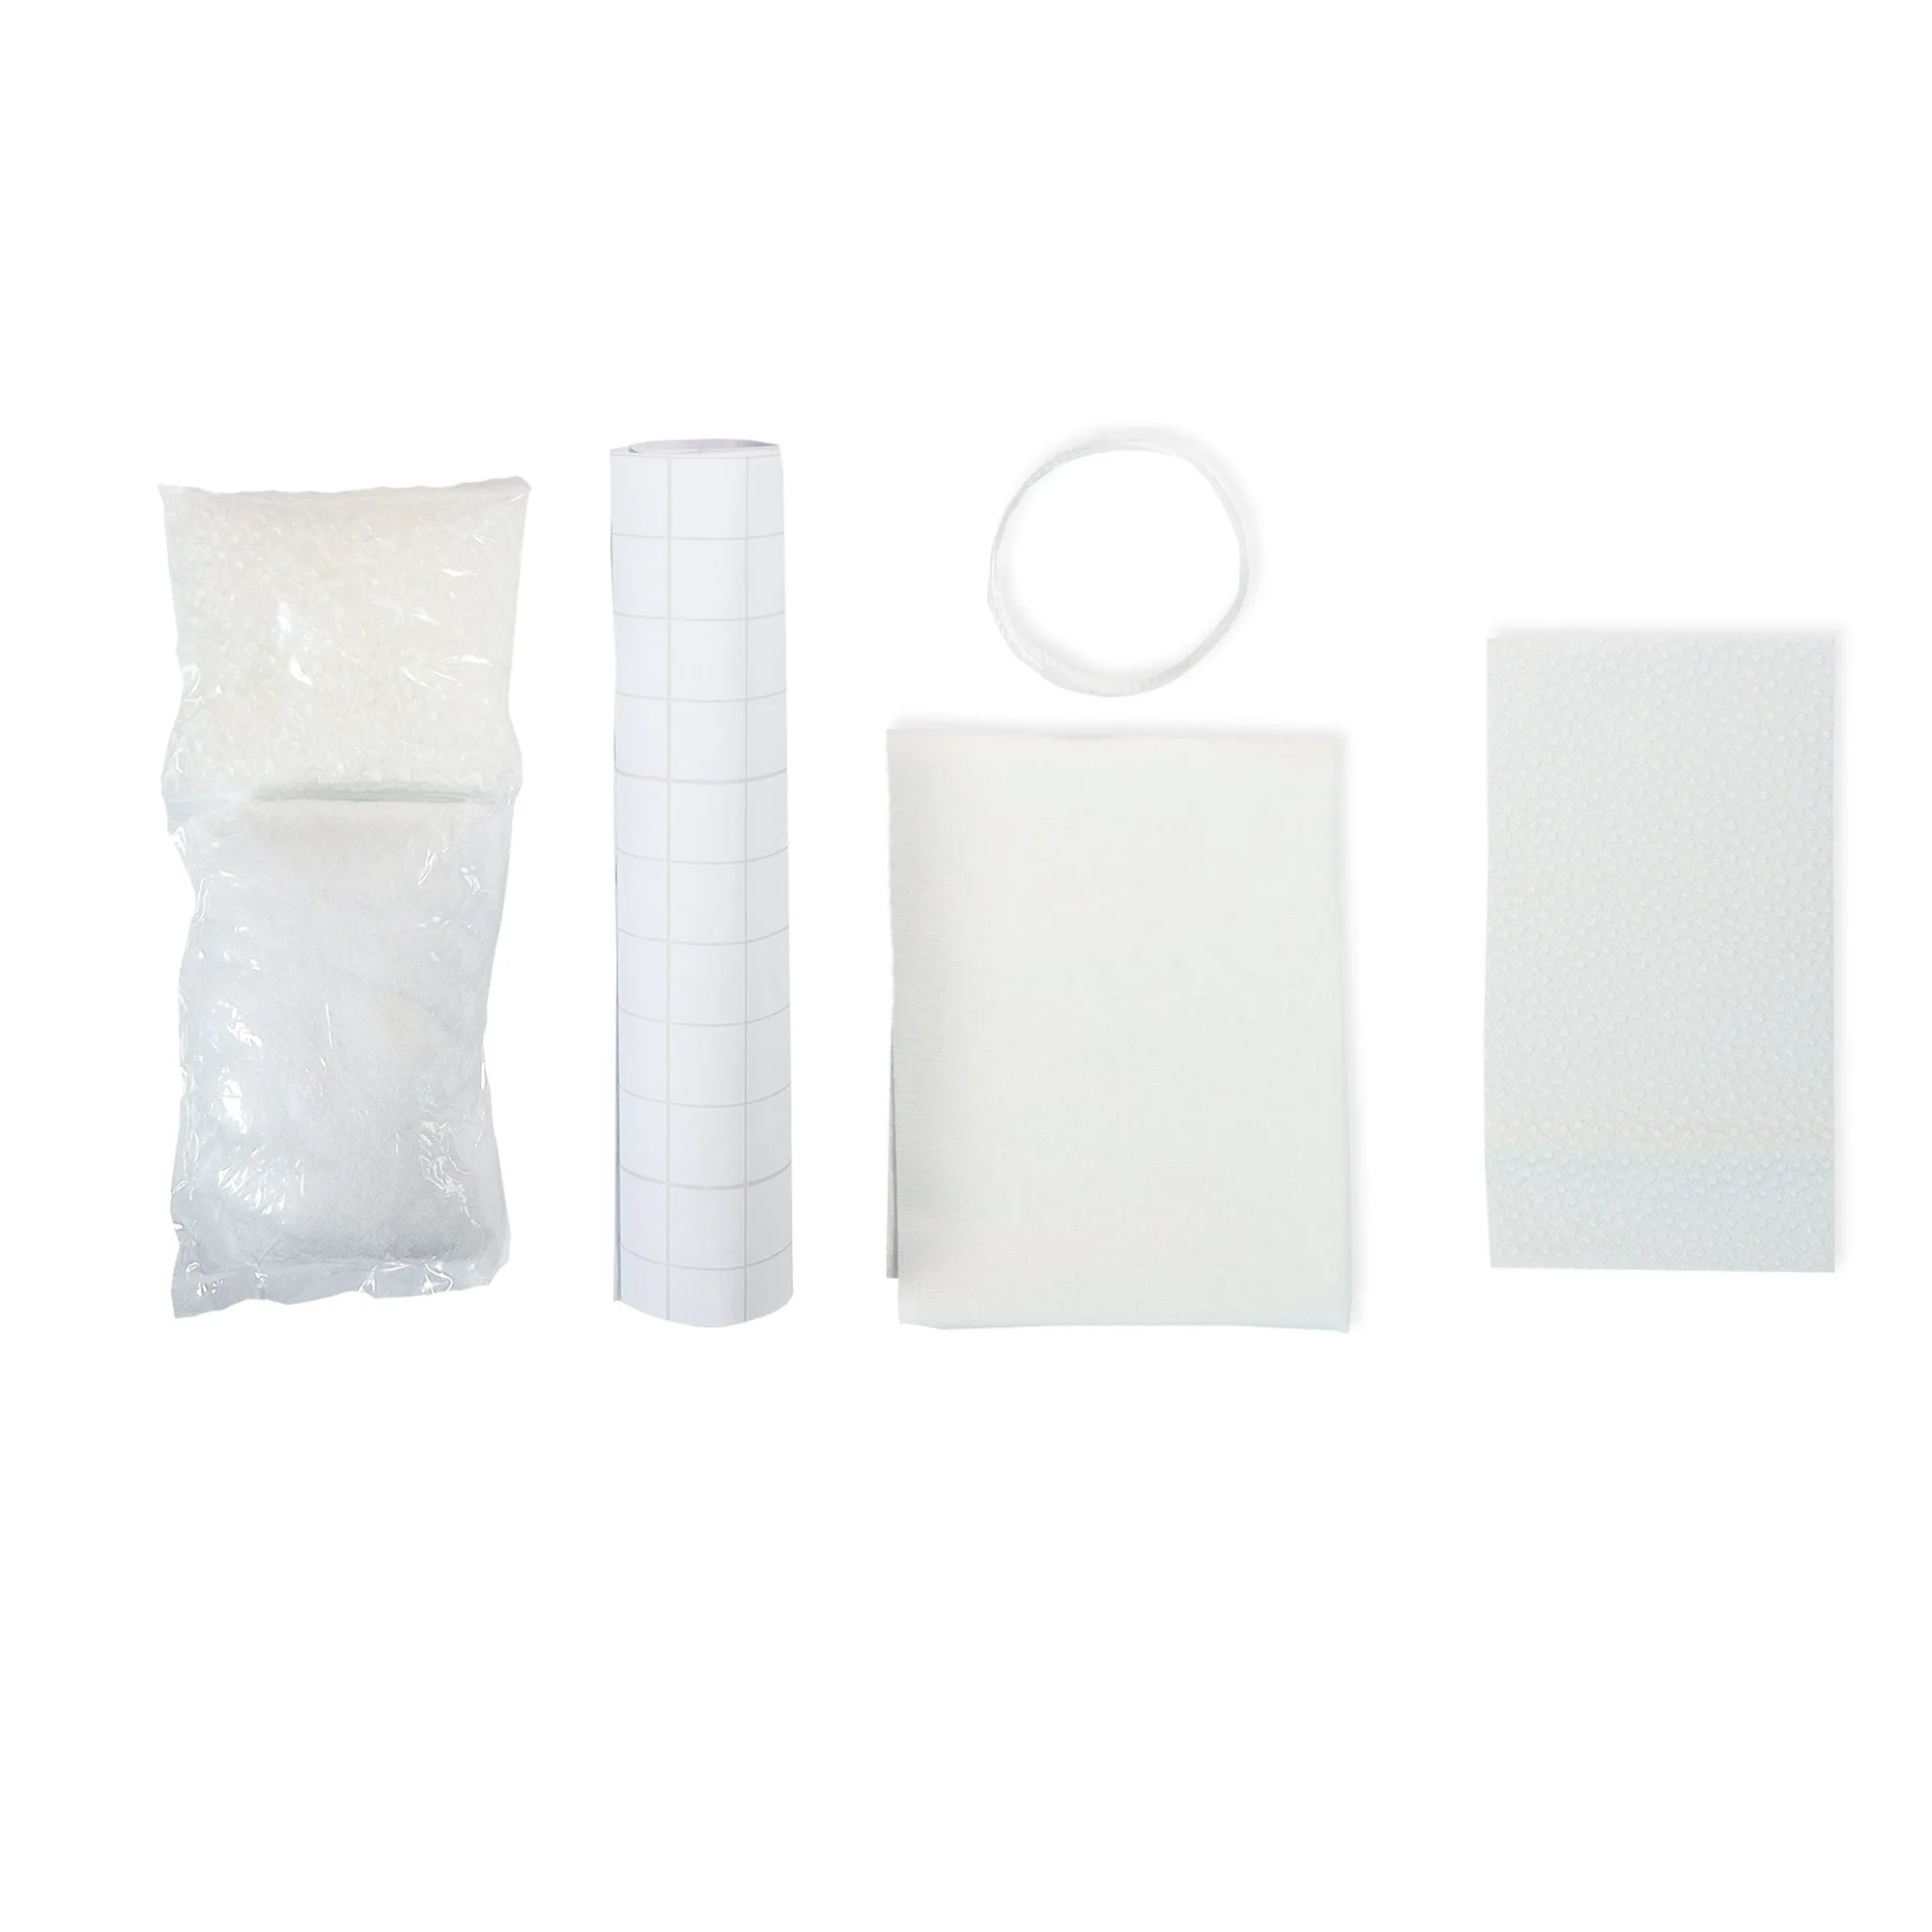
- Pin Cushion Refill Kit: Contains Poly-Pellets, stuffing, iron-on vinyl, strapping, SF101 interfacing, and gripper fabric, enough for one pin cushion. A small scrap project like this lets you test tension and needle choice on a mix of fabric and interfacing without risking a large piece of yardage.
Tension problems almost always come down to threading, needle condition, or bobbin seating, not the dial. Work through the checks in order, test on scrap, and stop adjusting the moment the stitch balances. Your machine will reward you with cleaner seams and far less un picking.