Quick Answer
Before you start sewing with Vintage Cloth, prewash your fabric to prevent shrinkage, use a sharp needle and fine thread, and handle the lightweight weave with care. Test your stitch on a scrap piece to adjust tension and avoid puckering, and always press gently with a low-heat iron.
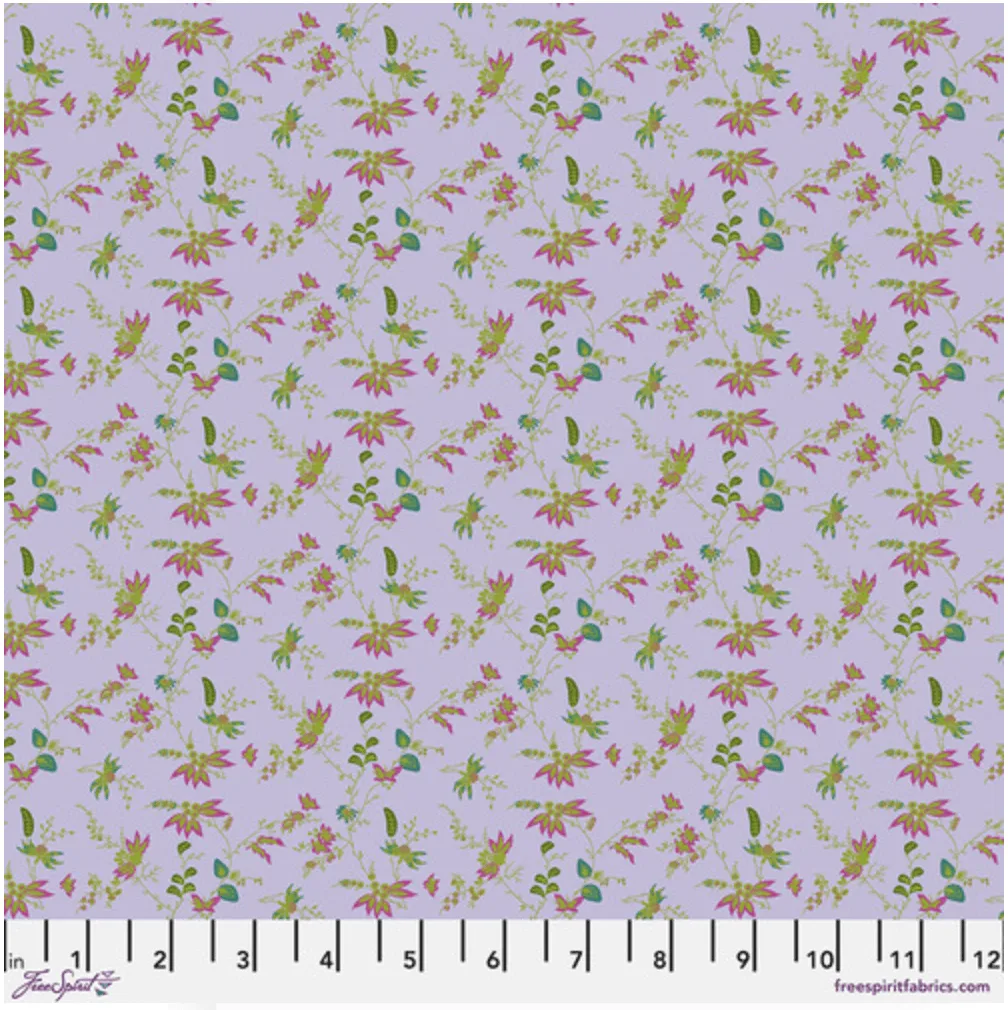
Vintage Cloth is a charming fabric collection inspired by traditional European designs, perfect for quilting and apparel. Its small-scale prints add a timeless touch to any project, but the fabric's characteristics require a bit of know-how to get the best results.
Whether you're using pre-cuts or yardage, these sewing tips will help you avoid common pitfalls and enjoy a smooth sewing experience with Vintage Cloth.
Understanding Vintage Cloth Fabric
Vintage Cloth is a lightweight, tightly woven cotton that works beautifully for quilts, garments, and home décor. Its soft drape and fine weave make it ideal for projects that require a delicate touch, but it also means you need to adjust your sewing techniques to prevent fraying and puckering.
When working with pre-cuts like charm packs or fat quarters, keep in mind that the edges are already cut precisely, so handle them gently to avoid stretching. For yardage, always prewash to account for shrinkage, especially if you plan to use it for quilt backs or clothing.
Preparing Your Fabric
Before you cut, prewash your Vintage Cloth in cold water and dry on low to remove any excess dye and prevent later shrinkage. Press with a dry iron on a low setting to avoid heat damage to the delicate fibers.
If you're using pre-cuts, you can skip prewashing, but be aware that they may shrink slightly if washed later. Always test a small piece to see how the fabric behaves before you commit to a full project.
- Use a fine, sharp needle (size 70/10 or 80/12) to prevent skipped stitches.
- Choose a high-quality cotton thread to reduce friction and breakage.
- Consider using a walking foot to feed the fabric evenly and reduce puckering.
Cutting and Sewing Techniques
When cutting Vintage Cloth, use a sharp rotary cutter and a new blade to ensure clean edges. Because the fabric is lightweight, it can shift easily, so use a cutting mat with grip and press the fabric flat before cutting.
For sewing, set your stitch length to a standard 2.5mm and test on a scrap piece. If you notice puckering, try increasing the pressure on your presser foot or using a stabilizer. Always sew slowly and guide the fabric gently to avoid stretching.
- Use a walking foot or even-feed foot for straight seams.
- Clip corners and curves carefully to reduce bulk.
- Press seams open or to one side with a cool iron to avoid shine.
Quilting with Vintage Cloth
Vintage Cloth's lightweight nature makes it a lovely choice for quilt tops and backs, but it requires careful handling during quilting. Use a low-loft batting to maintain the soft drape, and consider using a lighter-weight thread for quilting.
If you're using a Sew Kind of Wonderful pattern that involves curved piecing, such as those requiring the Wonder Curve Ruler, the fabric's flexibility can be an advantage. Just ensure you're using the correct ruler and following the pattern instructions precisely to achieve accurate seams.
- Test your quilt sandwich on a small sample before starting.
- Use a walking foot for straight-line quilting to prevent shifting.
- For free-motion quilting, reduce your presser foot pressure and use a darning foot.
Step-by-Step Guide to Sewing with Vintage Cloth
- Step 1: Prewash and Press: Wash your Vintage Cloth yardage in cold water and dry on low. Press with a dry iron on low heat to remove wrinkles without damaging the fibers. Checkpoint: If you skip prewashing, test for shrinkage by washing a small sample.
- Step 2: Choose the Right Needle and Thread: Use a sharp microtex needle in size 70/10 or 80/12 and a fine cotton or polyester thread. Test your stitch on a scrap to adjust tension. Mistake to avoid: Using a dull or large needle can cause skipped stitches and fabric damage.
- Step 3: Cut Carefully: Use a sharp rotary cutter and a fresh blade. Press the fabric flat and use pattern weights to prevent shifting. Cut slowly for accurate pieces. Checkpoint: Ensure your fabric is completely flat before cutting to avoid distorted pieces.
- Step 4: Sew with a Walking Foot: Attach a walking foot to your machine to feed the lightweight fabric evenly. Use a 2.5mm stitch length and sew slowly, guiding the fabric gently. Mistake to avoid: Pulling or pushing the fabric can stretch it; let the machine do the work.
- Step 5: Press as You Go: Press seams with a dry iron on a low setting. Use a pressing cloth to protect the fabric's surface and avoid shine. Checkpoint: Press, don't iron, to avoid distorting the fabric.
- Step 6: Test Your Quilt Sandwich: Before quilting the entire project, create a small sample with your batting and backing to test stitch tension and foot pressure. Mistake to avoid: Skipping this step can lead to puckering or uneven quilting on your final piece.
Vintage Cloth Products to Consider
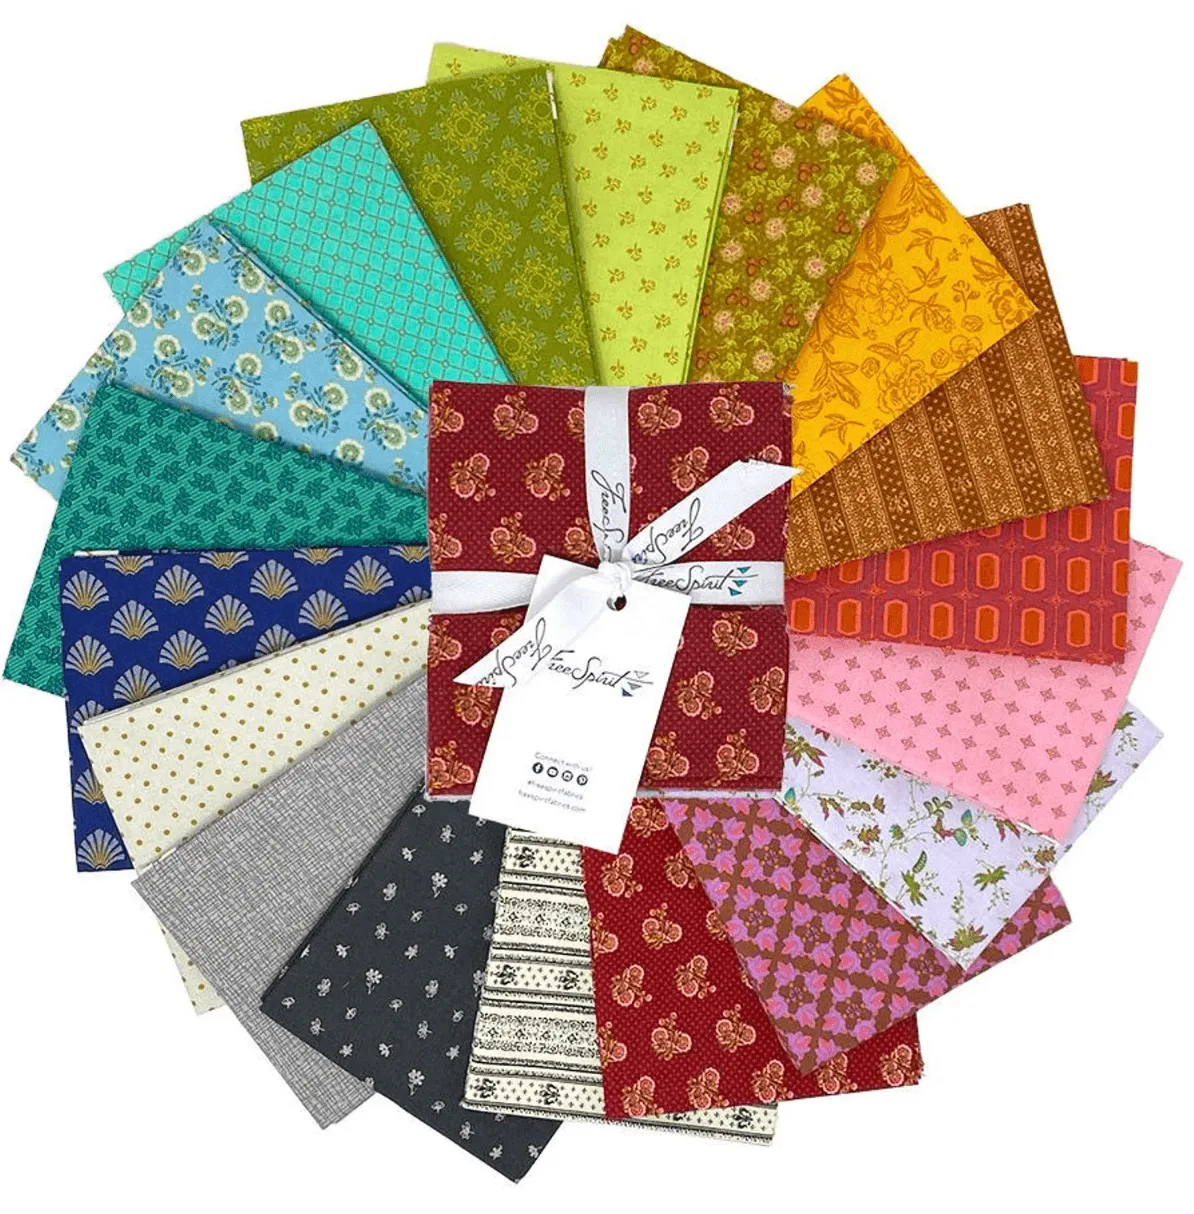
- Vintage Cloth Fabric Pre-Cuts: Fat Quarter Bundle - (18) fat quarters $63; 10" Charm Pack - (42) 10" squares $40 Pre-cuts save you cutting time and ensure consistent sizing, perfect for starting your Vintage Cloth project without buying yardage.
- Vintage Cloth - Cotton Lawn: Cotton Lawn (also known as Voile) is lightweight, tightly woven cotton that works well for blouses, dresses, skirts, QUILT BACKS, and more. Cotton lawn is an excellent choice for quilt backs, giving your quilt a soft, drapey finish that complements the Vintage Cloth collection.
Sewing with Vintage Cloth can be a delightful experience when you take the time to prepare and adjust your techniques. By following these tips, you'll avoid common mistakes and create beautiful, lasting projects. Happy sewing!