Quick answer
Replace a SlumberPod pole as soon as you notice a split, splinter, bent section, or a ferrule that no longer holds. Order the SlumberPod Replacement Poles (Set of 2) so you have a matched pair on hand, then swap one pole at a time, keeping the fabric relaxed until every section is seated. If the frame still feels loose after a full swap, the issue is likely the hub or fabric, not the poles.
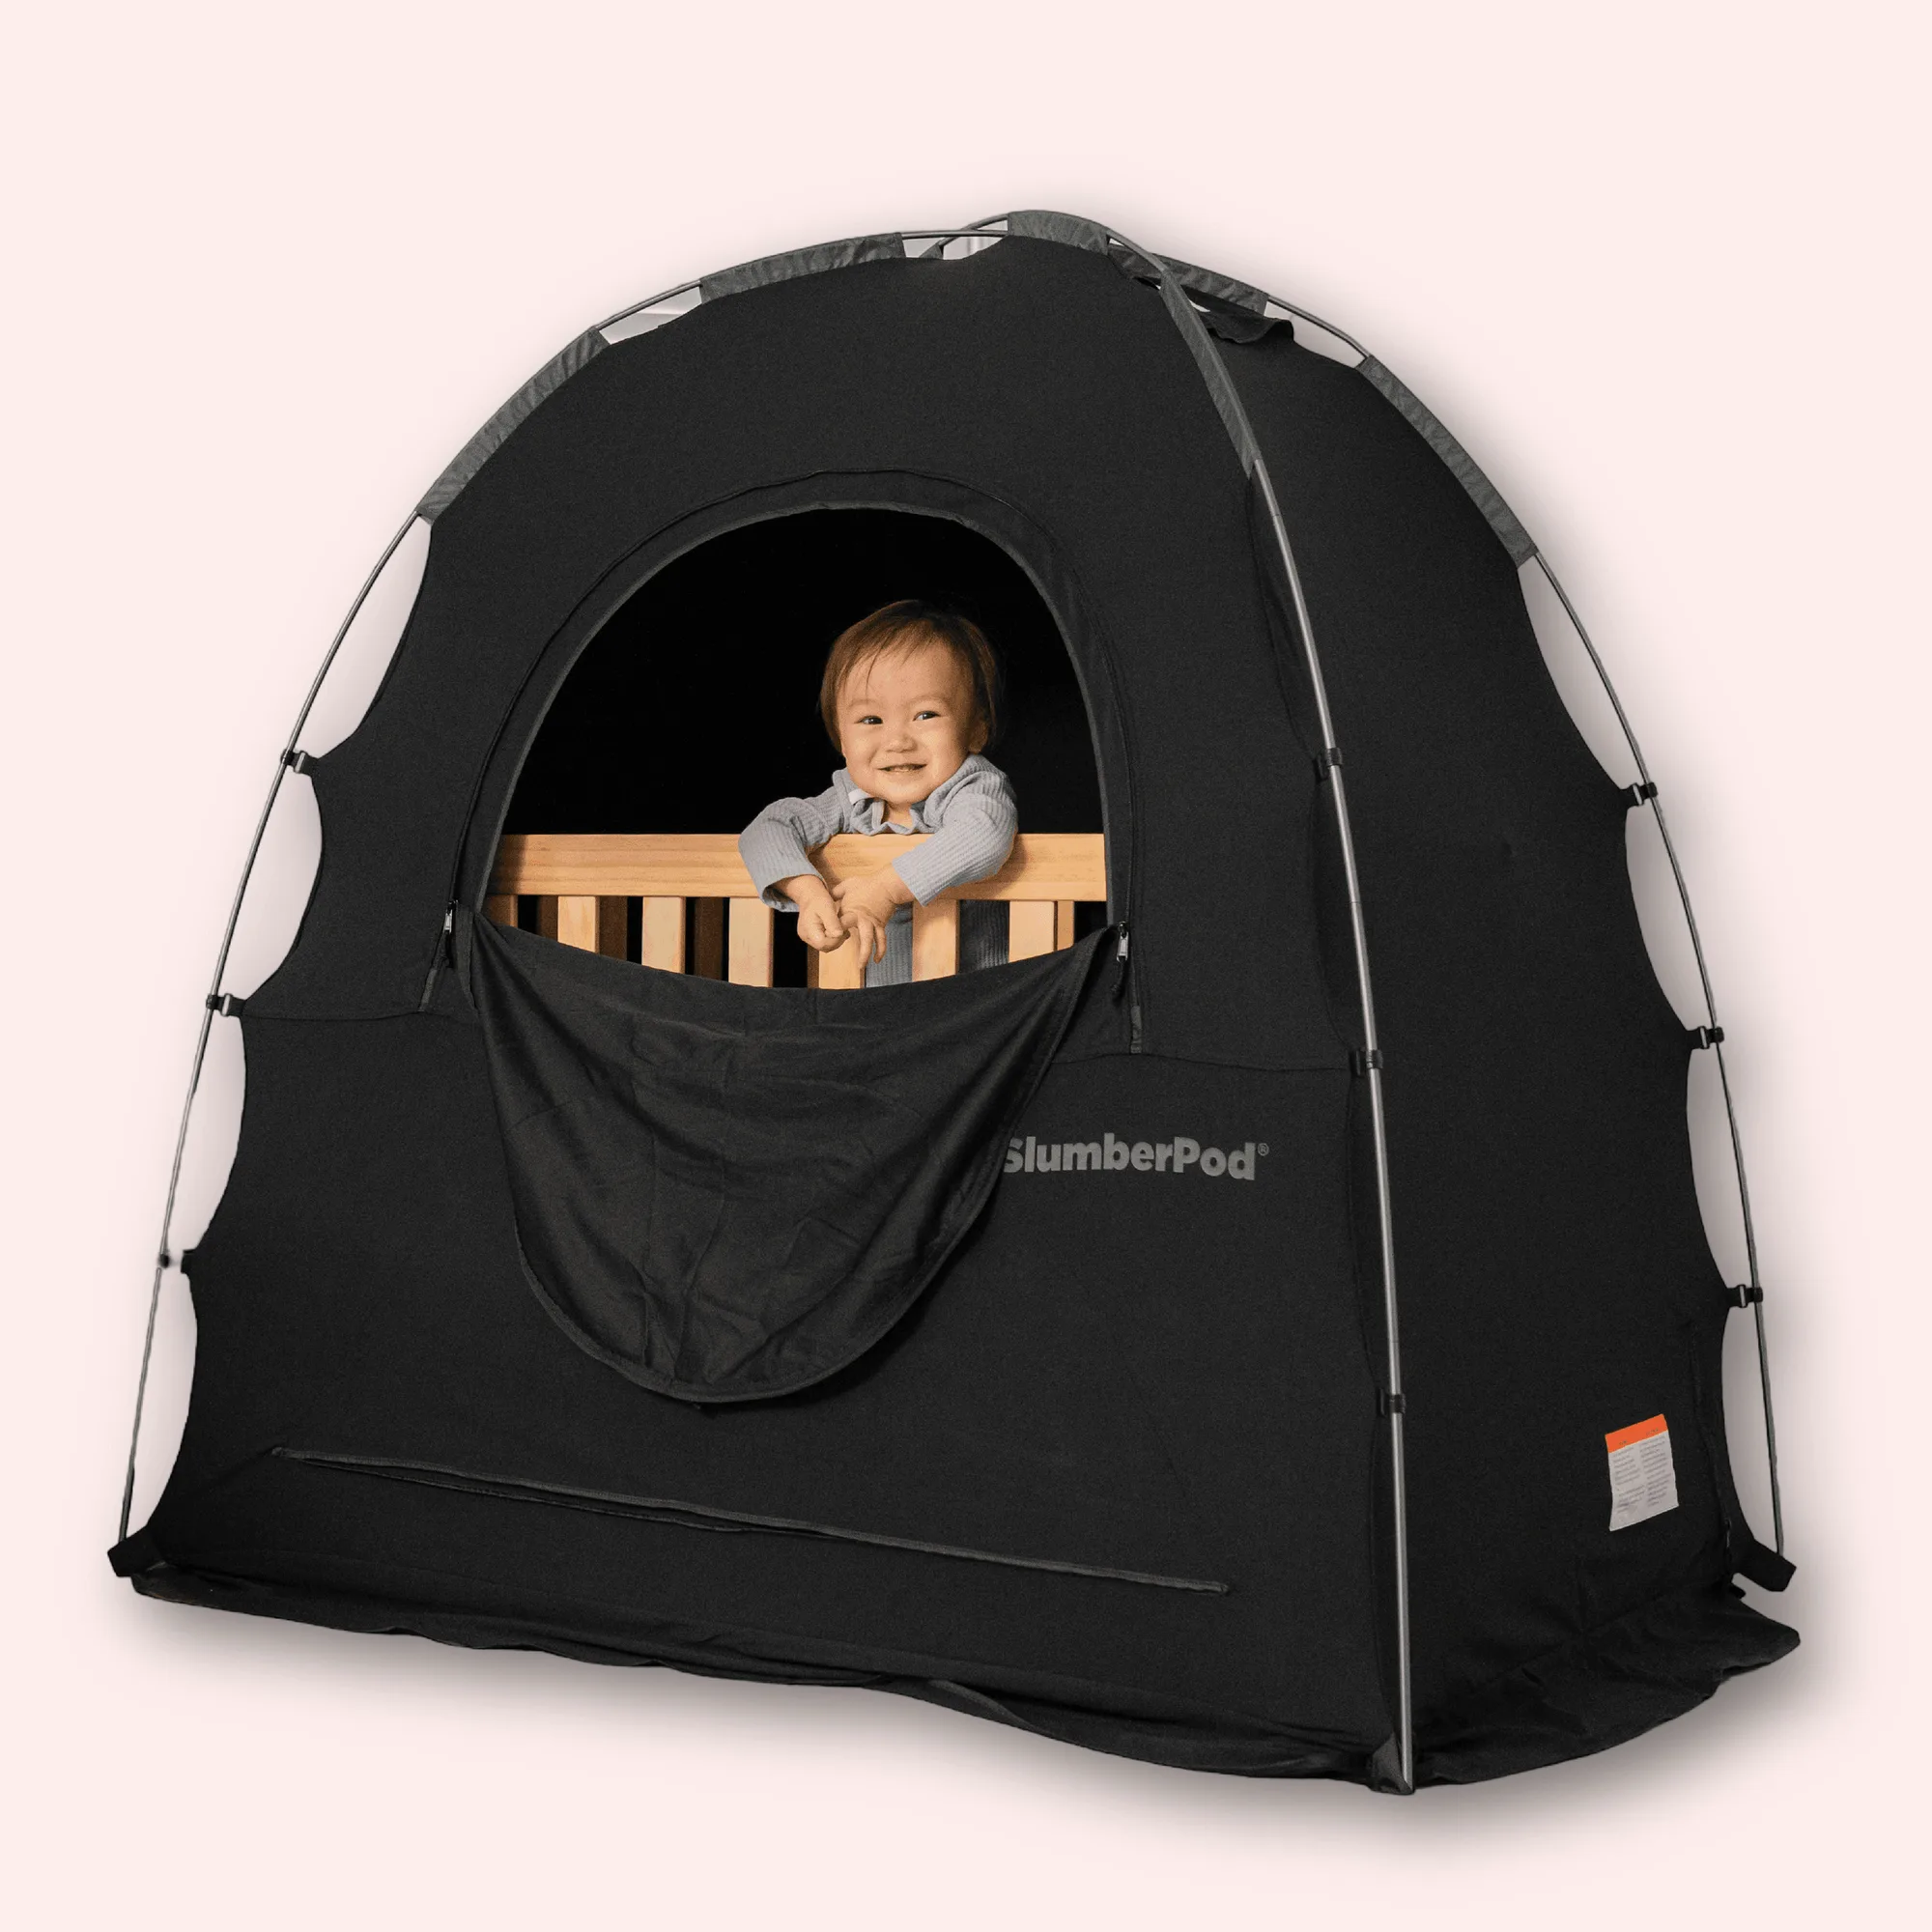
SlumberPod
Signs a pole is past saving
Poles fail in predictable ways: the shock cord loses snap, the metal or fiberglass splinters at a joint, or a section stays slightly bent after unfolding. A pole that needs tape to stay extended will not hold the canopy taut, and a loose canopy is the main reason a SlumberPod feels flimsy in a shared room. Check the pole ends where they meet the hub, since that is where repeated folding stress shows up first.
- Splits, cracks, or exposed fibers anywhere along the pole
- A bend that remains after the pole is fully unfolded
- Shock cord that is stretched, frayed, or too limp to pull sections together
- A pole end that pops out of the hub during setup
Order the right spare before you travel
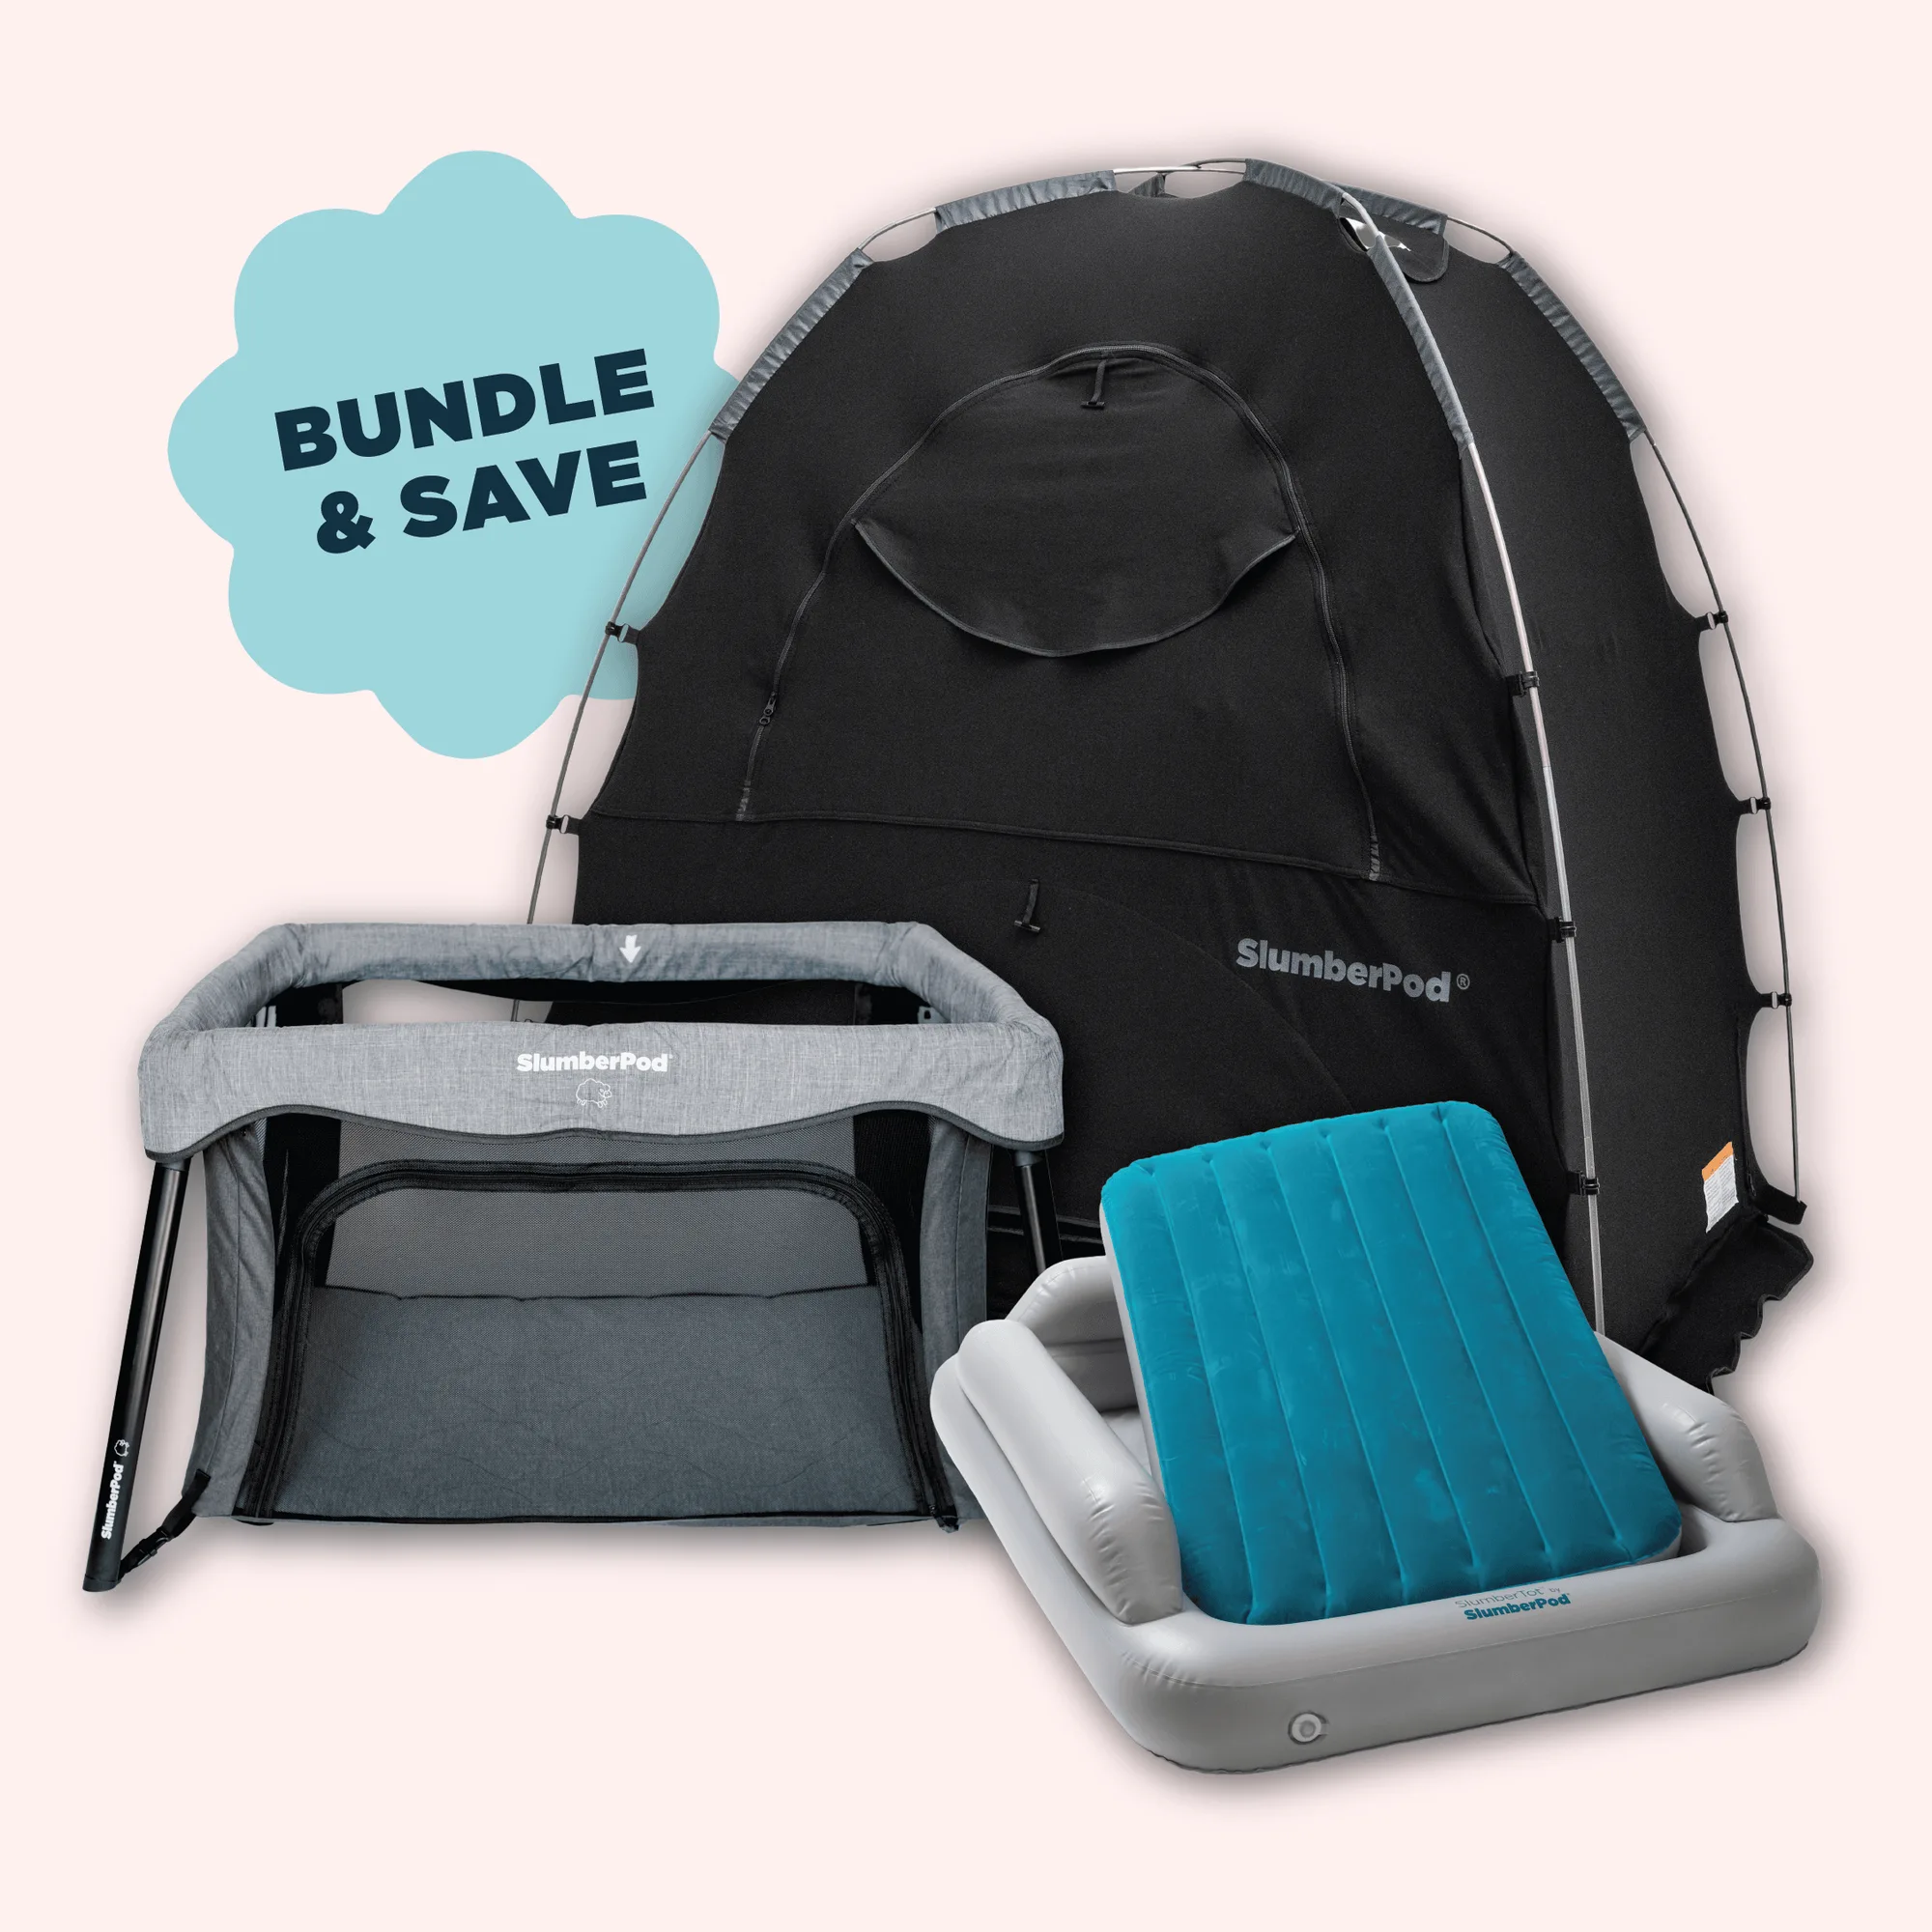
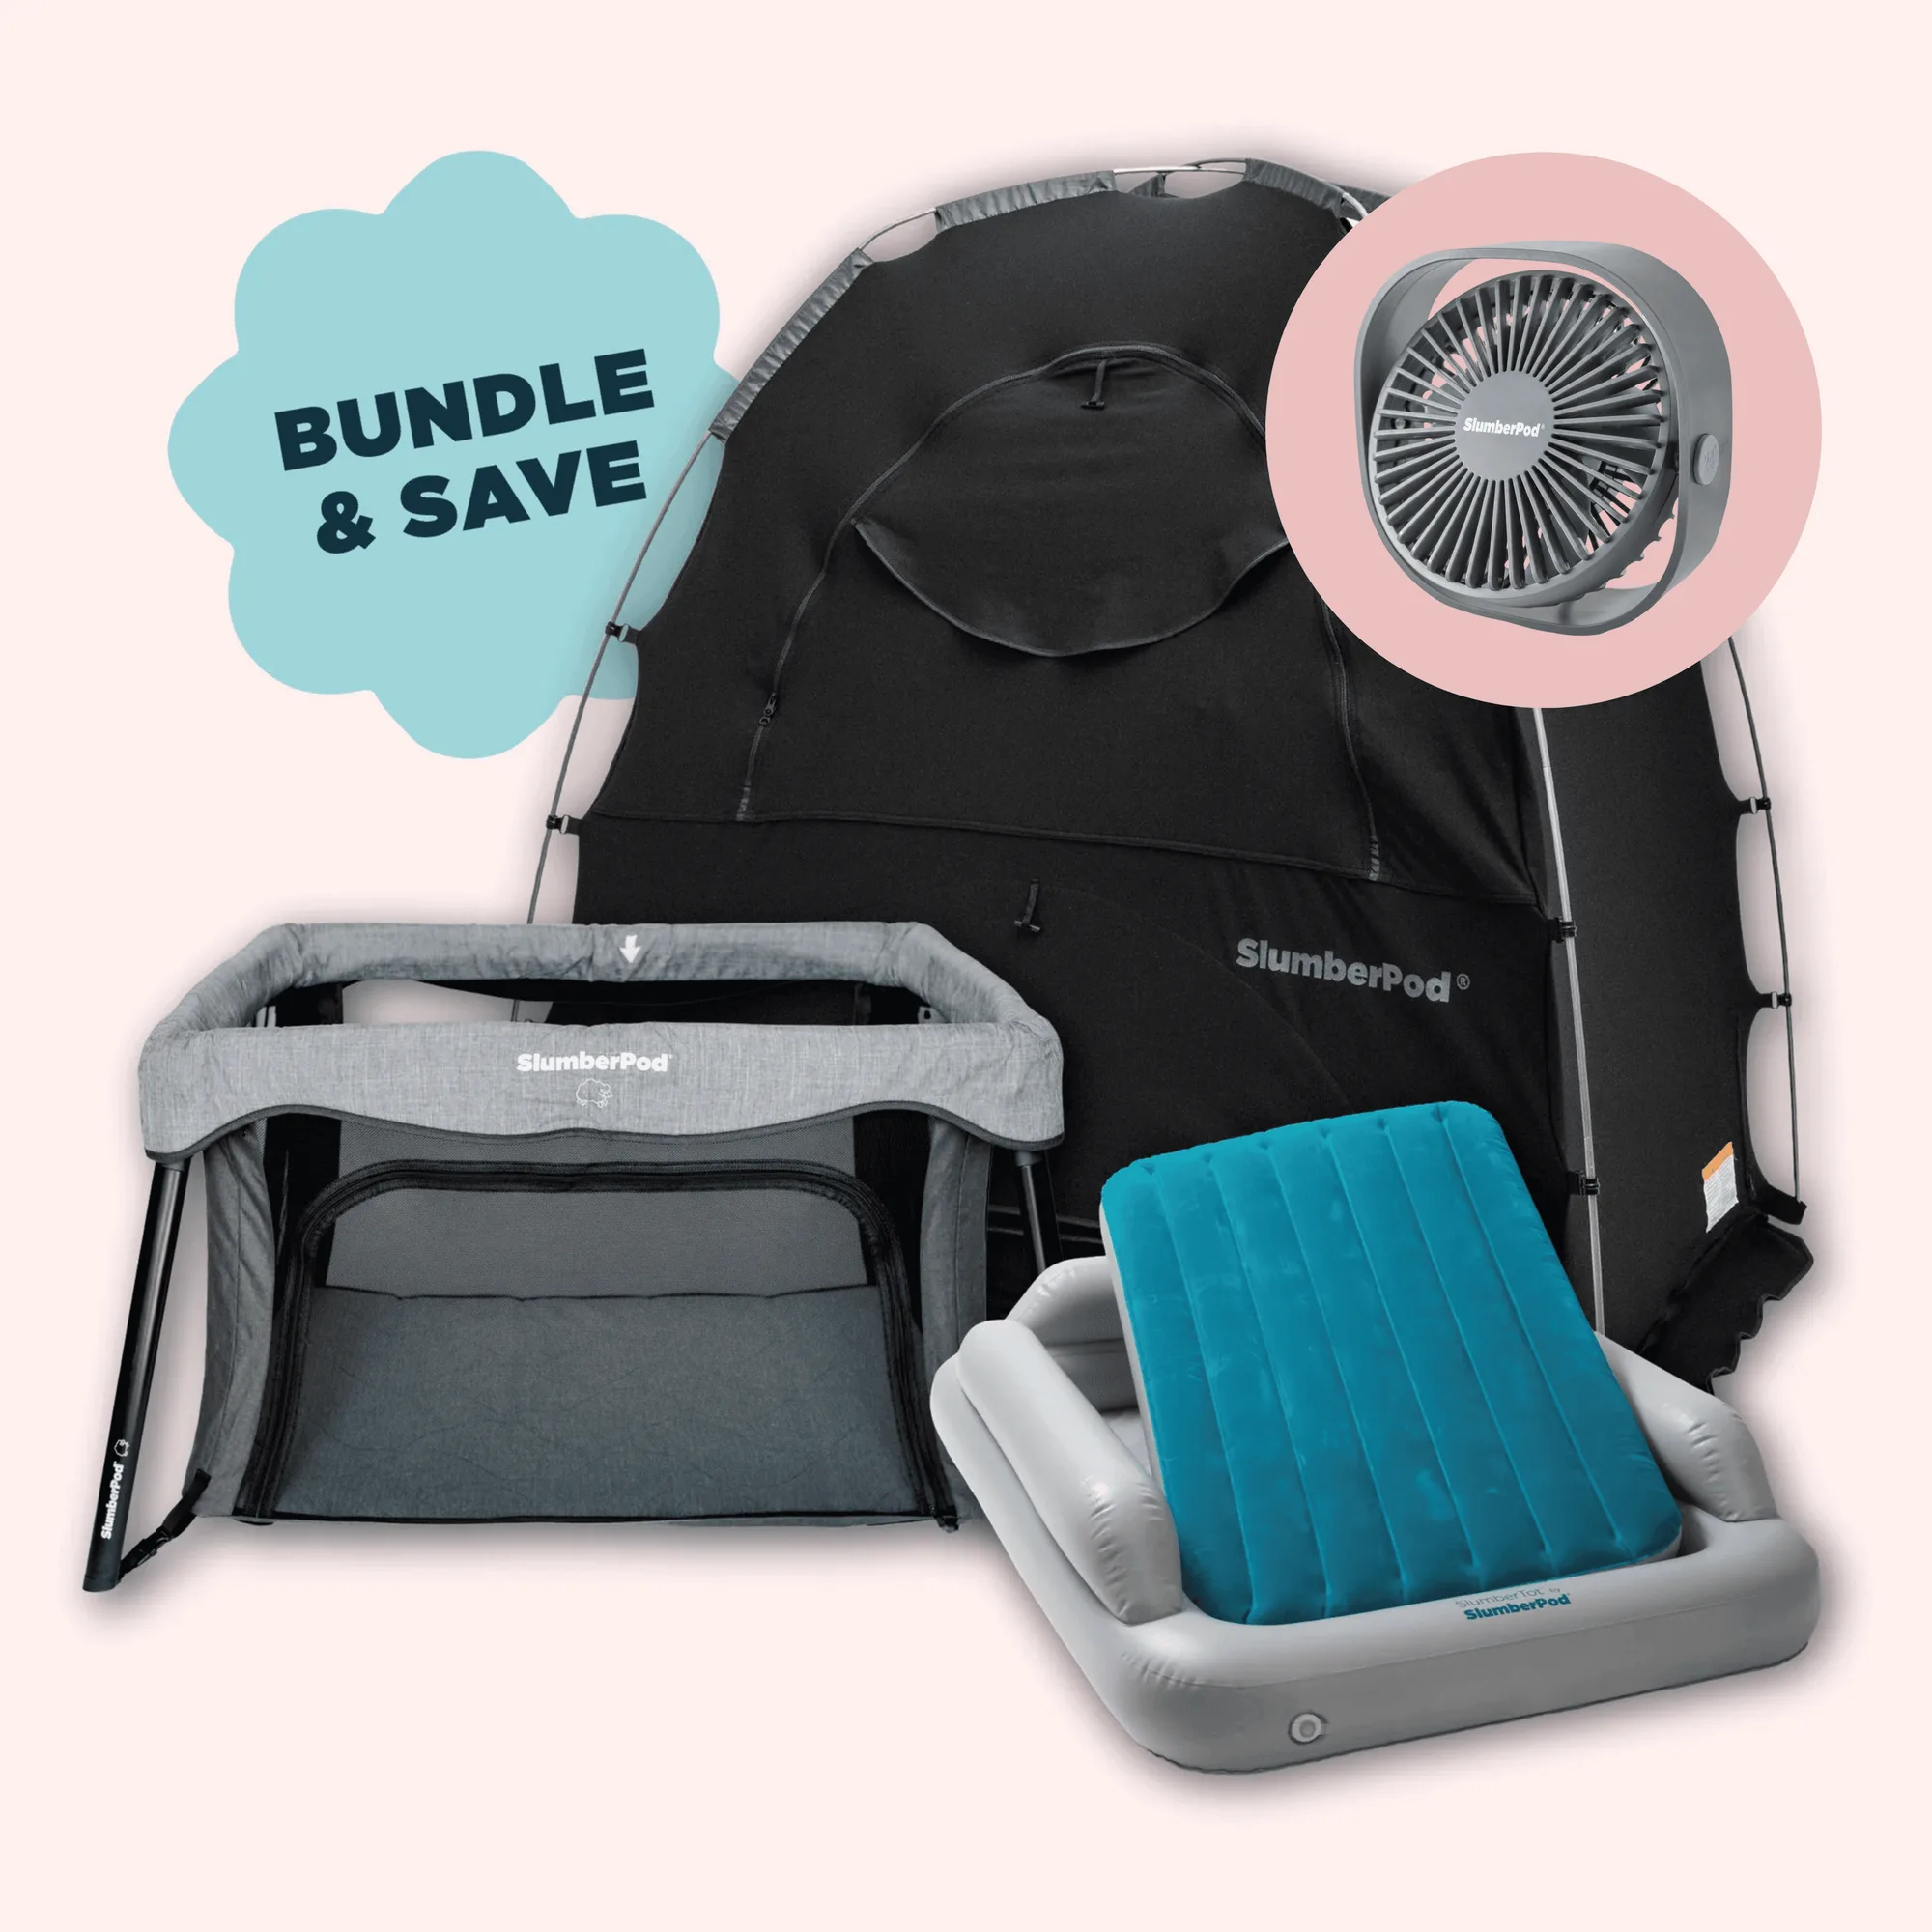
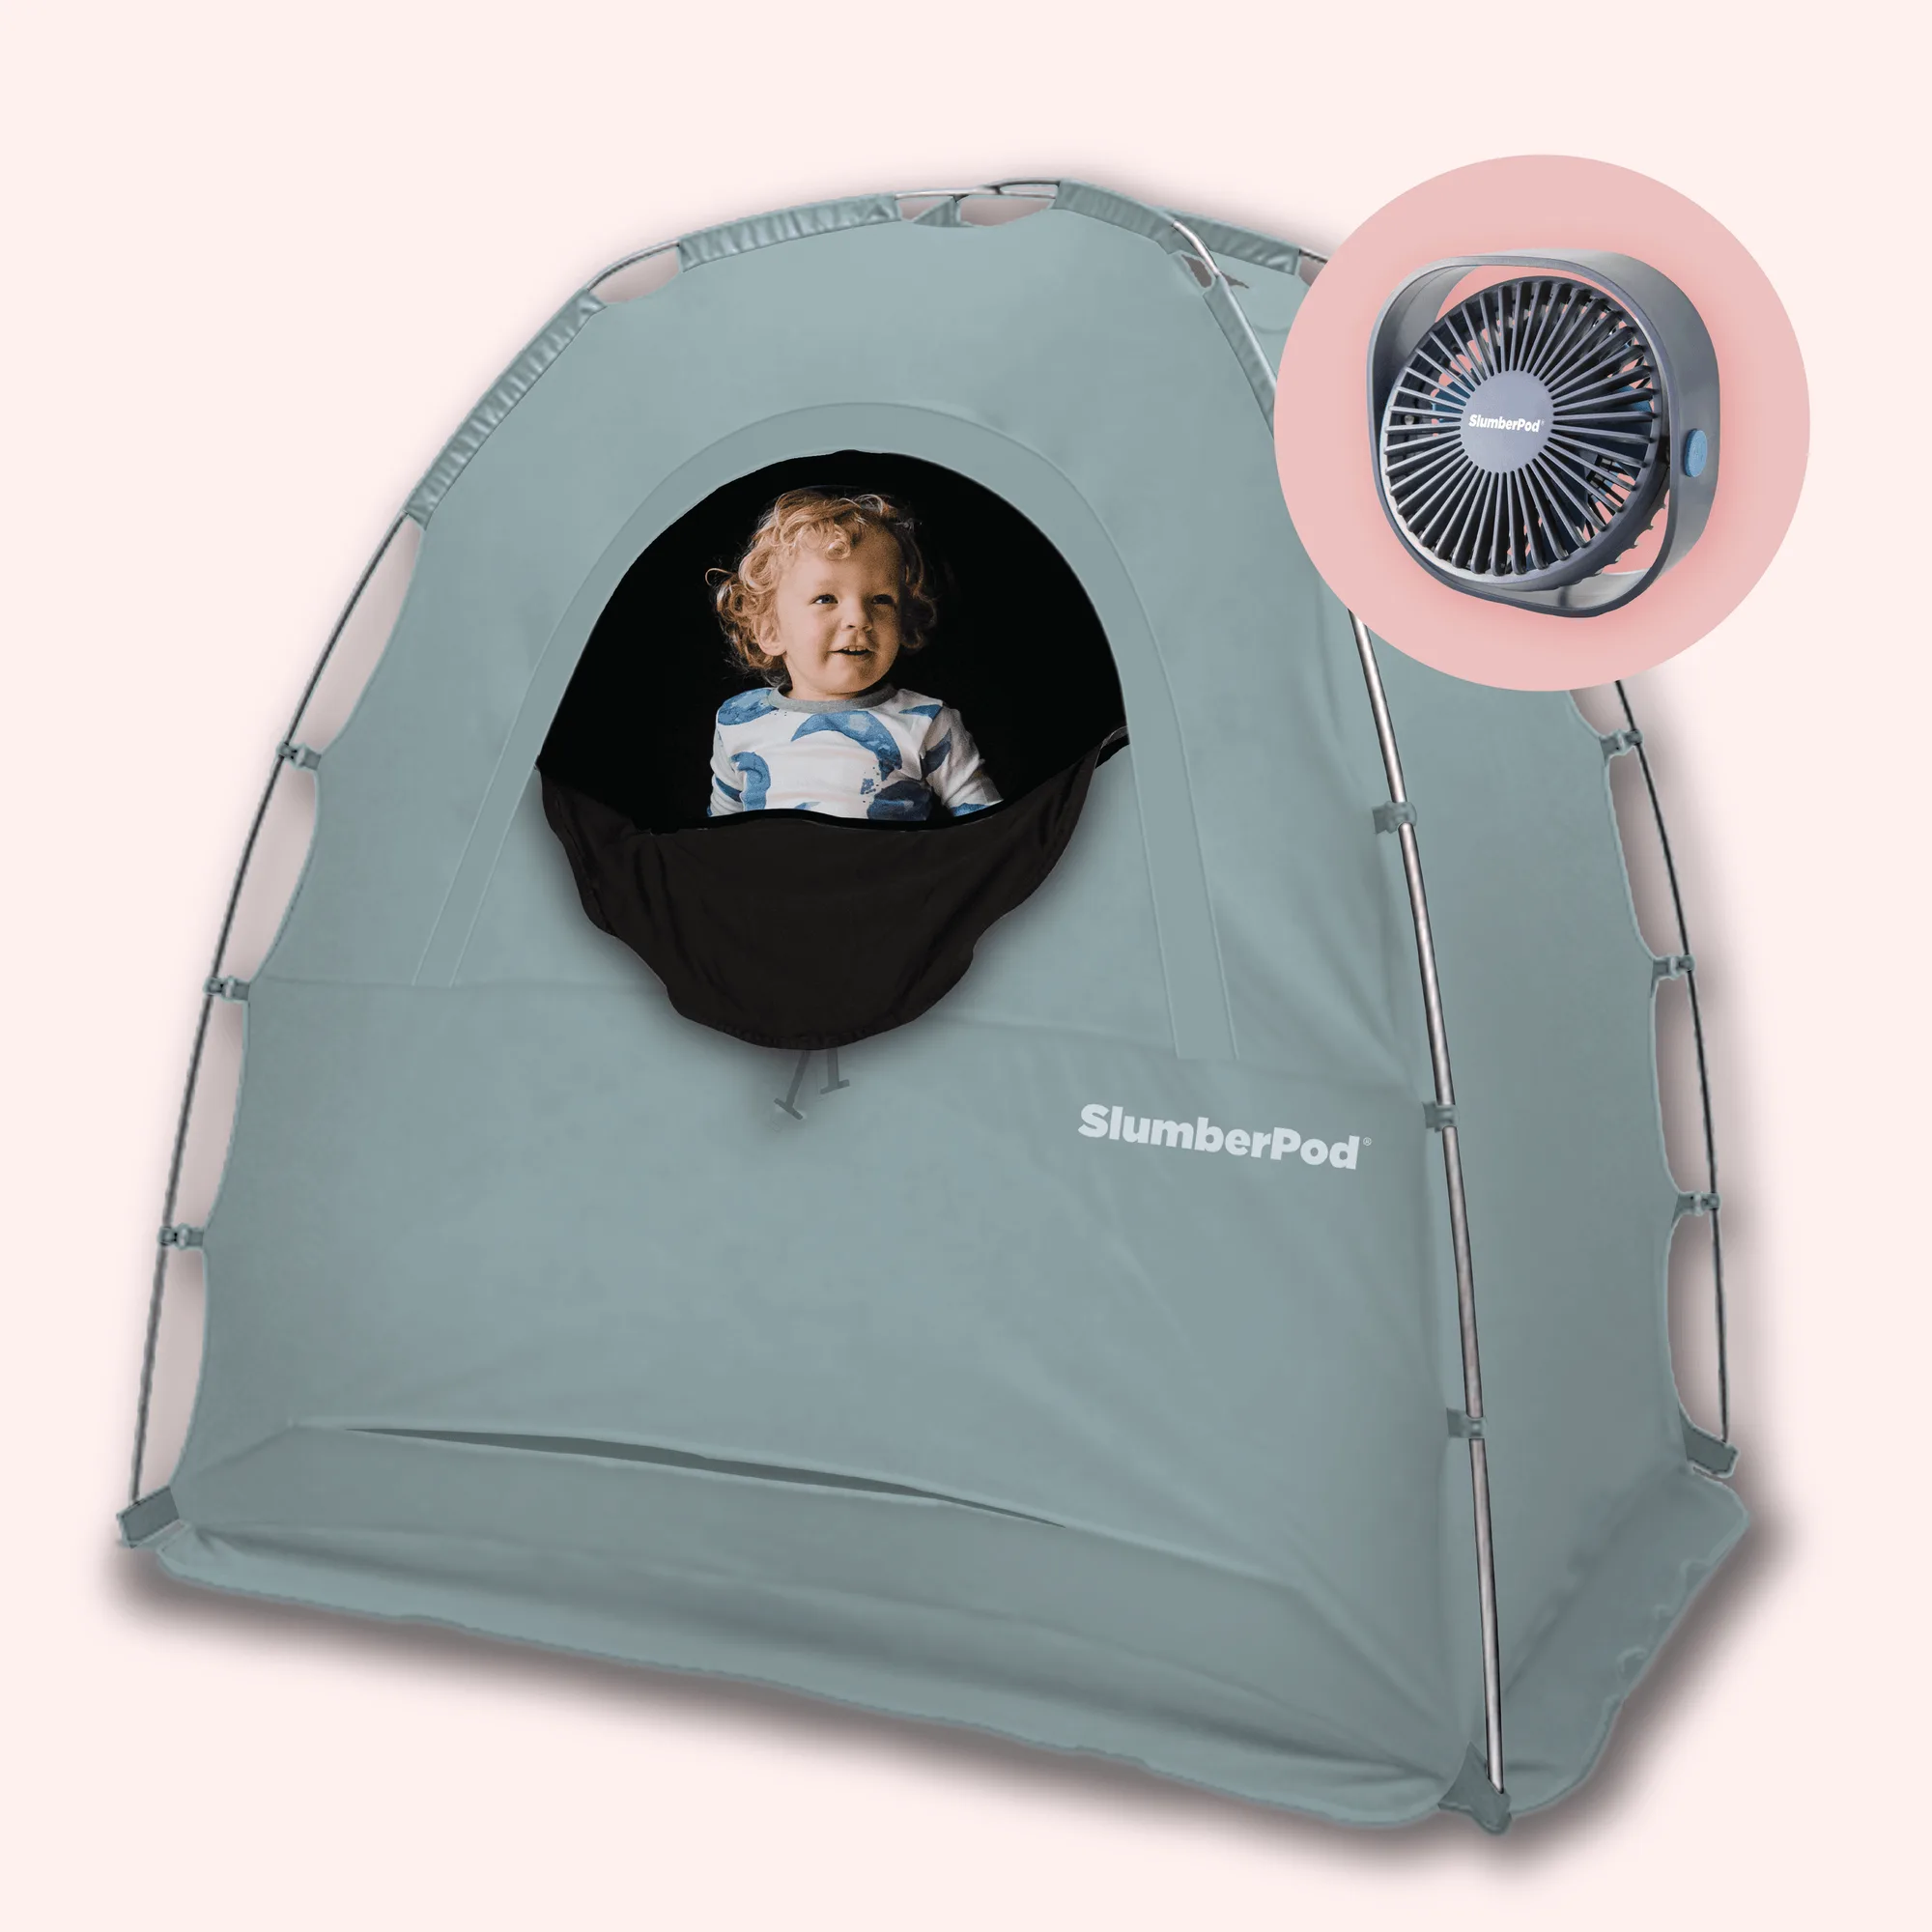
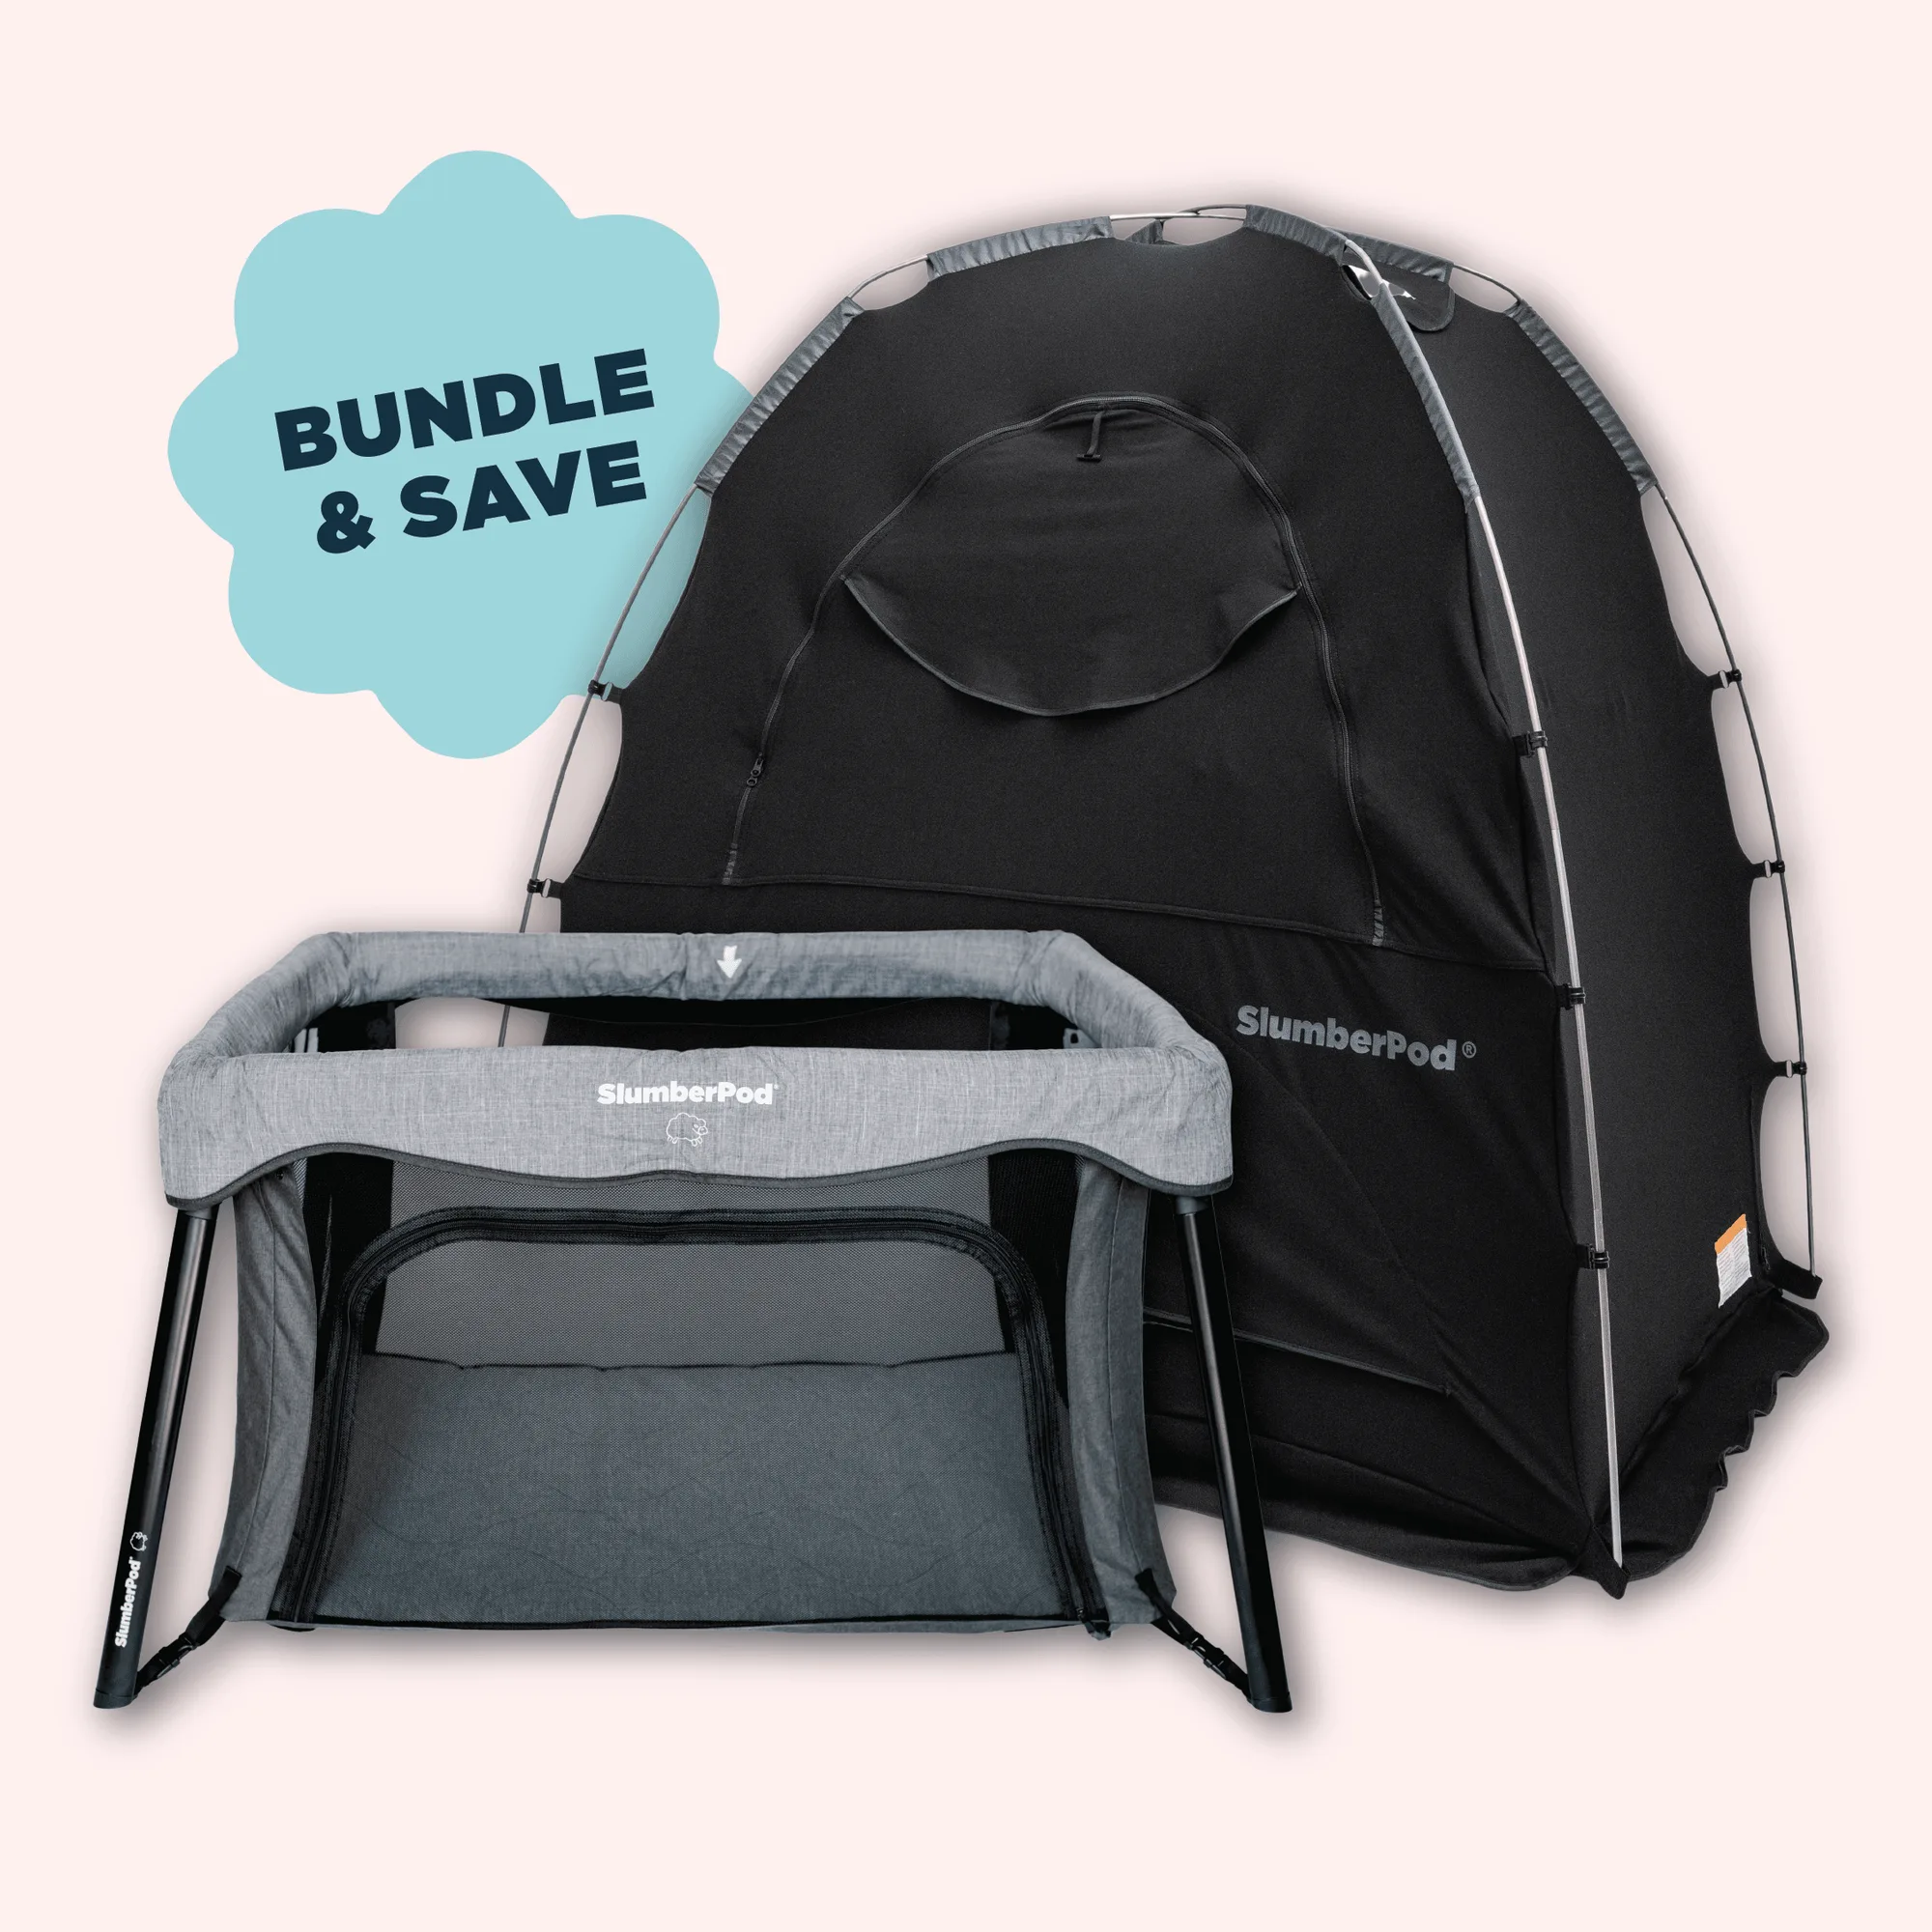
SlumberPod poles are sold as a set, so buying one replacement set gives you a spare even if only one pole is damaged. Keep the spare in your travel bag rather than in a closet at home, because pole damage usually happens during packing or unpacking on a trip. If you are building a full travel kit, the Baby Dreams Bundle keeps core SlumberPod essentials together, while 2 SlumberPods & 2 Fans covers two sleep spaces for families who split time between home and a grandparent's house.
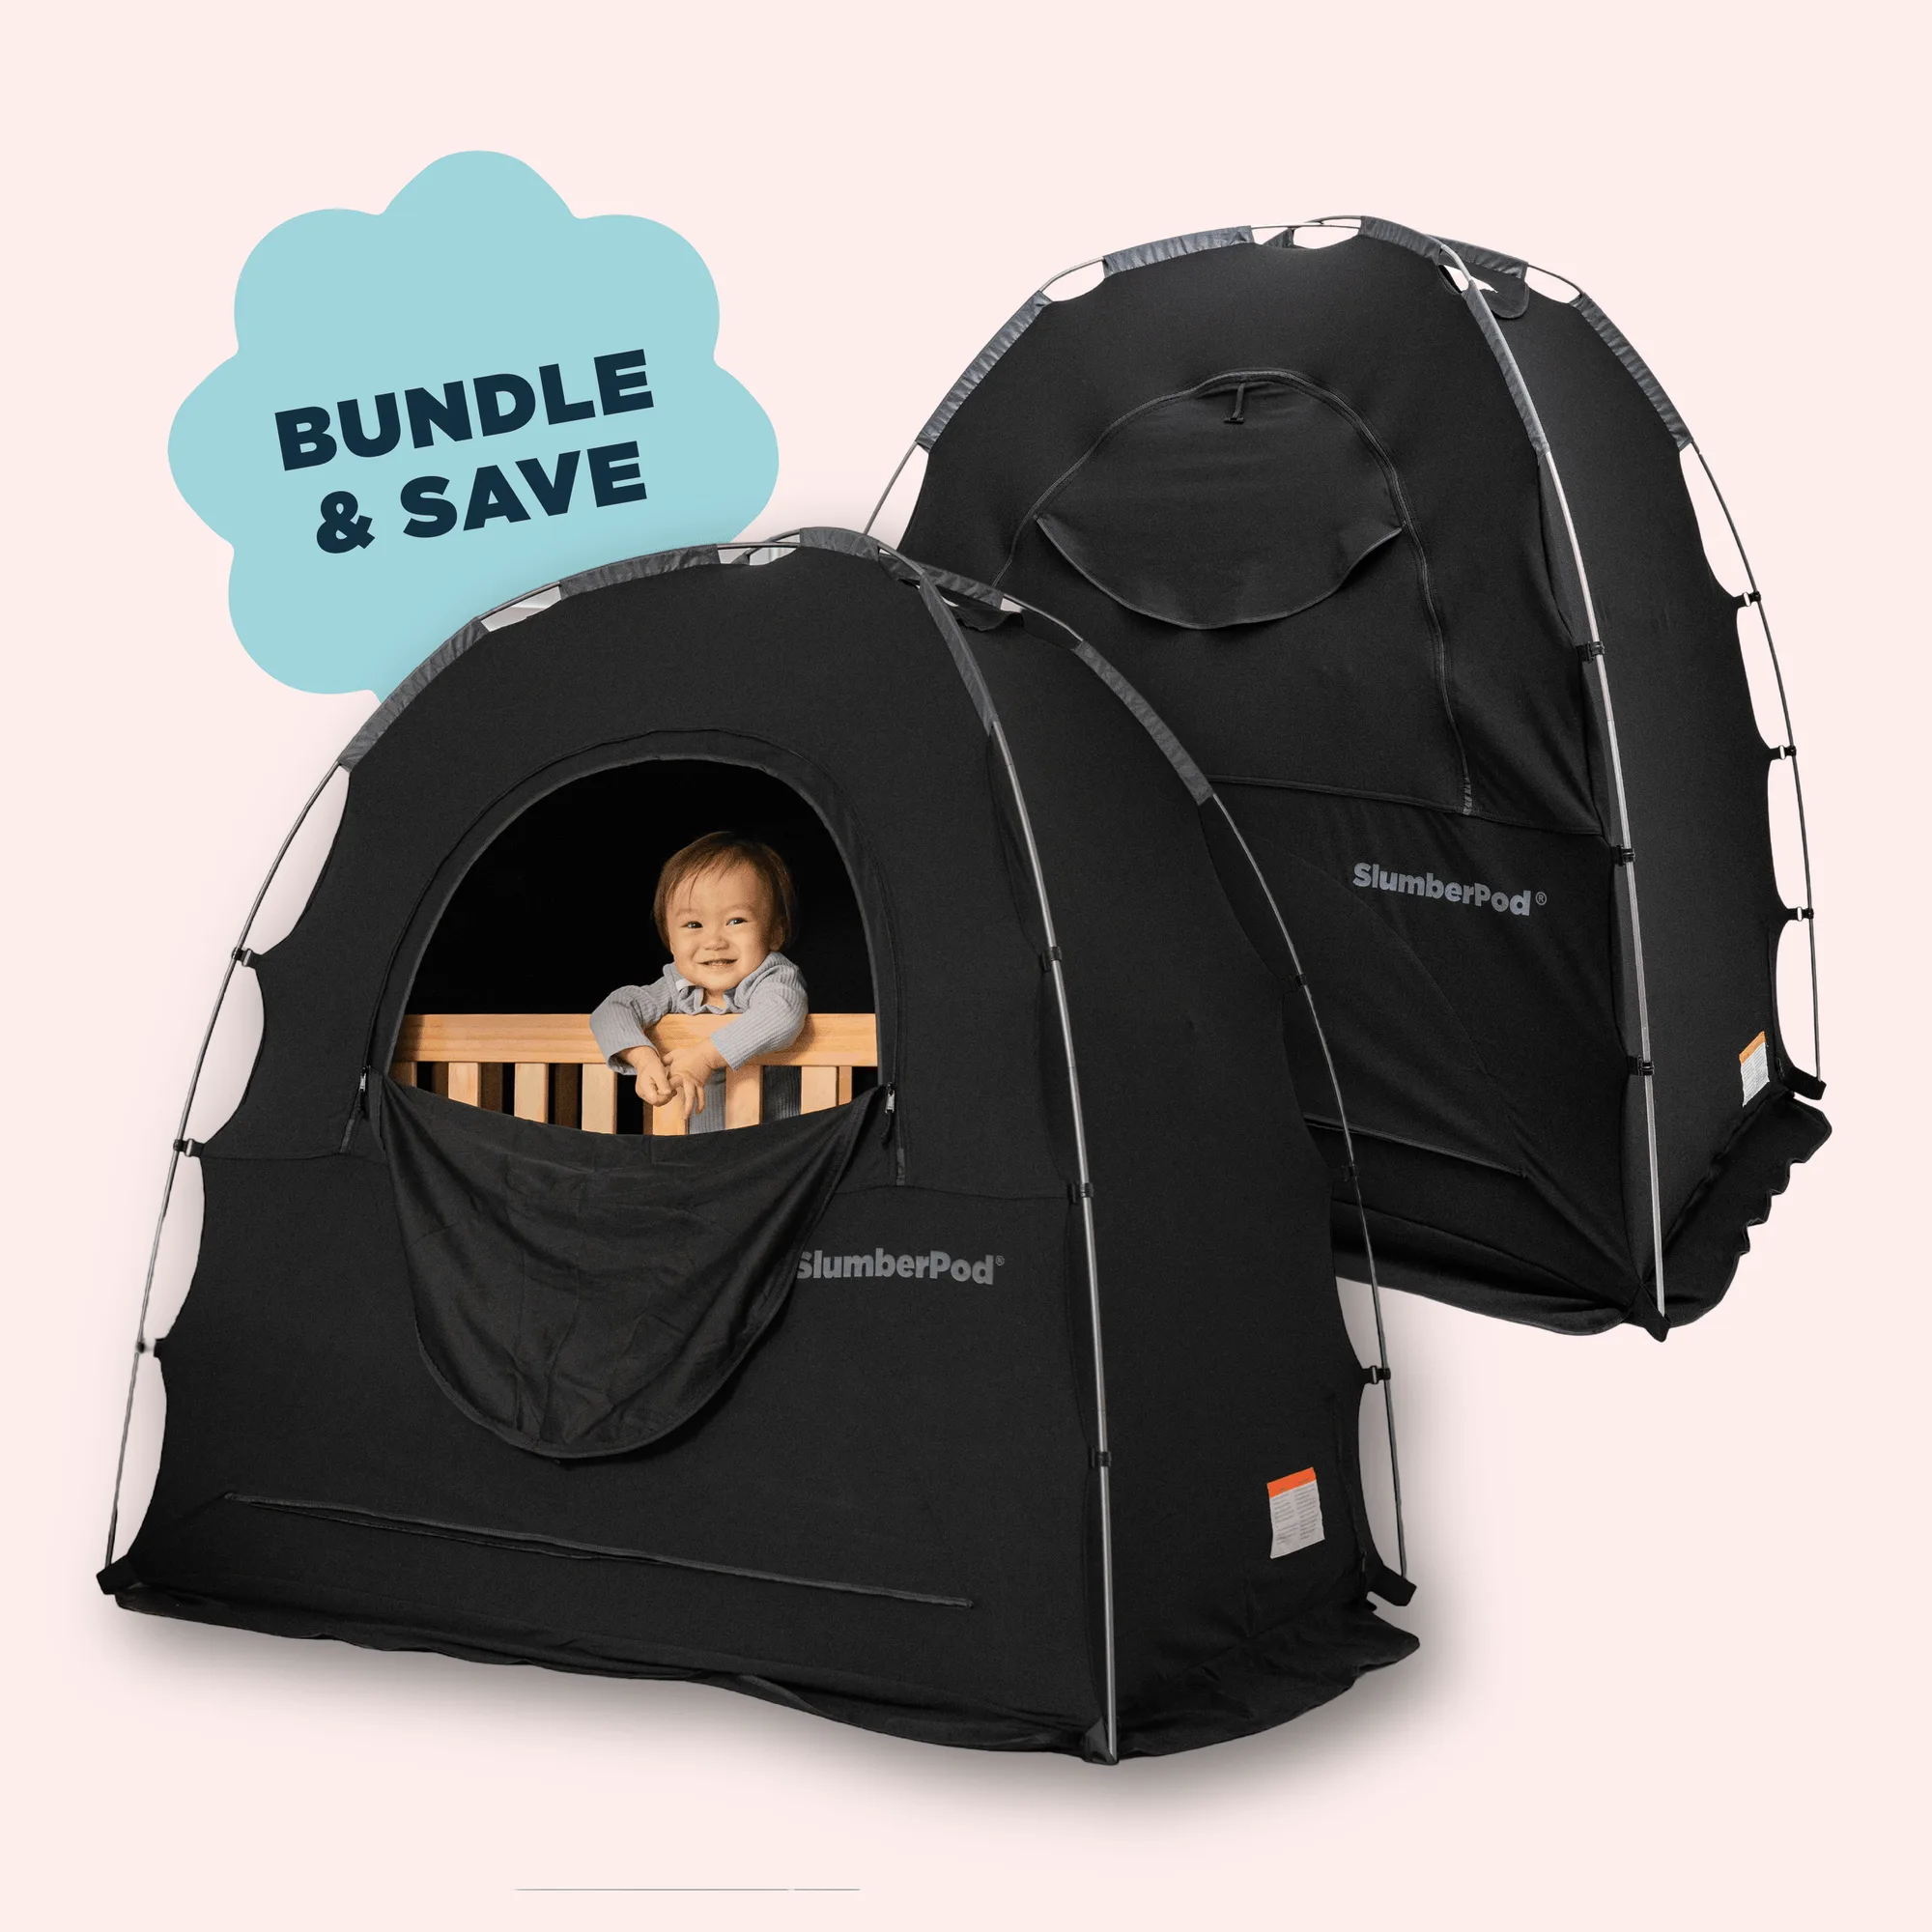
2 SlumberPods
What to check before you start the swap
Set up the SlumberPod on a clean, flat surface and remove the fabric from the frame only as far as the instructions allow. Lay the replacement poles beside the frame so you can match section lengths and hub fittings before threading anything. Confirm the fabric is fully unzipped and relaxed; pulling a new pole through tight fabric is the most common cause of a bent replacement.
How to replace SlumberPod poles step by step
- 1. Empty and relax the fabric: Unzip the SlumberPod fully and lay it flat so the fabric is not stretched around the frame. Mistake to avoid: starting the swap while the canopy is still zipped, which puts tension on every joint. Checkpoint: the fabric should sit loosely enough that you can lift a pole section without resistance.
- 2. Remove one pole at a time: Free the damaged pole from the hub and sleeve, then pull it out slowly so the shock cord does not snap back into the fabric. Mistake to avoid: pulling two poles at once, which makes it hard to see how the sections were seated. Checkpoint: keep the intact pole in place as a reference for routing.
- 3. Match the replacement to the old pole: Lay the new pole beside the removed one and compare section count, length, and end fittings before threading. Mistake to avoid: forcing a section that does not seat, which usually means it is oriented the wrong way. Checkpoint: the new pole should mirror the old one exactly, with the shock cord pulling sections together on its own.
- 4. Thread through the sleeve and seat the hub end first: Feed the pole through the fabric sleeve, then push the hub end into place before extending the far sections. Mistake to avoid: extending the pole before the hub end is seated, which bends the tip. Checkpoint: the hub end should sit flush with no gap or wobble.
- 5. Extend sections from the hub outward: Work outward one section at a time, letting the shock cord do the pulling, until the pole is fully extended. Mistake to avoid: yanking the last section, which is how replacement poles get kinked. Checkpoint: the pole should feel firm with no soft joints.
- 6. Repeat on the second pole only if needed: If the other pole is sound, leave it in place and keep the second replacement pole as a spare in your travel bag. Mistake to avoid: replacing a healthy pole just because it came in the set. Checkpoint: zip the canopy and confirm the frame holds its shape before you pack up.
- 7. Do a final tension test: Zip the SlumberPod closed and press gently on the canopy; the fabric should stay taut and the frame should not shift at the hubs. Mistake to avoid: assuming a loose canopy is normal, since it usually points to a pole that is not fully seated. Next step: if the frame is still loose after a full pole swap, check the hub and fabric seams rather than ordering more poles.
Parts and bundles worth knowing
- SlumberPod Replacement Poles (Set of 2): SlumberPod Replacement Poles come as a set of 2, made especially for SlumberPod, so you can keep spares on hand while traveling. A matched pair means you can replace a damaged pole immediately and still have a spare for the next trip.
- Baby Dreams Bundle: The Baby Dreams Bundle brings SlumberPod essentials together in one package to support a familiar sleep setup away from home. Useful if you are replacing gear and want the core sleep setup covered in a single order.
- 2 SlumberPods & 2 Fans: 2 SlumberPods & 2 Fans bundles two SlumberPods with fans so two sleep spaces can be set up, such as one at home and one at Grandma's house. A sensible option when two locations need their own frame and poles rather than packing one set back and forth.