Start with the shelter you actually have
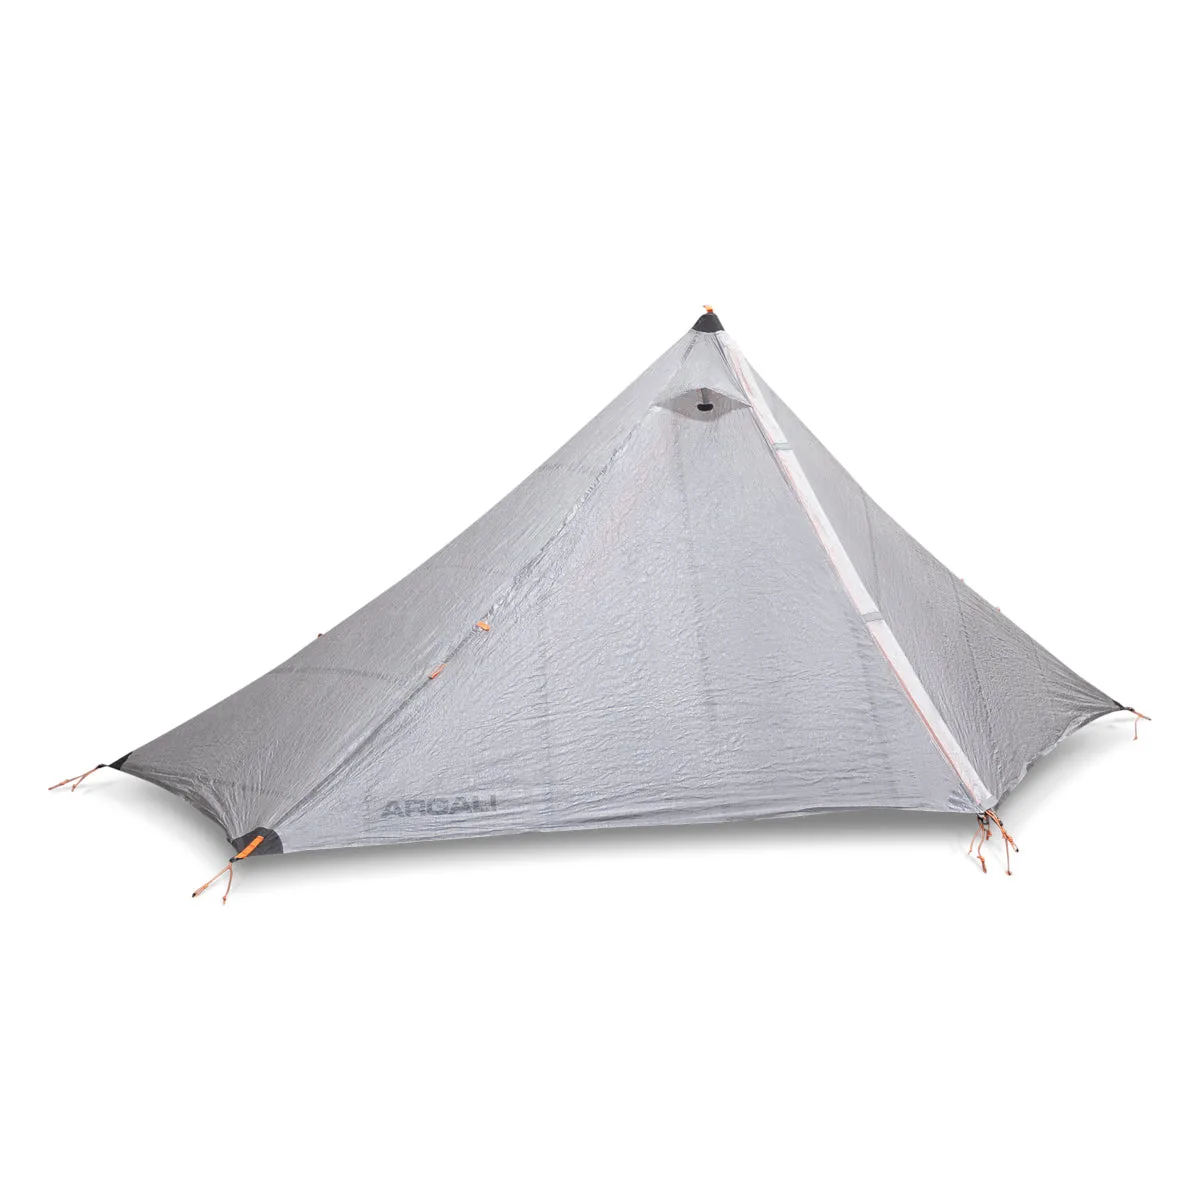
The SOLITUDE 1 TENT [DYNEEMA®] is a one-person shelter built for solo backcountry hunts where pack weight matters but comfort and protection do not get sacrificed. Before you practice a pitch, check which variant you ordered. The tent is offered with or without an included nest, with or without two carbon 1P tent poles, and with or without a footprint. Your setup sequence changes depending on those choices.
The supplied product record describes the Dyneema® fabric as delivering strength, weather protection, and livability without unnecessary bulk. It does not include a step-by-step pitching procedure, so the guidance below focuses on decisions you can make from the confirmed variant structure and general backcountry practice, not on invented manufacturer instructions.
What the catalog confirms
-
SOLITUDE 1 TENT [DYNEEMA®]: The PEAX Solitude 1 Dyneema® is a 1 person tent designed to maximize interior living space while minimizing pack weight for demanding mountain hunts. This tells you the shelter is sized for one person and intended for mountain hunts where every ounce counts.
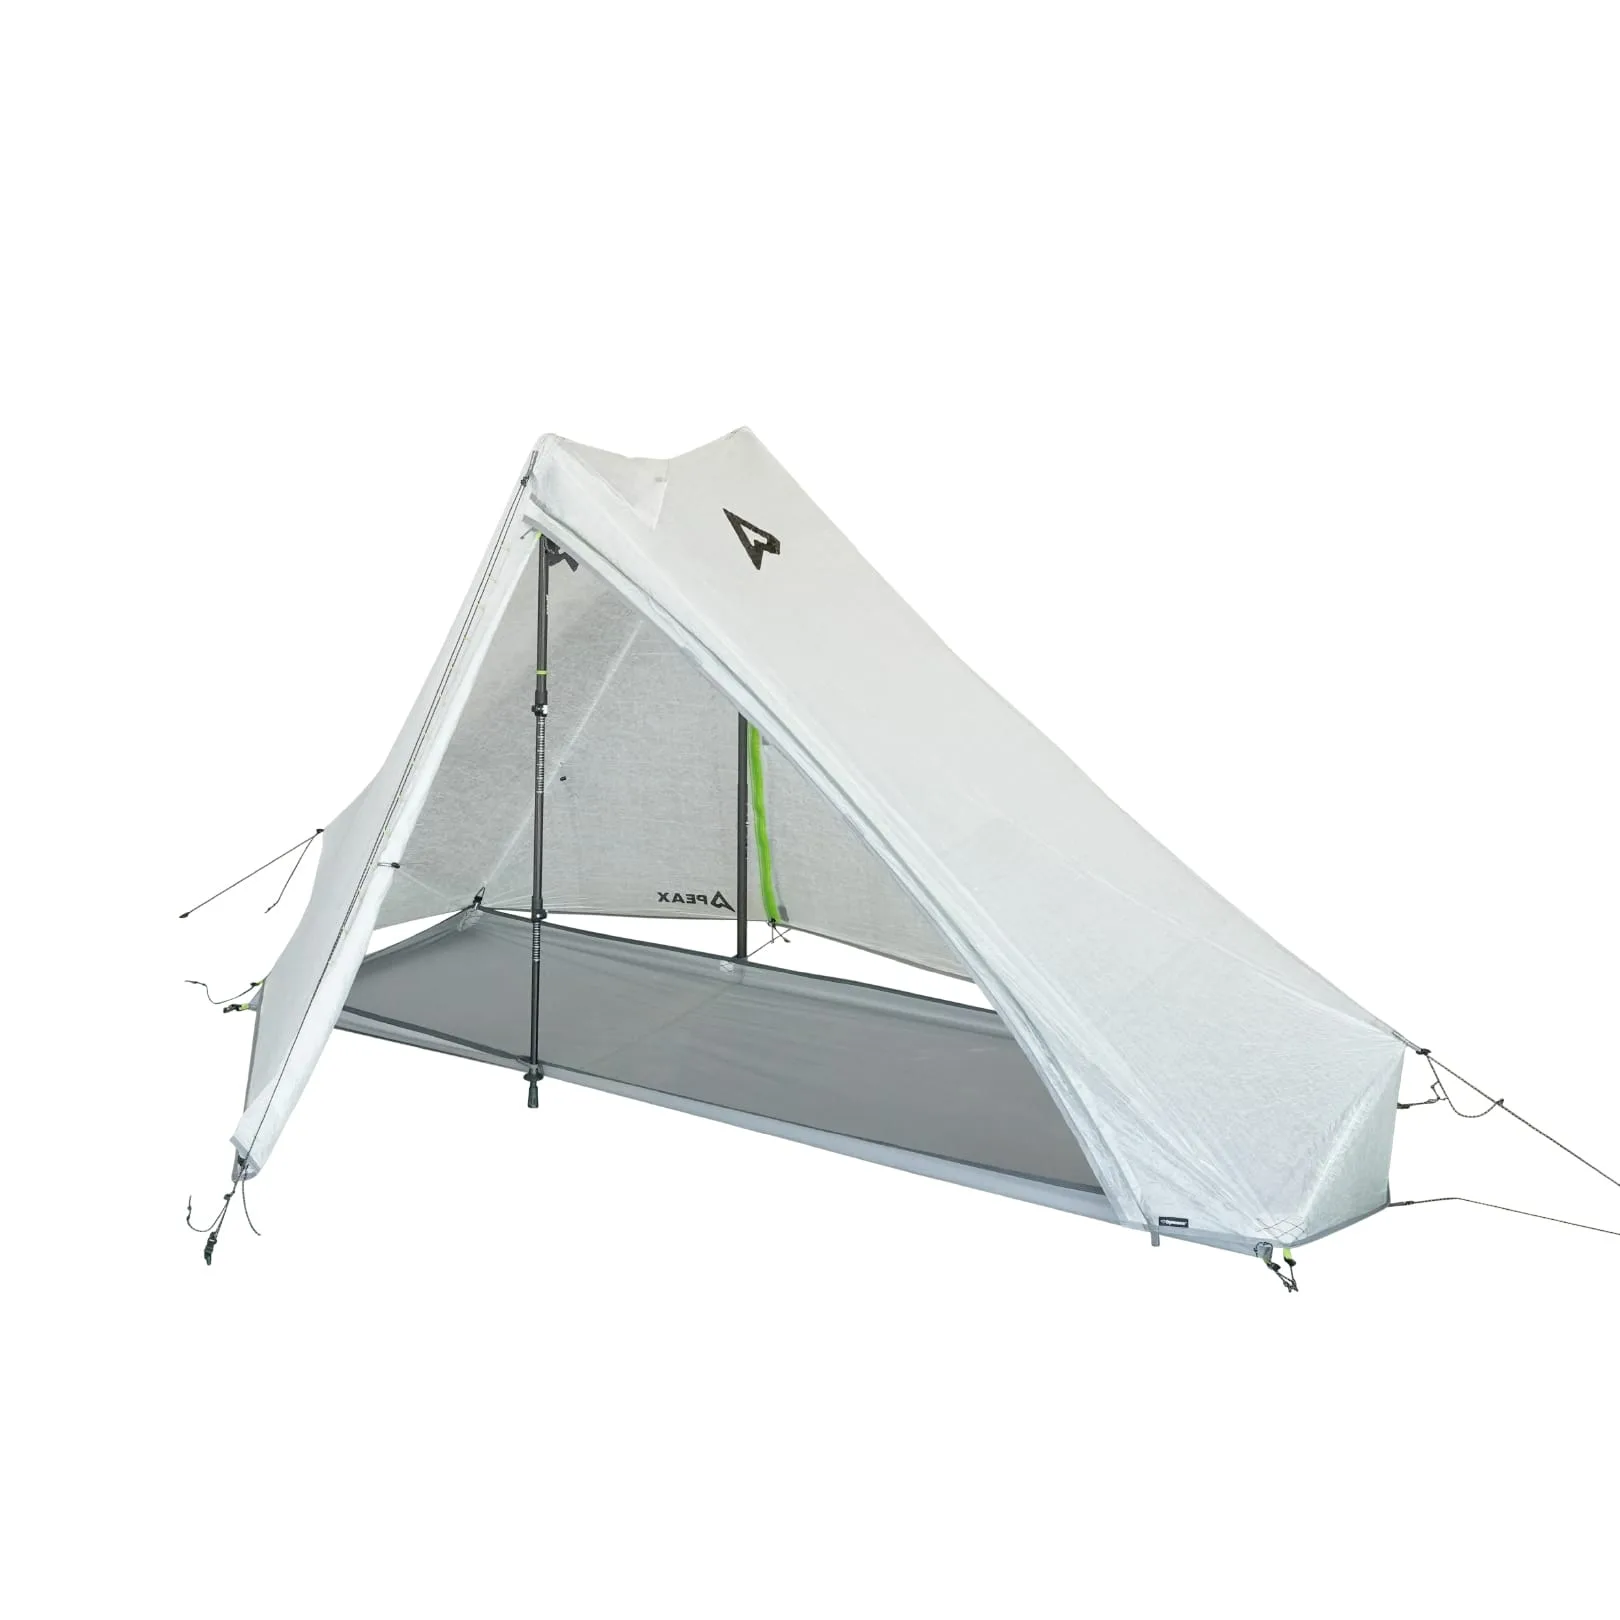
SOLITUDE 1 TENT [DYNEEMA®]
-
SOLITUDE 1 TENT [DYNEEMA®]: It combines the proven Solitude shelter platform with premium Dyneema® fabric for strength, weather protection, and livability without unnecessary bulk. The fabric choice is central to why this tent is an ultralight option, but the record does not provide a hydrostatic head or wind rating.
A practical solo pitch sequence
The exact pitch depends on whether you are using the nest and poles. Use this sequence as a field checklist, and adjust for the variant you carry.
- 1. Choose a site that fits a one-person shelter: Look for a flat, cleared area large enough for a solo tent. The catalog describes the Solitude 1 as maximizing interior living space, but it does not list exact floor dimensions, so pace out your sleeping area and allow room for gear.
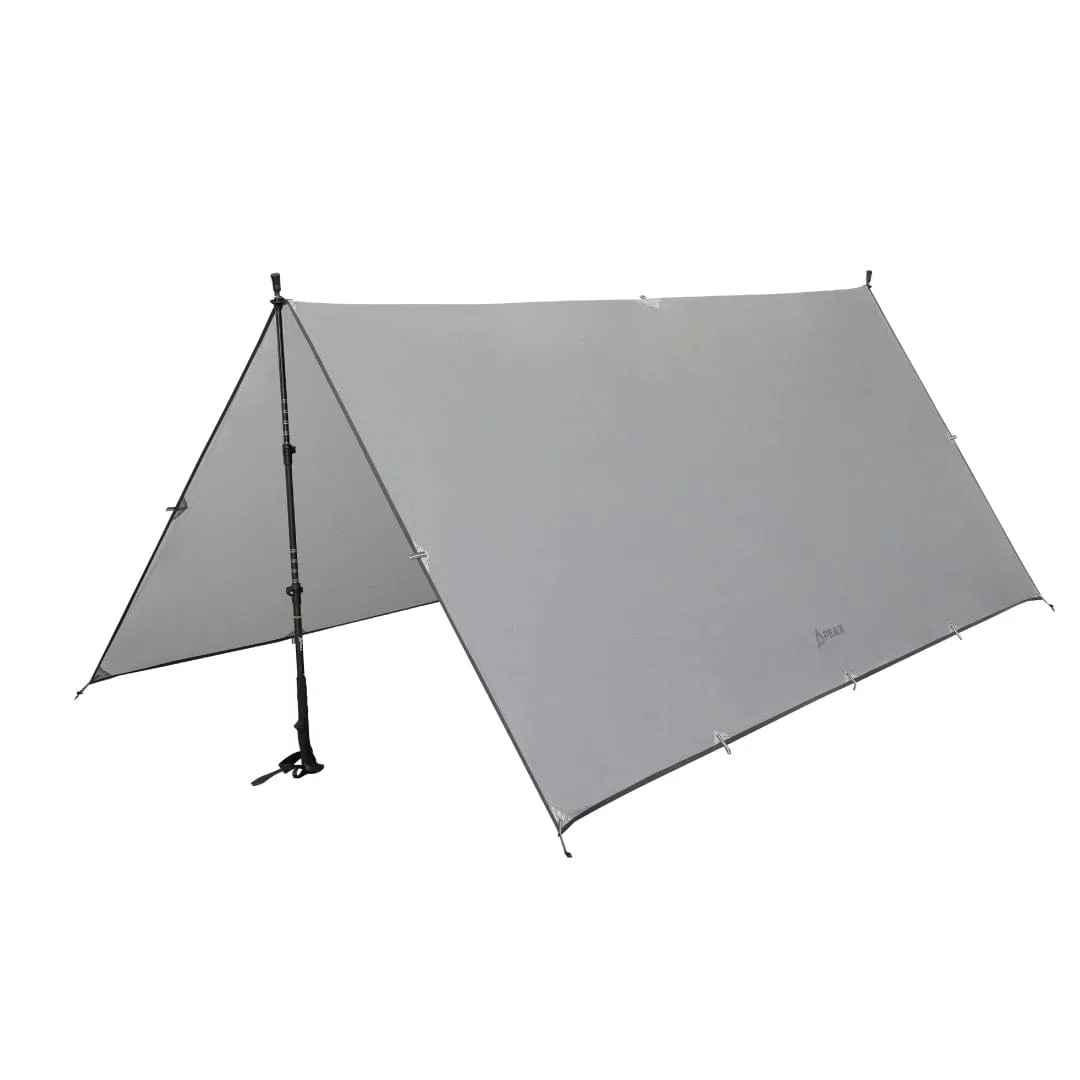
- 2. Lay out the shelter and identify stake points: Spread the tent body or fly so corners and guy-out points are visible. If your variant includes the nest, decide whether you are pitching fly-only or with the nest before you start staking.
- 3. Stake the corners first: Drive stakes at the main corners to establish the footprint. Keep tension even rather than pulling one corner tight before the others. The supplied record does not specify stake types or counts, so use stakes appropriate for the ground and check your variant contents.
- 4. Add poles if your variant includes them: The two carbon 1P tent poles are an optional variant. If you selected them, assemble and place them according to the tent's sleeve or clip arrangement. If you chose the no-poles variant, you will need to use your own support method; the catalog does not describe an alternative.
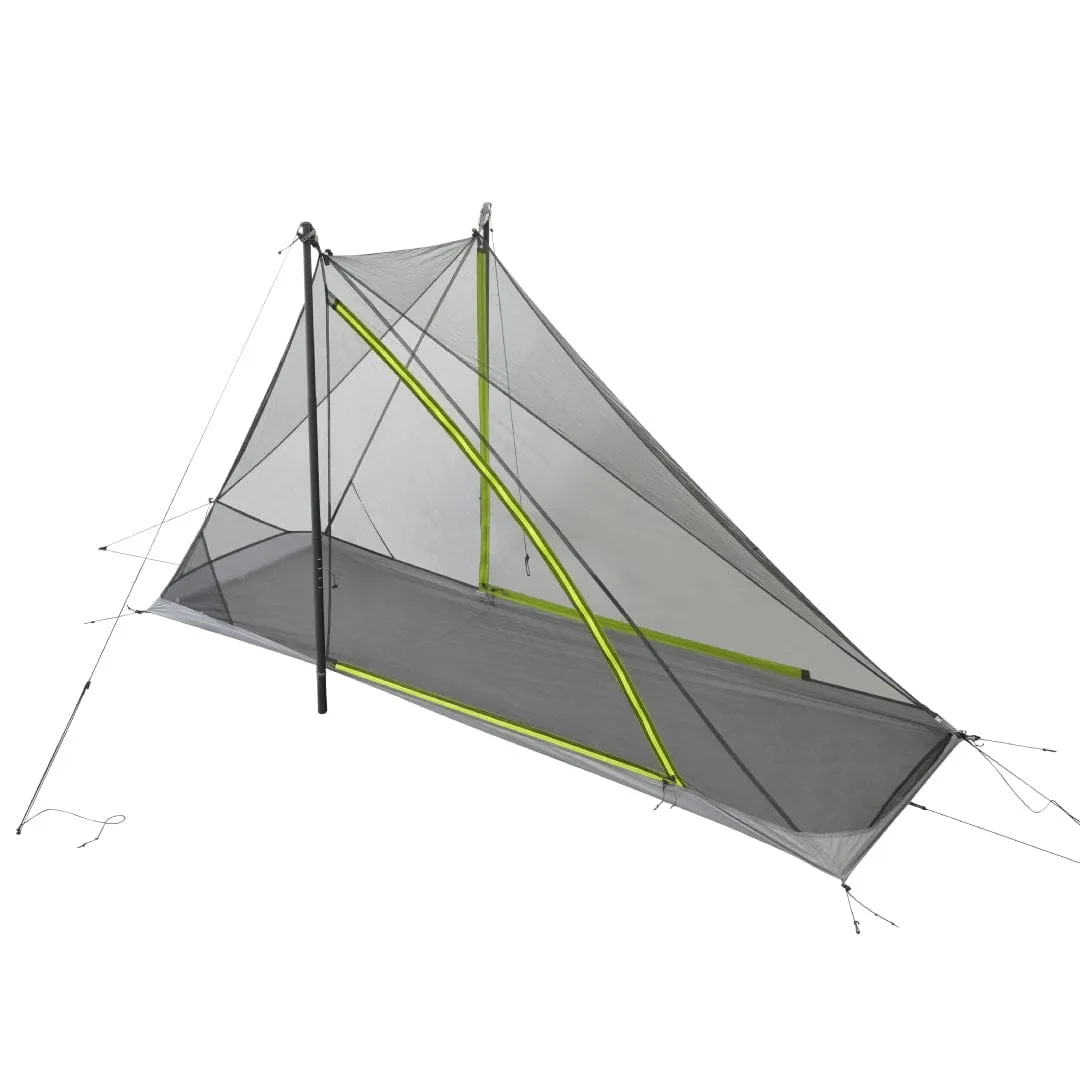
- 5. Install the nest if included: If your variant includes the nest, clip or attach it inside the pitched shelter. The record does not provide nest attachment steps, so follow the labels and connection points on the nest itself.
- 6. Tension the shelter and check coverage: Adjust guy lines and stake points so the fabric is taut without distortion. Walk around the tent to confirm the fly covers the interior and that no stake is pulling loose.
How your variant changes the pitch
The eight available variants combine three optional items: nest, poles, and footprint. Match your order to the list below before you head out.
- No nest, no poles, no footprint: This is the most minimal configuration. You will need to supply your own poles or support and decide whether a floorless pitch suits your hunt. The catalog does not confirm whether the shelter can be pitched without poles.
- With two carbon 1P tent poles: Choosing the pole option gives you a dedicated pole set for the Solitude 1. The record does not list pole weight or packed length.
- With included nest: The nest adds an inner sleeping area. The catalog does not specify whether the nest is mesh, solid fabric, or a combination.
- With included footprint: A footprint adds a groundsheet under the tent. The record does not give footprint dimensions or material.
Staking and tension tips for Dyneema®
Dyneema® fabric is known for strength, but the supplied record does not include care or tension specifications. These are general practices for ultralight shelters, not manufacturer instructions.
- Use stakes suited to the ground: Rocky or loose soil may require different stakes than soft forest floor. The catalog does not include stakes with the tent, so plan accordingly.
- Keep tension moderate: Over-tensioning any lightweight fabric can stress seams and stake points. Aim for a taut pitch that still allows slight give.
- Re-check after wind or rain: Dyneema® is described as weather-protective, but the record does not provide storm ratings. Check stakes and guy lines if conditions change.
- Protect the fabric from abrasion: The optional footprint can add a layer between the tent floor and rough ground. If you chose no footprint, clear sharp objects from your site.
What the supplied information does not cover
The product record does not include a pitching diagram, stake count, pole weight, floor dimensions, peak height, or care instructions. It also does not confirm whether the shelter can be pitched with trekking poles or without the optional carbon poles. Treat any such detail as unconfirmed until you check the tent's included documentation or contact PEAX directly. For solo backcountry use, practice the pitch at home with the exact variant you ordered so field setup is familiar.