What the NEST actually adds to your solo shelter
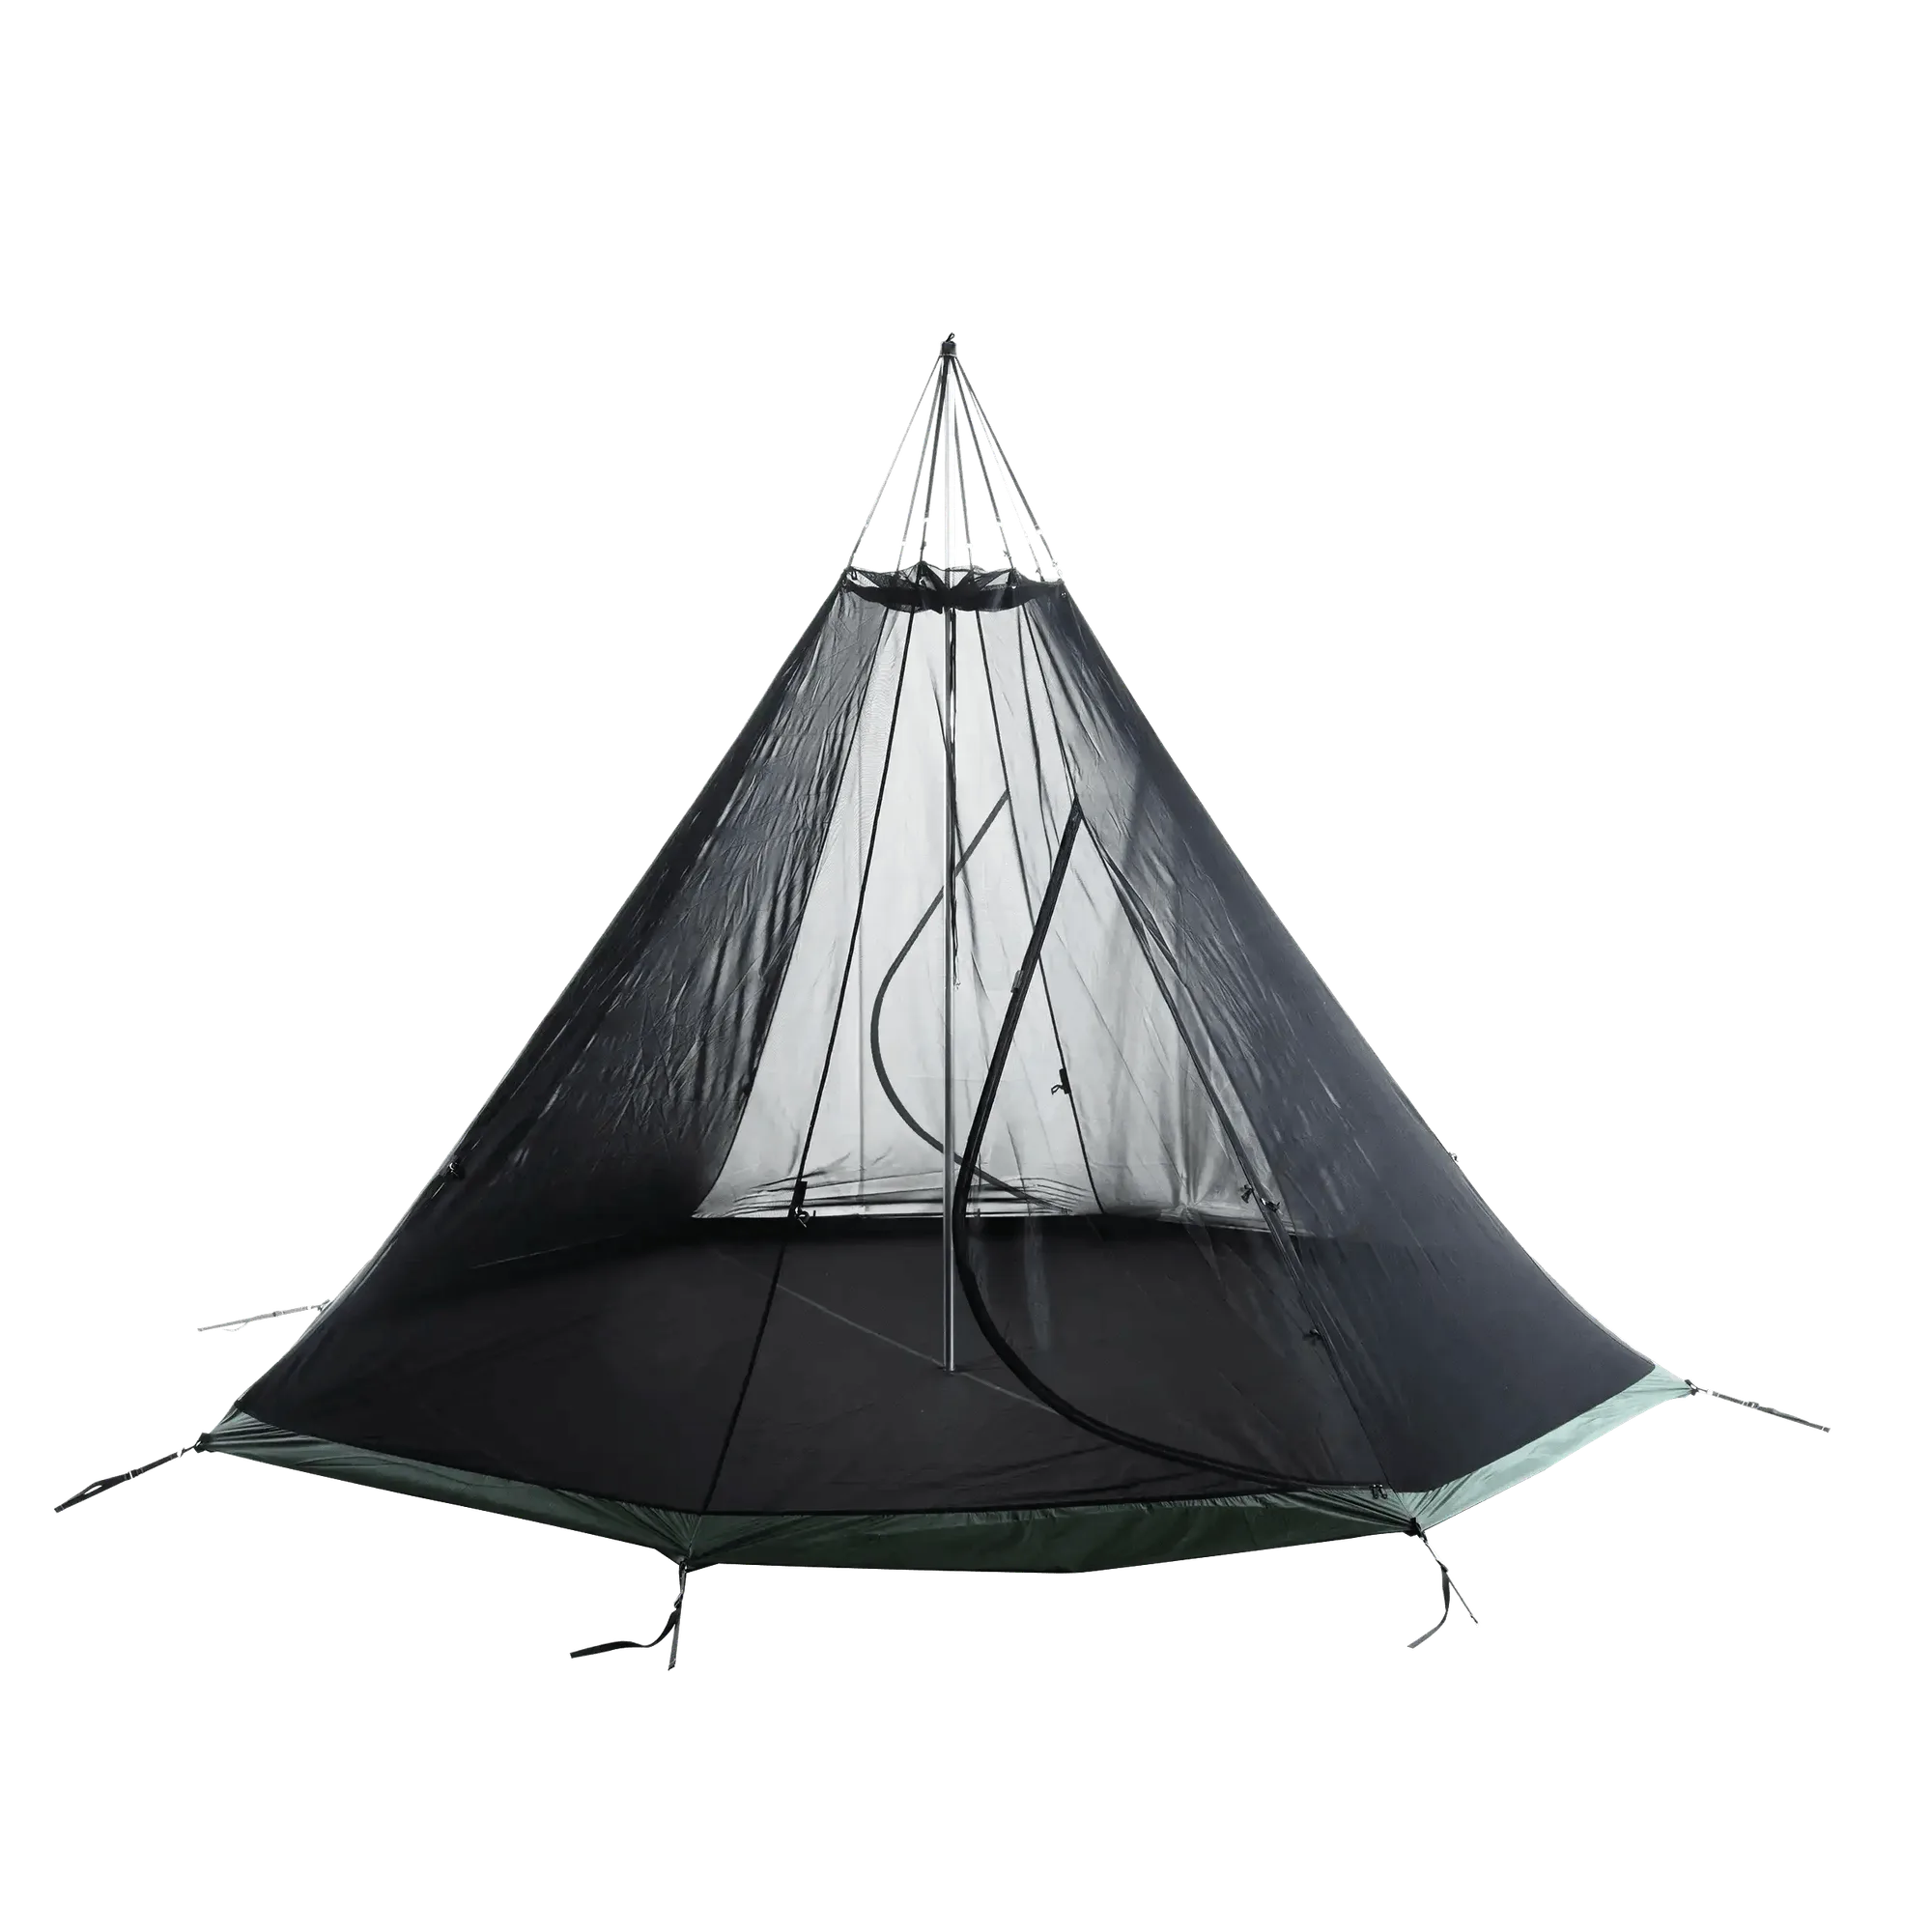
The SOLITUDE 1 NEST is an insert, not a standalone tent. Its job is to add full bug protection to a solo shelter without stealing space or airflow. If your shelter already keeps rain off but lets mosquitoes and midges through the door, the NEST is the layer that lets you sleep instead of swat.
That framing matters for setup. You are not pitching a second shelter; you are adding a lightweight mesh inner wall inside the shelter you already carry. The mesh blocks pests and keeps your gear critter-free, while the open mesh structure is intended to let warm-weather airflow continue through the shelter.
Catalog facts that shape the pitch
-
SOLITUDE 1 NEST: Lightweight mesh walls add full bug protection to a solo shelter without stealing space or airflow. The mesh is the whole point of the NEST, so your pitch should keep the mesh hanging free rather than pressed against the outer shelter wall or your sleeping bag.
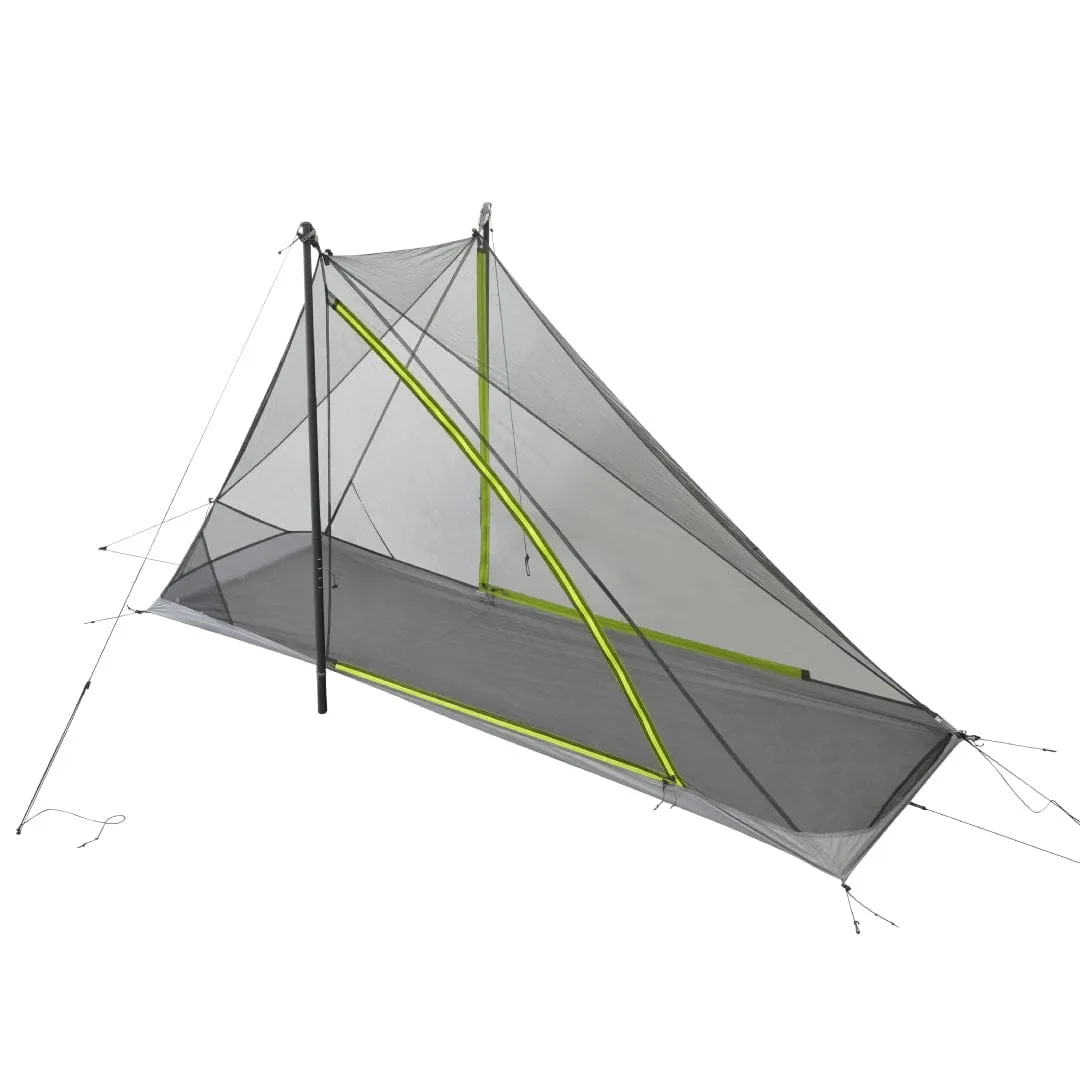
SOLITUDE 1 NEST
-
SOLITUDE 1 NEST: The mesh is intended to keep your gear critter-free as well as protect you. Plan a gear zone inside the NEST, not in the gap between the nest and the fly, so boots and packs stay protected overnight.
-
SOLITUDE 1 NEST: The NEST is supplied in a Standard variant. Check that the shelter you intend to use is the compatible solo shelter before you head out; the supplied record does not list alternate sizes or fitments.
A practical SOLITUDE 1 NEST setup sequence
Pitch the outer shelter first, then hang the NEST inside it. The exact attachment points are not described in the supplied record, so treat the sequence below as a logical order rather than a manufacturer's instruction list.
- Pitch and tension the outer solo shelter: Set up your solo shelter as you normally would, including staking and tensioning. A flapping or sagging outer wall will push against the mesh and reduce the airflow the NEST is meant to preserve.
- Identify the NEST's attachment points before you hang it: Lay the NEST out inside the shelter and match its attachment points to the shelter's interior. The supplied record does not specify the attachment hardware, so confirm this on your own shelter before committing to a pitch in the field.
- Hang the NEST so the mesh hangs free: Suspend the NEST from its attachment points and check that the mesh walls are not trapped under the outer shelter fabric or pressed against your sleeping pad. Free-hanging mesh is what allows the NEST to block pests without blocking airflow.
- Set your sleeping zone and gear zone: Place your pad and bag inside the NEST and keep pack, boots, and food bag in the protected zone rather than in the gap between the NEST and the outer shelter. That gap is where condensation and critters tend to collect.
- Do a final airflow check: With the shelter door open, confirm you can feel air moving through the mesh. If the mesh is pressed flat against the outer wall, adjust the hang or the outer shelter tension before you settle in.
Keeping condensation under control with a mesh inner
A mesh inner tent does not create condensation, but it can reveal it. Moisture from your breath and body collects on the inside of the outer shelter, and if that wall sags onto the NEST, the mesh wets out and drips onto your bag.
The practical fix is separation and ventilation. Keep the outer shelter tensioned so its walls stay off the mesh, and leave the shelter's door or vent open as far as conditions allow. The NEST's mesh is designed to let warm-weather airflow continue, so give that airflow a path in and out rather than sealing the shelter up.
On warm, humid hunts, expect some dampness on the outer wall by morning. Wipe it down before you pack, and air the NEST out at camp rather than stuffing it wet. The supplied record does not include specific care or drying instructions, so follow the general practice of drying mesh thoroughly before storage.
NEST versus bivy: which inner layer fits your hunt
Both a nest and a bivy can keep bugs off you, but they solve different problems. Use this comparison to decide which one belongs in your pack for a given trip.
- Space and livability: The SOLITUDE 1 NEST is described as adding bug protection without stealing space, because it works inside a shelter you already have. A bivy is typically a self-contained sleeping cover, which generally means less room to sit up or organize gear.
- Airflow in warm conditions: The NEST's lightweight mesh walls are intended to preserve airflow in warm conditions. A bivy's airflow depends on its own design, which is not part of the supplied record.
- Gear protection: The NEST is described as keeping your gear critter-free, which suits hunters who want their pack and boots inside the protected zone. A bivy mainly protects the occupant, so gear usually stays outside.
- When a bivy may still win: If you want a single self-contained sleep system with no separate shelter, a bivy can be simpler. The NEST assumes you already carry a compatible solo shelter.
Checkpoints before you rely on the NEST in the field
Before a hunt, pitch the NEST inside your shelter at home and run through three checks. First, confirm the NEST attaches securely and the mesh hangs free of the outer wall. Second, confirm you can still open and close the shelter door and reach your gear from inside the NEST. Third, confirm airflow reaches your sleeping zone with the door partly open.
The supplied record does not list dimensions, weight, packed size, or specific shelter compatibility. Those details matter for a solo hunting inner tent, so verify them against the product listing or with PEAX before you commit to a trip where fit is critical. Treat the absence of those figures in this record as a reason to check, not as a reason to assume the NEST will or will not fit your shelter.