Quick answer
Use spider gel to draw fine, web-like lines on cured gel polish. Its slightly thicker consistency holds shape better than regular gel, making it ideal for detailed nail art.
Why spider gel works for web designs
Spider gel is formulated to be thicker than standard gel polish, which means it stays where you place it and doesn't bleed into surrounding layers. This is essential when you're drawing thin, interconnected lines that need to remain crisp.
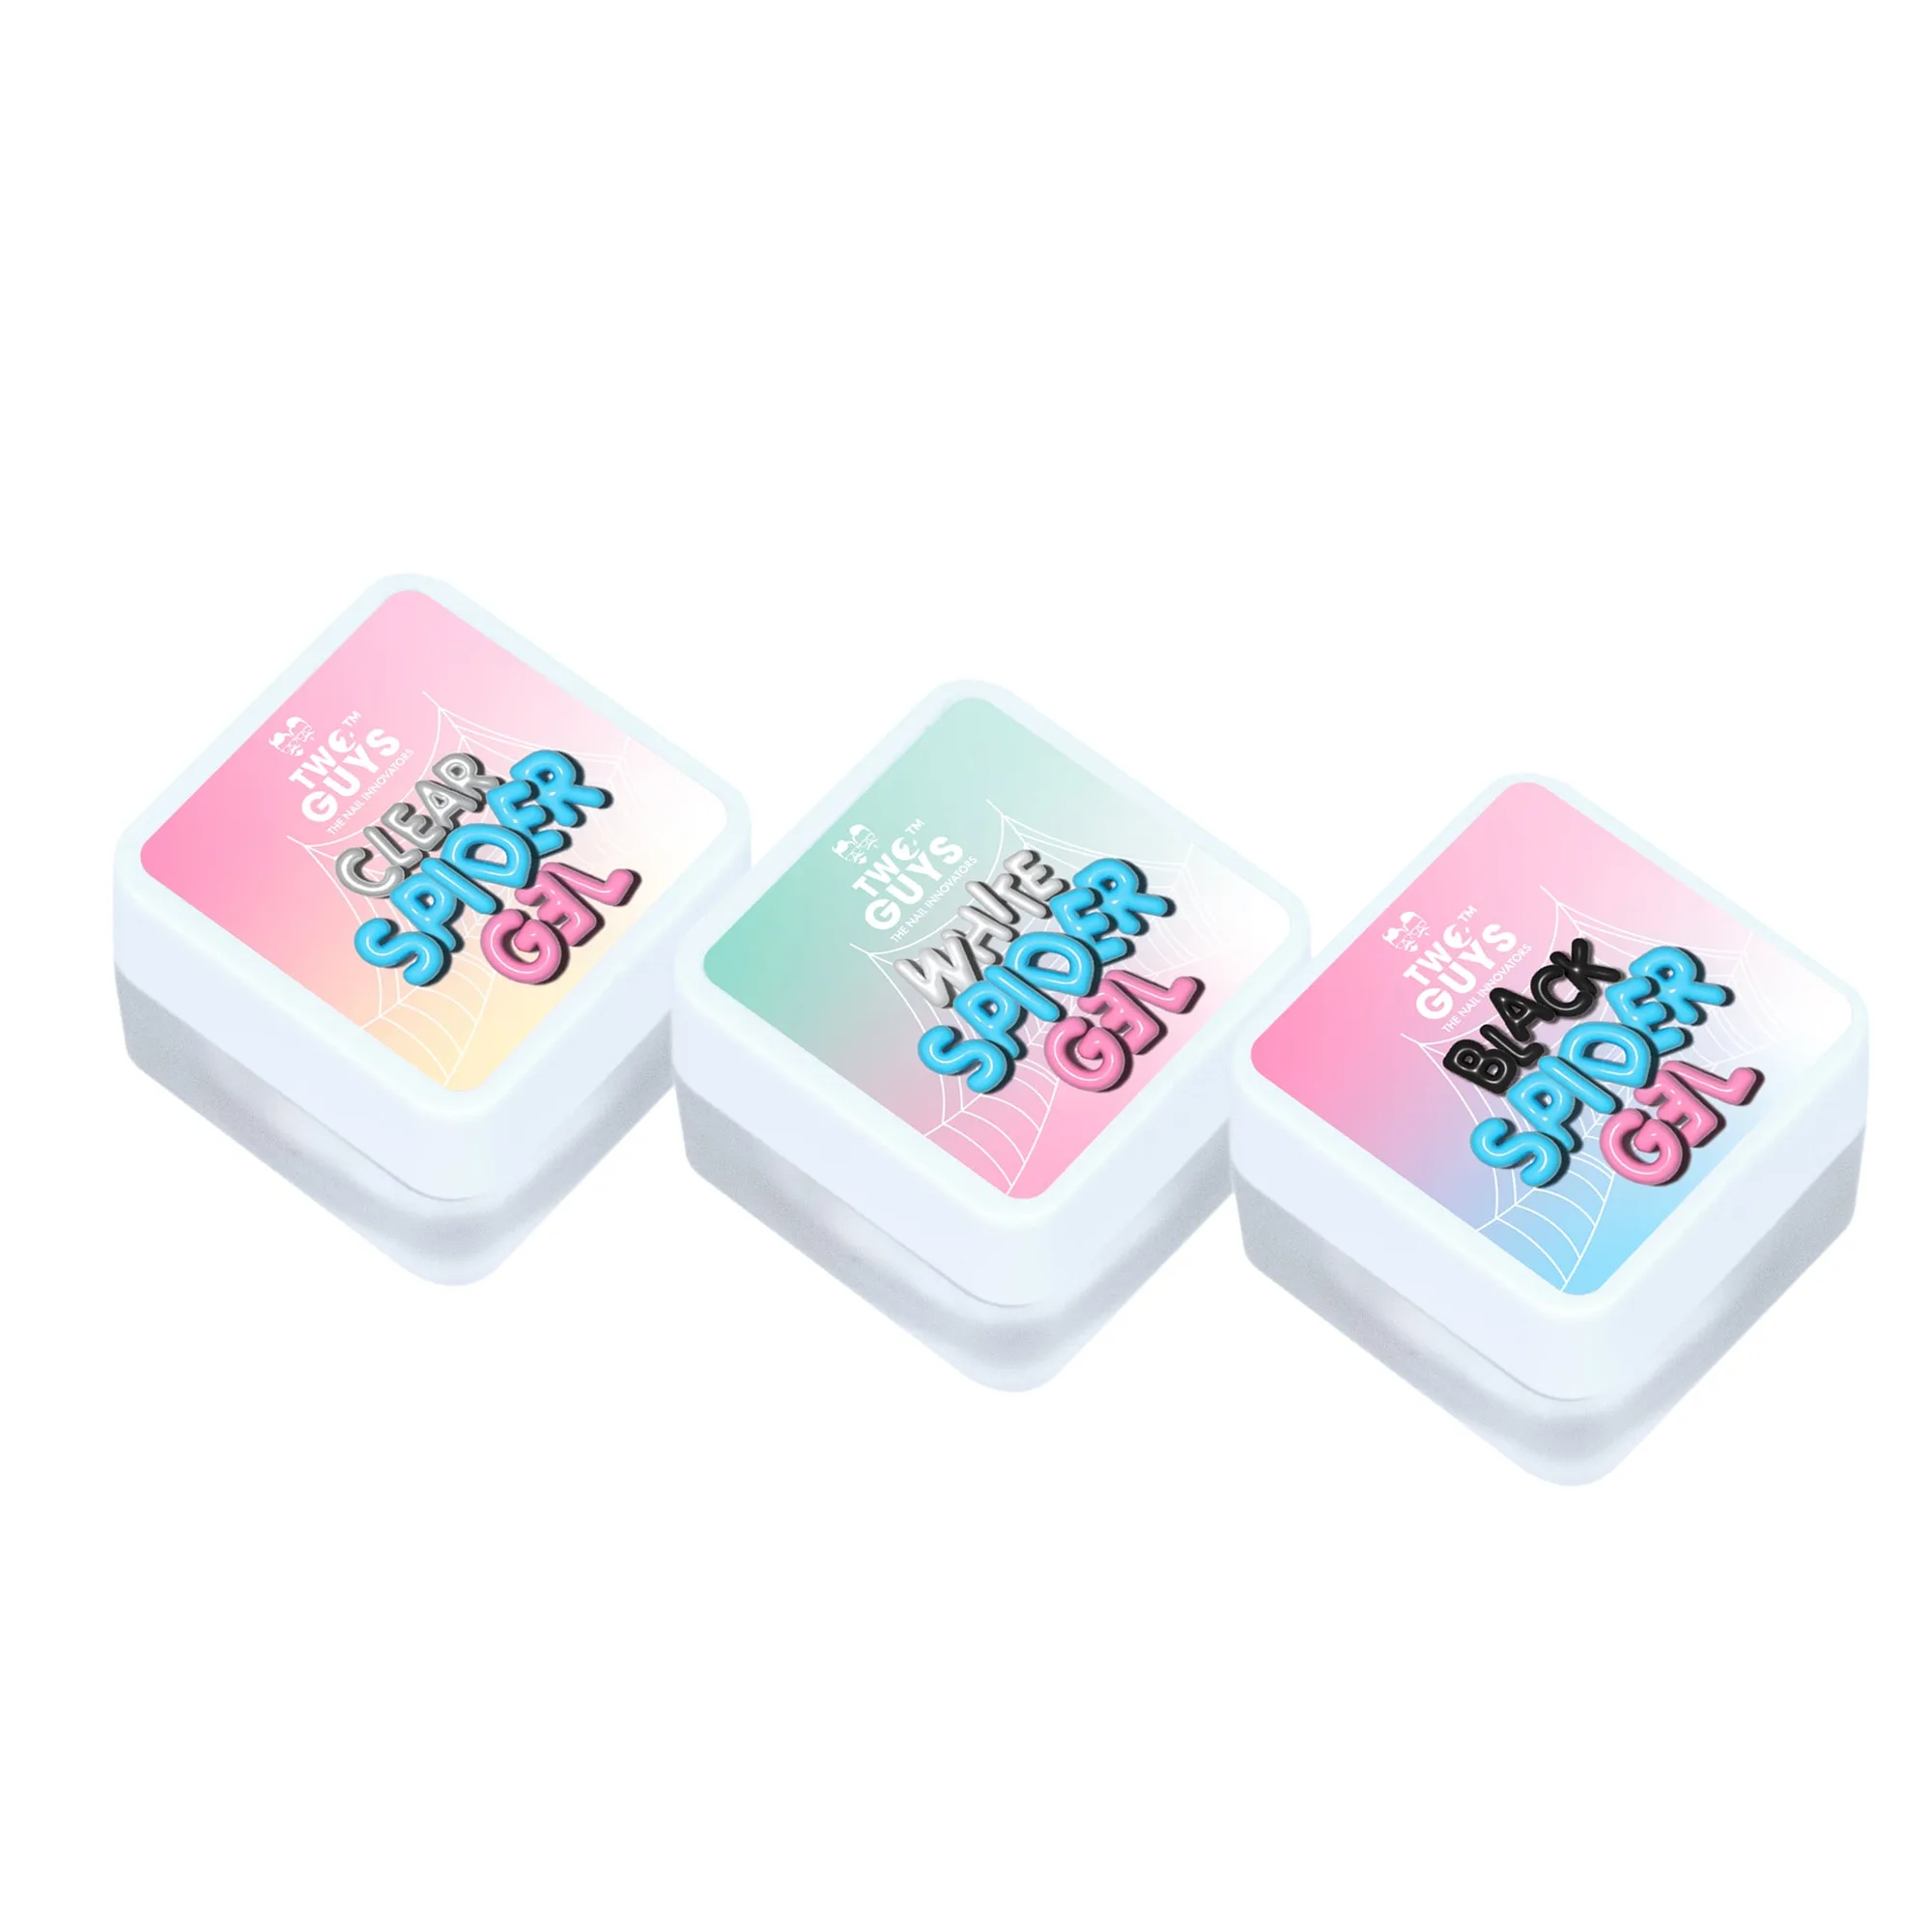
The Spider Gel Collection includes clear, black, and white shades. Black creates high-contrast webs on light bases, white stands out on dark or bright colors, and clear can be used to add subtle texture or to mix with pigments for custom hues.
What you'll need before starting
You'll need a UV/LED lamp, a base coat, a color gel polish for your background, a top coat, and a fine detail brush or liner brush. The spider gel itself should be at room temperature so it flows smoothly but still holds its shape.
Step-by-step spider gel web design
- Prep and base color: Apply a base coat and cure. Then apply two thin coats of your chosen background gel polish, curing each coat fully under your UV/LED lamp. Make sure the background is fully cured before adding spider gel, or the lines may sink in or blur.
- Load your brush: Dip a fine detail brush into the spider gel and wipe one side against the pot rim. You want a small bead of gel on the brush tip—too much will create thick, blobby lines. Less gel is better. You can always add more, but removing excess is messy.
- Draw the web outline: Start from the center of the nail and pull thin lines outward like spokes. Keep the brush perpendicular to the nail surface and use light pressure. Cure for 30–60 seconds. If the gel feels too thick, warm the bottle in your palm for a minute. Do not thin it with alcohol or monomer.
- Connect the spokes: Draw curved lines between the spokes to create the web pattern. Work quickly—spider gel can begin to self-level after a few seconds. Cure again. If you see the lines merging, you're working too slowly. Cure after every two or three connecting lines.
- Seal with top coat: Apply a thin layer of no-wipe top coat over the entire design, making sure to cap the free edge. Cure fully. Skipping top coat can leave the spider gel tacky and prone to chipping. Always seal the design.
Product used in this tutorial
-
Spider Gel Collection (Clear/Black/White): The Spider Gel Collection includes clear, black, and white gels formulated for nail art applications. Having three colors in one set lets you create webs on any background without buying separate pots, and the gel's consistency is designed to hold fine lines without bleeding.
Spider Gel Collection (Clear/Black/White)