Quick answer
Paint the Spitfire Mk V Model Set in this order: wash the sprues, prime, lay down the camouflage colors, apply decals over a gloss coat, then seal everything with a clear coat. Use thin, multiple passes rather than one heavy layer, and let each stage dry fully before moving on. The exact colors are listed on the kit's instruction sheet, so check that first.
The Spitfire Mk V Model Set is a popular first or second build, and most of the questions people ask after opening the box are about paint and finish rather than assembly. This FAQ collects the ones that come up again and again, with short answers you can act on at the workbench.
None of these steps require expensive equipment. A basic brush, a few thinned colors, and patience with drying times will get you a clean result. Where a decision depends on your kit's specific instructions or scale, that is called out rather than guessed at.
Do I need to prime before painting the Spitfire Mk V?
Priming is not strictly required, but it helps a lot on a model like this. A thin primer coat gives the color something to grip, shows up seams and sink marks you might have missed, and stops dark plastic from shifting the shade of light camouflage colors. A light grey or neutral primer works for most Spitfire schemes.
If you skip primer, clean the parts first with warm water and a drop of dish soap to remove mold release agent, then let them air dry completely. Paint applied to greasy plastic can bead up or flake later, and that is a frustrating thing to discover after the camouflage is done.
- Prime in thin passes, not one wet coat; you want coverage, not a skin of paint.
- Let primer cure fully before sanding or painting over it.
Which paints should I use for Spitfire camouflage?
The kit instructions specify the colors for the scheme on the decal sheet, so start there. In practice, most Spitfire Mk V schemes use a dark green and a dark earth or ocean grey over a lighter underside color, and the exact shades vary by period and theatre. Matching the instruction sheet keeps you consistent with the decals provided.
For brush work, thin your paint slightly and build up two or three light coats. A single thick coat will show brush marks and can soften fine surface detail. If you are using the "Base Color Set" Email Color Enamel - 6x 14ml, the enamel base gives good opacity, but it needs longer drying time between coats than acrylics.
- Stir enamel paint rather than shaking it to avoid bubbles.
- Keep a scrap piece of plastic nearby to test color and coverage before touching the model.
How do I get a clean line between camouflage colors?
Masking tape is the reliable way. Press the tape down firmly along the edge, burnish it with a toothpick or fingernail so paint cannot creep underneath, and remove it while the paint is still slightly tacky rather than fully hard. Pulling tape off cured paint is where chipping happens.
For soft-edged schemes, some builders prefer freehand airbrushing or a slightly lifted tape edge to blur the transition. That is a stylistic choice, not a requirement. If you are brushing by hand, a crisp masked edge usually looks cleaner than an attempted soft edge.
- Use low-tack tape on painted surfaces to reduce the risk of lifting the layer underneath.
- Mask in one direction and remove in the same direction.
When should I apply the decals?
Decals go on after the camouflage paint has fully cured and after a gloss clear coat, not directly onto flat paint. A glossy surface lets the decal slide into position without trapping air, and it reduces the chance of silvering, where the clear film around the marking becomes visible.
Work one decal at a time, soak it just until it releases from the backing paper, and blot rather than press. A decal setting solution helps them conform over panel lines and curves, but it is optional. Once everything is dry, a final clear coat locks the decals in and evens out the sheen.
- Do not let decals sit in water longer than needed; they can curl or lose adhesive.
- Check the decal sheet against the instruction diagram before starting so you know the placement order.
Should the final finish be gloss or matte?
That depends on the aircraft you are modelling. A glossy finish suits a freshly painted airframe, while a matte or satin finish reads as a weathered, in-service machine. Most Spitfire Mk V builds look right with a satin or matte clear coat over the decals.
If you want to add weathering, do it before the final clear coat so washes and pigments sit on top of the paint rather than under it. Keep the coat thin; a heavy clear coat can fill panel lines and dull the surface detail you worked to preserve.
- Apply clear coat in light passes and let it flash off between them.
- Test the clear coat on a scrap piece first if you are unsure how it reacts with your paint.
Spitfire Mk V finishing checklist
Surface prep
Wash the sprues, remove mold release agent, and prime in thin passes. Skip this and later paint layers may flake or bead.
Camouflage
Follow the kit instruction colors, thin the paint, and build up light coats. Mask edges firmly and remove tape while the paint is still slightly tacky.
Decals
Apply over a gloss coat, one at a time, and blot rather than press. A final clear coat locks them in and evens the sheen.
Products mentioned in this FAQ
- "Base Color Set" Email Color Enamel - 6x 14ml: Basic color set (6x14ml) with a high-quality enamel base, described as suitable for both newcomers and experienced hobbyists. A single set covers the common colors you need for a first Spitfire paint job, though enamel needs more drying time between coats than acrylic.
- Model Set Junkers Ju88 A-1 "Battle of Britain": Includes a detailed cockpit, pilot's seat and distinctive instrument panel, and the set covers a Battle of Britain subject. If you enjoy the Spitfire's Battle of Britain context, this is a natural companion build, and its interior detail rewards careful painting of the cockpit before closing the fuselage.
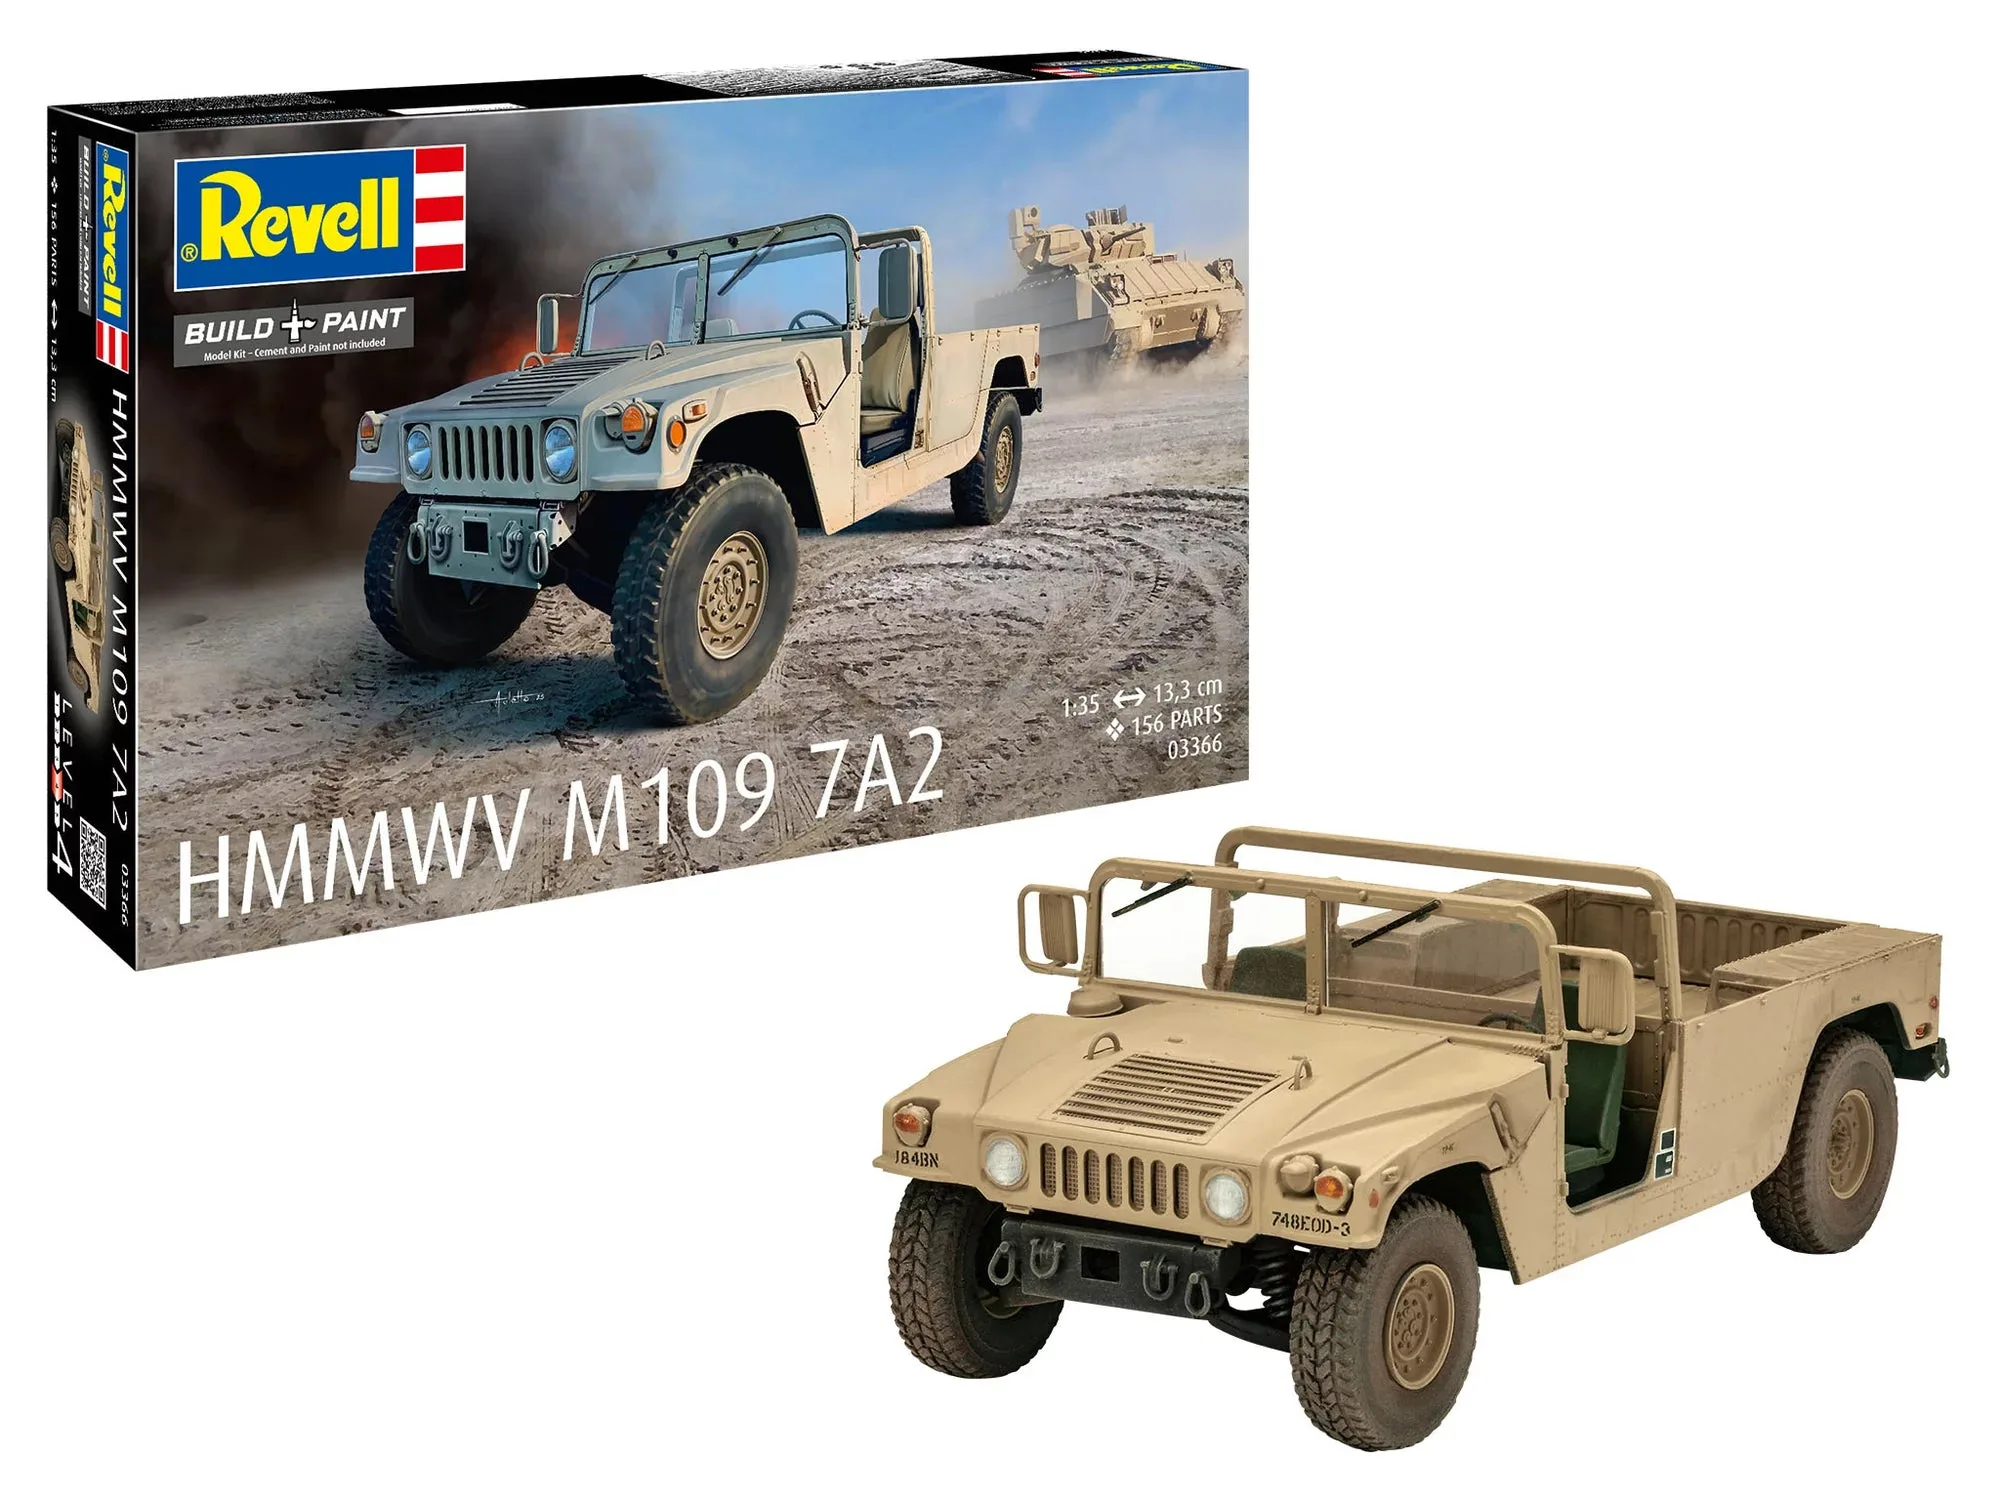
- HMMWV M1097A2: A military vehicle kit with high-quality plastic parts, described as a good introduction to military model building. Useful as a practice kit if you want to test camouflage and weathering techniques before applying them to a more visible aircraft model.
Most Spitfire Mk V finishing problems come down to rushing a stage, whether that is painting over wet primer or pulling tape off cured paint. Work in order, keep coats thin, and let each step dry. If a question here depends on your specific kit's instructions, trust those over any general rule.