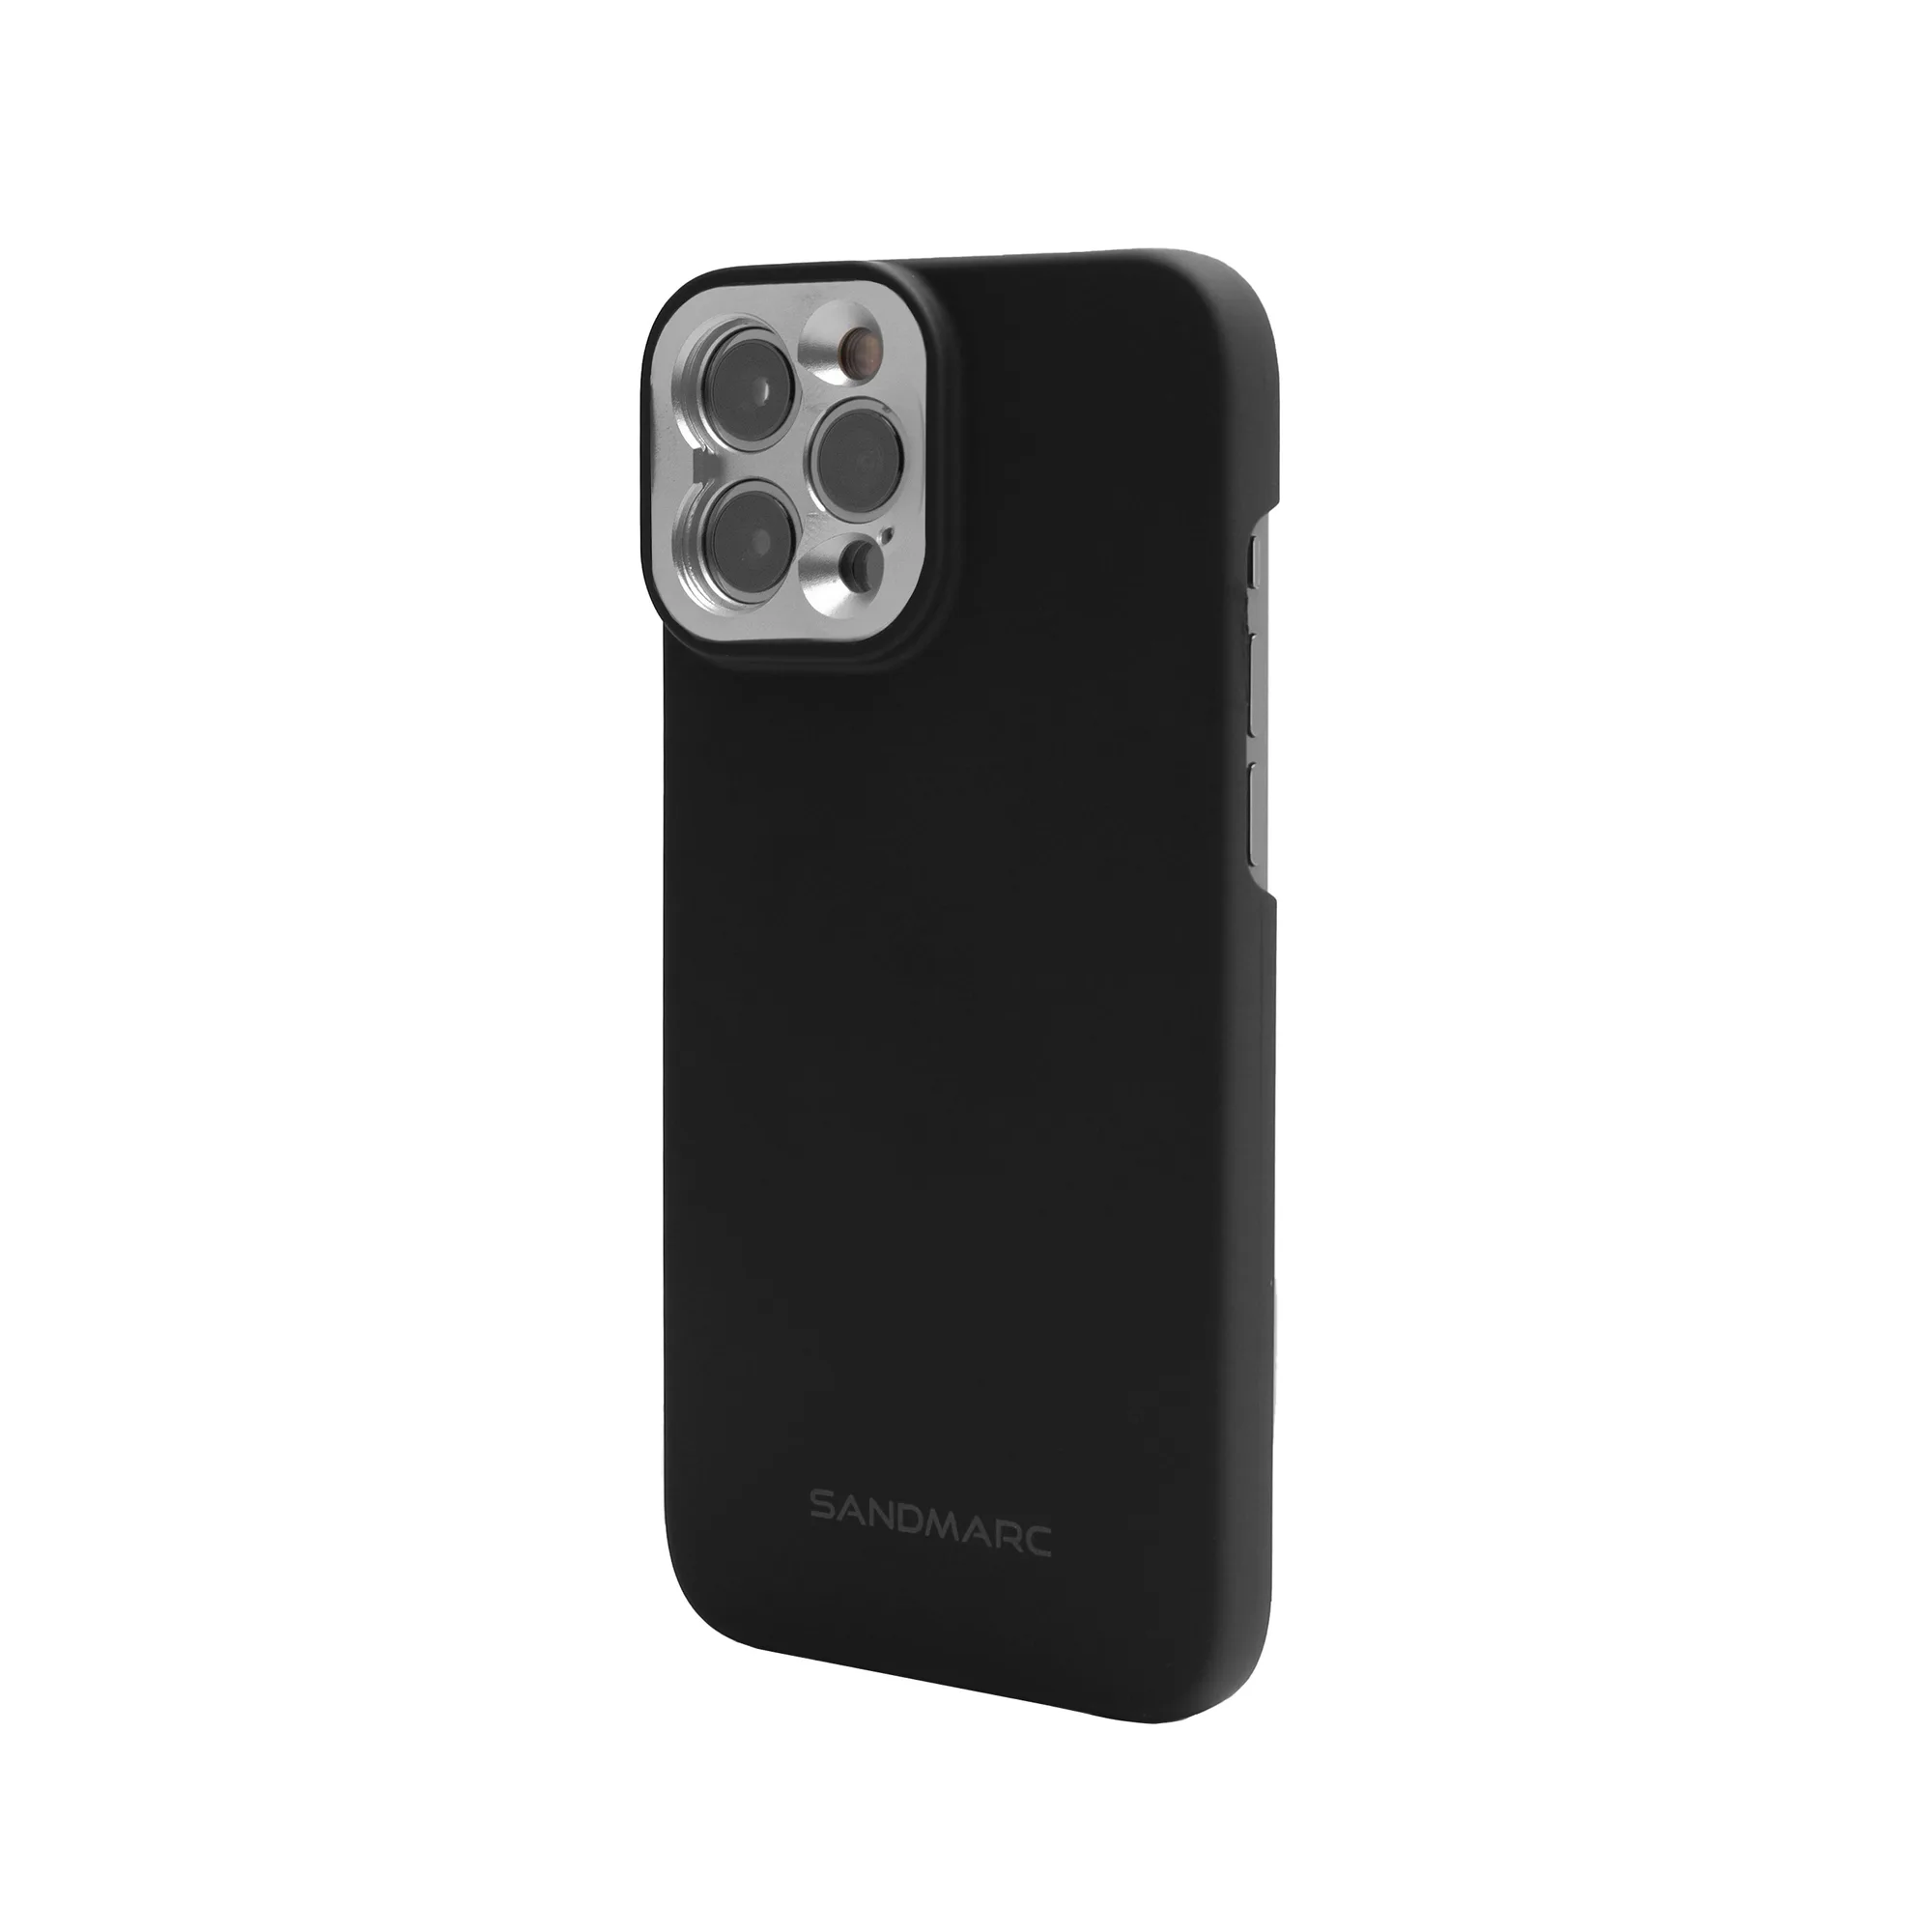
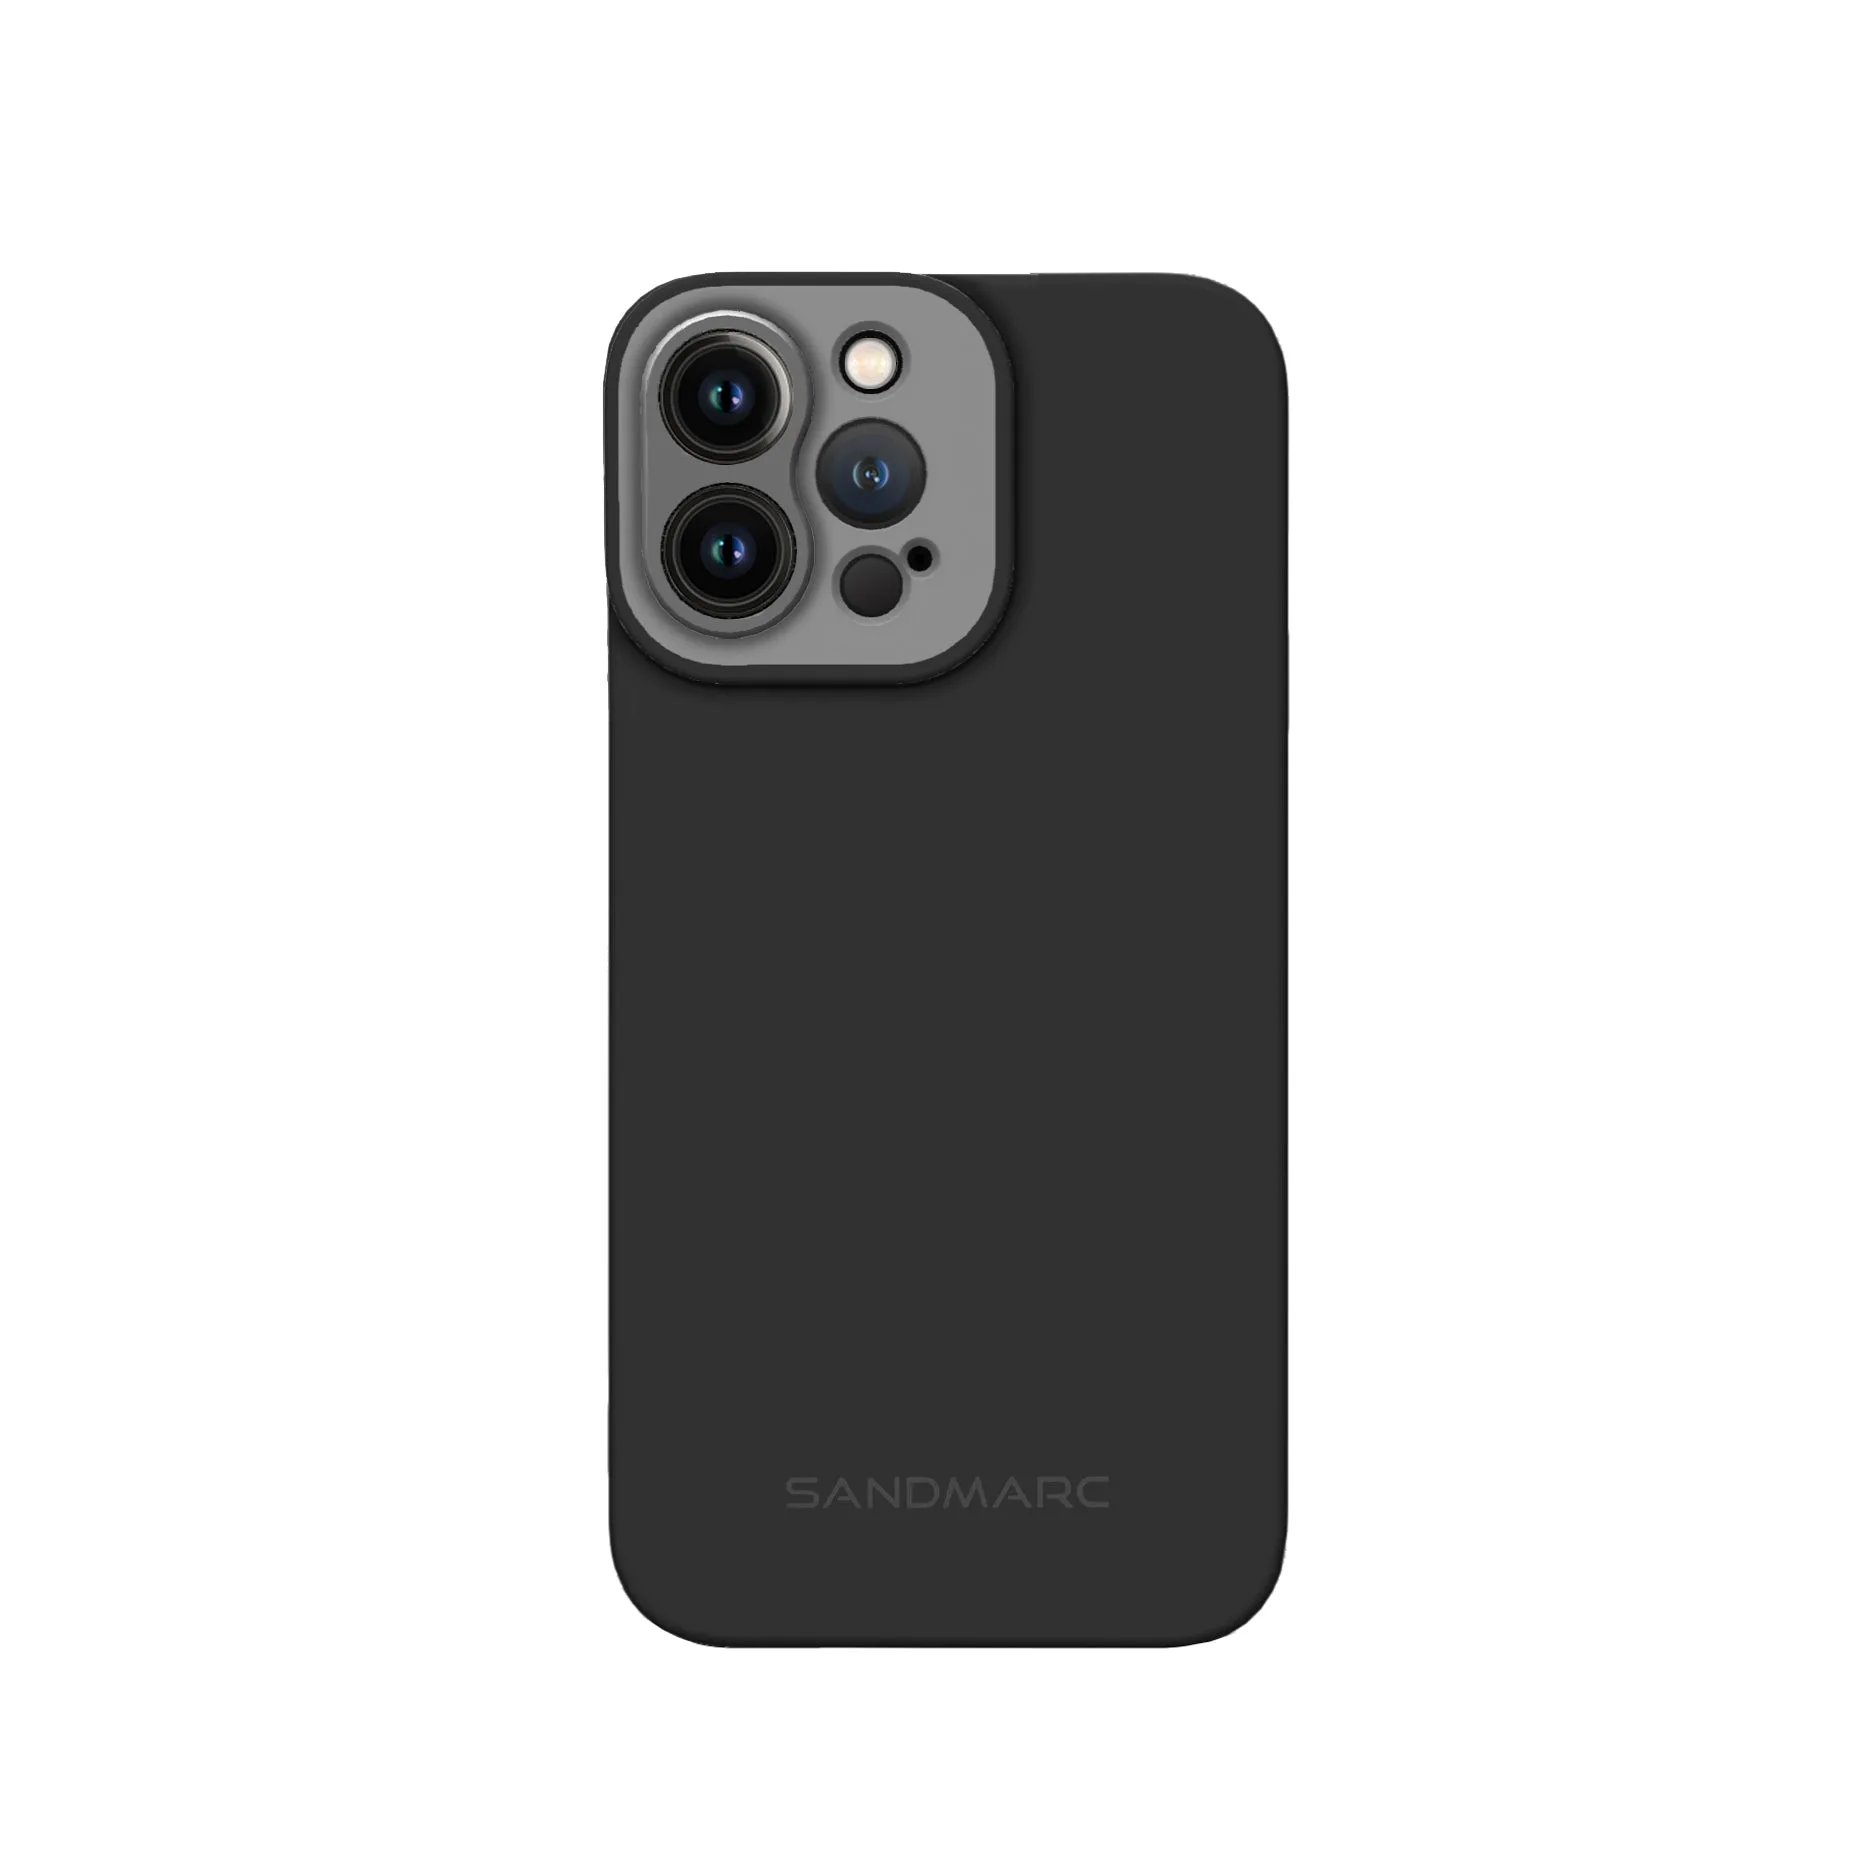
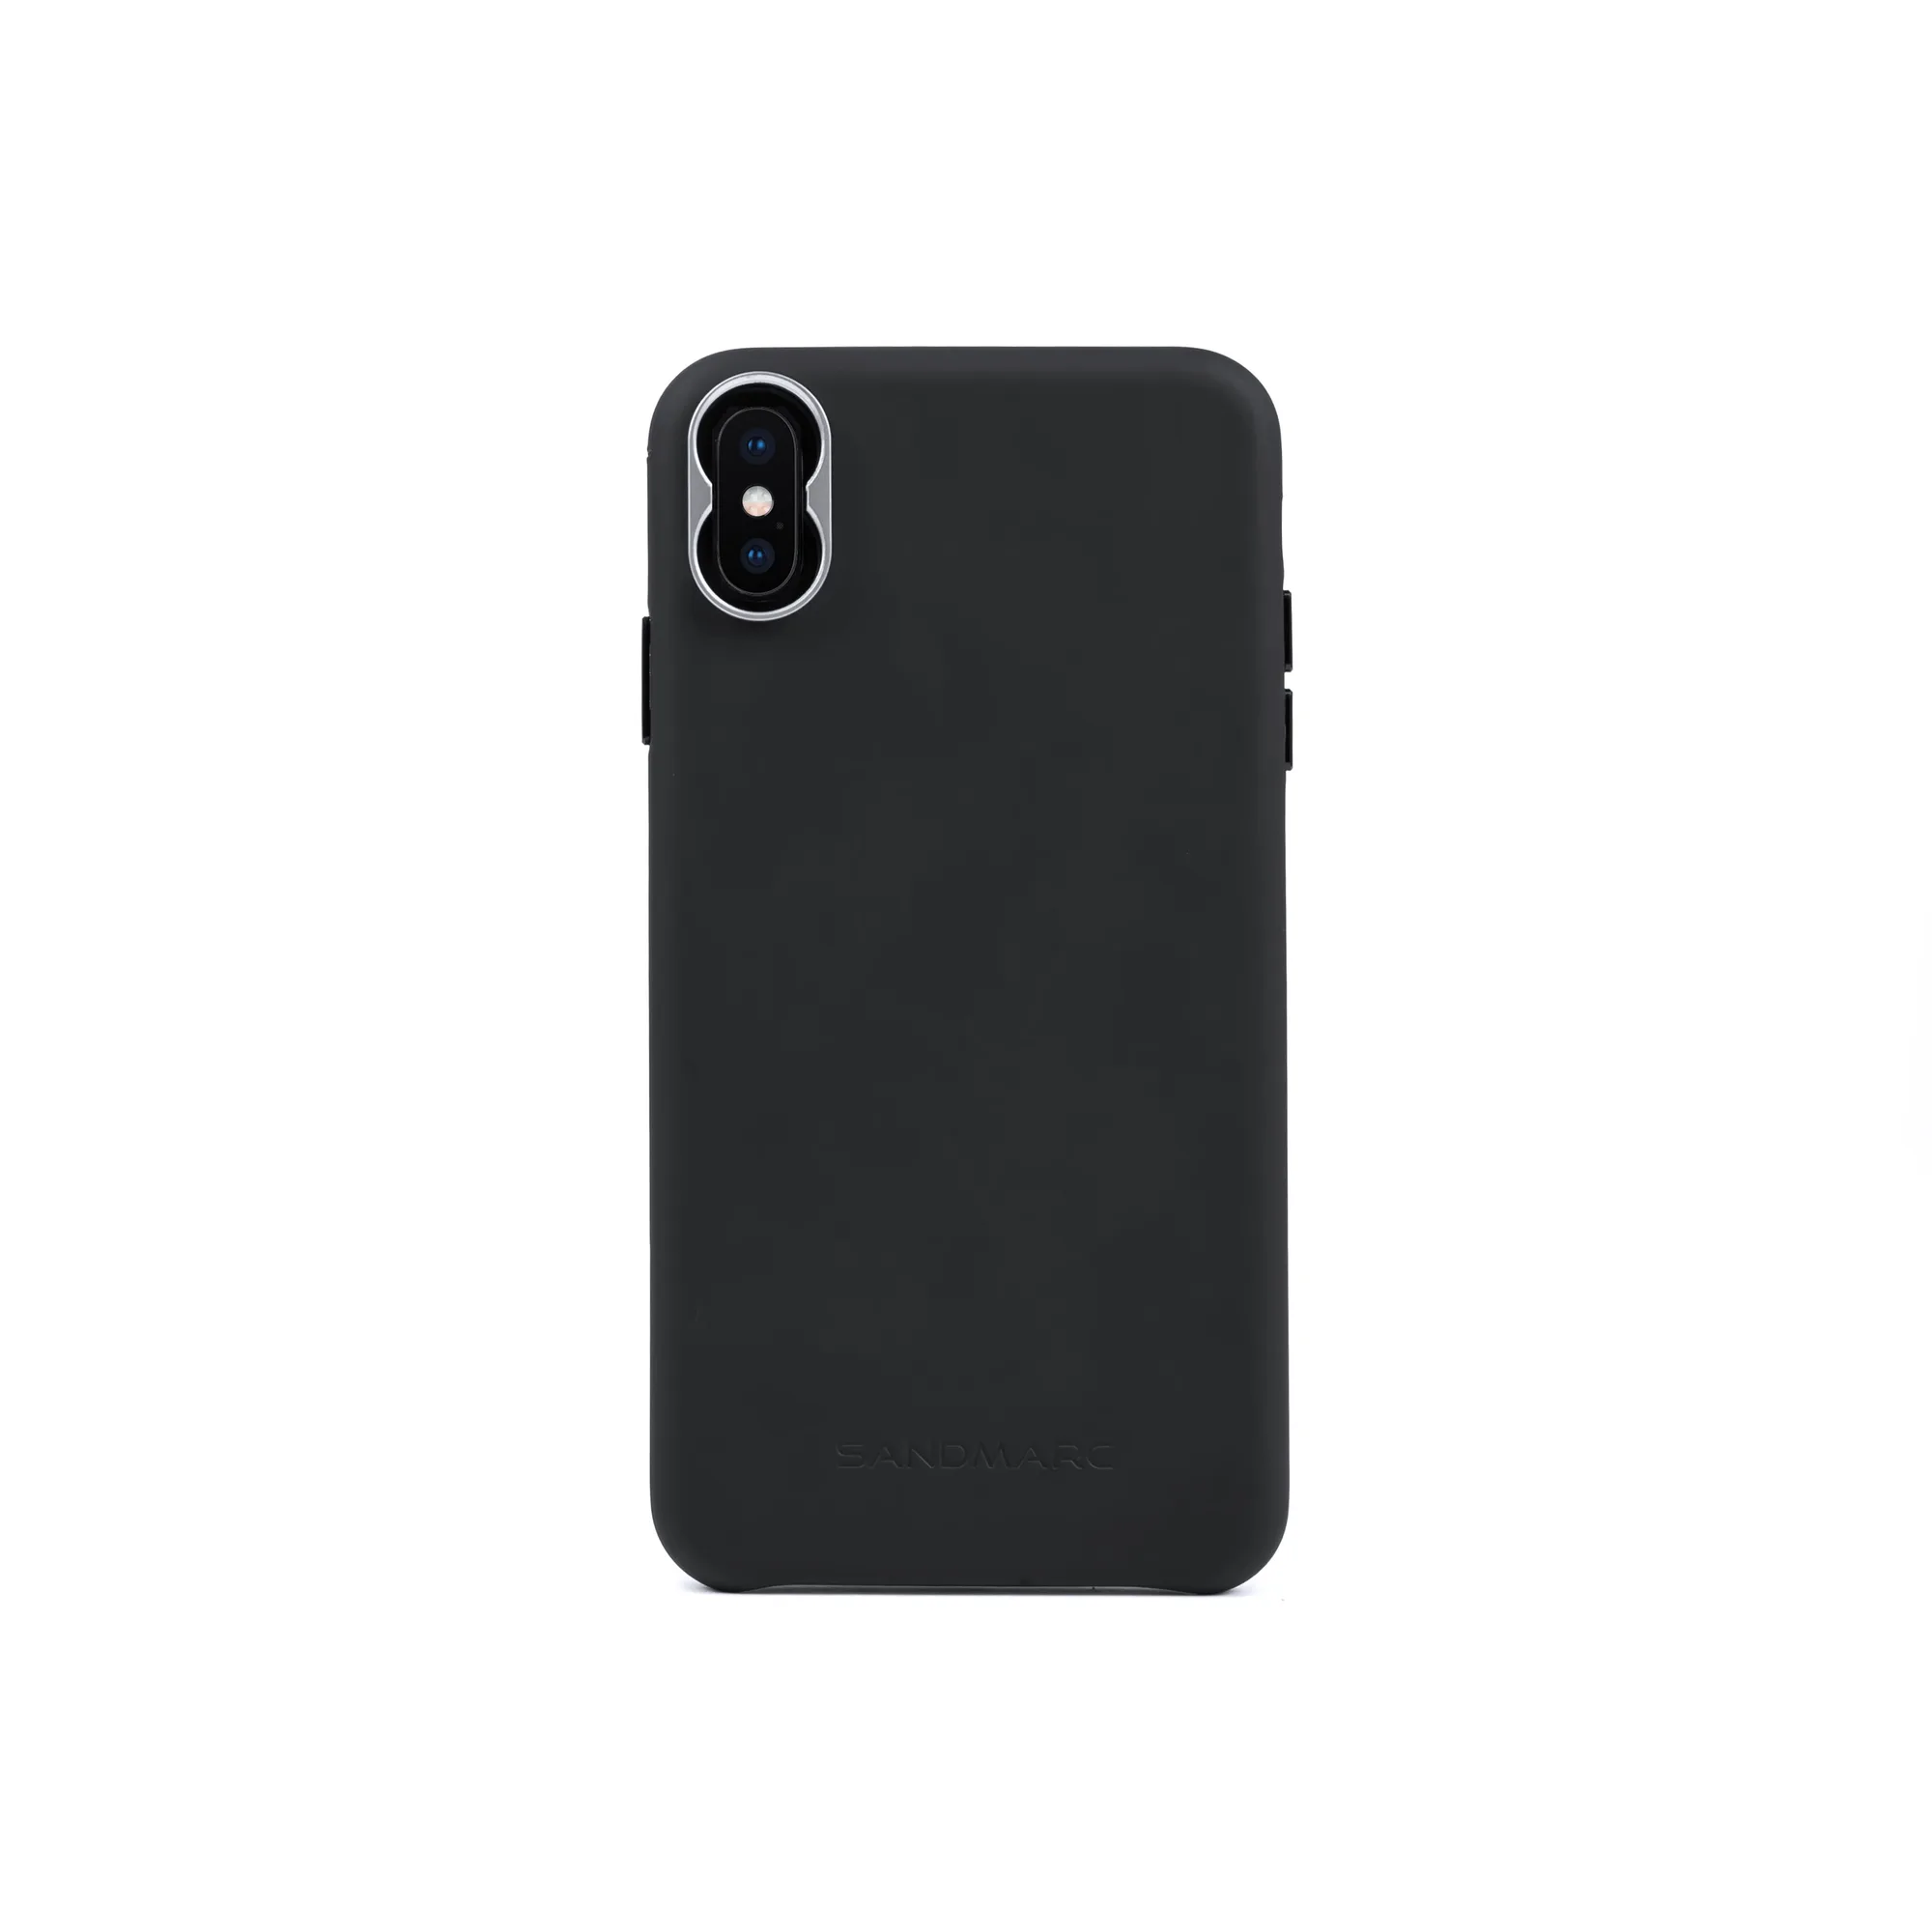
Start with the right case for your iPhone 12 Mini
The SANDMARC Standard Case is a minimal lens mount designed specifically for the iPhone 12 Mini. It is the original thin lens case mount from SANDMARC and is built to work with the Anamorphic, Wide, Telephoto, Fisheye, and Macro lenses. Because it is model-specific, confirm you are using the iPhone 12 Mini version before you begin any installation.
This guide covers setup and lens alignment for that exact case. If you are using a different iPhone model, the mount position and fit will differ, so use the case made for your phone instead.
Standard Case compatibility at a glance
-
Standard Case - iPhone 12 Mini: Compatible with SANDMARC Anamorphic, Wide, Telephoto, Fisheye, and Macro lenses. These are the lens families the case is designed to accept, so check your lens against this list before mounting.
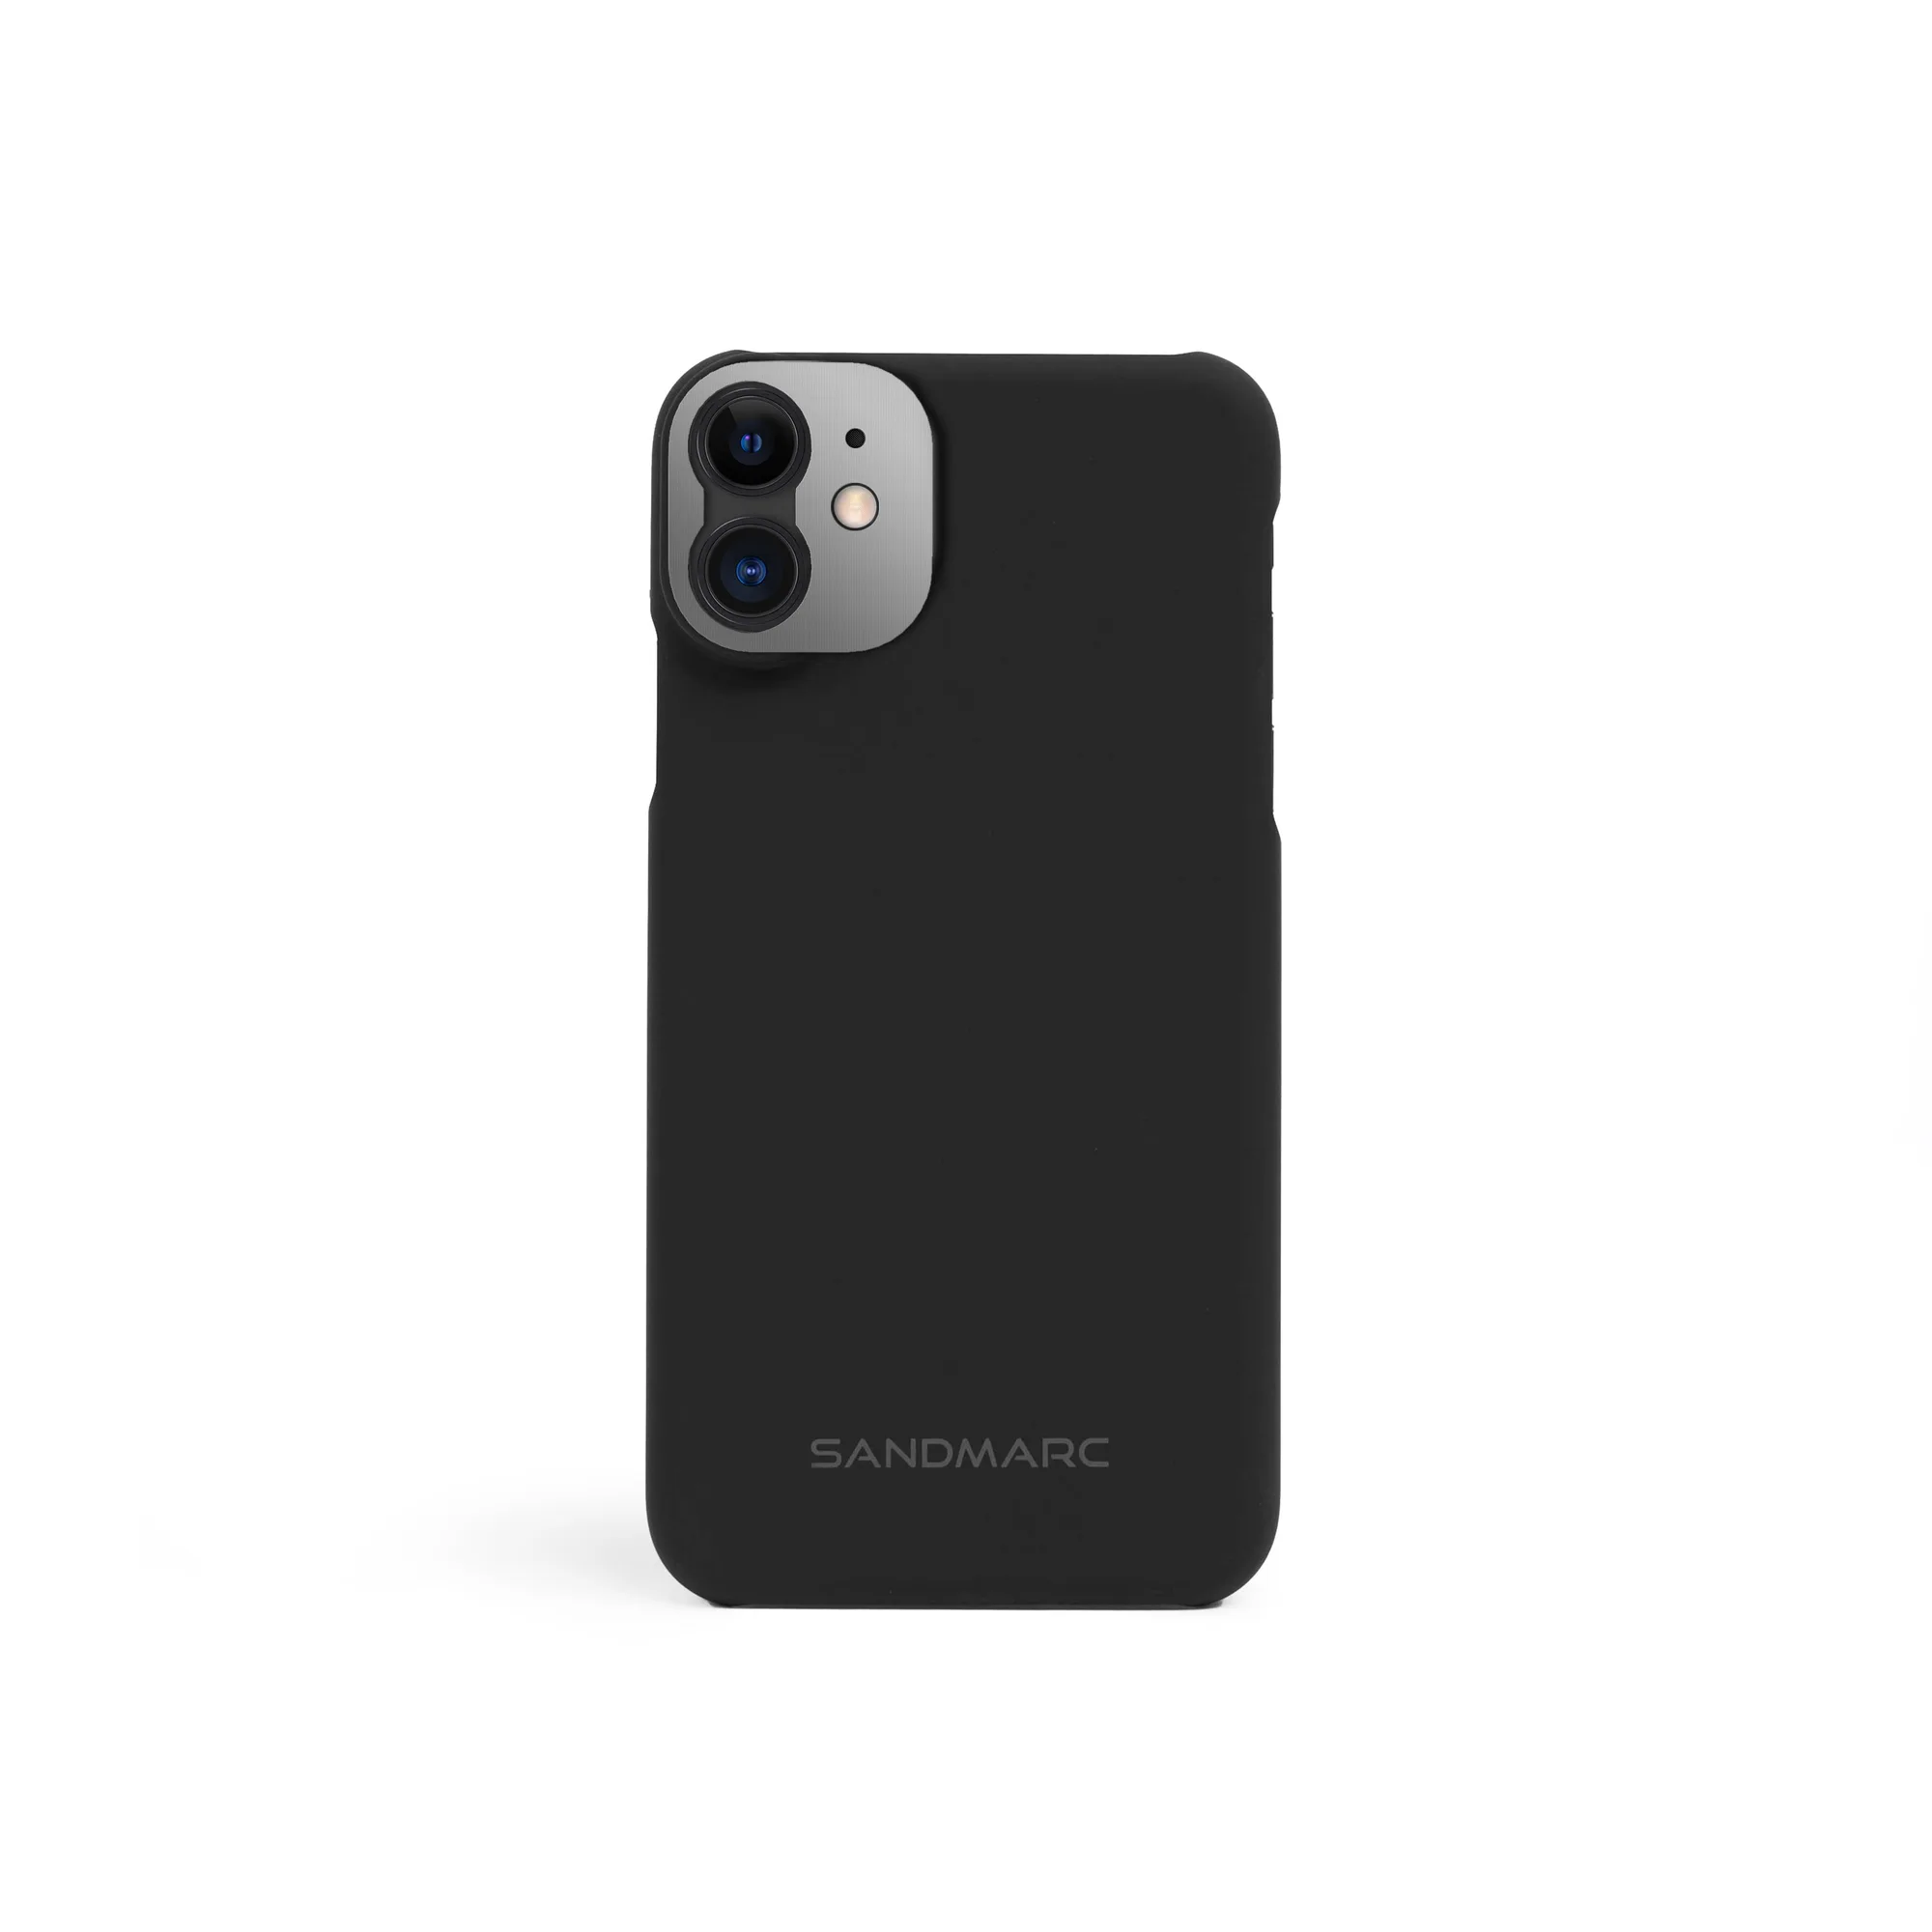
Standard Case - iPhone 12 Mini
-
Standard Case - iPhone 12 Mini: The world's thinnest lens case mount, made for iPhone 12 Mini. The slim profile keeps the case unobtrusive, but it also means the mount area is precise and should be aligned carefully.
How to install the Standard Case and attach a lens
The supplied product information confirms the case is made for the iPhone 12 Mini and lists the supported lens families, but it does not include a step-by-step installation manual. The steps below are general handling guidance for this type of mount, not a manufacturer procedure. If your case or lens kit includes printed instructions, follow those first.
- Confirm your phone and case match: Check that the case is the iPhone 12 Mini version. A case made for a larger iPhone will not align correctly with the Mini's camera position.
- Fit the case to the phone: Seat the iPhone 12 Mini into the Standard Case so the camera area lines up with the case opening. Press gently around the edges until the case sits flush.
- Check the lens is on the supported list: Use only SANDMARC Anamorphic, Wide, Telephoto, Fisheye, or Macro lenses with this case. Other lenses are not confirmed to fit.
- Align the lens mount before tightening: Bring the lens to the case mount and center it over the camera opening. Make sure the threads or bayonet are straight rather than cross-threaded before you secure anything.
- Secure the lens and test alignment: Attach the lens fully, then open your camera app and check that the image is centered and free of obvious vignetting or obstruction. If something looks off, remove the lens and re-seat it.
Lens alignment tips for the iPhone 12 Mini
The iPhone 12 Mini has a compact body, so small shifts in how the case sits can affect where the lens points. These checks help you catch alignment issues early.
- Seat the case fully before mounting a lens: A partially seated case can tilt the lens slightly. Make sure all edges of the case are pressed onto the phone first.
- Look straight through the lens mount: Before tightening, view the mount from the front to confirm the lens is centered over the camera opening.
- Test with the widest lens first: If you have a Wide or Anamorphic lens, mount it first to check for edge obstruction. These lenses make alignment errors easier to spot.
- Re-check after carrying the phone: The case is thin by design, so after pocketing or bagging the phone, glance at the lens mount to confirm nothing has shifted.
What the supplied information does not cover
The product record confirms the case model, the supported lens families, and its thin profile. It does not include torque specifications, thread direction, weather sealing, or a manufacturer installation sequence. Treat the steps above as practical handling guidance and defer to any documentation included with your case or lens.
If you are unsure whether a particular lens is supported, check the lens name against the five families listed for this case. Lenses outside that list are not confirmed to work with the iPhone 12 Mini Standard Case.