Quick answer
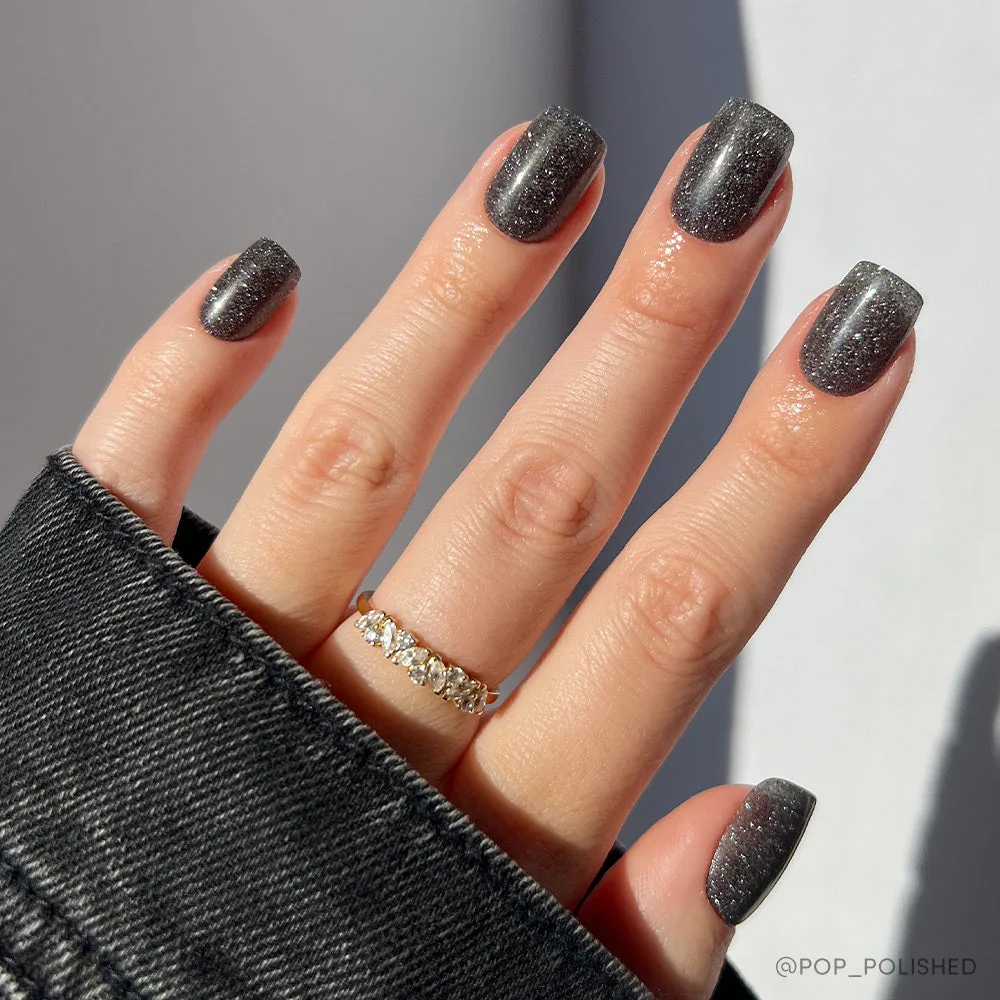
To style Stardust press-on nails as a galaxy manicure, start with clean, dry nails and use the included adhesive tabs or glue for a secure fit. File the medium pointed almond tips to your desired length and shape before applying. Then layer a fine glitter top coat or add small rhinestones to create a cosmic gradient. Finish with a clear top coat to seal the design and extend wear.
cosmic
Why Stardust works for a galaxy manicure
Stardust press-on nails come with a clear holographic finish and embedded glitter, giving you a semi-transparent, natural look that's perfect as a base for a galaxy manicure. The medium pointed almond shape offers a modern silhouette, and because Glamnetic press-on nails can be reshaped, you can customize the tip to suit your style. The buttery soft feel and smooth glitter finish mean you won't need to build up multiple layers of polish to get that cosmic effect. This set is ideal for daytime events and weddings, but with a few additions, it easily transitions to an evening look.
Tools and extras to gather
Before you begin, gather a few basic tools: a nail file, buffer, cuticle stick, and the adhesive that comes with your Stardust set. For the galaxy effect, you'll also want a fine glitter nail polish or loose glitter, a clear top coat, and optional small rhinestones or nail art gems. If you plan to add 3D accents, consider using nail glue instead of adhesive tabs for a stronger hold. A small detail brush can help place glitter precisely.
Step-by-step galaxy manicure with Stardust
- Prep your natural nails: Clean your nails with soap and water, then wipe with a lint-free pad and alcohol to remove oils. Push back cuticles and lightly buff the surface. Common mistake: skipping the buffing step, which can cause the press-ons to lift prematurely. Checkpoint: nails should be completely dry and matte before applying.
- Size and shape the press-ons: Match each Stardust nail to your natural nail size. If needed, file the sides and tip to adjust the fit. Since these nails are medium pointed almond, you can reshape them to a round or square tip if you prefer. Common mistake: filing too aggressively and weakening the tip. Checkpoint: each nail should sit comfortably without pressing on your cuticles.
- Apply adhesive and press on: For short-term wear, use adhesive tabs; for longer wear, apply a thin layer of nail glue to your natural nail and the back of the press-on. Press down firmly from cuticle to tip and hold for 10–15 seconds. Common mistake: using too much glue, which can cause overflow and bumps. Checkpoint: press-ons should feel secure and not slide when you gently tug.
- Layer the galaxy effect: Apply a thin coat of fine glitter polish over the entire nail, or focus it near the cuticle for a gradient. While the glitter is still tacky, use a detail brush to place small rhinestones or gems in a diagonal line or cluster. Common mistake: applying glitter too thickly, which can look lumpy and obscure the embedded glitter. Checkpoint: the design should catch light without hiding the Stardust finish.
- Seal and finish: Once your design is set, apply a clear top coat over the entire nail, including the free edge, to seal in glitter and gems. Let it dry completely. Common mistake: skipping the top coat on the tips, which leads to chipping. For extra shine, add a second thin layer after the first is dry. Checkpoint: the top coat should be smooth and fully dry before you use your hands.
Product facts
- Stardust: Stardust press-on nails have a clear holographic finish with embedded glitter and a medium pointed almond shape. The semi-transparent base and built-in shimmer give you a head start on a galaxy look without extra base polish.