Quick answer
Apply starfish nail charms by first creating a slightly textured base, then using a thick gel adhesive to set the charm, and curing it fully. For the best hold, place the charm slightly off-center and seal the edges with a thin layer of gel. Avoid overloading the nail with charms, as this can cause lifting.
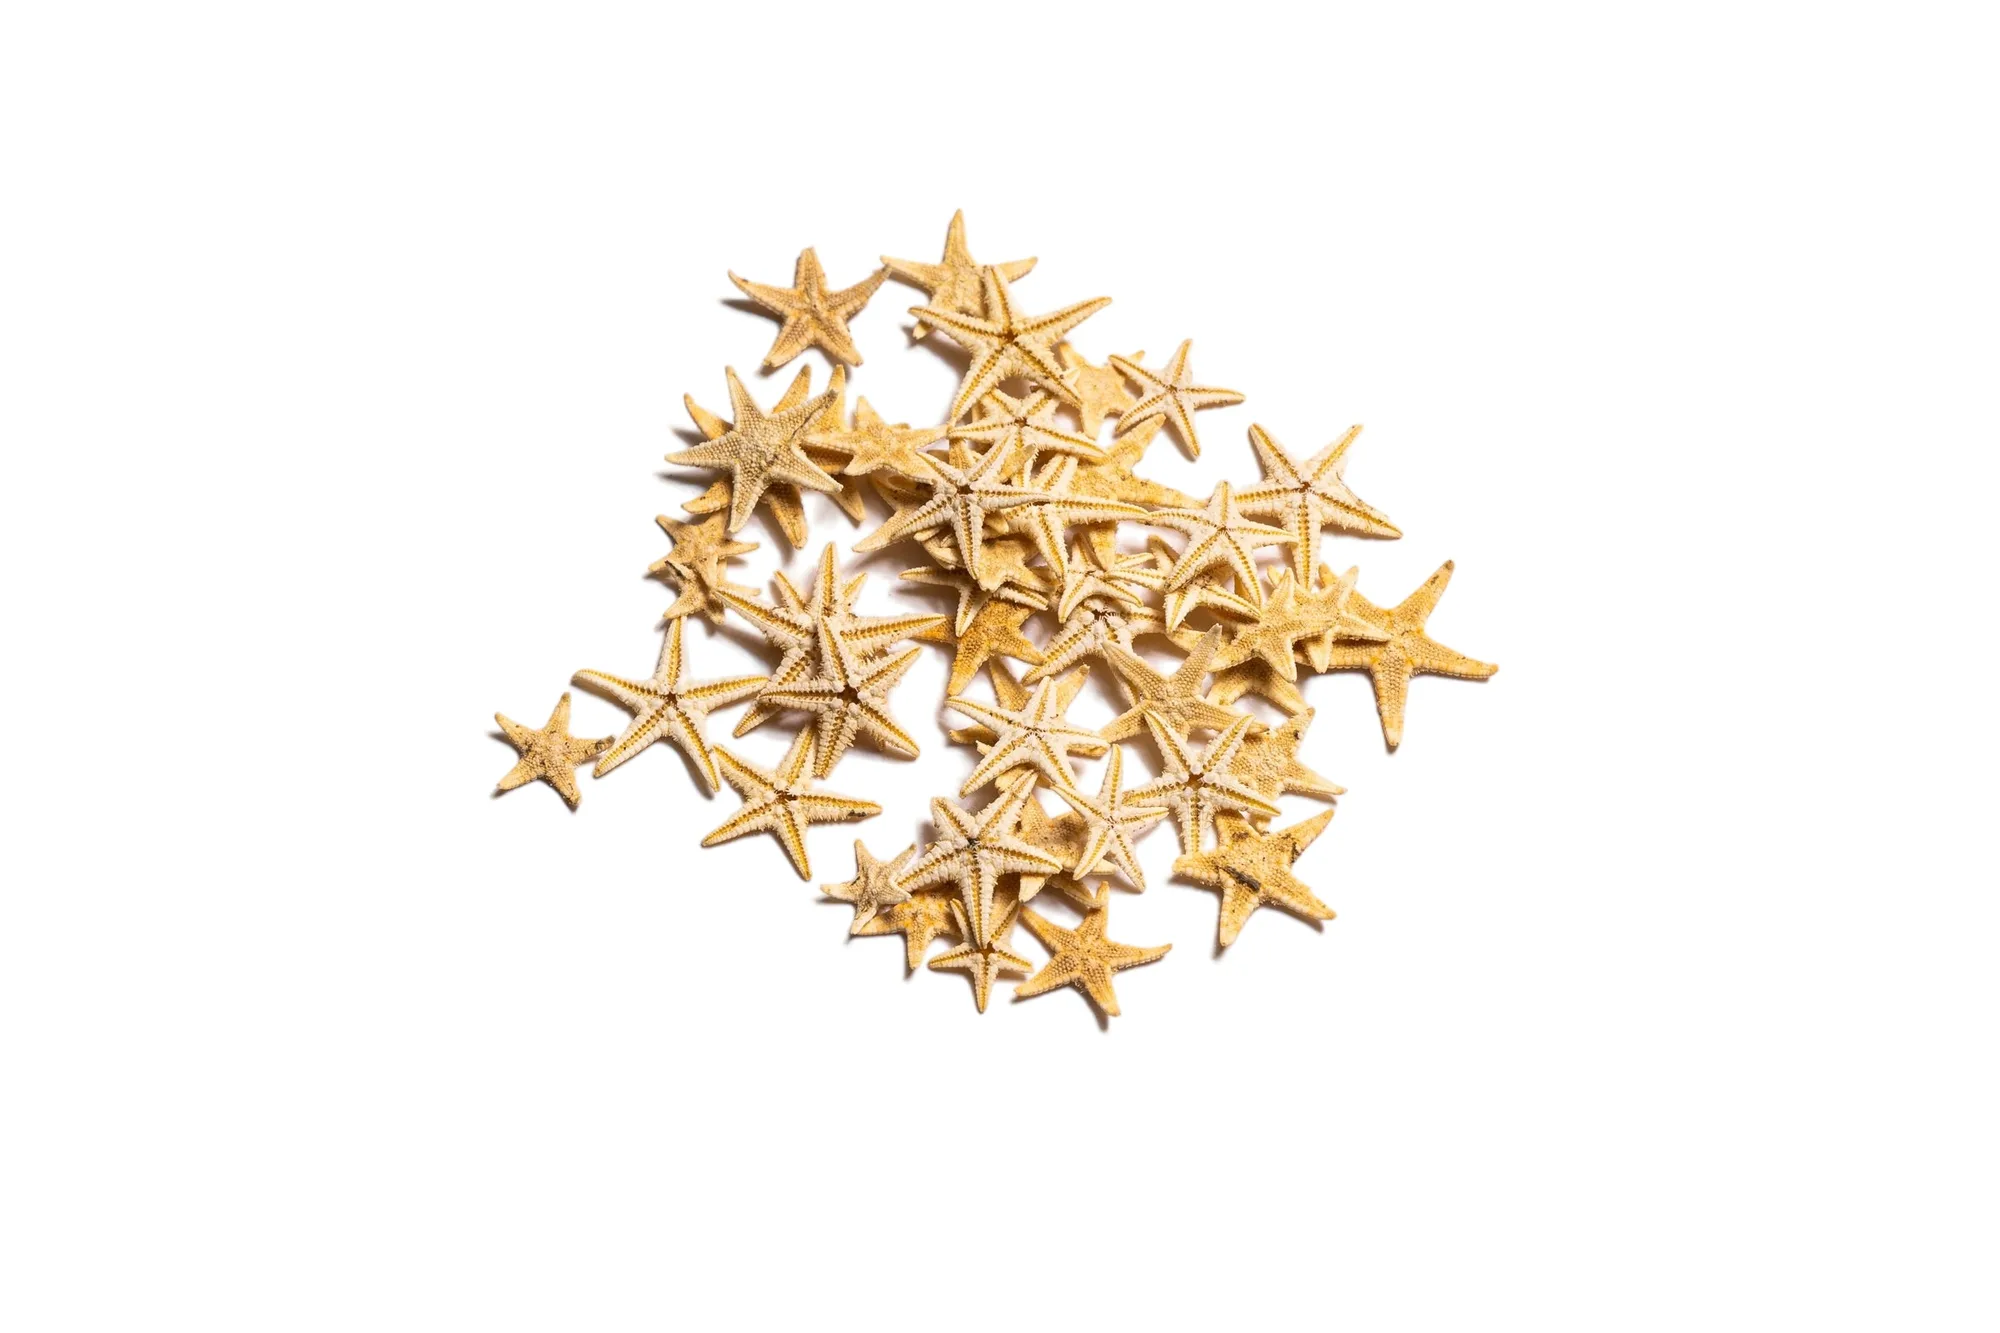
starfish
Why starfish charms fall off (and how to prevent it)
Most starfish charms fail because the adhesive doesn't bond to both the nail surface and the charm. Nail surfaces can be too smooth, and charms with flat backs may not have enough texture for gel to grip. To fix this, lightly buff the nail plate and the back of the charm with a fine grit file. This creates microscopic scratches that help gel adhere. Also, ensure the nail is completely dry and free of oils before applying any adhesive.
Choosing the right adhesive for starfish charms
Not all gels work for 3D charms. You need a thick, building gel that won't run or spread. A builder gel or a dedicated charm gel is ideal because it holds its shape and cures hard. If you use a thin gel, the charm will slide off before curing. For extra security, apply a small amount of gel to the nail, then a tiny dot on the charm itself, and press together. This double-sided approach fills any gaps and creates a strong bond.
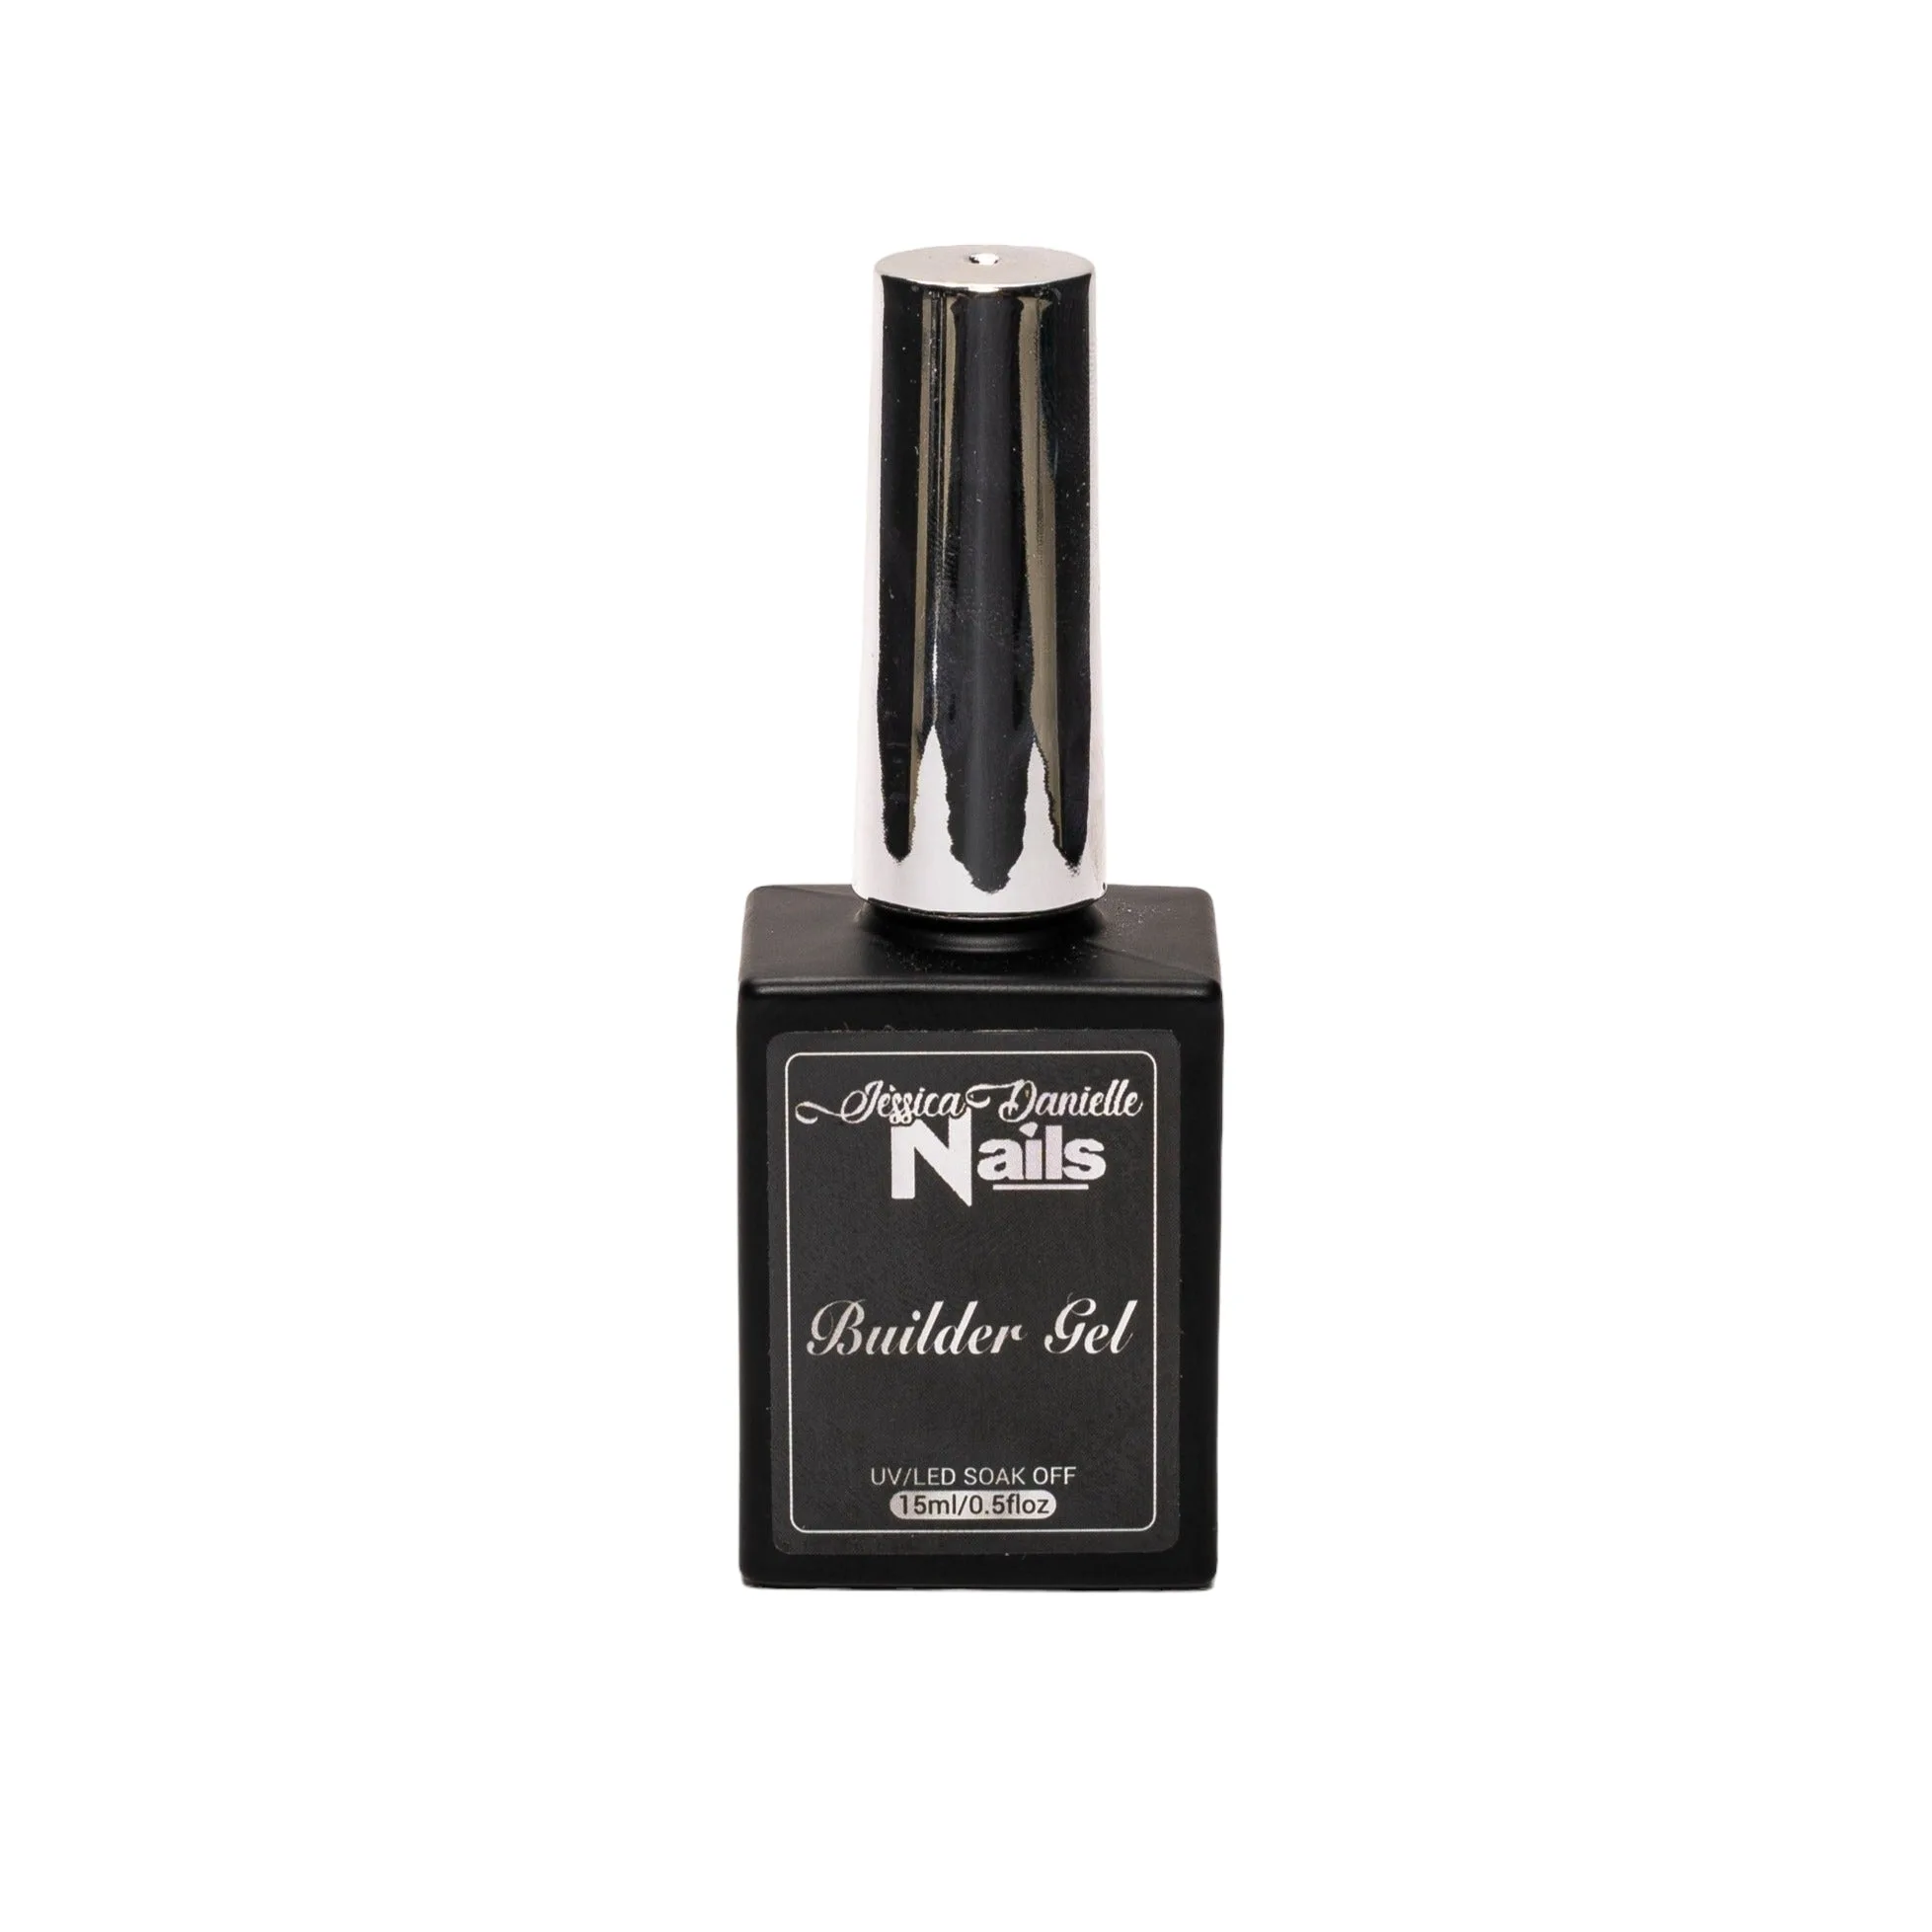
builder gel
Placement tips for a natural beach look
Starfish charms look best when placed near the cuticle or along the side of the nail, mimicking where a real starfish might rest. Avoid centering the charm directly in the middle unless you're going for a symmetrical design. For a beach theme, pair with a sandy nude or ocean blue polish. If you're using multiple charms, vary the sizes and angles to create a scattered effect. Remember that charms near the tip of the nail are more likely to catch on things and pop off, so keep them closer to the base for durability.
Step-by-step: applying starfish nail charms
- Prep the nail and charm: Buff the natural nail with a 180-grit file to remove shine, then wipe with alcohol. Lightly file the back of the starfish charm to create texture. Mistake to avoid: skipping the buffing step—gel won't stick to a smooth surface. Checkpoint: the nail should look matte, not shiny.
- Apply a gel base and cure: Apply a thin layer of builder gel or base coat to the nail and cure under LED for 30 seconds. This creates a tacky layer for the charm to grip. Mistake: using too much gel—it will pool and cause the charm to slide. Checkpoint: the gel should be tacky, not wet.
- Set the charm with thick gel: Place a small bead of thick builder gel where you want the charm. Use tweezers to press the starfish into the gel, ensuring full contact. Add a tiny amount of gel around the edges. Mistake: pressing too hard—it squeezes out all the adhesive. Checkpoint: the charm should sit flat with no gaps.
- Cure and seal: Cure under LED for 60 seconds. Then apply a thin layer of gel over the charm and edges, and cure again. This seals it from snagging. Mistake: not sealing the edges—this is where lifting starts. Checkpoint: run a cuticle stick around the charm; it shouldn't catch.
Products that help secure your starfish charms
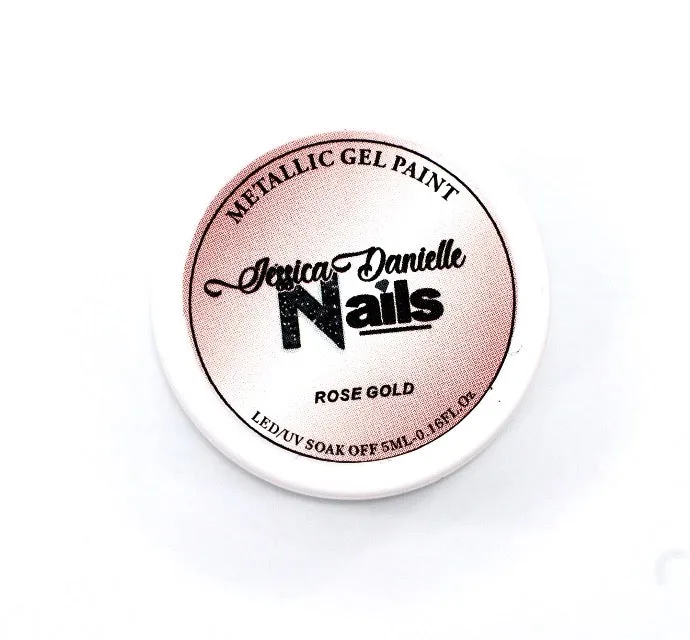
- Rose Gold Metallic Gel Nail Art Paint: Rose Gold Metallic Gel Nail Art Paint is a gel paint formulated exclusively for Jessica Danielle Nails. Use this as a base color under your starfish charm to add a metallic shine that complements the charm's details. Its gel formula can also be used to seal edges if you're careful.