Nendoroids are beloved for their cute chibi designs and interchangeable parts. However, assembling these tiny accessories can be tricky, especially for beginners. In this guide, we'll walk you through the process step by step, ensuring you can enjoy your Nendoroid without frustration.
Whether you're a seasoned collector or new to the hobby, understanding how to handle Nendoroid parts is essential. From attaching arms and legs to swapping faces and using display stands, we'll cover everything you need to know for a seamless assembly experience.
Understanding Your Nendoroid Parts
Before you start assembling, it's important to familiarize yourself with the different parts that come with your Nendoroid. Typically, each Nendoroid includes multiple face plates, arms, legs, hands, and optional accessories like props or effect parts. These parts are designed to be interchangeable, allowing you to create various poses and expressions.
Most Nendoroids also come with a base stand and a support rod to help keep the figure upright. The stand usually has a peg that fits into a hole on the Nendoroid's back or bottom. Understanding where each part goes will make the assembly process much smoother.
- Face plates: usually attach by gently pushing onto the front of the head.
- Arms and legs: connect via ball joints that snap into the torso.
- Hands: come in different shapes (open, closed, gripping) and attach to arm pegs.
- Accessories: such as weapons or food items, often fit into specific hand grips.
Step-by-Step Assembly Process
Start by taking the Nendoroid out of its packaging and laying out all the parts. It's helpful to refer to the instruction sheet that comes with the figure, as it shows the recommended assembly order. Begin with the torso, attaching the legs first. Align the ball joint on the leg with the socket on the torso and push gently until it clicks into place. Do the same for the arms.
Next, attach the head. The head usually has a peg that fits into the neck joint. Press it in firmly but carefully to avoid breaking anything. Once the head is secure, you can add the face plate by sliding it into the groove on the front of the head. Finally, attach the hands and any accessories. If you're using a stand, insert the support rod into the hole on the back and adjust the height as needed.
- Always handle parts by the joints, not the delicate painted surfaces.
- If a part feels stuck, don't force it; try wiggling it gently or using a hairdryer on low heat to loosen the plastic.
- Keep small parts away from pets and young children to avoid loss or damage.
Common Mistakes and How to Avoid Them
One common mistake is attaching parts in the wrong order, which can make it difficult to connect others. For example, if you attach the head before the arms, you might find it harder to reach the shoulder joints. Always follow the instruction sheet or the order suggested above.
Another issue is using too much force when connecting parts. Nendoroid joints are delicate, and applying excessive pressure can cause them to snap. If a joint is tight, try applying a tiny amount of silicone-based lubricant or warming the part slightly with a hairdryer. This will make the plastic more pliable and easier to connect.
- Use a soft cloth or tissue when handling parts to avoid leaving fingerprints.
- Store unused parts in a resealable bag to keep them organized.
- If you lose a part, check if the figure is still available for replacement parts from the manufacturer or third-party sellers.
Displaying Your Nendoroid
Once assembled, you'll want to display your Nendoroid to show off its charm. The included stand is perfect for keeping the figure upright, but you can also use display cases or shelves. Consider creating a themed display with other figures or accessories to make it more eye-catching.
When choosing a display spot, avoid direct sunlight, as it can fade the colors over time. Also, keep your Nendoroid away from dusty areas or cover it with a display case to keep it clean. Regularly dusting with a soft brush will maintain its appearance.
- Use a display case with a clear cover to protect from dust and accidental knocks.
- Rotate the figure's pose occasionally to prevent stress on the joints.
- If you have multiple Nendoroids, arrange them in a scene for a dynamic display.
Enhancing Your Collection with Accessories
Nendoroids are highly customizable, and adding extra accessories can enhance your display. Many Nendoroids come with alternate face plates, hands, and props, but you can also purchase additional parts separately. For example, the Speed Racer Speed Racer Uni AirPods Case for AirPods Pro 2, Gen 3 is a fun tech accessory that can be displayed alongside your Nendoroid if you're a fan of the series.
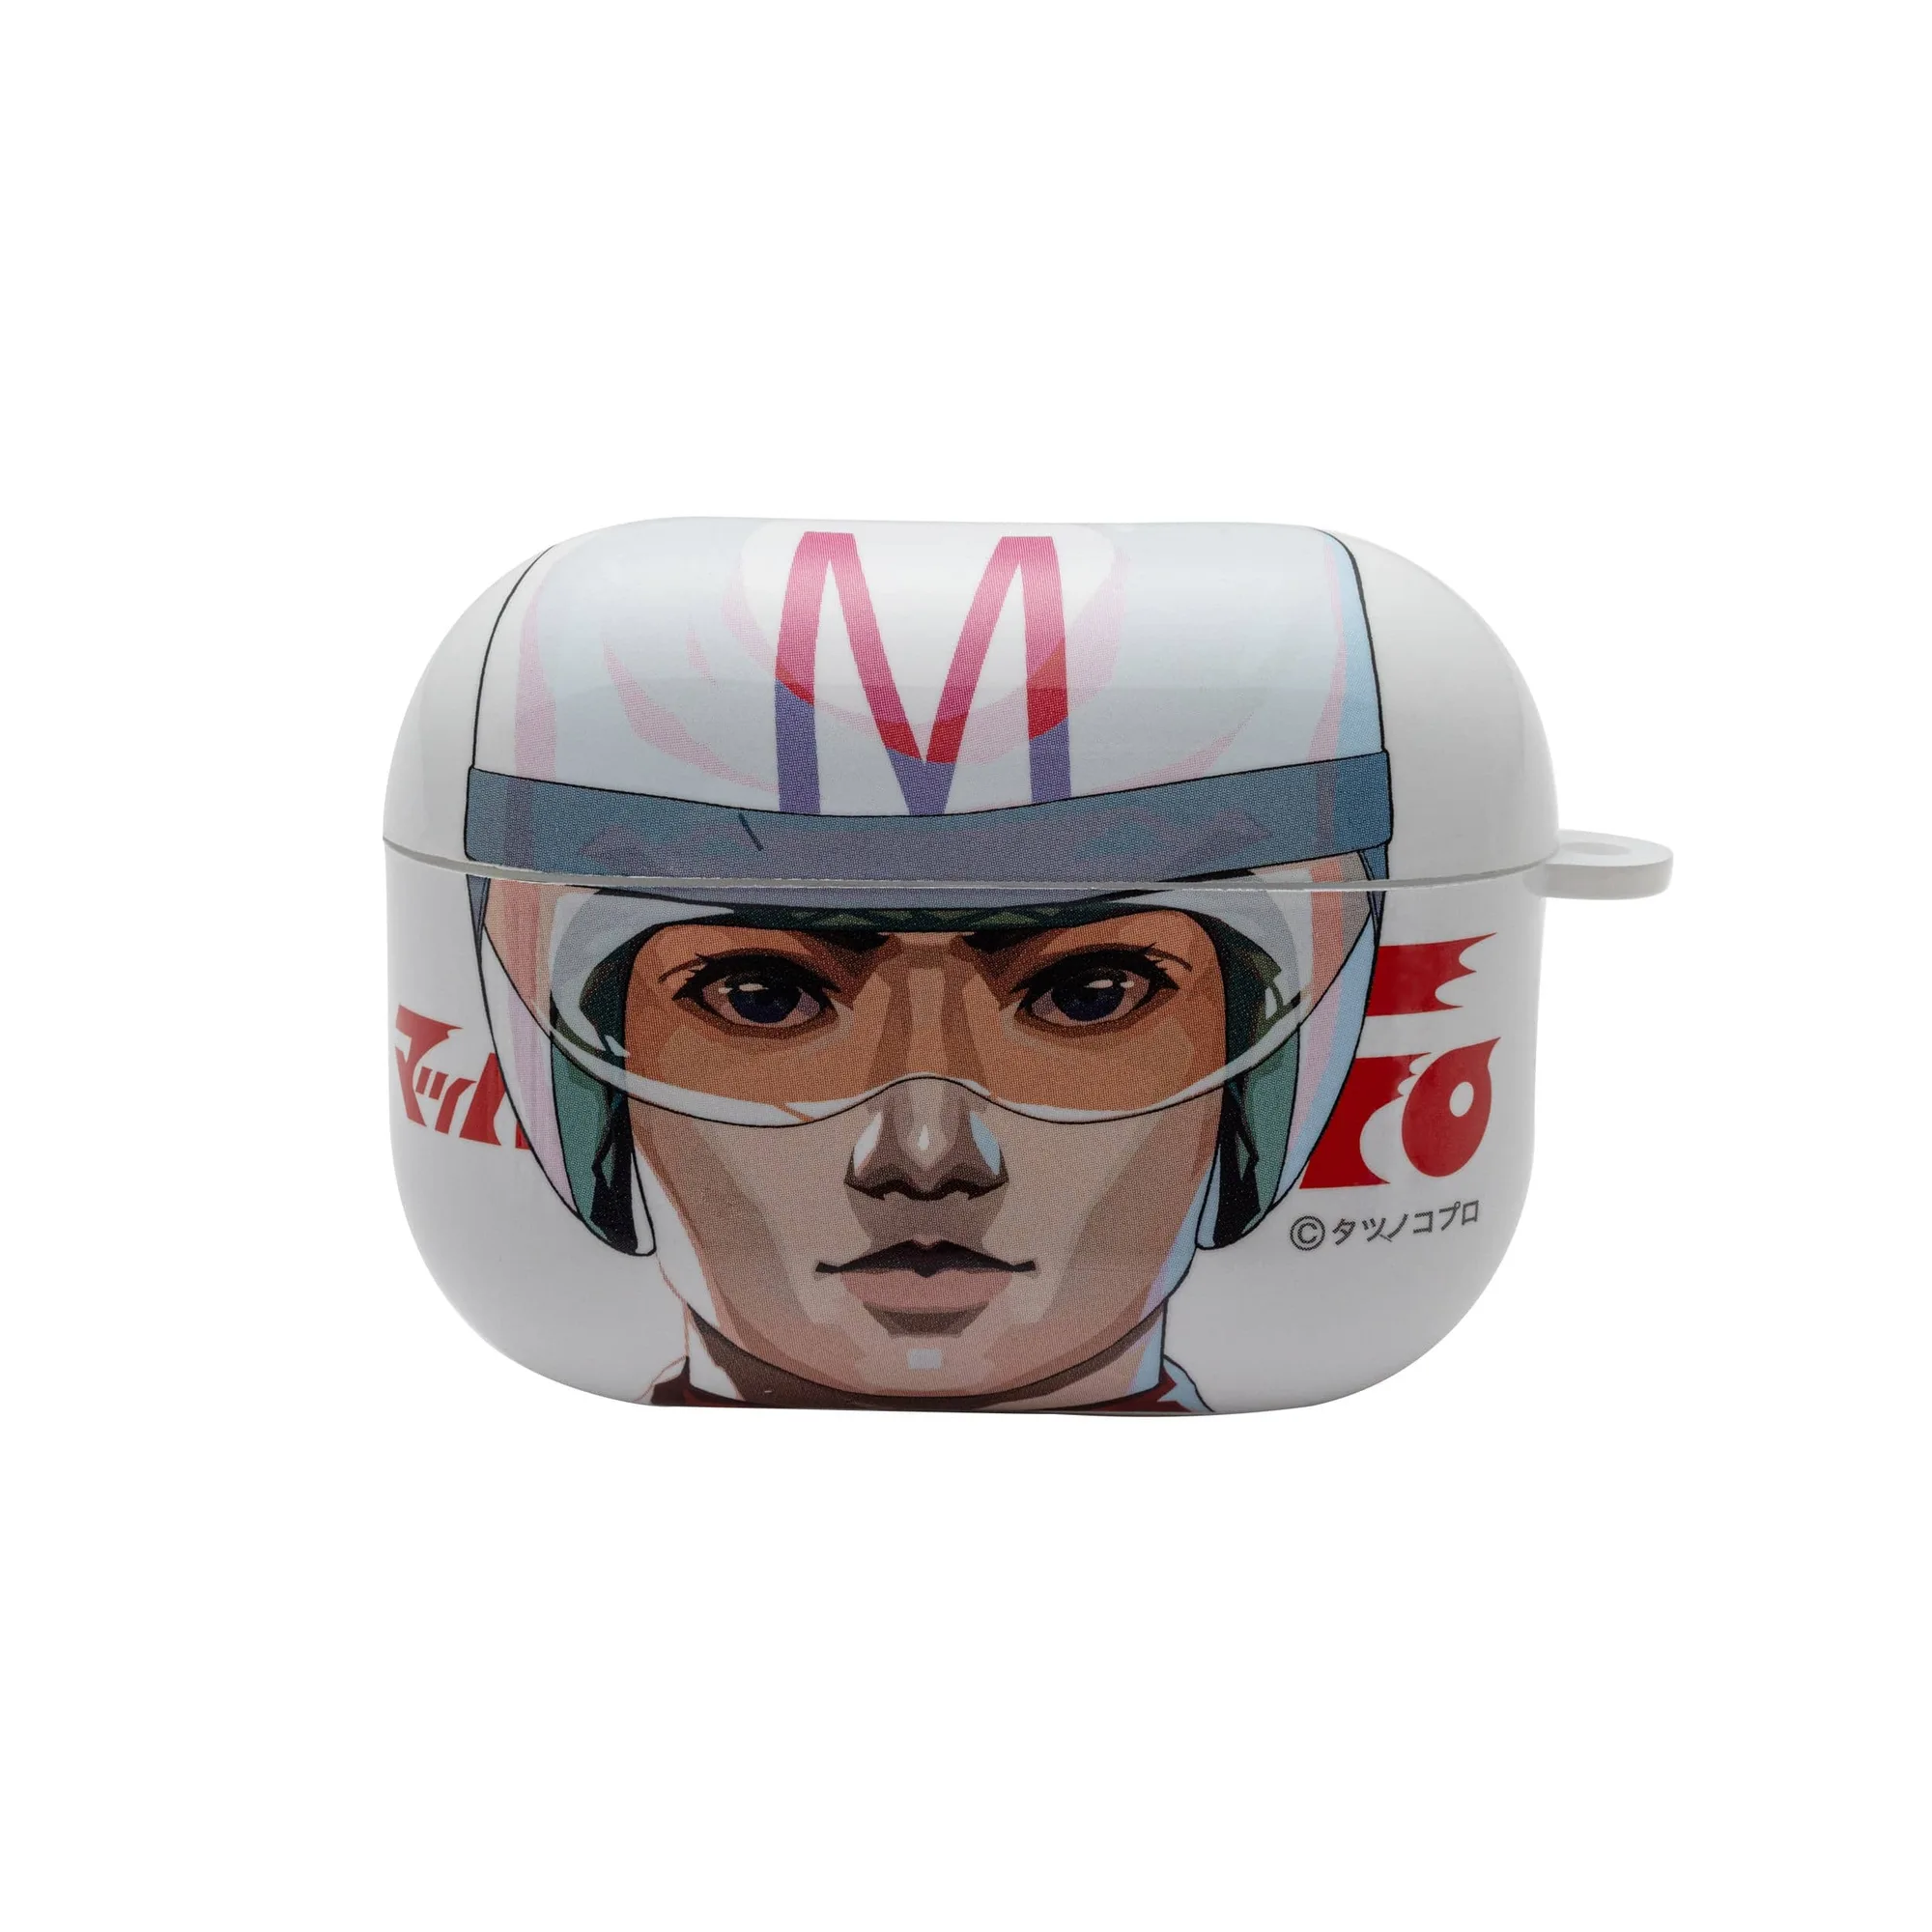
Speed Racer Speed Racer Uni AirPods Case for AirPods Pro 2, Gen 3
For those who love themed displays, consider pairing your Nendoroid with other merchandise. The Neon Genesis Evangelion EVA-02 Mecha Pack - AGS Pro Backpack is a great way to show off your fandom while keeping your gear organized. These items not only complement your Nendoroid but also add personality to your collection.
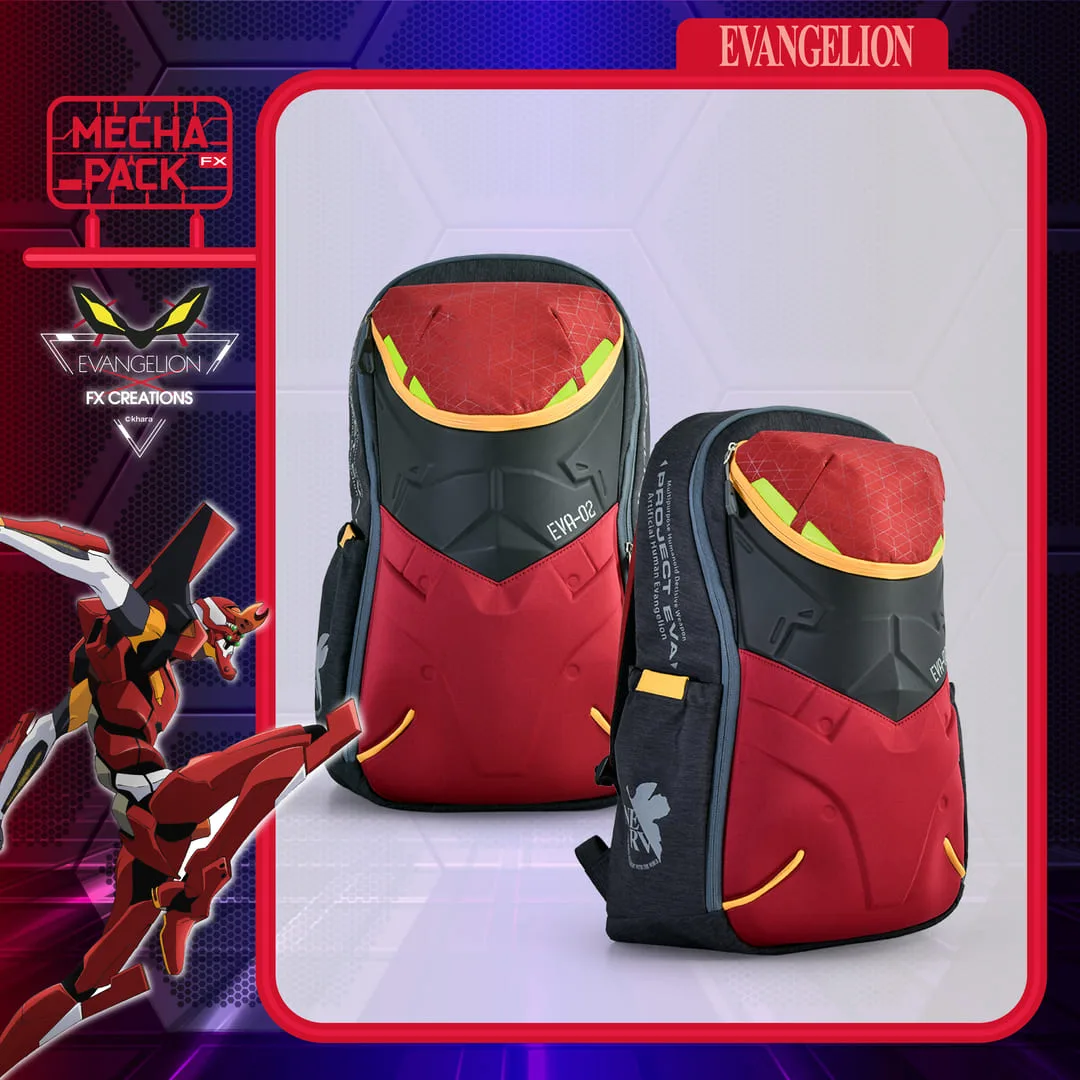
Neon Genesis Evangelion EVA-02 Mecha Pack - AGS Pro Backpack
- Look for Nendoroid-specific accessory packs to expand your options.
- Mix and match parts from different Nendoroids to create unique looks.
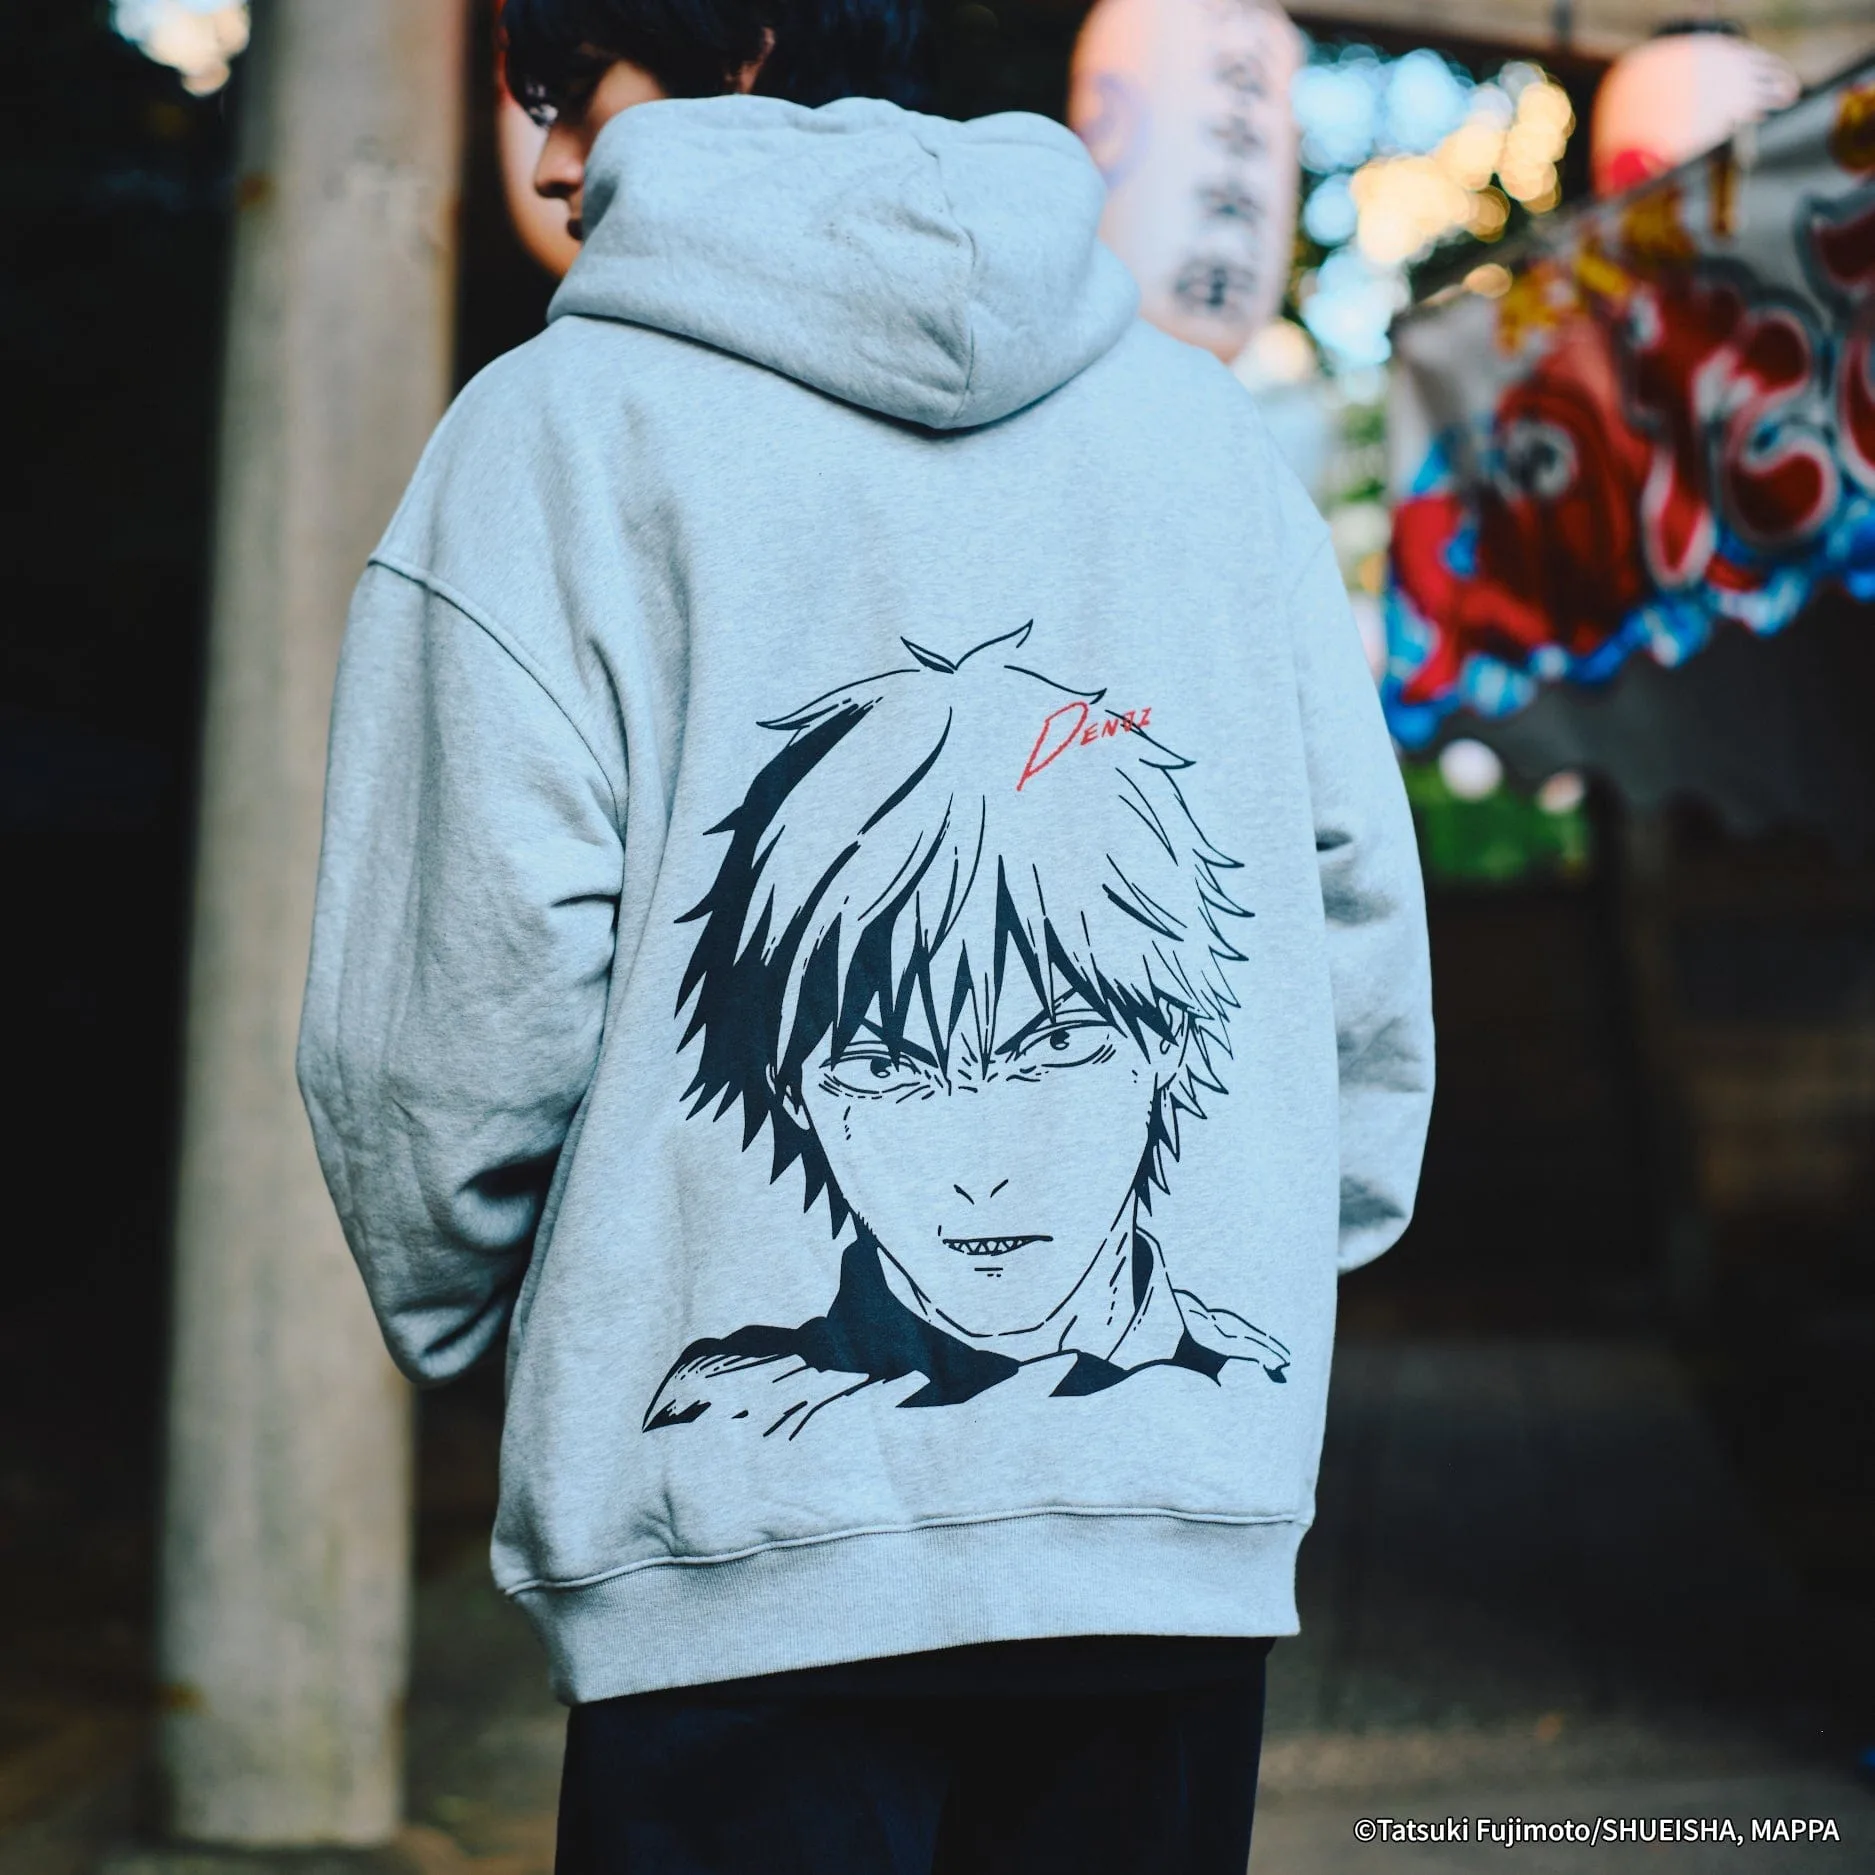
- Consider displaying your Nendoroid with themed items like the Denji Chainsaw Man Hoodie for a cohesive fan corner.
Assembling Nendoroid accessories is a rewarding experience that allows you to personalize your figure. With this step-by-step guide, you'll be able to put together your Nendoroid with confidence and create a display that reflects your style. Remember to handle parts gently and have fun experimenting with different poses and accessories.