Quick Answer
To sleeve your cards like a pro, start by choosing the right size and type of sleeve for your game. Hold the card by its edges, slide it in gently, and press out excess air. Practice a consistent technique to avoid bending corners and trapping dust.
Sleeving your cards is one of the simplest ways to keep them in mint condition, whether you're protecting a competitive deck or a beloved collection. Done right, sleeves prevent scratches, edge wear, and accidental spills from ruining your cards. But many players skip the basics and end up with wrinkled sleeves or damaged corners.
In this guide, you'll learn a step-by-step process for sleeving cards properly, from choosing the right sleeve to double sleeving for extra protection. We'll also point out common mistakes so you can avoid them and keep your cards looking sharp for years.
Why Sleeving Matters
Cards in any collectible card game take a beating during shuffling, drawing, and table play. Even gentle handling leaves micro-scratches, and a single spilled drink can ruin a rare card permanently. Sleeves act as a barrier, absorbing wear and tear while keeping your cards clean and easy to shuffle.
Beyond protection, sleeves also improve gameplay. They make cards easier to pick up, reduce glare, and can even add a bit of style to your deck. Whether you're using standard clear sleeves or themed ones like the Critical Role Sleeves: Nott, the right sleeve helps you play with confidence.
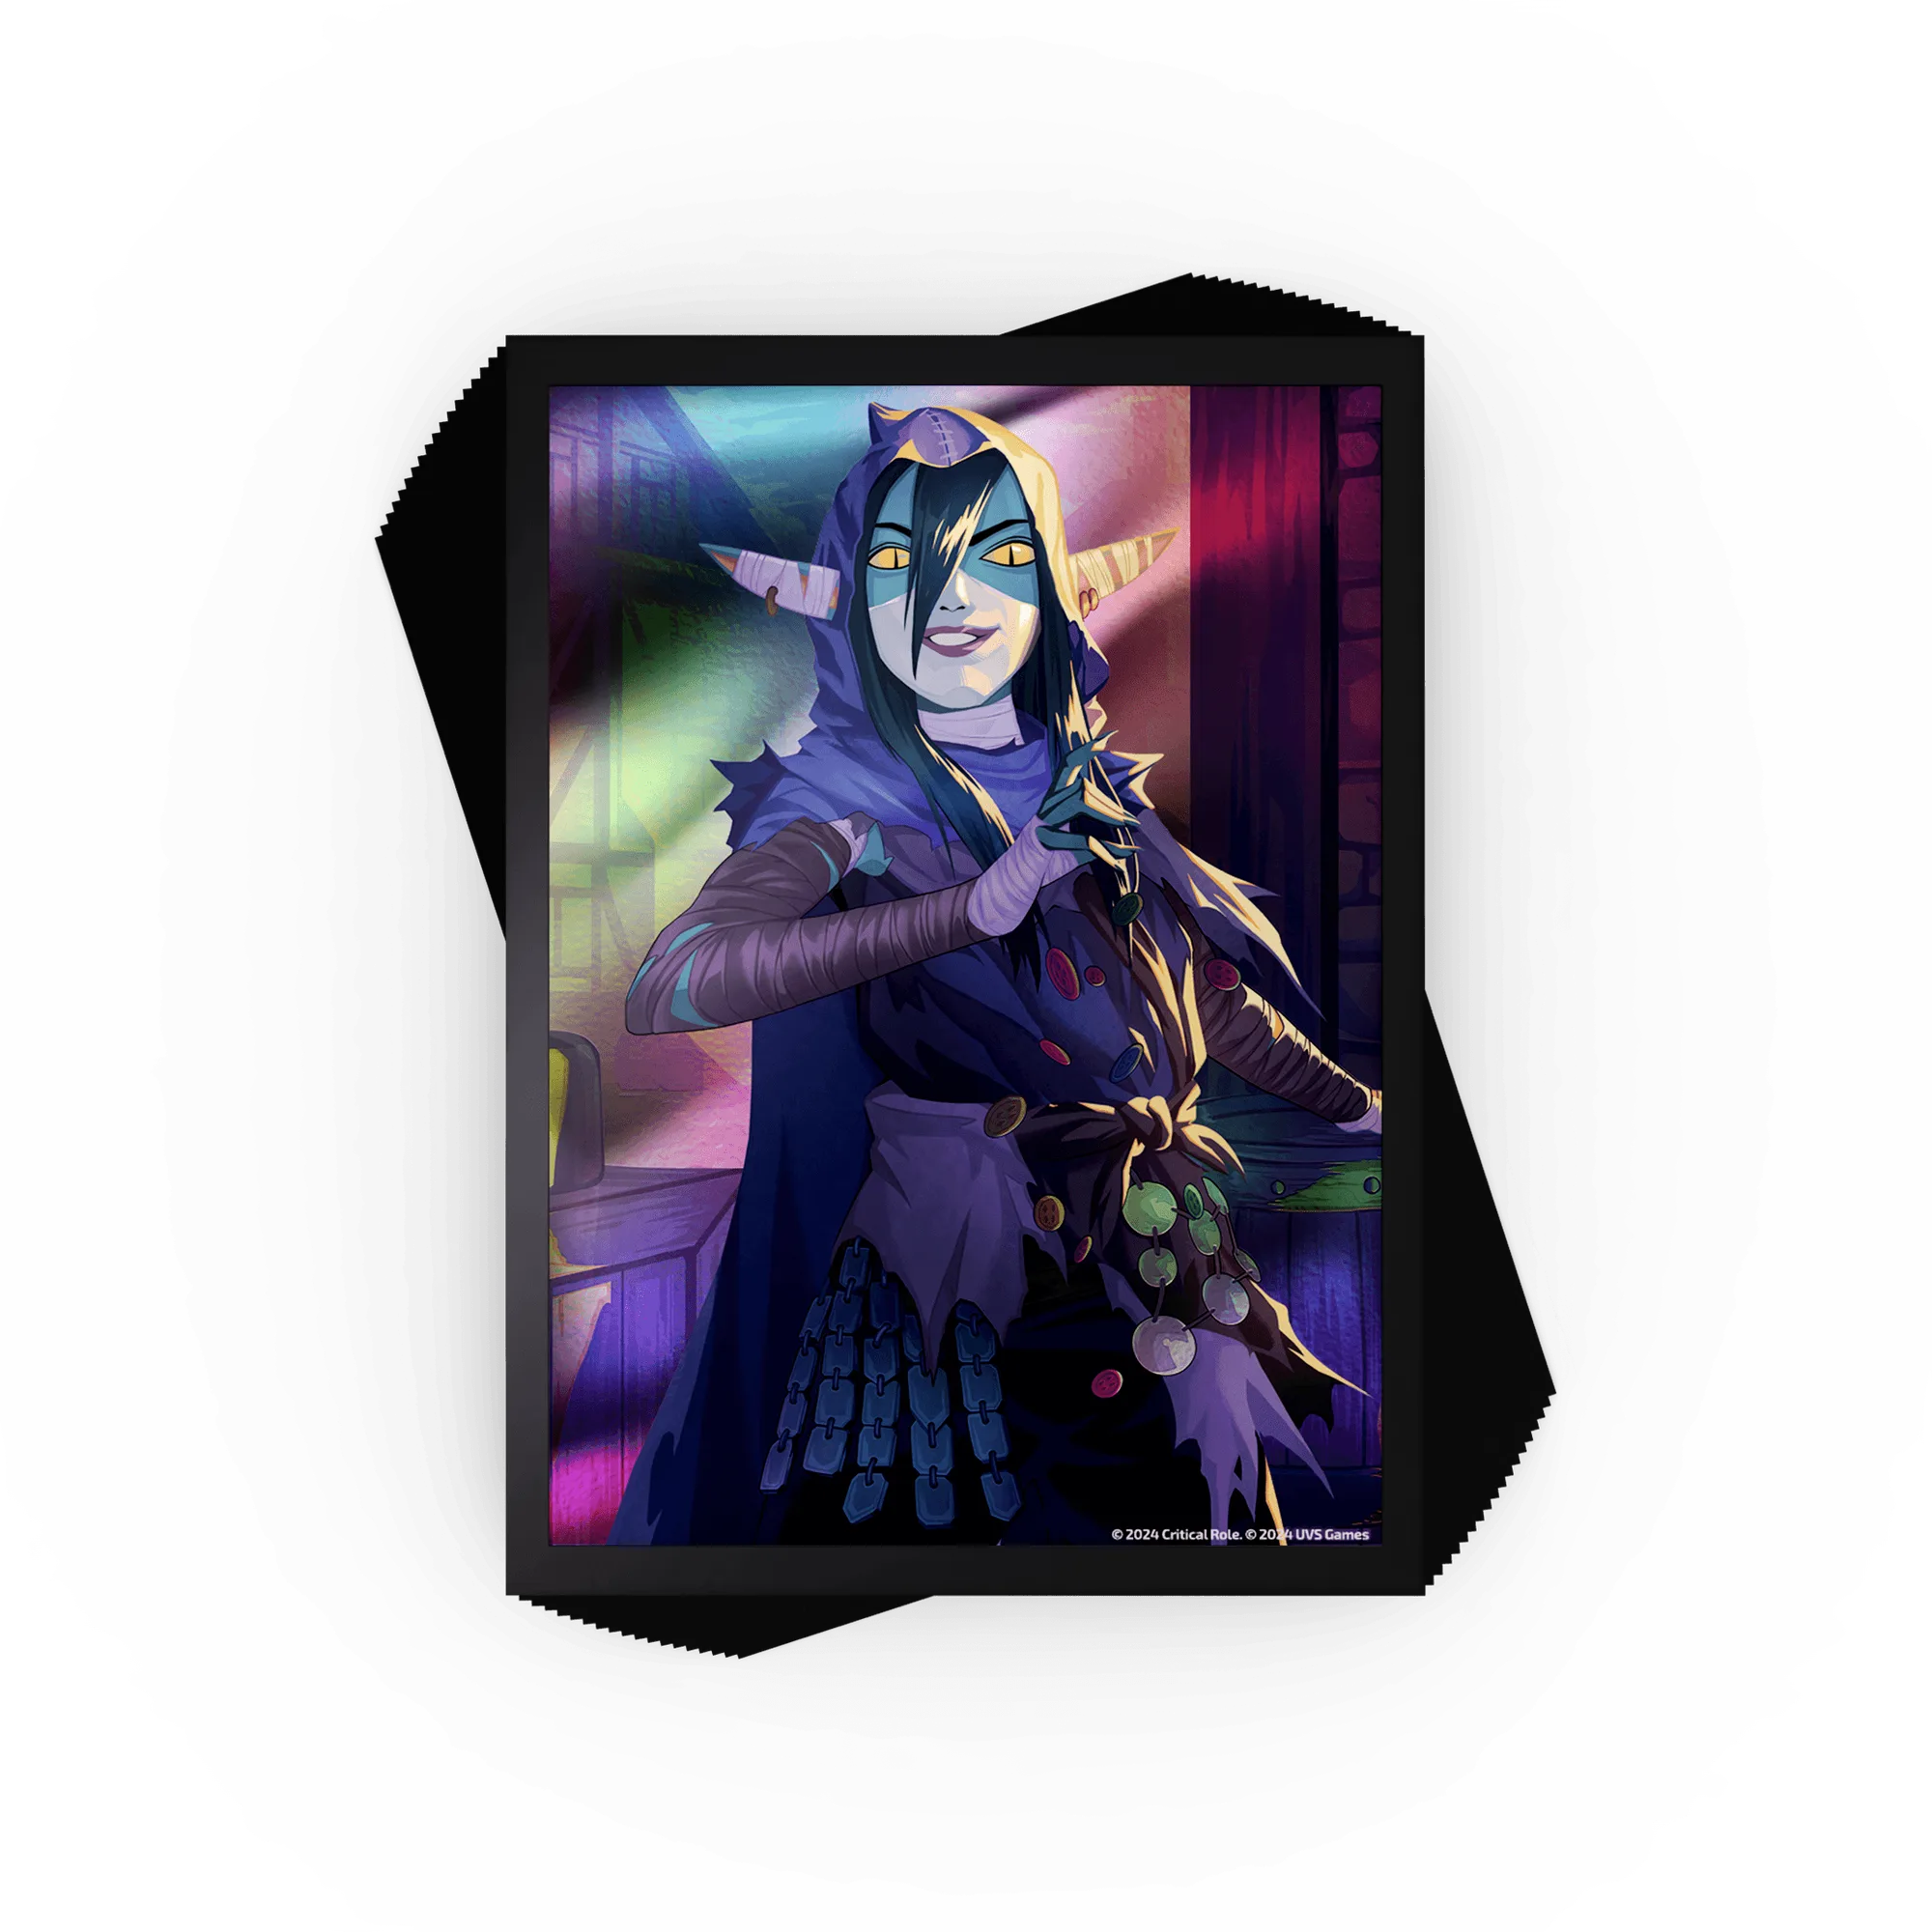
Critical Role Sleeves: Nott
- Always choose sleeves that fit your card size: standard, small, or large.
- Consider opaque backs if you're playing in a tournament to avoid marked-card issues.
Choosing the Right Sleeves
Before you start sleeving, you need the correct sleeve size. Most trading card games use standard-sized cards (about 63x88mm), but some games like Yu-Gi-Oh! use smaller cards. Check your card dimensions and pick sleeves that match exactly. Sleeves that are too big allow cards to slide out; too small can bend corners.
Sleeve material matters too. Polypropylene sleeves are affordable and clear, while polyvinyl chloride (PVC) sleeves are thicker and more durable. Some players prefer matte finishes for better shuffling, while others like glossy for clarity. Try a few types to see what feels best in your hands.
- If you're unsure, buy a pack of cheap sleeves first to test the fit.
- For double sleeving, choose an inner sleeve that's slightly smaller than the outer one.
Preparing Your Workspace
A clean, flat surface is essential for sleeving. Dust and crumbs can get trapped inside sleeves, causing scratches. Wipe down your desk and wash your hands before handling cards. If you're sleeving many cards, consider a soft mat to prevent cards from sliding.
Organize your cards before you start. Group them by type or order, and have your sleeves ready. This prevents you from picking up a card twice or missing one. A neat workspace makes the process faster and less error-prone.
- Avoid eating or drinking near your cards.
- Keep a soft cloth nearby to wipe your hands if they get clammy.
Step-by-Step Sleeving Process
- Step 1: Hold the card correctly: Pick up the card by its edges, using your thumb and middle finger. Avoid touching the face or back, as oils from your skin can leave marks. This grip gives you control without bending the card. Checkpoint: If you notice fingerprints, wash and dry your hands before continuing.
- Step 2: Open the sleeve and slide the card in: Hold the sleeve with one hand, using your thumb to open the top. Gently insert the card top-first, sliding it in until it touches the bottom. Do not force it; if it resists, check for obstructions. Common mistake: Pushing too hard can bend the card or tear the sleeve. If it doesn't slide easily, adjust the angle.
- Step 3: Press out air and seal: Once the card is fully inside, press down from the top with your fingers to push out any trapped air. This ensures a snug fit and prevents the card from sliding around. Checkpoint: Run your fingers along the edges to make sure the sleeve is smooth and the card is fully seated.
- Step 4: Double sleeve for extra protection: For double sleeving, first place the card in a smaller inner sleeve (open at the bottom), then insert that into a standard outer sleeve (open at the top). This creates a water-resistant seal and extra layer against scratches. Common mistake: Forgetting to align the open ends correctly. The inner sleeve's opening should face down into the outer sleeve.
- Step 5: Shuffle test: After sleeving your deck, shuffle it to ensure the sleeves don't stick or catch. If they do, consider using different sleeves or breaking them in by shuffling gently. Checkpoint: If you feel resistance, your sleeves may be too tight or too loose. Adjust accordingly.
Products to Help You Sleeve Like a Pro
- Critical Role Sleeves: Nott: Protect your cards in style with these brand new Critical Role Vox Machina sleeves featuring Nott the Brave! Keep your cards safe (from magically appearing in Nott's pockets) with these high-quality sleeves! These sleeves offer both protection and fandom flair, making them perfect for players who want to showcase their favorite characters while keeping cards safe.
Sleeving your cards properly is a simple skill that pays off in the long run. With the right technique and quality sleeves, you'll keep your collection in top condition and enjoy smoother shuffling. Start with a few cards, practice the steps, and soon you'll be sleeving like a pro.