Quick Answer
Restoring a used anime DVD box set involves careful cleaning of discs and cases, repairing scratches with a gentle polish, and replacing damaged packaging if needed. Always test each disc after cleaning to ensure playback, and store the set properly to prevent future damage.
Buying a secondhand anime DVD box set can be a great way to own a complete series without paying collector prices. However, used sets often come with fingerprints, light scratches, or worn packaging that can affect playback and display. Fortunately, most issues can be fixed at home with simple supplies and a little patience.
Whether you've just received a pre-owned set like the Godzilla Final Box or you're rescuing an old favorite from your shelf, this guide walks you through every step—from cleaning the discs to restoring the case—so your anime collection looks and plays like new.
Gather Your Supplies
Before you start, collect the right tools. You'll need a soft, lint-free microfiber cloth (not paper towels, which can scratch), lukewarm water, mild dish soap, isopropyl alcohol (at least 70%), cotton swabs, and a commercial DVD scratch repair kit or a gentle plastic polish like polycarbonate polish. For case repair, have a soft cloth, adhesive remover, and possibly replacement cases.
Avoid using harsh chemicals like window cleaners or abrasive pads, as they can damage the disc's protective layer. Also, work in a clean, well-lit area to avoid introducing dust or debris during the process.
- Microfiber cloths are essential—never use paper towels or tissues.
- Isopropyl alcohol helps remove sticky residue without harming the disc.
Clean the Discs Properly
Start by holding each DVD by its edge or center hole to avoid fingerprints. Use a dry microfiber cloth to wipe from the center outward in straight lines—never in a circular motion, which can worsen scratches. If the disc is greasy, dampen the cloth with a drop of mild dish soap and water, then wipe gently.
For stubborn smudges, use a cotton swab dipped in isopropyl alcohol. Let the disc air-dry completely before testing. Always check both sides, but be extra careful with the playback side (the shiny side).
Common mistake: Wiping in circles can create new micro-scratches that align with the disc's data tracks. Always wipe straight from the hub to the edge.
Repair Light Scratches
If a disc still skips or freezes after cleaning, it may have light scratches. Try a commercial DVD scratch repair kit or a non-abrasive plastic polish. Apply a small amount to a clean cloth and rub gently from the center outward. Work in small sections and buff until the surface looks clear.
For deeper scratches, you may need a repair product with a mild abrasive. Follow the manufacturer's instructions carefully. Some kits include a buffing pad that can smooth the surface without removing too much material.
Checkpoint: After polishing, wipe off any residue and test the disc in your player. If the problem persists, the scratch may be too deep for DIY repair—consider professional resurfacing or replacing the disc.
Restore the Case and Inserts
Used box sets often have sticky residue from price tags or worn corners. Use a soft cloth with a little isopropyl alcohol to gently remove sticker residue. For scuffs on plastic cases, a mild plastic polish can help restore clarity. If a case is cracked or broken, consider replacing it with a standard DVD case or a specialty case that matches the set.
Check the inserts and booklets for damage. If they are creased, you can flatten them by placing them under heavy books for a few days. For missing or damaged inserts, you might find replacements on auction sites or fan communities.
Common mistake: Using water directly on paper inserts can cause ink to run or pages to wrinkle. Always handle inserts with dry hands and avoid moisture.
Test Each Disc and Finalize
After cleaning and repairing, test every disc in your DVD player or computer. Fast-forward through chapters and check for skips, freezes, or audio issues. If a disc still fails, re-clean it or try a different repair method. For severely damaged discs, consider replacing them if the set is valuable.
Once all discs play correctly, reassemble the box set. Store it upright in a cool, dry place away from direct sunlight. Use a protective sleeve for individual discs if the original packaging is worn.
Step-by-Step Restoration Checklist
- Inspect: Check each disc and case for damage. Note scratches, sticky residue, and cracks. Prioritize discs that skip or have visible scratches.
- Clean: Use a microfiber cloth and mild soap to clean discs from center outward. Remove residue with isopropyl alcohol. Never wipe in circles.
- Repair: Apply a scratch repair product or plastic polish to light scratches. Buff gently and test. If playback doesn't improve, consider professional resurfacing.
- Restore Case: Clean the case and inserts. Replace broken parts or flatten creased paper. Keep inserts dry to prevent damage.
- Test and Store: Play each disc fully to ensure no errors. Store the box set upright in a cool, dry place. Use protective sleeves for extra safety.
Products That Can Help
- Godzilla Final Box : The 50th Anniversary DVD Perfect Box(DVD is NOT include)(105111096) - Entertainment Hobby Shop Jungle: This pre-owned box set is noted as 'Box Damaged' and 'SUPER RARE ITEM' with DVD not included. It comes in a large box measuring 18 x 30 x 15 inches. When restoring a rare collector's box set like this, focus on the packaging. Since the DVDs are not included, you may need to source replacement discs separately, making the condition of the box crucial for display and value.
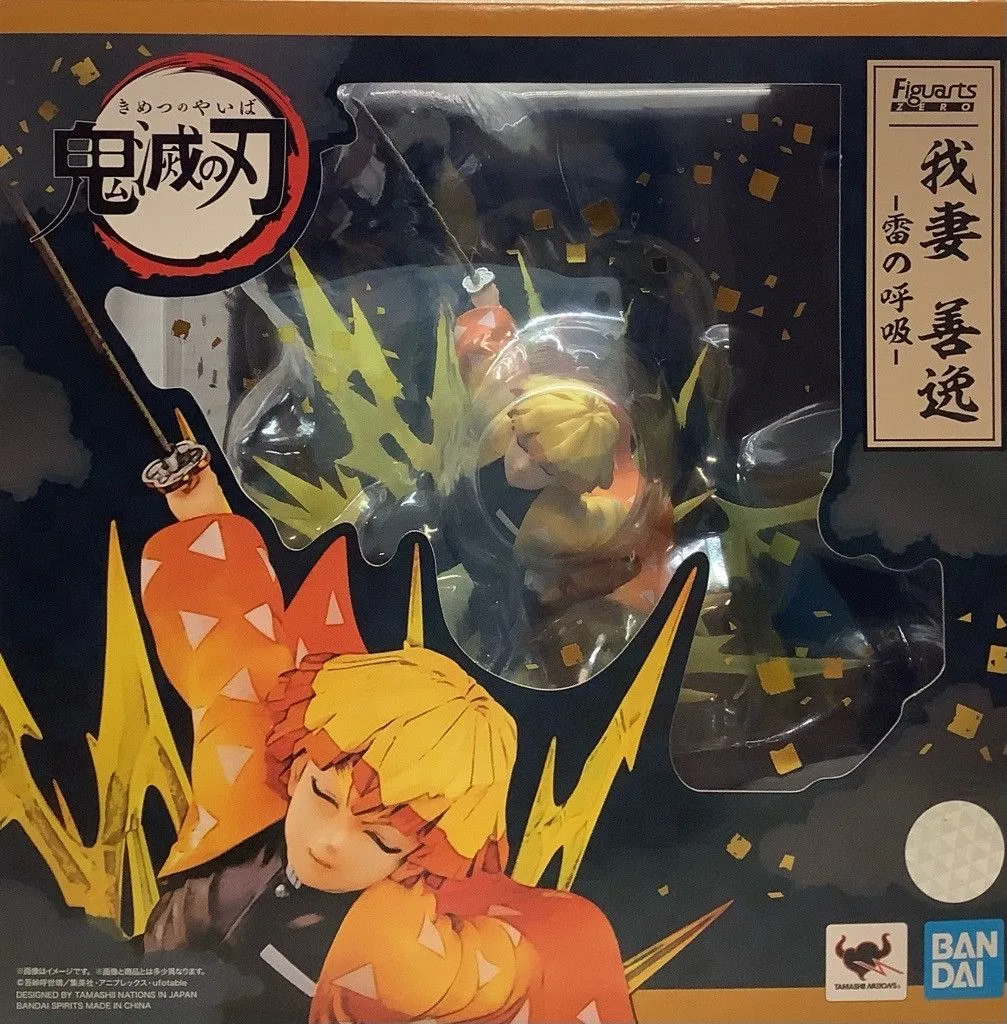
- One Piece: S.H.Figuarts Zero - Daikaizoku Hyakkei Overrall Ranking 1 Monkey D. Luffy D Figure(105079562) - Entertainment Hobby Shop Jungle: This pre-owned figure has 'Slight Box Damaged' and is fully sealed, from Bandai, 2022. While not a DVD, this figure shows how pre-owned items often have minor box damage. The same restoration techniques for cases can apply to figure boxes, helping you maintain a clean collection.
Restoring a used anime DVD box set is a rewarding project that can save you money and preserve a piece of anime history. With careful cleaning, gentle scratch repair, and proper storage, your secondhand finds can look and play like new. For rare items like the Godzilla Final Box, the effort you put into the packaging is just as important as the discs themselves.