Quick answer
Sticker bombing means covering a surface with overlapping stickers to create a dense, personalized collage. For best results, use removable vinyl stickers, clean the surface thoroughly, and plan your layout before peeling anything. Start with larger stickers as a base, then fill gaps with smaller ones.
What You Need to Start Sticker Bombing
You don't need much: a clean, dry surface (like a laptop lid, phone case, or water bottle), a collection of vinyl stickers, and a bit of patience. Vinyl stickers are ideal because they're durable, water-resistant, and often removable without leaving sticky residue. Avoid paper stickers—they tear easily and don't hold up to daily wear.
If you're decorating a laptop, consider the heat output from vents and the hinge area. Placing stickers over vents can block airflow, so leave those spots clear. For curved surfaces like a water bottle, smaller stickers (around 2–3 inches) conform better than large ones.
Planning Your Layout
Before you commit, lay your stickers on the surface without peeling the backing. This dry run lets you adjust spacing, overlap, and orientation. A common mistake is starting in the center—work from one edge or corner instead, so you can build outward evenly. If you want a chaotic, packed look, overlap stickers by about 20–30%. For a cleaner aesthetic, leave small gaps between stickers.
Step-by-Step Sticker Bombing Process
- Clean the surface: Wipe the area with isopropyl alcohol or a mild soap solution. Let it dry completely. Oils and dust prevent adhesion, so don't skip this step. Checkpoint: If the surface feels greasy after cleaning, repeat. Stickers won't stick well to residue.
- Plan your layout (dry run): Arrange stickers on the surface without removing backings. Start from one corner and work outward. Overlap larger stickers first, then fill gaps with smaller ones. Common mistake: Placing stickers too close to edges or hinges. Leave a 1/8-inch margin for durability.
- Peel and apply from the center: Peel the backing slowly. For larger stickers, use the hinge method: tape one edge down, lift the other side, peel half the backing, then smooth from center outward. This avoids air bubbles. Checkpoint: If a bubble forms, lift the sticker gently and re-apply. Popping bubbles with a pin works only on vinyl—never on paper.
- Press and seal: After placing each sticker, rub firmly with a credit card or squeegee from center to edges. This forces out air and bonds the adhesive. Wait 24 hours before heavy handling. Verdict: Patience pays. A well-pressed sticker lasts months longer than a rushed one.
- Remove without damage: To remove a vinyl sticker, warm it with a hairdryer on low for 20–30 seconds. Peel slowly at a 180-degree angle (back onto itself). Any residue can be cleaned with rubbing alcohol. Next step: If you plan to change your design often, use removable vinyl stickers—they leave less residue.
Stickers That Fit the Bombing Style
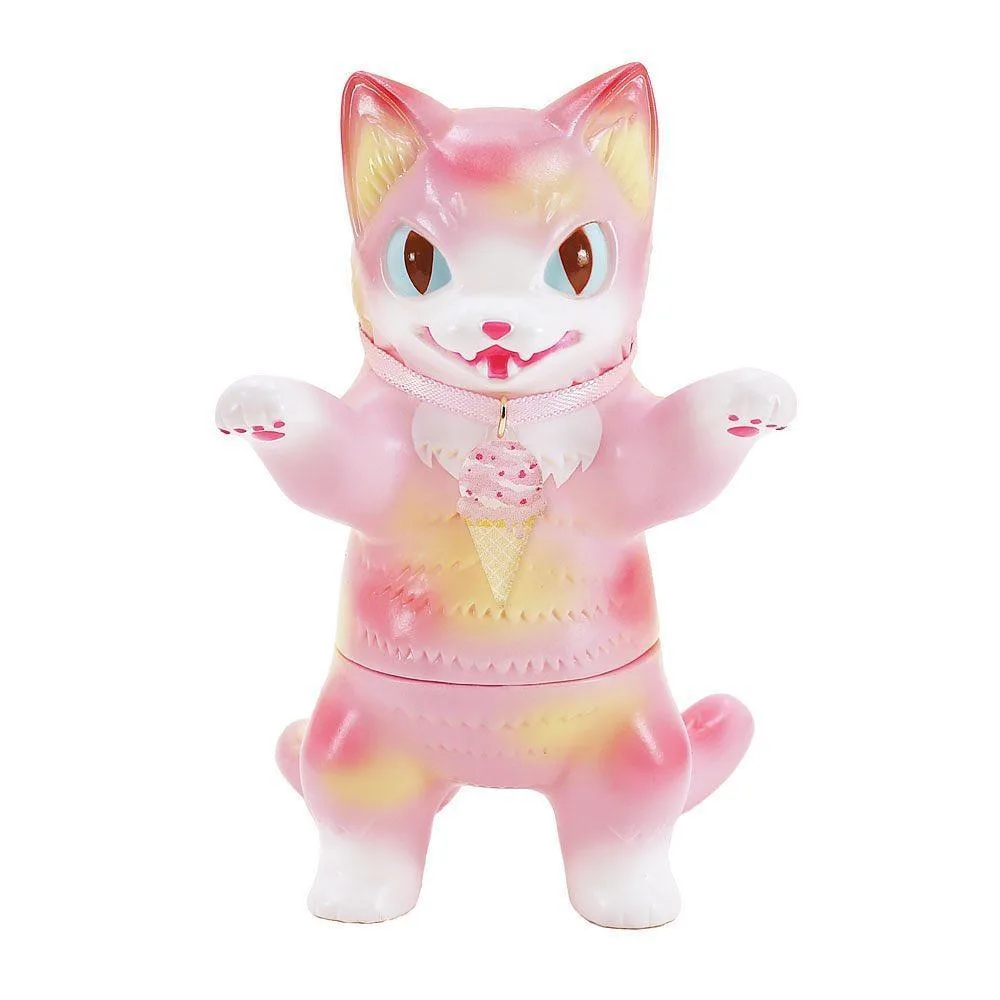
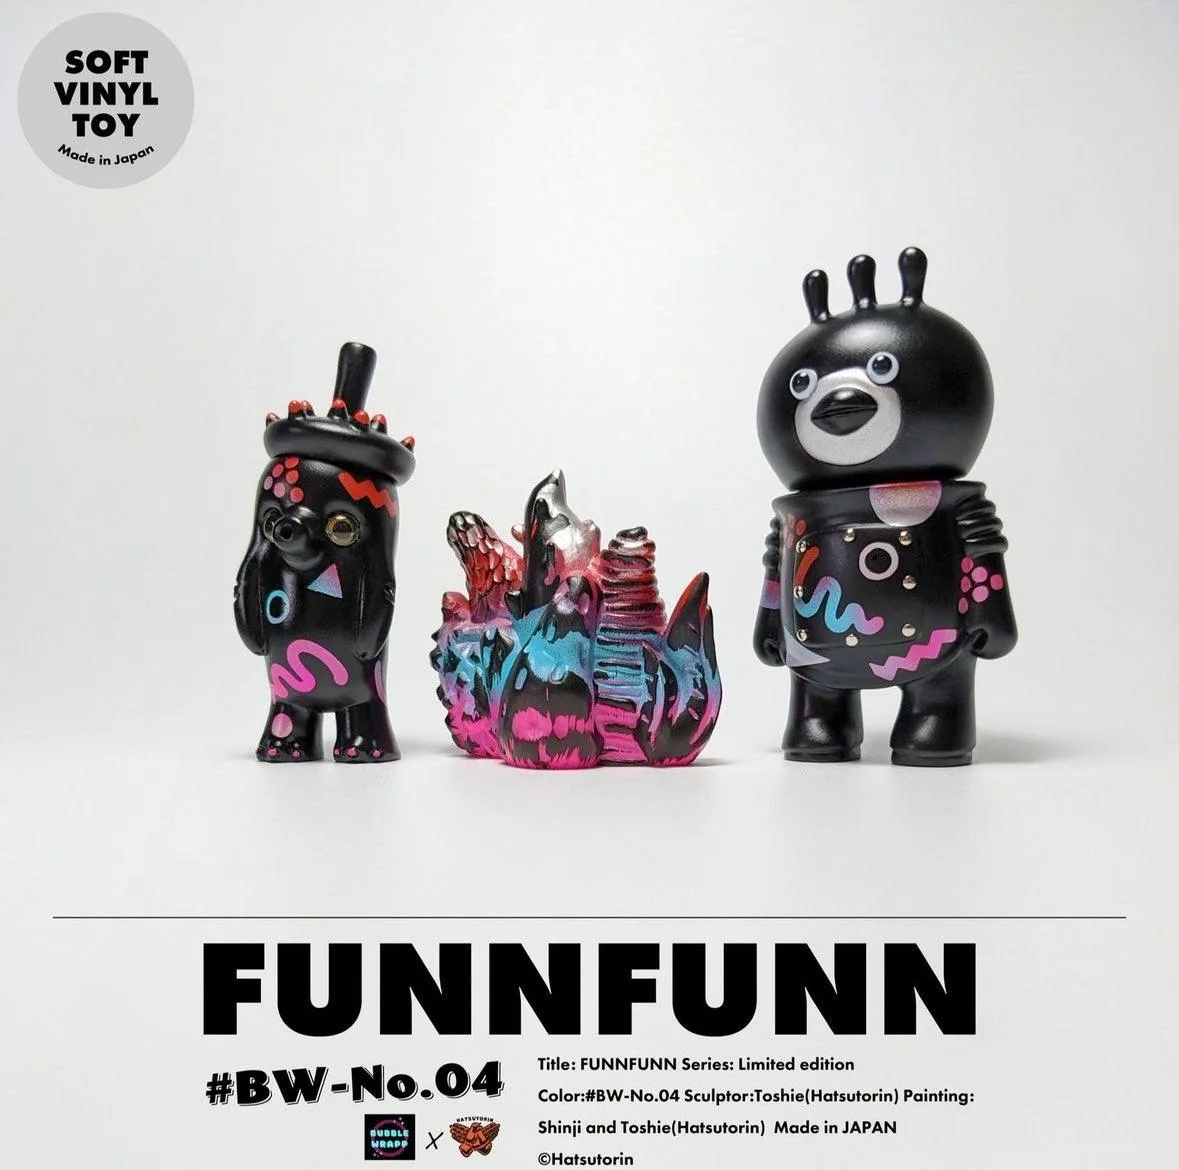
- Negora Strawberry Ice Cream by Konatsu: Negora Strawberry Ice Cream by Konatsu is a 3.5-inch-tall Japanese soft vinyl figure. Konatsu Koizumi is a painter and illustrator known for sumi-e style, and she has evolved several monstrous animals into designer toy sculptures. While this is a soft vinyl figure, its playful, monster-cute design is exactly the kind of art that inspires sticker bombing themes. You can coordinate sticker colors or motifs around a figure like this if you display it nearby.