Quick answer
Start with gentle heat from a hair dryer, then peel slowly at a low angle. If glue remains, match the solvent to the surface: isopropyl alcohol for glass and metal, a drop of oil for plastic and painted finishes, and never acetone on plastic or painted laptops. Stop if the surface softens, discolors, or the sticker is a vintage decal that may be brittle.
Stickers are meant to be fun, but removing them can feel like a trap. The right method depends less on the sticker and more on what it is stuck to. A technique that works on a glass water bottle can ruin a painted laptop lid or leave a permanent stain on fabric.
This guide walks through the diagnosis first, then the corrective action for each common surface. You will also find clear stop points so you know when to switch methods or leave the sticker alone.
Diagnose the sticker and surface before you touch anything
Look at the sticker edge. If it lifts easily with a fingernail, it is likely a paper or vinyl sticker with a standard adhesive. If the edge crumbles or flakes, it may be an older sticker with dried adhesive, which needs more patience and less heat. Check the surface too: is it glass, bare metal, painted plastic, soft fabric, or a coated paper product?
The biggest mistake is reaching for a solvent first. Heat and a slow peel solve most fresh stickers. Solvents are for the residue that remains after the sticker is gone, and they must match the surface. When in doubt, test on a hidden area.
- Gather: hair dryer, plastic razor or old credit card, isopropyl alcohol, mild dish soap, microfiber cloth, and a drop of cooking oil.
- Work in a well-ventilated area if you use alcohol.
- Never use acetone, nail polish remover, or paint thinner on plastic or painted surfaces.
Heat and peel: the first method for most surfaces
Warm the sticker with a hair dryer on low for 20 to 30 seconds. The adhesive softens and releases its grip. Start at one corner and peel back at a low angle, keeping the sticker close to the surface rather than pulling straight up. If it resists, add more heat and go slower. This method works on glass, metal, hard plastic, and painted laptop lids.
For stubborn edges, slide a plastic razor or an old credit card under the lifted corner while you warm the sticker. Do not use a metal blade. Once the sticker is off, wipe the area with a cloth dampened with warm soapy water to remove surface oils.
- Keep the hair dryer moving so you do not overheat one spot.
- Peel slowly. Ripping fast can tear the sticker and leave more residue.
- If the sticker is on a laptop, avoid blowing hot air into vents or ports.
Remove sticker residue from glass, metal, and hard plastic
For glass and metal, isopropyl alcohol is the safest solvent. Apply a small amount to a microfiber cloth, not directly to the surface, and rub the residue in a circular motion. It evaporates quickly and leaves no oily film. For hard plastic, test alcohol on a hidden corner first; some clear plastics can haze.
If alcohol does not work, a paste of baking soda and water can gently abrade the glue without scratching. Apply with a soft cloth and rinse well. For sticky spots on painted plastic, use a drop of cooking oil on a cloth, let it sit for a minute, then wipe with soapy water.
- Do not pour alcohol directly on electronics.
- Oil can darken some plastics, so test first and wash it off completely.
- Baking soda paste is for glass and metal, not for painted or soft plastic.
Remove stickers from a laptop without damage
Laptop lids are often painted aluminum or plastic with a clear coat. Heat is your best tool here. Warm the sticker, peel slowly, and stop if the surface feels warm to the touch. For residue, use a cloth barely dampened with isopropyl alcohol. Wring it out so no liquid can seep into seams.
Avoid oil on laptop lids unless the manufacturer says it is safe; oil can stain or discolor the finish. Never use acetone or abrasive pads. If the sticker has been on for years and the paint has faded around it, removal will reveal a color difference. That is not residue; it is sun fading, and no solvent will fix it.
- Power off and unplug the laptop before cleaning.
- Use a plastic card, not a knife, to lift stubborn corners.
- If the lid is carbon fiber or has a soft-touch coating, skip alcohol and use only heat and a dry cloth.
Remove stickers from fabric, books, and other delicate surfaces
Fabric is the hardest surface because solvents can spread the adhesive or leave a ring. Start by freezing the item if possible: put it in a plastic bag in the freezer for an hour, then peel the sticker off while it is stiff. For residue, apply a small amount of cooking oil or a commercial adhesive remover to a cloth and dab, do not rub. Then wash the item according to its care label.
For book covers and paper, heat is risky because it can warp or burn. Use a hair dryer on the lowest setting, held far away, and peel very slowly. If the paper starts to ripple, stop. A plastic razor can help lift the corner. If the cover is glossy, a tiny amount of lighter fluid on a cloth may work, but test on an inside page first.
- Never use alcohol on fabric with a printed design; it can bleed the ink.
- Freezing works well for gummed labels on clothing.
- For valuable books, consider leaving the sticker or consulting a conservator.
Clean sticker glue from small collectibles and pins
Collector pins and badges often have price stickers on the back. These are usually paper labels with a mild adhesive. Peel them slowly with your fingers. If residue remains on metal, a cotton swab dipped in isopropyl alcohol will remove it without touching the enamel front. For plastic backs, use a drop of oil on a swab.
Do not soak pins in water or solvent. Moisture can get behind the enamel and cause rust or discoloration. If the sticker is on a carded package you want to keep intact, consider leaving it. Removing it may tear the cardboard and reduce the item's collector value.
- Use a wooden toothpick to lift sticker edges on pin backs.
- Avoid alcohol on printed cardboard; it will lift the ink.
- If the sticker is part of the original packaging, leaving it is often the safer choice.
Sticker removal diagnosis: symptom, cause, action, stop point
- Symptom: sticker peels but leaves a sticky film: Likely cause: standard pressure-sensitive adhesive that has not fully released. Corrective action: warm the area again with a hair dryer, then dab with isopropyl alcohol on glass or metal, or a drop of oil on plastic. Wipe with soapy water. Stop if the surface becomes tacky or the color changes. Switch to a gentler method or leave the residue.
- Symptom: sticker tears into tiny pieces: Likely cause: brittle paper or aged adhesive. Corrective action: apply more heat and use a plastic razor to lift pieces one at a time. Work slowly and keep the tool nearly flat. Stop if the surface starts to scratch or if the sticker is on vintage packaging. In that case, leave it and display the item as is.
- Symptom: residue remains after peeling and solvent does not work: Likely cause: the adhesive has cross-linked or the surface is porous. Corrective action: for fabric, freeze then oil and wash; for paper, accept that removal may damage the item. For hard surfaces, try a baking soda paste. Stop when the surface shows any fading, swelling, or discoloration. That is damage, not residue, and further action will make it worse.
Collector-friendly items and sticker-safe handling
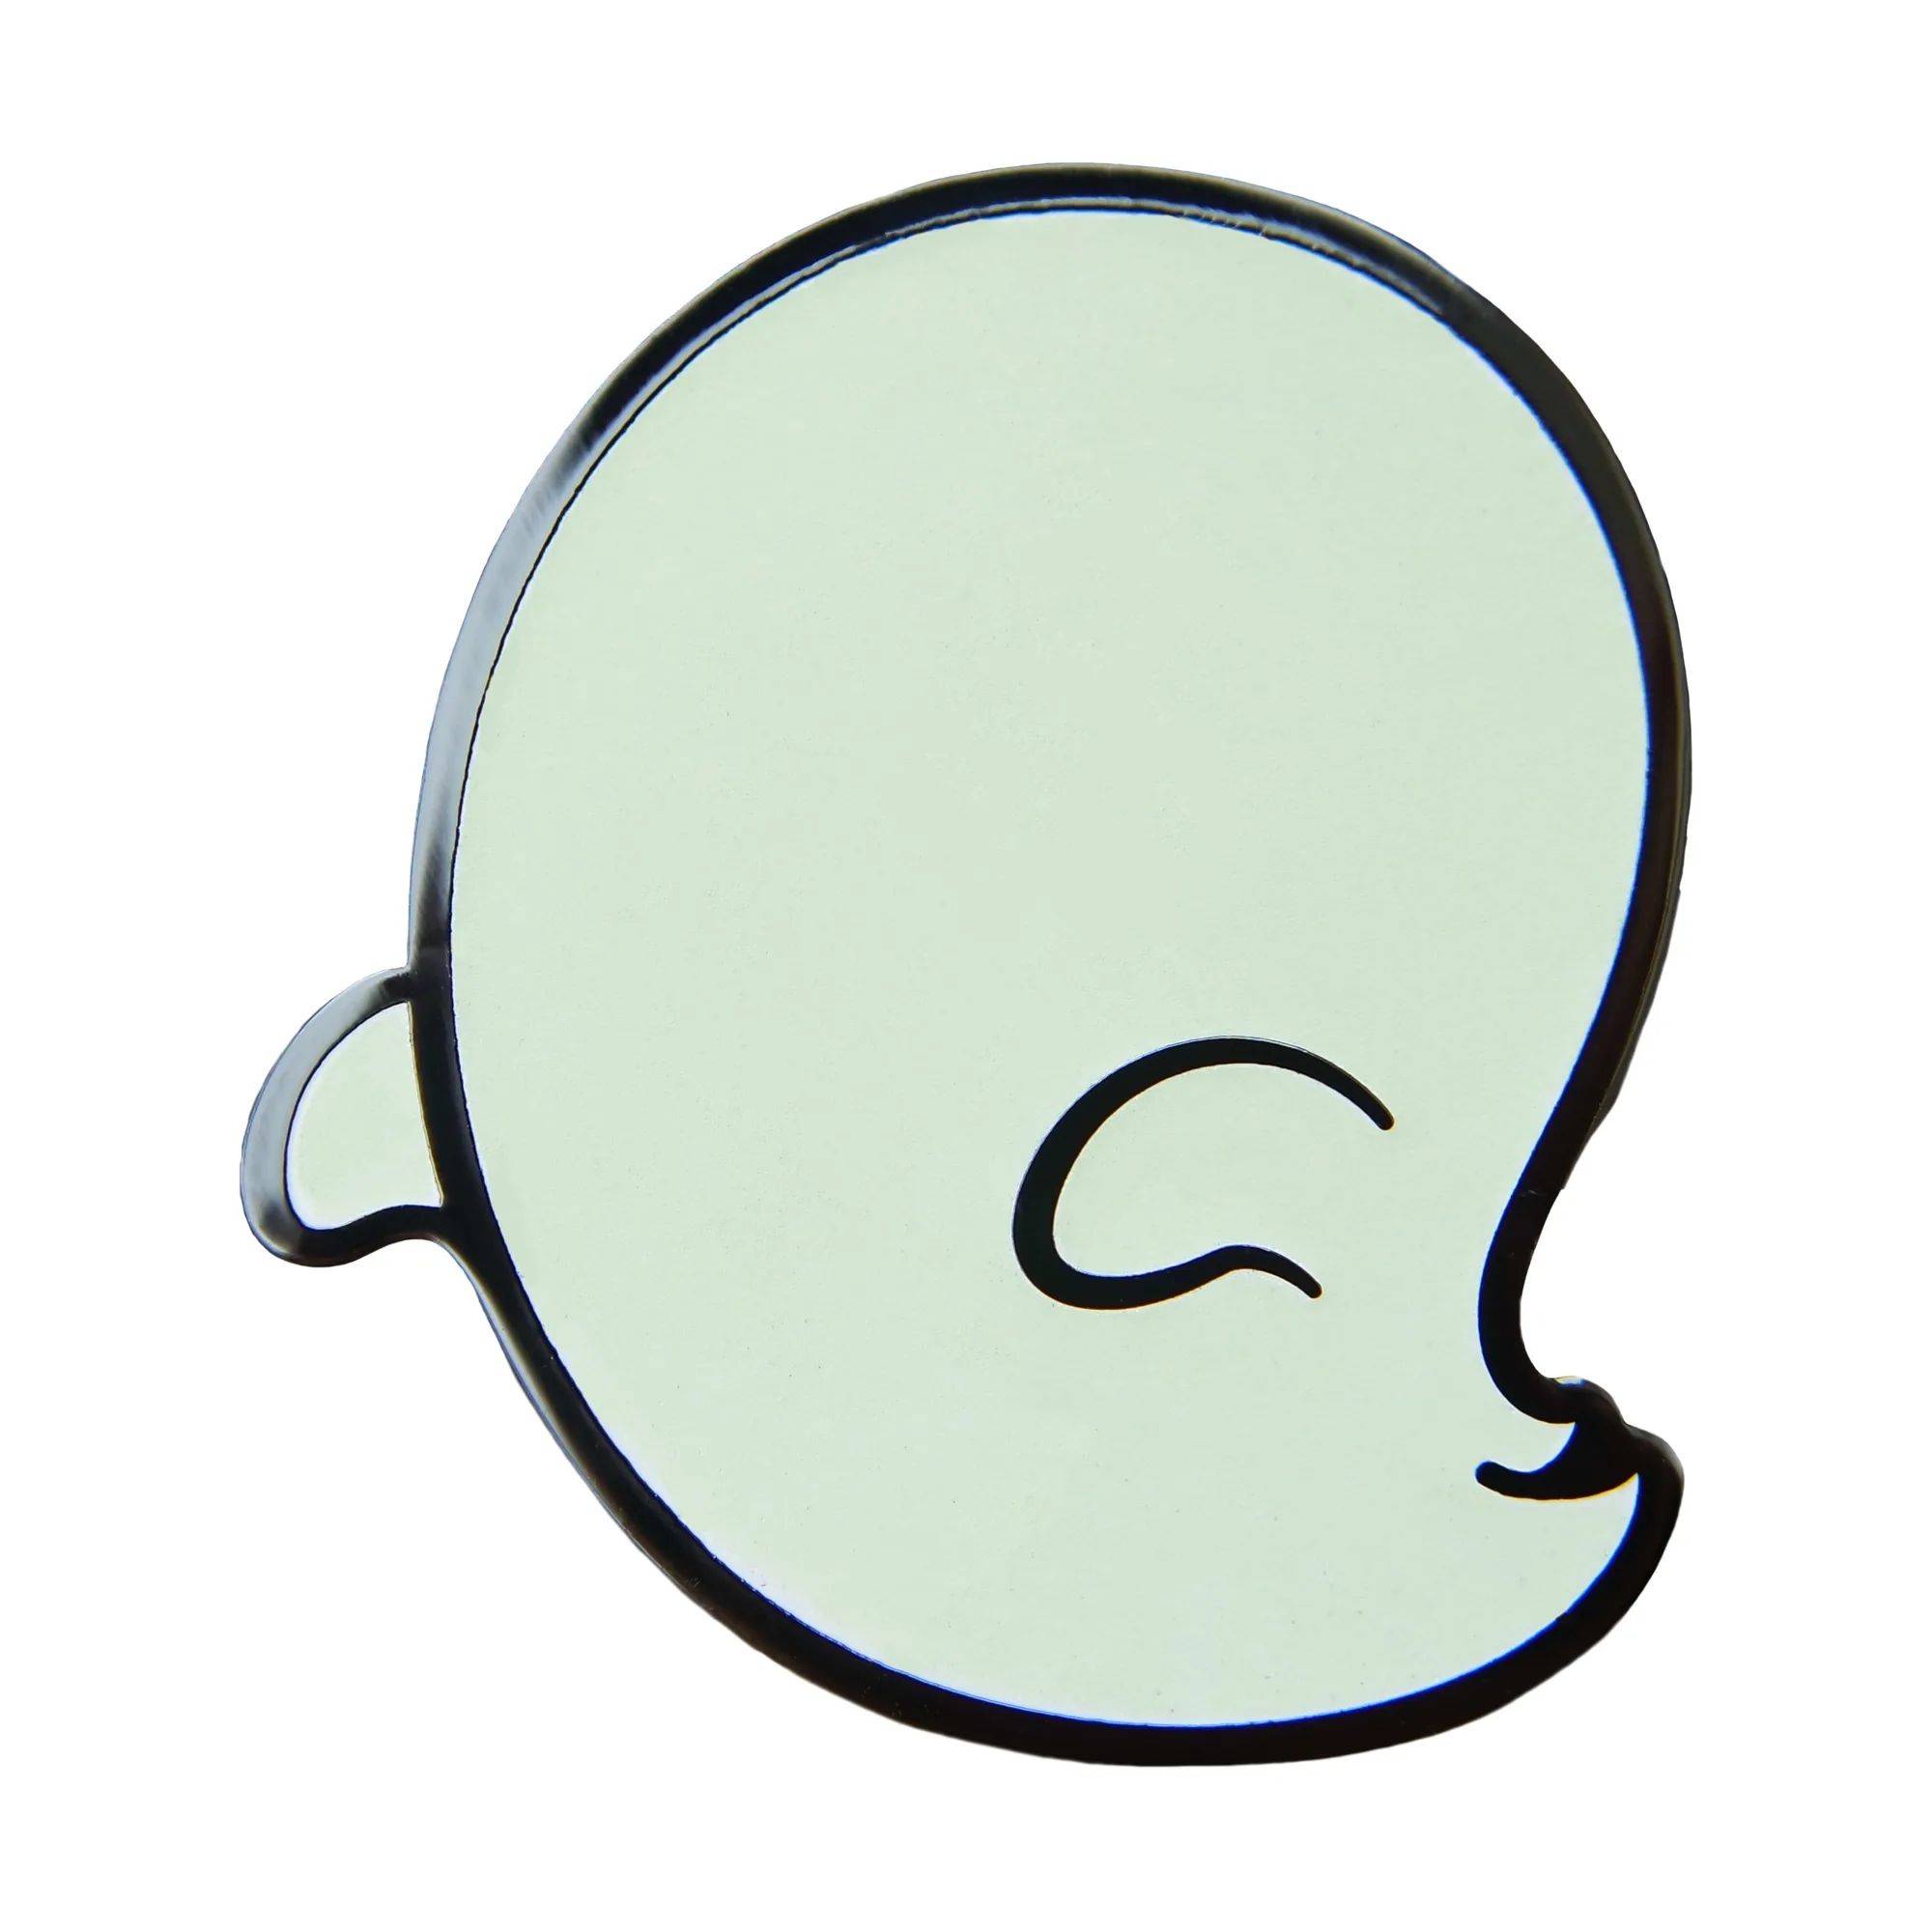
- Sanshee - Personalizable Poltergeist Glow-in-the-Dark Pin: This pin is approximately 1.5 inches by 1.38 inches and is dry and wet erase marker friendly, so you can draw a face on it and change it later. Because the surface is designed for repeated marker use, avoid alcohol or oil on the face. Clean it with a dry erase marker or a damp cloth only, so you do not damage the coating.
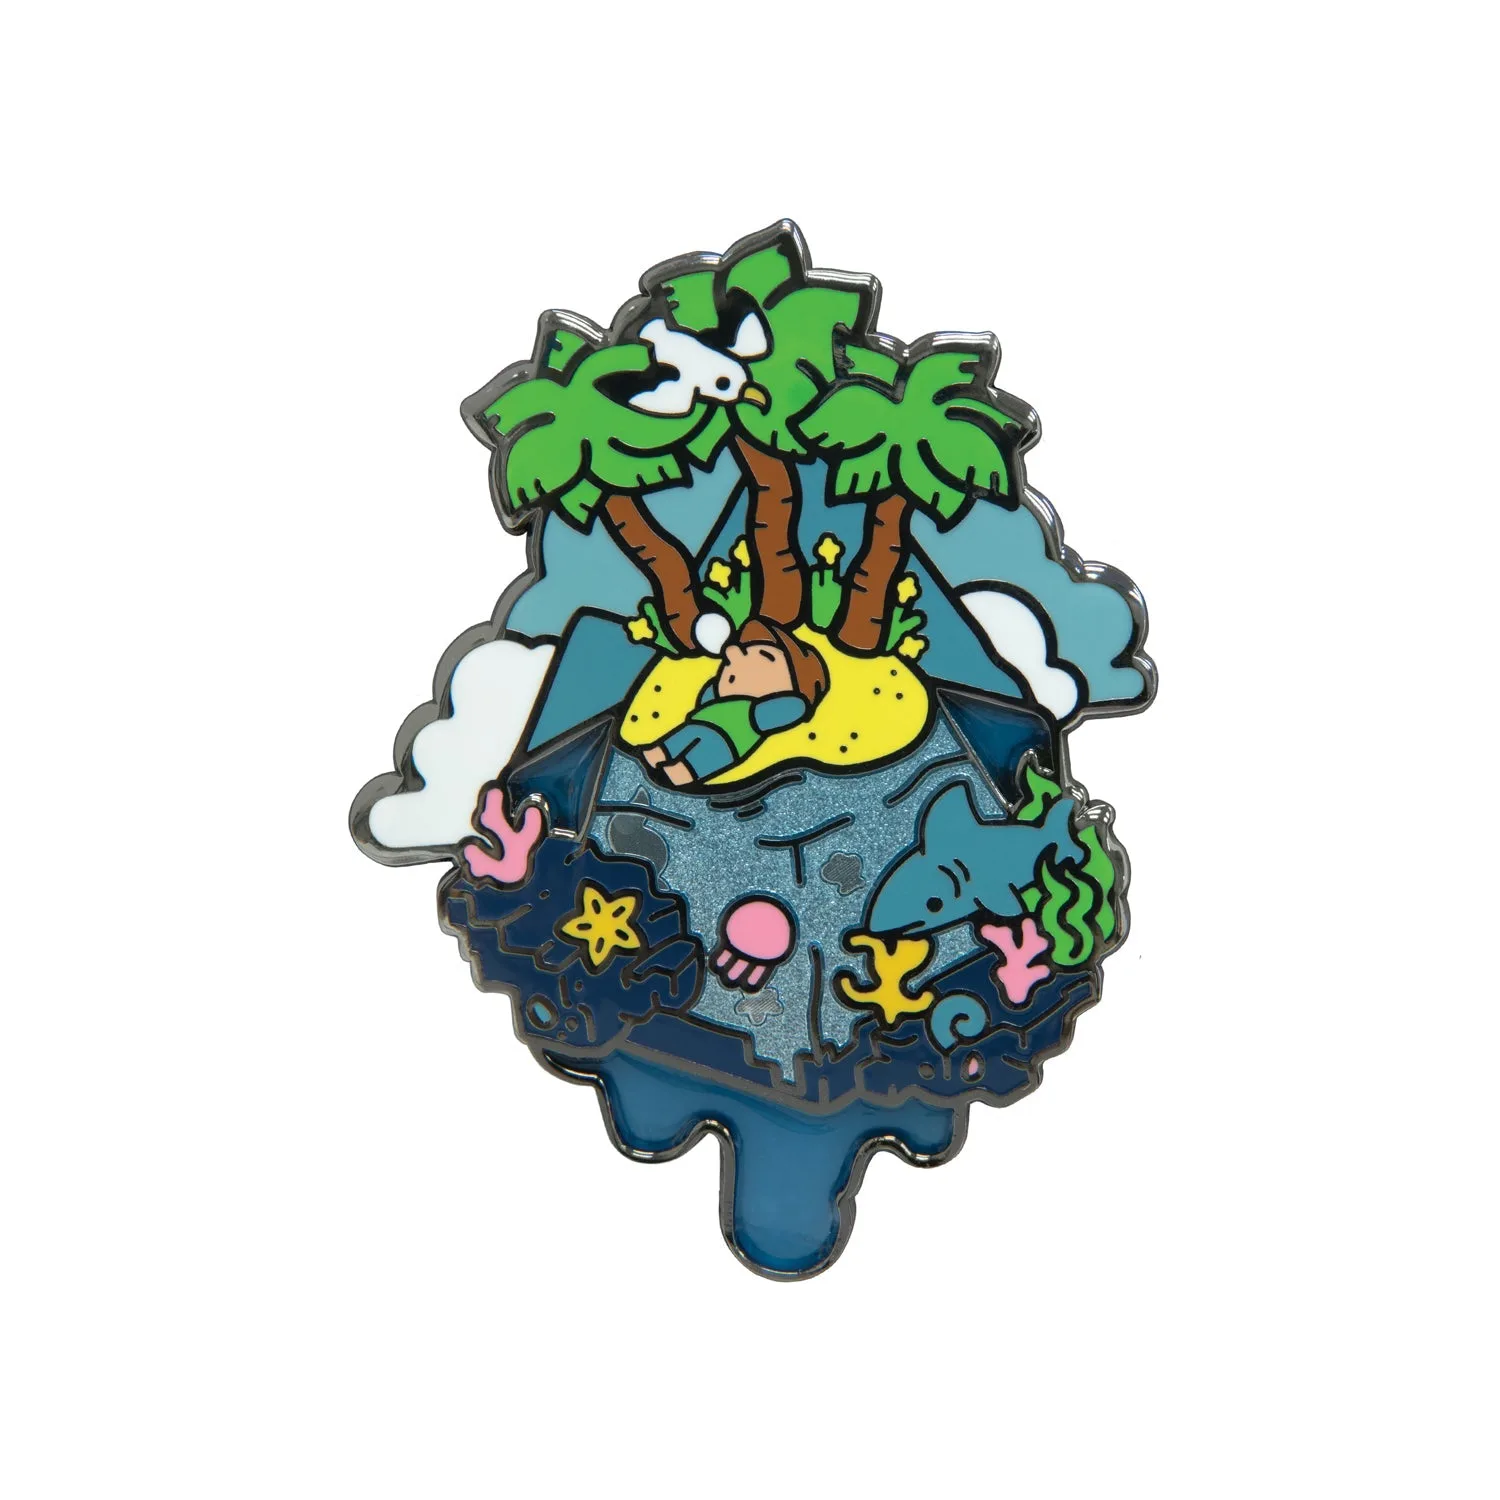
- Five Nights at Freddy's - Montgomery Gator Collector's Pin: This is a collector's pin with a detailed design on the front. If a price sticker is on the back, remove it with heat and a slow peel. Keep solvents away from the enamel front to preserve the finish.
Sticker removal is a surface-by-surface decision, not a single trick. Start with heat and a slow peel, then match any solvent to the material. When the surface reacts, stop and reassess. Your collectibles and electronics will thank you.