Quick Answer
Apply the Sun-Kissed Flush Bronzer + Blush Duo by first warming the cream bronzer on the back of your hand, then tapping it onto the high points of your face. Follow with the blush on the apples of your cheeks, blending outward for a seamless, natural flush.
Why the Duo Works for a Natural Glow
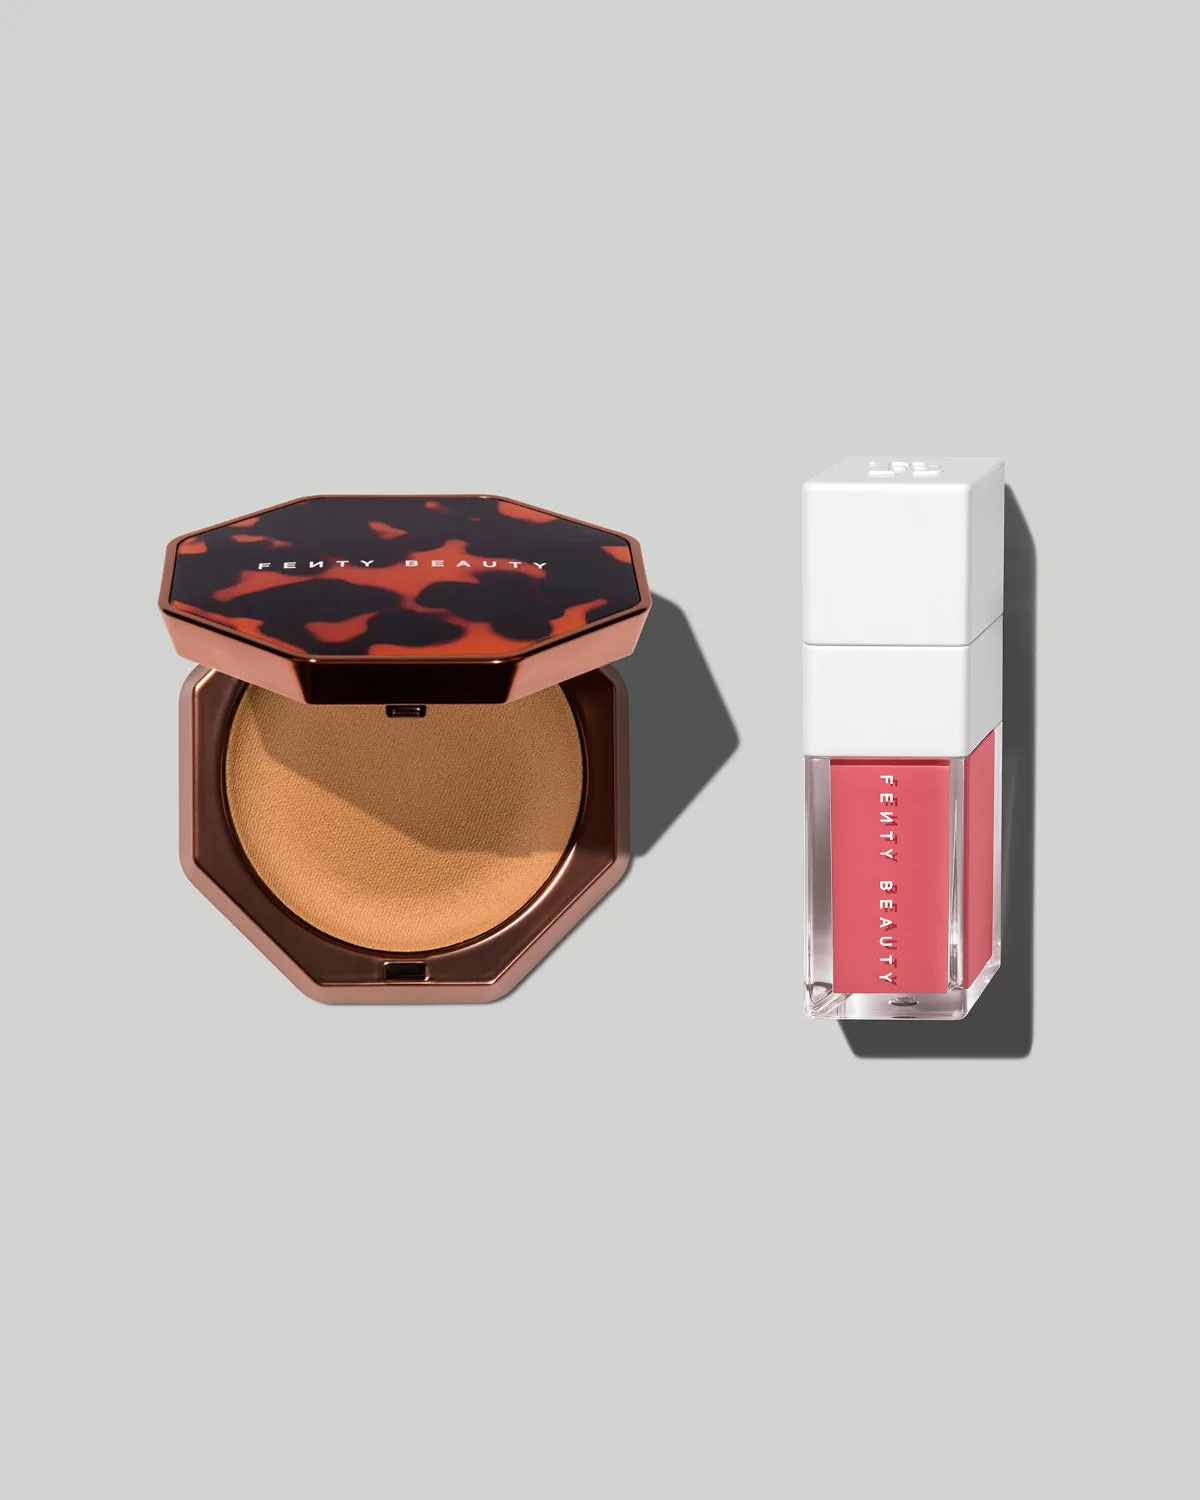
The Sun-Kissed Flush Bronzer + Blush Duo combines a long-lasting cream bronzer and a glossy blush that can go from a hint of tint to a full-on flush. This versatility lets you build color gradually, making it easier to achieve a natural, sun-kissed look without harsh lines.
The cream formula blends into skin more seamlessly than powder, which is why many makeup artists prefer it for a dewy finish. The included gloss adds a layer of shine and moisture-barrier care, so your cheeks stay hydrated and glowing throughout the day.
Common Mistakes to Avoid
Skipping the warm-up step: Applying cream bronzer directly from the pan can lead to patchy application. Warm the product on your hand or a palette first to ensure even blending.
Using too much product: Start with a small amount and build up. It's easier to add more than to remove excess cream product from your cheeks.
Step-by-Step Application Guide
- Step 1: Prep Your Skin: Start with a clean, moisturized face. Apply your usual primer or foundation, but keep the cheek area slightly tacky so the cream products adhere better. Tacky skin helps cream bronzer and blush blend more smoothly.
- Step 2: Warm the Bronzer: Swirl your finger or a dense brush over the bronzer side of the duo, then warm the product on the back of your hand. This step prevents patchiness and ensures an even application. Warming the product is key to a seamless blend.
- Step 3: Apply Bronzer to High Points: Tap the bronzer onto the tops of your cheekbones, temples, and along your jawline. Use a stippling motion to blend outward. Avoid dragging the product, which can create streaks. Focus on the areas where the sun naturally hits your face.
- Step 4: Add Blush to the Apples of Your Cheeks: Using a clean finger or a blush brush, pick up a small amount of the blush side. Smile to find the apples of your cheeks, then tap the blush onto that area and blend back toward your temples. Start with a little blush; you can always add more for a deeper flush.
- Step 5: Blend the Two Together: Use a clean, fluffy brush or a damp beauty sponge to gently buff the edges where the bronzer and blush meet. This creates a seamless transition and a natural, sun-kissed gradient. Blending the edges is what makes the look appear effortless and natural.
- Step 6: Set with a Mist (Optional): If you have oily skin or want extra longevity, lightly mist a setting spray over your face. For a dewier finish, skip this step and let the cream formulas do their work. Setting spray can help the look last, but it's not required for the natural glow.
Product Facts
-
Sun-Kissed Flush Bronzer + Blush Duo: Ready to play? Shake up your look with a long-lasting blush that lets you go from a hint of tint to a full-on flush. This means you can customize the intensity of your blush, making the duo suitable for both subtle everyday wear and bolder looks.
Sun-Kissed Flush Bronzer + Blush Duo