Quick answer
Clean and inspect your tack hammer after every few uses, keep interchangeable head threads free of debris, and tighten heads only until they seat firmly — not with excessive force. A two-minute routine after each project prevents the two most common failures: loose heads that strike off-center and rusted threads that seize a head in place.
A tack hammer with interchangeable heads earns its keep by switching between tasks — one handle, several face profiles. That same versatility creates one maintenance weak point: the threaded connection where each head meets the handle. Left alone, fine dust, adhesive residue, and moisture work into those threads and quietly ruin the fit.
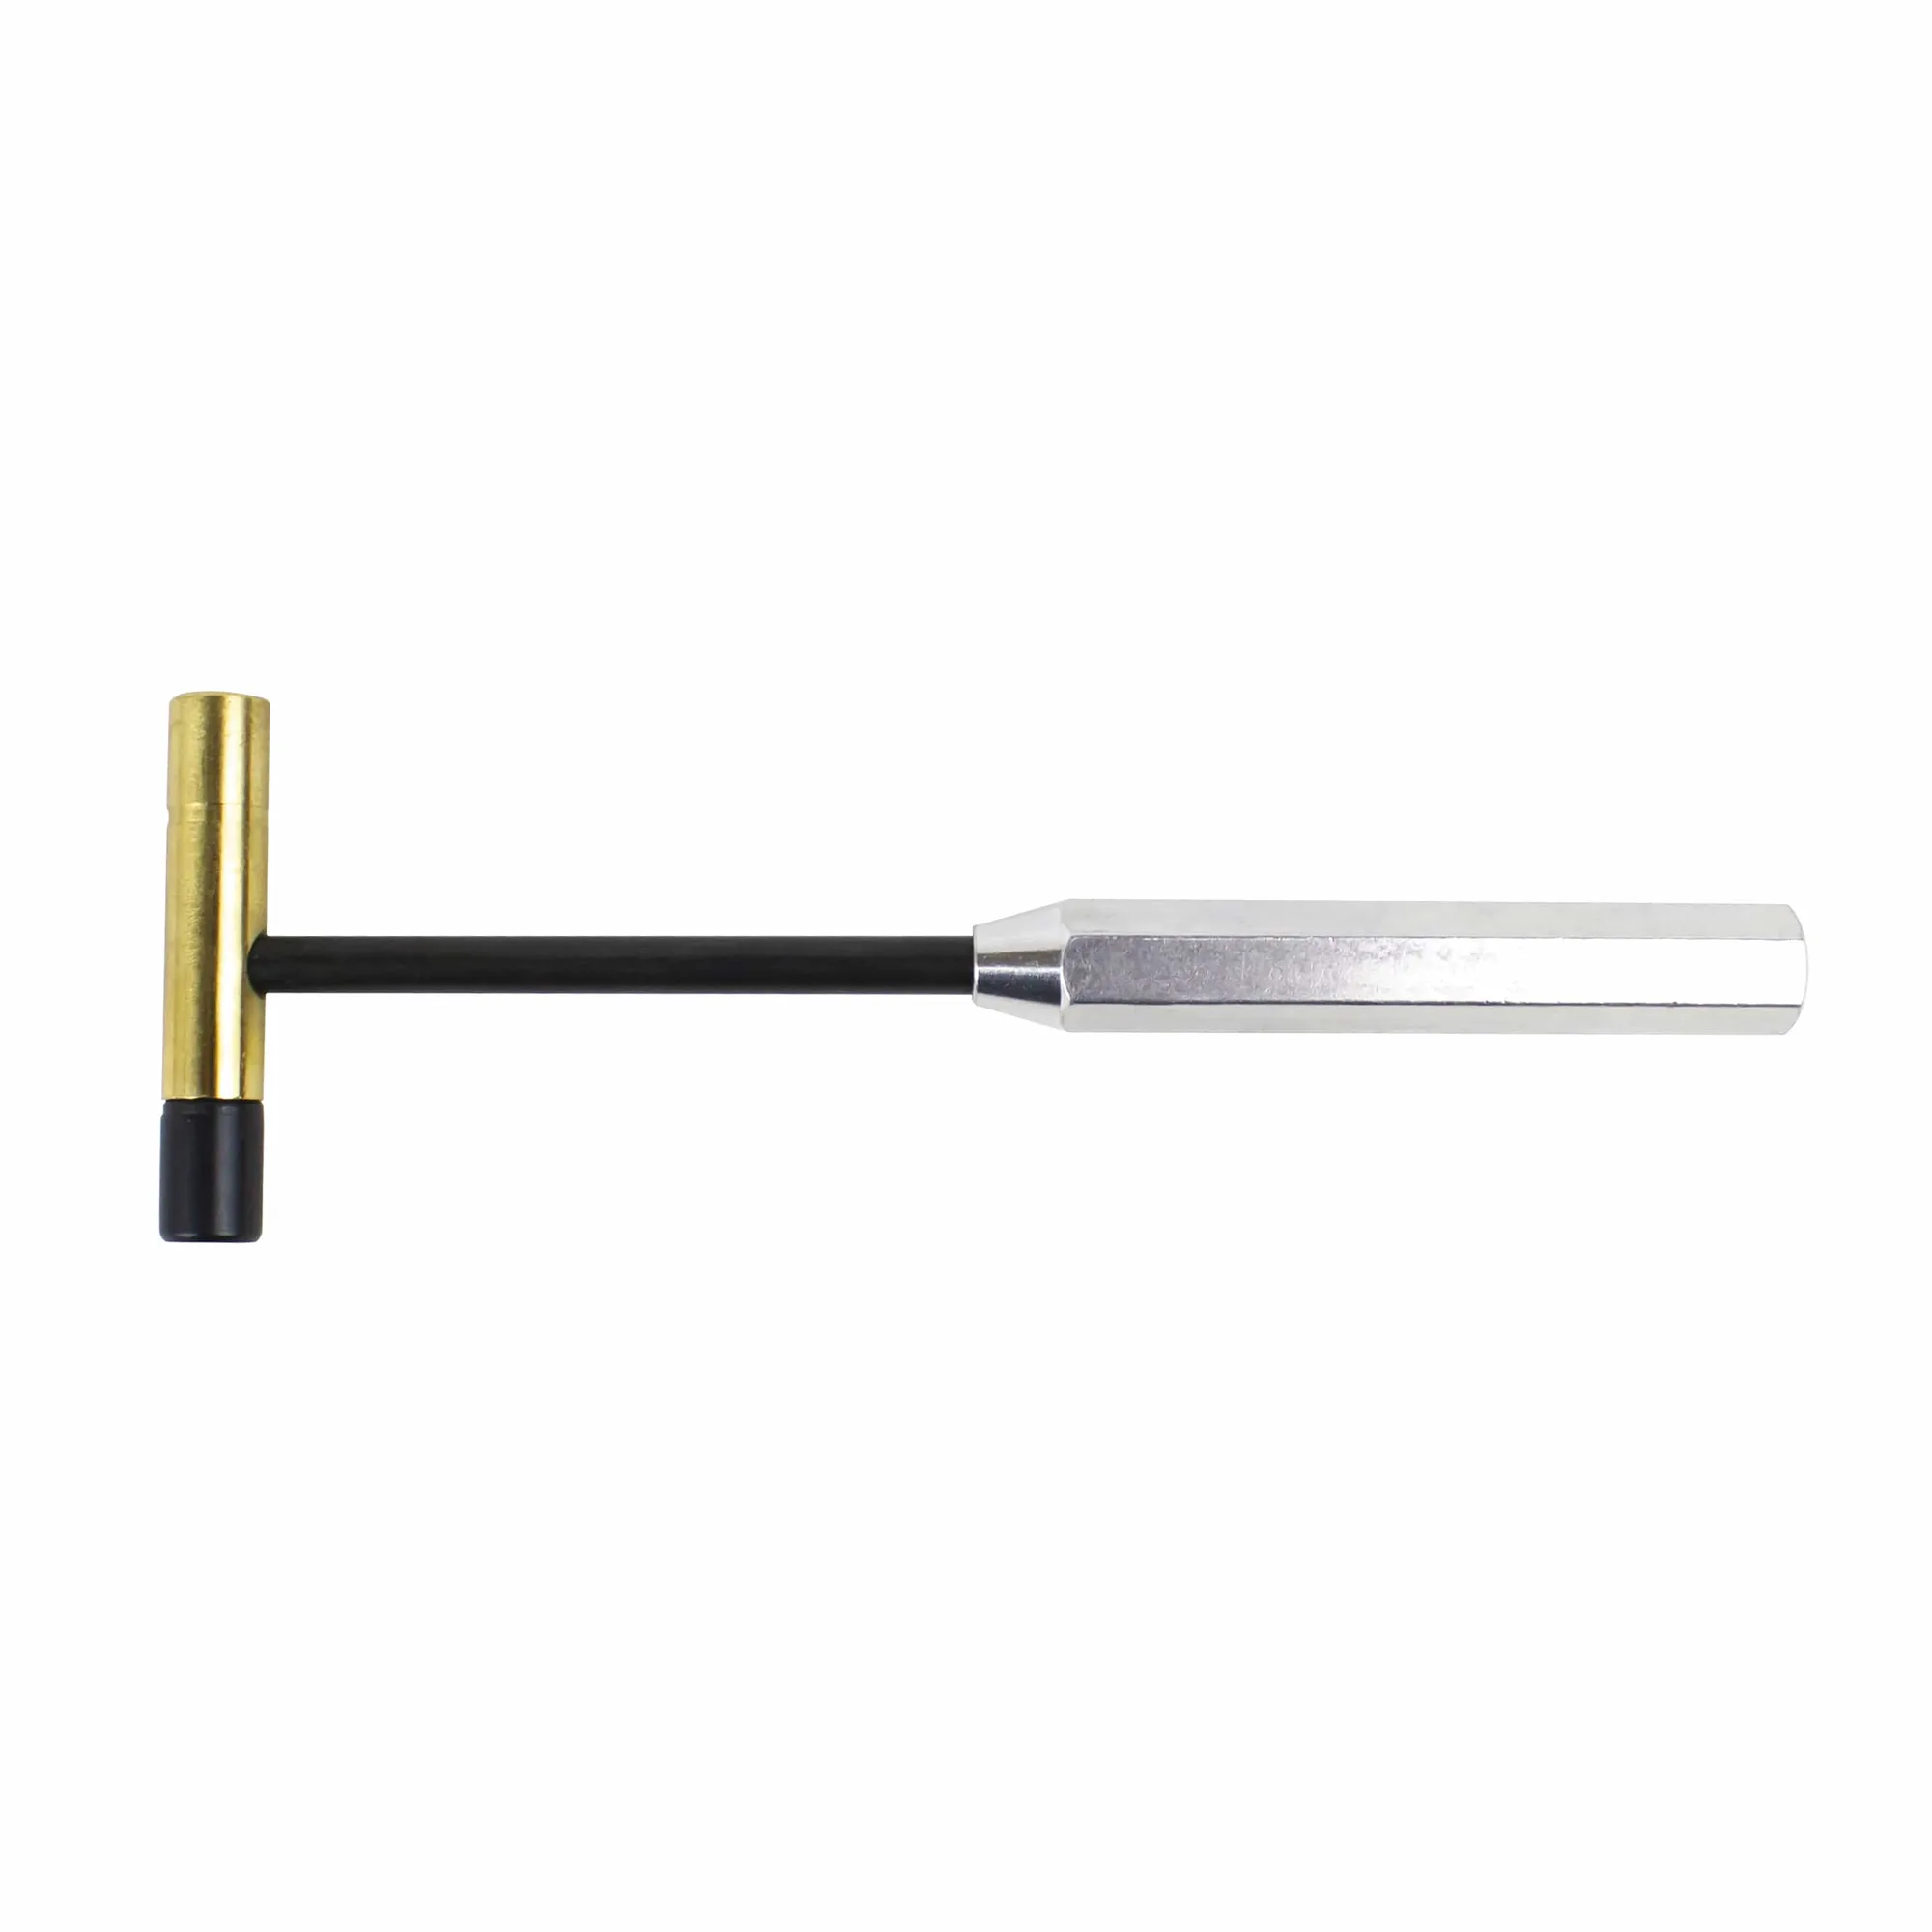
tack hammer with interchangeable heads
This routine takes a few minutes per session and applies to any interchangeable-head hammer. It covers cleaning, tightening, rust prevention, and storage — plus the mistakes that shorten a hammer's working life fastest.
Why interchangeable heads need a different care routine
A one-piece hammer has no joint to maintain. An interchangeable-head hammer has a threaded or press-fit connection that takes the full force of every strike. That joint is where problems start: grit trapped in the threads prevents full seating, and a head that is not fully seated absorbs impact instead of transferring it.
The fix is not complicated, but it has to be consistent. Wipe the threads, check the seat, and tighten deliberately. Do this and the head stays true; skip it and you will notice wobble, marred work surfaces, and heads that no longer thread smoothly.
- Check the connection before each project, not just when something feels loose.
- Keep a small brush and a dry cloth near your workbench so cleaning is never a separate trip.
Clean the head and handle threads after every few sessions
Remove the head and brush both sets of threads with a stiff nylon brush or an old toothbrush. Fine sawdust, metal filings, and dried adhesive are the usual culprits. If residue is stubborn, a wooden toothpick works better than a metal pick because it will not gouge the threads.
Wipe the threads dry before reassembly. Moisture trapped in a threaded joint is the leading cause of rust on otherwise well-kept hammers, especially in humid shops or garages.
- Never use oil or solvent on the threads as a cleaner — it attracts dust and can soften some handle materials.
- If a head will not thread by hand, stop. Forcing it cross-threads the joint and shortens its life.
Tighten heads correctly and check seating
Thread the head on by hand until it seats, then snug it with a firm quarter-turn. The goal is a solid, wobble-free connection — not maximum torque. Over-tightening deforms threads and makes the next removal harder, which is the opposite of what interchangeable heads are for.
After tightening, sight down the handle and confirm the head is square to the shaft. A head that sits slightly off-axis will strike at an angle and mark your work.
- Re-check tightness after the first few strikes of a session — vibration can loosen a head that felt snug.
- If a head loosens repeatedly, clean the threads again before assuming the hammer is worn out.
Prevent rust and protect the finish
Carbon steel heads and handles will rust if stored damp. A thin wipe of light machine oil on the head faces and threads after cleaning is enough. Buff off excess — a wet, oily hammer is a slipping hazard and collects grit.
For longer storage, keep hammers in a dry box or drawer with a desiccant packet. If you live in a humid climate, check stored heads every few months and re-oil lightly.
- Do not store a hammer with the head installed and tightened if it will sit for months — loosen it a half-turn to relieve stress on the threads.
- Wipe fingerprints off steel faces before storage; skin oils hold moisture against the metal.
Store interchangeable heads so they stay ready
Keep spare heads in a divided tray or a small parts box with separate compartments. Heads rattling against each other in a drawer chip their faces and dull the striking surface. Label compartments if you keep several profiles.
Store the handle with a head installed or with the threads protected by a cap. Exposed threads on a handle collect dust and are easy to damage when the tool is tossed into a bag.
- A magnetic strip or a pegboard hook keeps the hammer visible and off crowded bench surfaces.
- Keep a dedicated small brush in the same tray so cleaning happens when you swap heads.
Your tack hammer care routine, step by step
- Remove and inspect the head: Unthread the head by hand and look at both sets of threads under good light. Check for flattened threads, rust spots, or packed debris. If threads look chewed or cross-threaded, replace the head rather than forcing it back on.
- Brush the threads clean: Use a stiff nylon brush or toothbrush to clear dust and residue from the head and handle threads. Work the brush into the grooves, then wipe with a dry cloth. Never use metal picks or oil as a cleaner — both cause more harm than the debris.
- Check the seat and tighten by hand: Thread the head on until it seats, then snug with a firm quarter-turn. Sight down the handle to confirm the head is square. If it wobbles after a quarter-turn, remove and re-clean rather than tightening harder.
- Oil lightly and buff dry: Apply a thin film of light machine oil to the head faces and threads, then wipe off the excess with a clean cloth. A dry, slightly oiled surface resists rust without attracting grit.
- Store heads and handle properly: Keep spare heads in separate compartments or a divided tray. Store the handle with a head installed or threads capped, in a dry place. Loosen the head a half-turn if the hammer will sit unused for months.
Tools that fit this routine
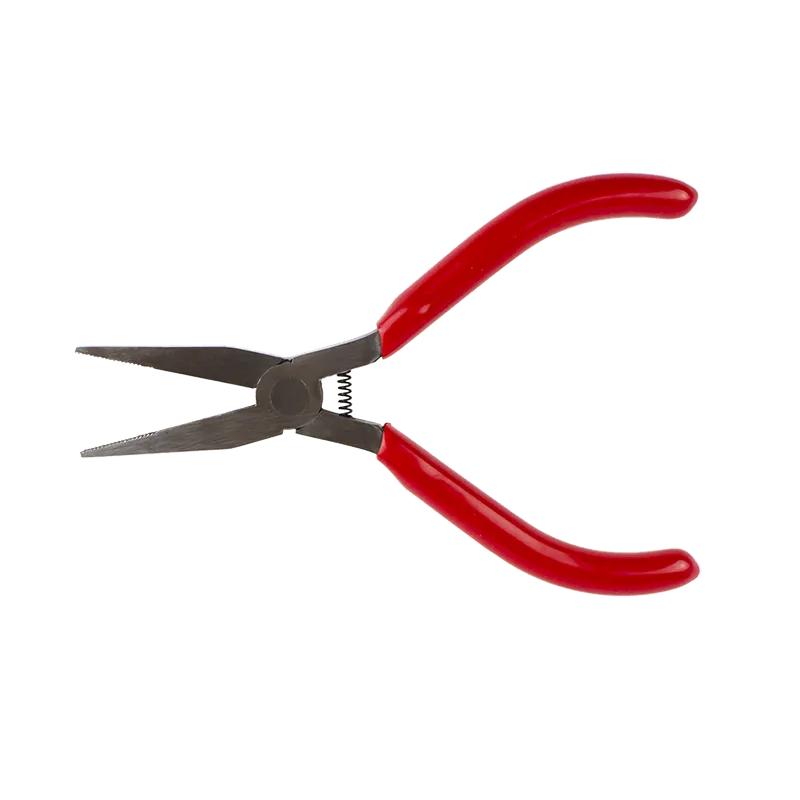
- Flat Nose Pliers: 5-inch flat nose pliers with precision serrated jaws, made from carbon steel, for wire bending, shaping, and cutting in jewelry, electronics, and model work. Useful for gripping a stuck head or straightening a bent pin without marring the metal, and the serrated jaws hold small parts securely during reassembly.
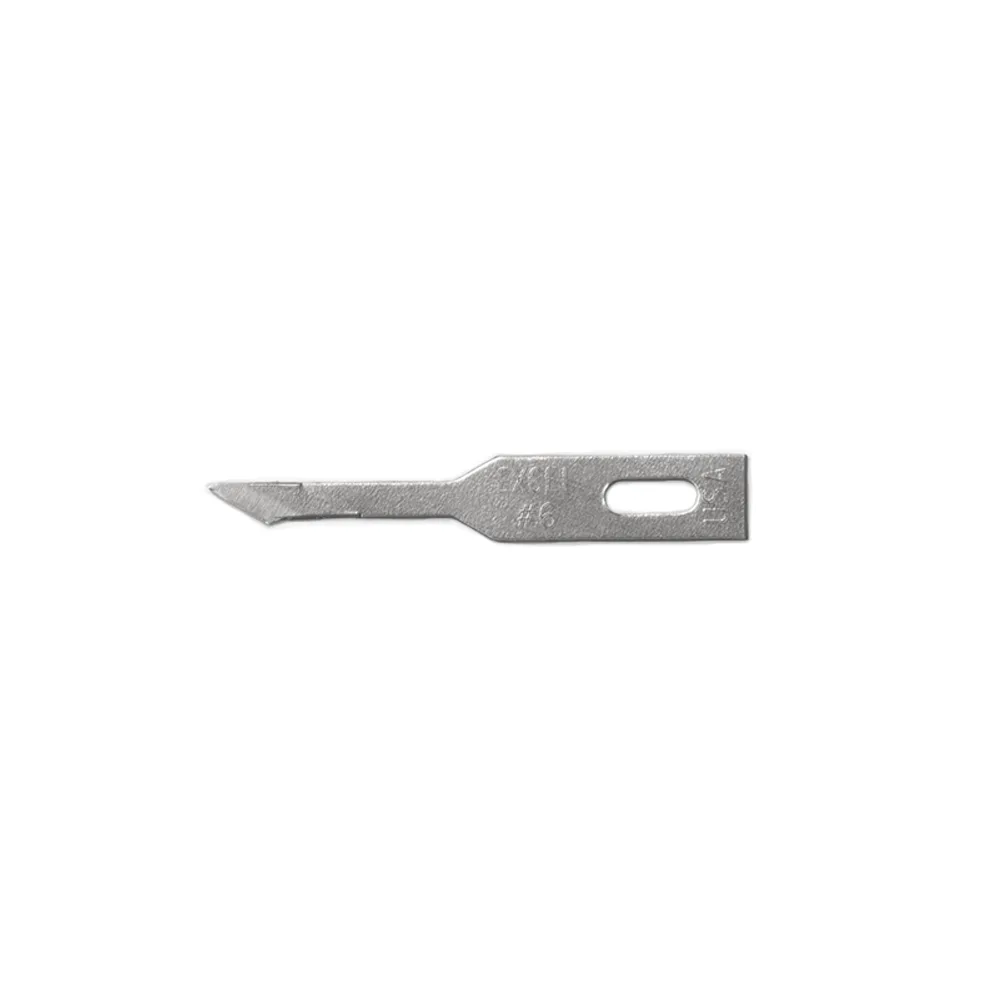
- #6 Micro Stencil Blade: Carbon steel micro stencil blades, pack of five, for clean cuts on paper, vinyl, film, and foam board. A fine blade like this is handy for trimming masking tape or shims used to protect a hammer head during storage or when cleaning tight joints.
A few minutes of cleaning, checking, and smart storage after each project keeps an interchangeable-head tack hammer striking true for years. The routine is simple — the payoff is a tool that stays tight, rust-free, and ready whenever you need it.