Quick answer
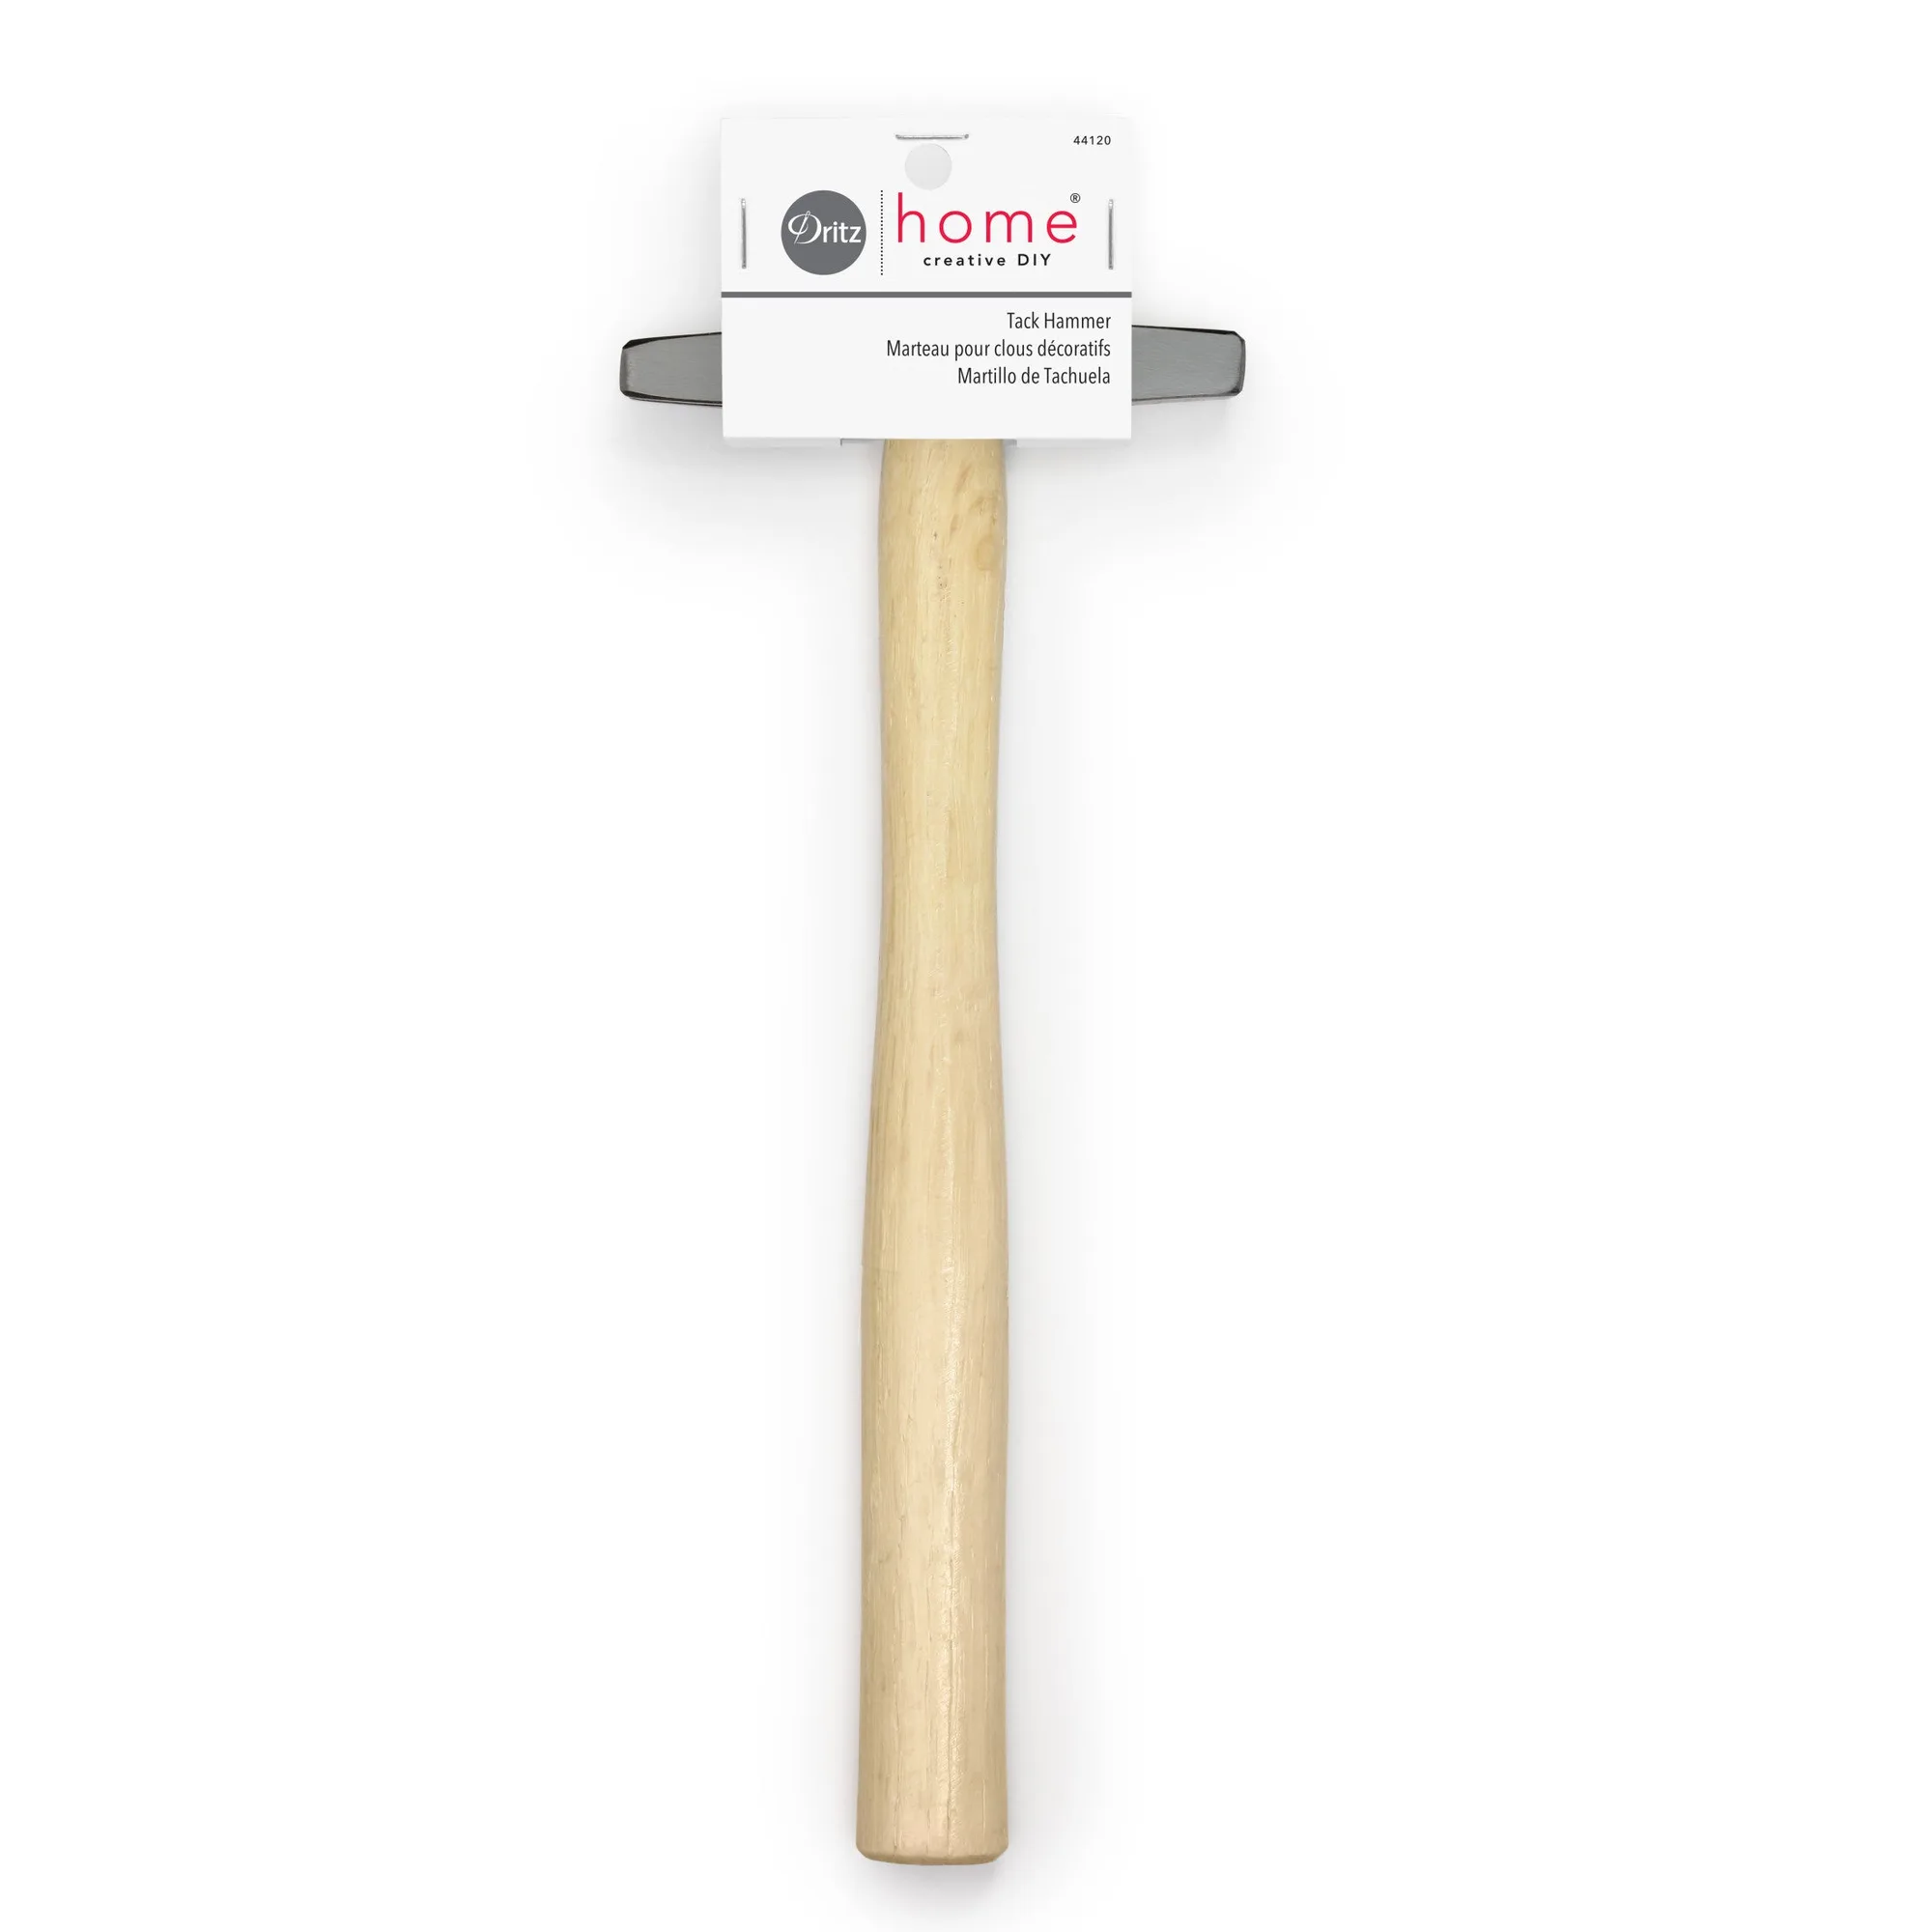
Wipe the head after every session, check the handle for cracks or looseness, and store the hammer where moisture and impact can't reach it. A https://prymamerica.com/products/44120-cb0d93db390a1c00eecfd77d-1316609tack hammer stays accurate when you remove residue before it hardens, keep the handle dry, and never use the head as a pry bar.
A tack hammer earns its keep by staying light and precise. Upholstery tacks, decorative nails, and small craft pins all depend on a head that strikes cleanly, so maintenance is less about polishing and more about protecting that precision.
The routine below takes a few minutes and prevents the two failures that matter most: a dirty or damaged face that slips off tacks, and a loose handle that turns a controlled tap into a wild swing.
Why tack hammer maintenance matters for upholstery and crafts
Tack hammers are built for controlled, repeated taps rather than heavy blows. That makes the condition of the striking face and the handle joint critical. A face coated with dried adhesive or rust won't grip a tack head, and a handle that has absorbed moisture can swell, crack, or loosen at the eye.
You don't need specialty products for most of this. A dry cloth, a light oil, and a consistent storage spot handle the majority of tack hammer care. The goal is to keep the tool ready for the next project without introducing moisture or abrasion that shortens its life.
- Clean and check the hammer at the end of a project, not the start of the next one.
- Keep a dedicated dry cloth with your upholstery tools so cleanup is automatic.
What to check before you clean
Look at three areas first: the face for residue or burrs, the eye where the head meets the handle, and the handle itself for cracks or a loose fit. If the head moves even slightly when you twist it by hand, stop and address that before cleaning, because a loose head can fly off during use.
Also note what kind of residue you're dealing with. Adhesive from labels or tape, rust film, and wood dust each need a different approach. Knowing which one you have prevents you from scrubbing a finish you meant to preserve.
- Twist the head gently by hand: any movement means the handle or wedge needs attention first.
- Run a finger along the handle for splinters or raised grain before you grip it again.
Step-by-step tack hammer care
- Clear the workbench and gather supplies: Set out a dry lint-free cloth, a soft brush, a few drops of light machine oil, and fine steel wool only if rust is present. Work over a surface where a dropped hammer won't damage the floor or your project. Checkpoint: you should have everything within reach before you pick up the hammer.
- Wipe the head after every session: Wipe the striking face and the neck with a dry cloth to remove adhesive, dust, and fingerprint oils. If residue has hardened, dampen the cloth slightly and work it loose rather than scraping with a blade. Common mistake: letting adhesive cure overnight, which then requires abrasive removal that dulls the face.
- Address rust on the face with fine steel wool: Rub lightly in one direction, then wipe away the dust. Don't use coarse sandpaper or a grinder, which removes metal and changes the face geometry. A light oil film after cleaning helps slow new rust. Checkpoint: the face should look even, not shiny or dished.
- Inspect and treat the handle: Wipe the handle with a barely damp cloth, dry it immediately, and apply a thin coat of paste wax or boiled linseed oil if the wood looks dry. Avoid soaking the handle, since excess moisture can swell the wood and loosen the head. Common mistake: oiling the handle so heavily that it becomes slippery, which defeats the grip you need for controlled taps.
- Tighten or reseat a loose head: If the head moves, tap the handle butt firmly on a solid surface to reseat it, or add a wedge if the eye is designed for one. If it still moves, take it out of service rather than risking a flying head. Checkpoint: a properly seated head should not shift when you twist it by hand.
- Store it dry and separate: Hang the hammer or lay it in a drawer where it won't knock against other tools. Keep it away from damp basements and from open containers of finish or adhesive that can coat the face. Common mistake: tossing the hammer into a metal toolbox, where the face chips against other tools.
Tools that support the routine
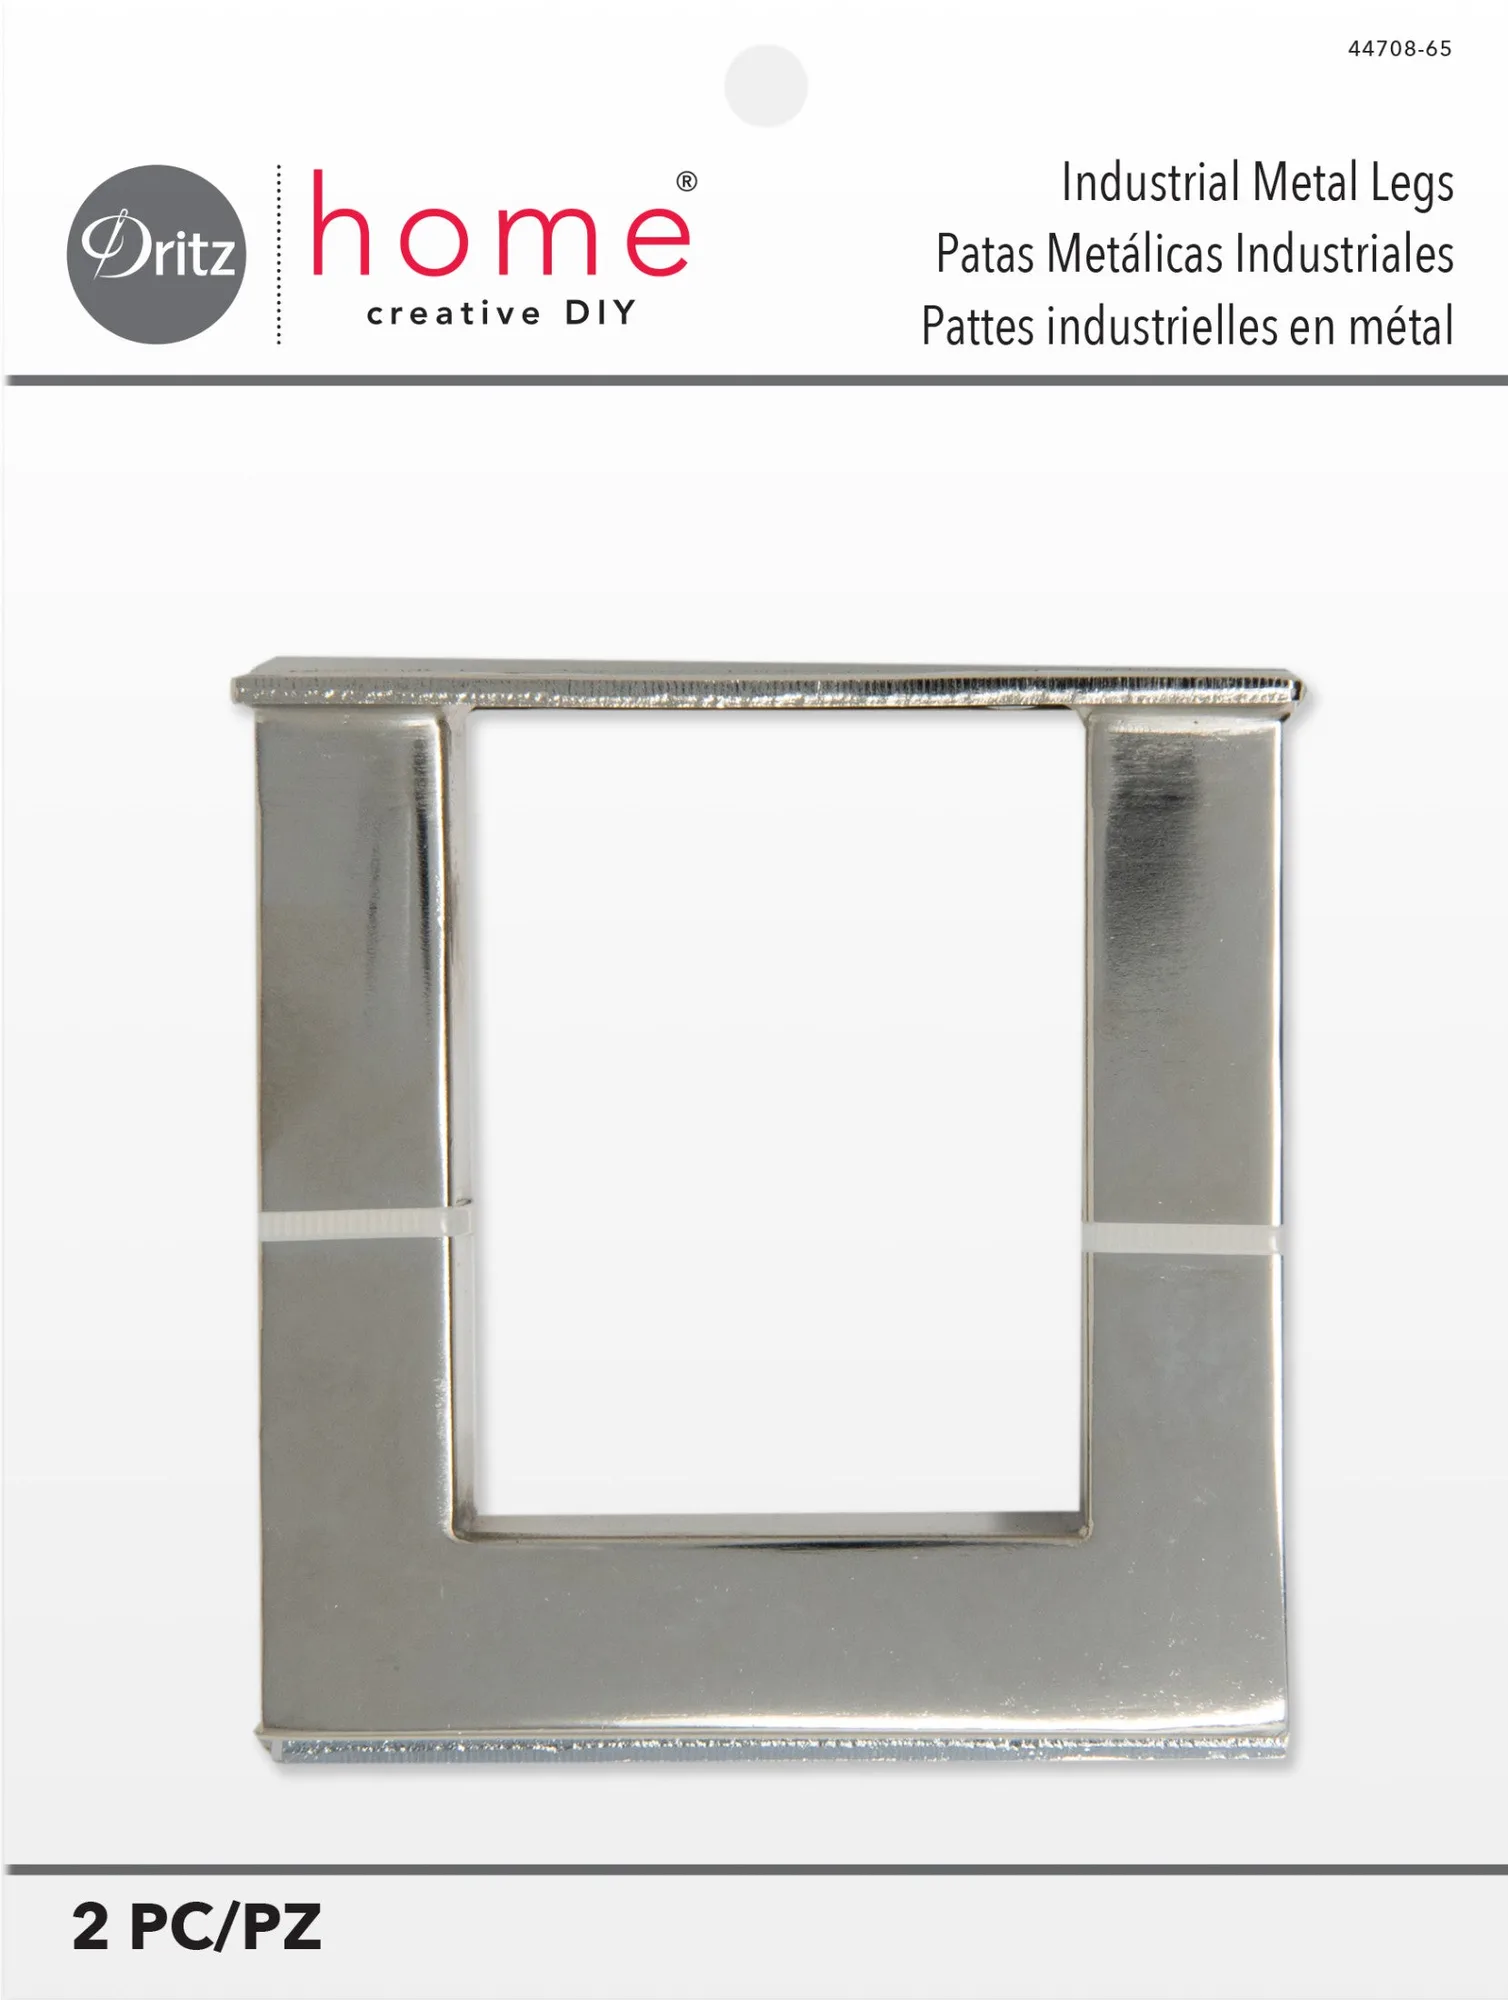
- Industrial Metal Legs, Nickel, 2 pc: Dritz Home metal corner legs are decorative and functional legs that can be applied to a variety of furniture pieces and accessories using screws (not included). If you're refreshing furniture with metal legs, you'll often be tapping tacks or decorative nails nearby, so keeping the tack hammer clean and ready fits naturally into the same project.
A few minutes of cleaning and inspection after each project keeps a tack hammer accurate and safe. Wipe the face, check the handle, and store it dry, and the tool will stay ready for upholstery, crafts, and furniture work.