Quick Answer
Start with the cockpit, dry-fit every part, and use thin cement for clean seams. The Tamiya 1/48 P-51D Mustang 8th Air Force kit is forgiving enough for a first aircraft build if you follow a logical sequence.
Why This Kit Is a Good First Aircraft
The Tamiya 1/48 P-51D Mustang is famous for its accurate shape, including the laminar-flow wing and radiator. The engineering is modern, so parts fit well and flash is minimal. That means you can focus on technique instead of fighting gaps.
One trade-off: the kit includes a pilot figure and three marking options, but the cockpit detail is basic out of the box. If you want a highly detailed interior, you'll need aftermarket parts, but for a first build, the stock cockpit is fine.
Painting Before Assembly Saves Time
Aircraft models are easier to paint in sub-assemblies. Paint the cockpit interior, wheel wells, and landing gear before gluing them into the fuselage. This avoids awkward brush work in tight spaces.
For the natural metal finish, consider a glossy black base coat followed by a metallic paint. If you're using rattle cans, practice on a spare sprue first to get a smooth, even coat.
Step-by-Step Build Sequence
- Prep Your Workspace and Tools: Gather a hobby knife, sprue cutters, plastic cement, sanding sticks, and tweezers. Cut parts carefully from the sprue, then sand nubs flush. A common mistake is cutting too close and gouging the plastic. Test-fit parts before gluing to ensure they fit without force.
- Build the Cockpit First: Paint the cockpit interior, seat, and instrument panel before assembly. Use a dry-brush technique to bring out details. Common mistake: gluing the cockpit before painting, which makes detail painting nearly impossible. Let paint cure fully before handling to avoid fingerprints.
- Assemble the Fuselage and Wings: Dry-fit the fuselage halves and wing parts to check alignment. Apply thin cement sparingly along the seams and press together. Common mistake: using too much glue, which causes smears and weakens plastic. Use a toothpick to apply glue precisely.
- Fill and Sand Seams: After the glue dries, inspect seams. Use putty or gap filler for any visible lines, then sand smooth with fine grit. Common mistake: sanding too aggressively and losing panel lines. Mask panel lines before sanding to preserve them.
- Paint the Model: Prime the whole model, then paint the natural metal finish. Use thin coats and let each dry. Common mistake: applying one heavy coat that hides details. Practice on a spare sprue to dial in your airbrush or rattle can technique.
- Add Decals and Final Details: Apply decals using a setting solution to help them conform to curves. Seal with a clear coat. Common mistake: rushing decals before the paint is fully cured, causing silvering. Use a soft brush to press decals gently into panel lines.
Kit Highlights
-
1/48 North American P-51D Mustang 8th Air Force (Tamiya 1/48 Aircraft Series No.40): This kit depicts the D-variant of the P-51 Mustang, with the famous laminar-flow wing and radiator accurately reproduced. You get a historically accurate model without needing to correct shapes, so you can spend your effort on painting and assembly.
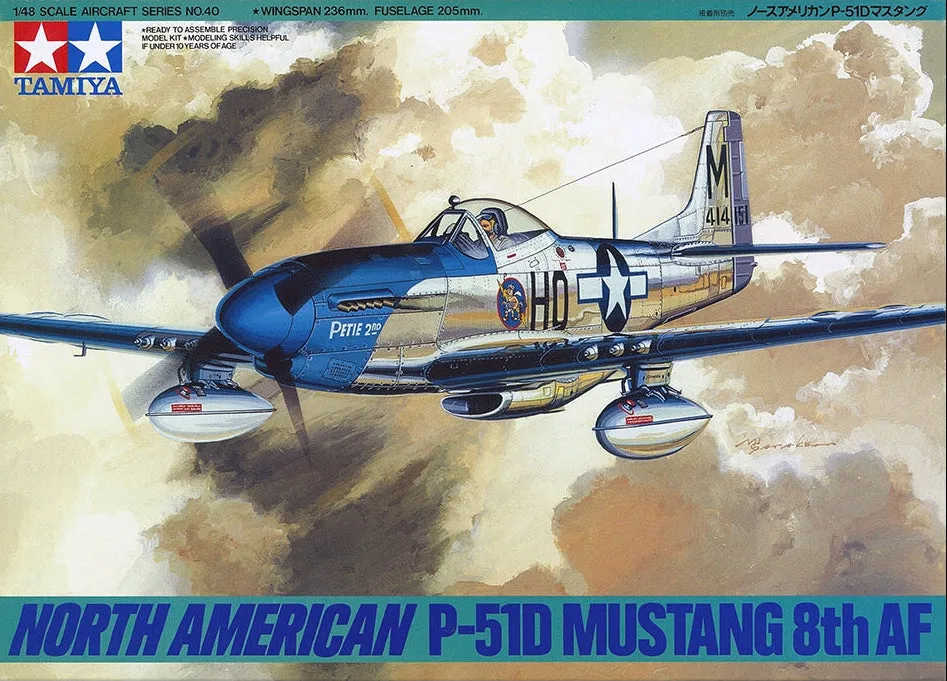
1/48 North American P-51D Mustang 8th Air Force (Tamiya 1/48 Aircraft Series No.40)
-
1/48 North American P-51D Mustang 8th Air Force (Tamiya 1/48 Aircraft Series No.40): The flaps may be assembled in the lowered position. Lowering the flaps adds visual interest to your display and shows off the engineering of the kit.
-
1/48 North American P-51D Mustang 8th Air Force (Tamiya 1/48 Aircraft Series No.40): One pilot figure and three marking options are included. You can choose a different squadron scheme for your next build, making the kit a good value.