Quick answer
The Tank Plant waters itself because a capacitance sensor in the soil measures how much water is between its plates, and the circuit triggers the pump when that reading drops. Build it in order: assemble the tank and pump, wire the sensor, set the dry and wet thresholds, then plant and test. If you rush the calibration step, the plant either floods or never waters, so treat calibration as the build's real finish line.
What the capacitance sensor is actually measuring
A capacitance sensor plant build works because water and air have very different electrical properties. The sensor's two conductive surfaces form a capacitor, and moist soil between them changes how much charge the capacitor can hold. Dry soil holds less water, so the reading falls; wet soil raises it. The board watches that number and decides whether to run the pump.
This is why the Tank Plant can ignore a schedule and respond to the soil instead. It is not measuring time or guessing. It is reading a physical property of the dirt around the probe, which is also why probe placement matters more than most builders expect.
What you need before you start
Gather the Tank Plant kit, a small plant or seedling, potting soil, and a cup of water for testing. Keep a dry paper towel nearby. You will also want a small screwdriver for any terminal connections and a clear table where the tank can sit upright without tipping.
Work in the order below rather than jumping to planting. The pump and sensor need to be tested before soil and roots are in the way, because troubleshooting a sealed planter is much harder than troubleshooting an open one.
Tank Plant build steps
- Assemble the tank and pump: Seat the pump in its mount and route the tubing so it reaches the soil area without kinking. Fill the reservoir and run the pump briefly over a sink or towel before adding soil. Common mistake: trapping a fold in the tubing, which makes the pump sound like it is working while no water moves. Checkpoint: water should flow freely and stop when power is cut.
- Wire the sensor and power the board: Connect the capacitance probe to its board and the board to power, following the kit's connector layout. Keep the probe's exposed surfaces clean and dry during this step. Common mistake: forcing a connector in the wrong orientation, which can bend pins and create an intermittent reading. Checkpoint: the board powers on and the sensor reports a changing value when you touch the probe.
- Set the dry and wet thresholds: With the probe in dry potting soil, note the reading. Then water the soil until it is evenly moist, not soaked, and note the new reading. Set the trigger point between those two numbers, closer to the dry end so the plant gets watered before it stresses. Common mistake: calibrating in a dry room and then moving the plant to a humid spot without rechecking. Checkpoint: the pump starts when the soil dries toward your trigger value and stops after watering.
- Plant and position the probe: Add your plant and settle the soil gently around the roots. Insert the probe at a slight angle a few inches from the stem, deep enough to sit in the root zone but not touching the base of the plant. Common mistake: pushing the probe directly against the stem or a root ball, which gives a local reading that does not represent the surrounding soil. Checkpoint: the reading responds within a minute or two when you water nearby.
- Run a full wet-dry cycle and observe: Let the soil dry naturally and watch whether the pump triggers at the right moment. Adjust the threshold in small increments rather than large jumps. Common mistake: changing several settings at once, which makes it impossible to tell what fixed the behavior. Checkpoint: one complete cycle waters the plant without leaving standing water in the reservoir tray.
Product facts
- Tank Plant - Capacitance: Tank Plant - Capacitance is part of the Hack Pack Toys lineup from CrunchLabs, a brand built around helping kids and adults learn to think like engineers. This item is listed under the Hack Pack category, suggesting a hands-on build experience. The build is designed as a hands-on engineering project, so expect to assemble and adjust it yourself rather than unbox a finished appliance.
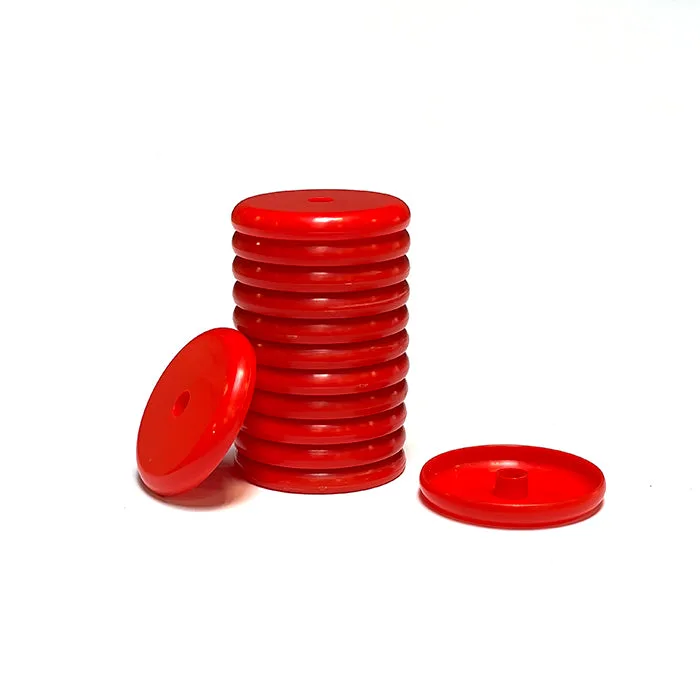
- Disc Launcher Discs Refill Pack (Build Box): The Disc Launcher Discs Refill Pack is a Build Box Extra with free shipping in the US, and CrunchLabs offers a free STL design file so you can 3D-print your own discs at home. If your household already runs Build Box projects, refill packs and printable parts are a low-cost way to keep spare components on hand for other builds.