Start with what this inner tent is for
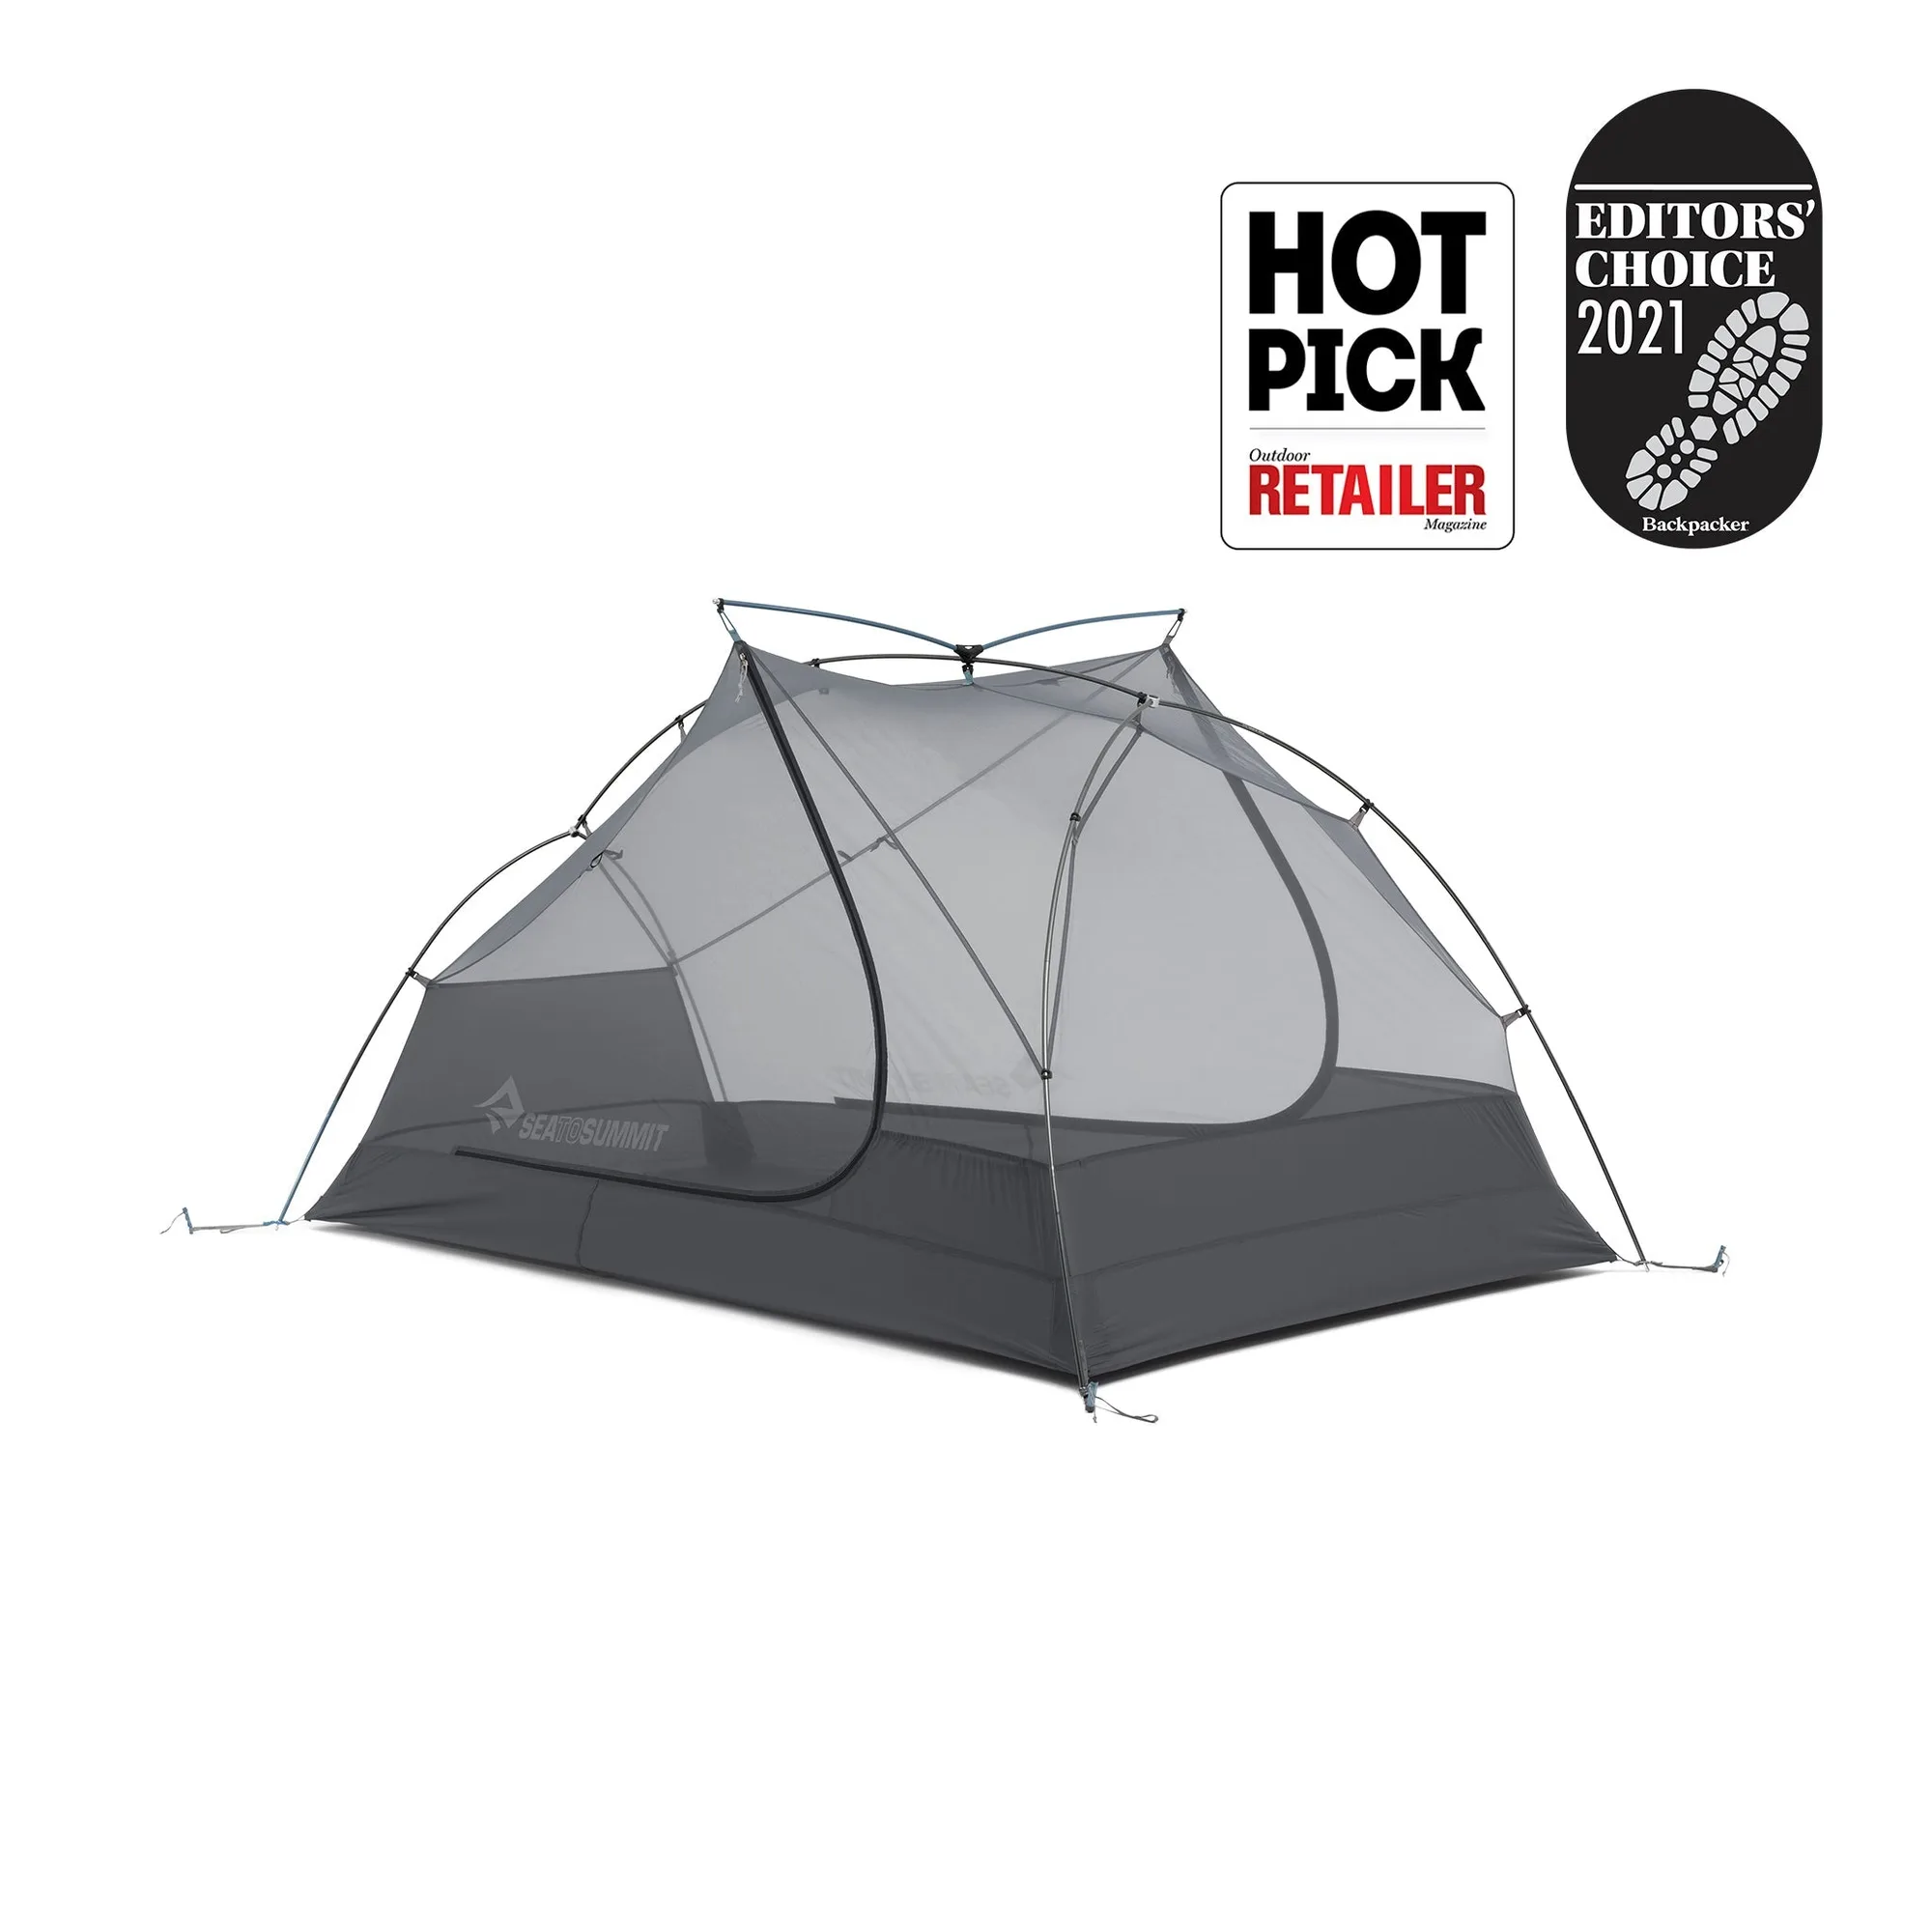
The Telos TR2 Inner Tent is a replacement two-person mesh inner or a warm-weather upgrade for your Telos TR2 Plus tent. Its job is to add airflow and visibility while keeping you off the ground with a built-in tub floor. Because it is an inner tent rather than a full shelter, the care routine is mostly about managing moisture, protecting the floor, and keeping the mesh intact.
The supplied information confirms the inner is included, but the replacement stuff sack, pole set, lightbar, and rain fly are not. That matters before you plan a setup or a packing routine: you will need your existing Telos TR2 Plus poles and fly, plus a separate stuff sack.
What the Telos TR2 Inner Tent includes
-
Telos TR2 Inner Tent: What's Included: Replacement inner tent Confirms the core component you receive, so you can plan around your existing poles, fly, and lightbar.
Telos TR2 Inner Tent
-
Telos TR2 Inner Tent: Not Included: Replacement stuff sack, pole set, lightbar and rain fly (all sold separately) You will need to supply these from your current Telos TR2 Plus setup or buy them separately before heading out.
-
Telos TR2 Inner Tent: The 6” deep 20D nylon tub floor is rated to 2500mm hydrostatic head – light, waterproof and durable The floor is the part most exposed to abrasion and ground moisture, so it deserves the most attention when packing and pitching.
How to set up the Telos TR2 Inner Tent with your TR2 Plus
The supplied record does not include a full pitching sequence, so these steps stick to what the evidence supports: using the inner with your existing TR2 Plus tent and protecting the floor.
- Use your existing TR2 Plus poles and fly: The inner tent does not include a pole set or rain fly. Set it up with the poles and fly from your Telos TR2 Plus tent.
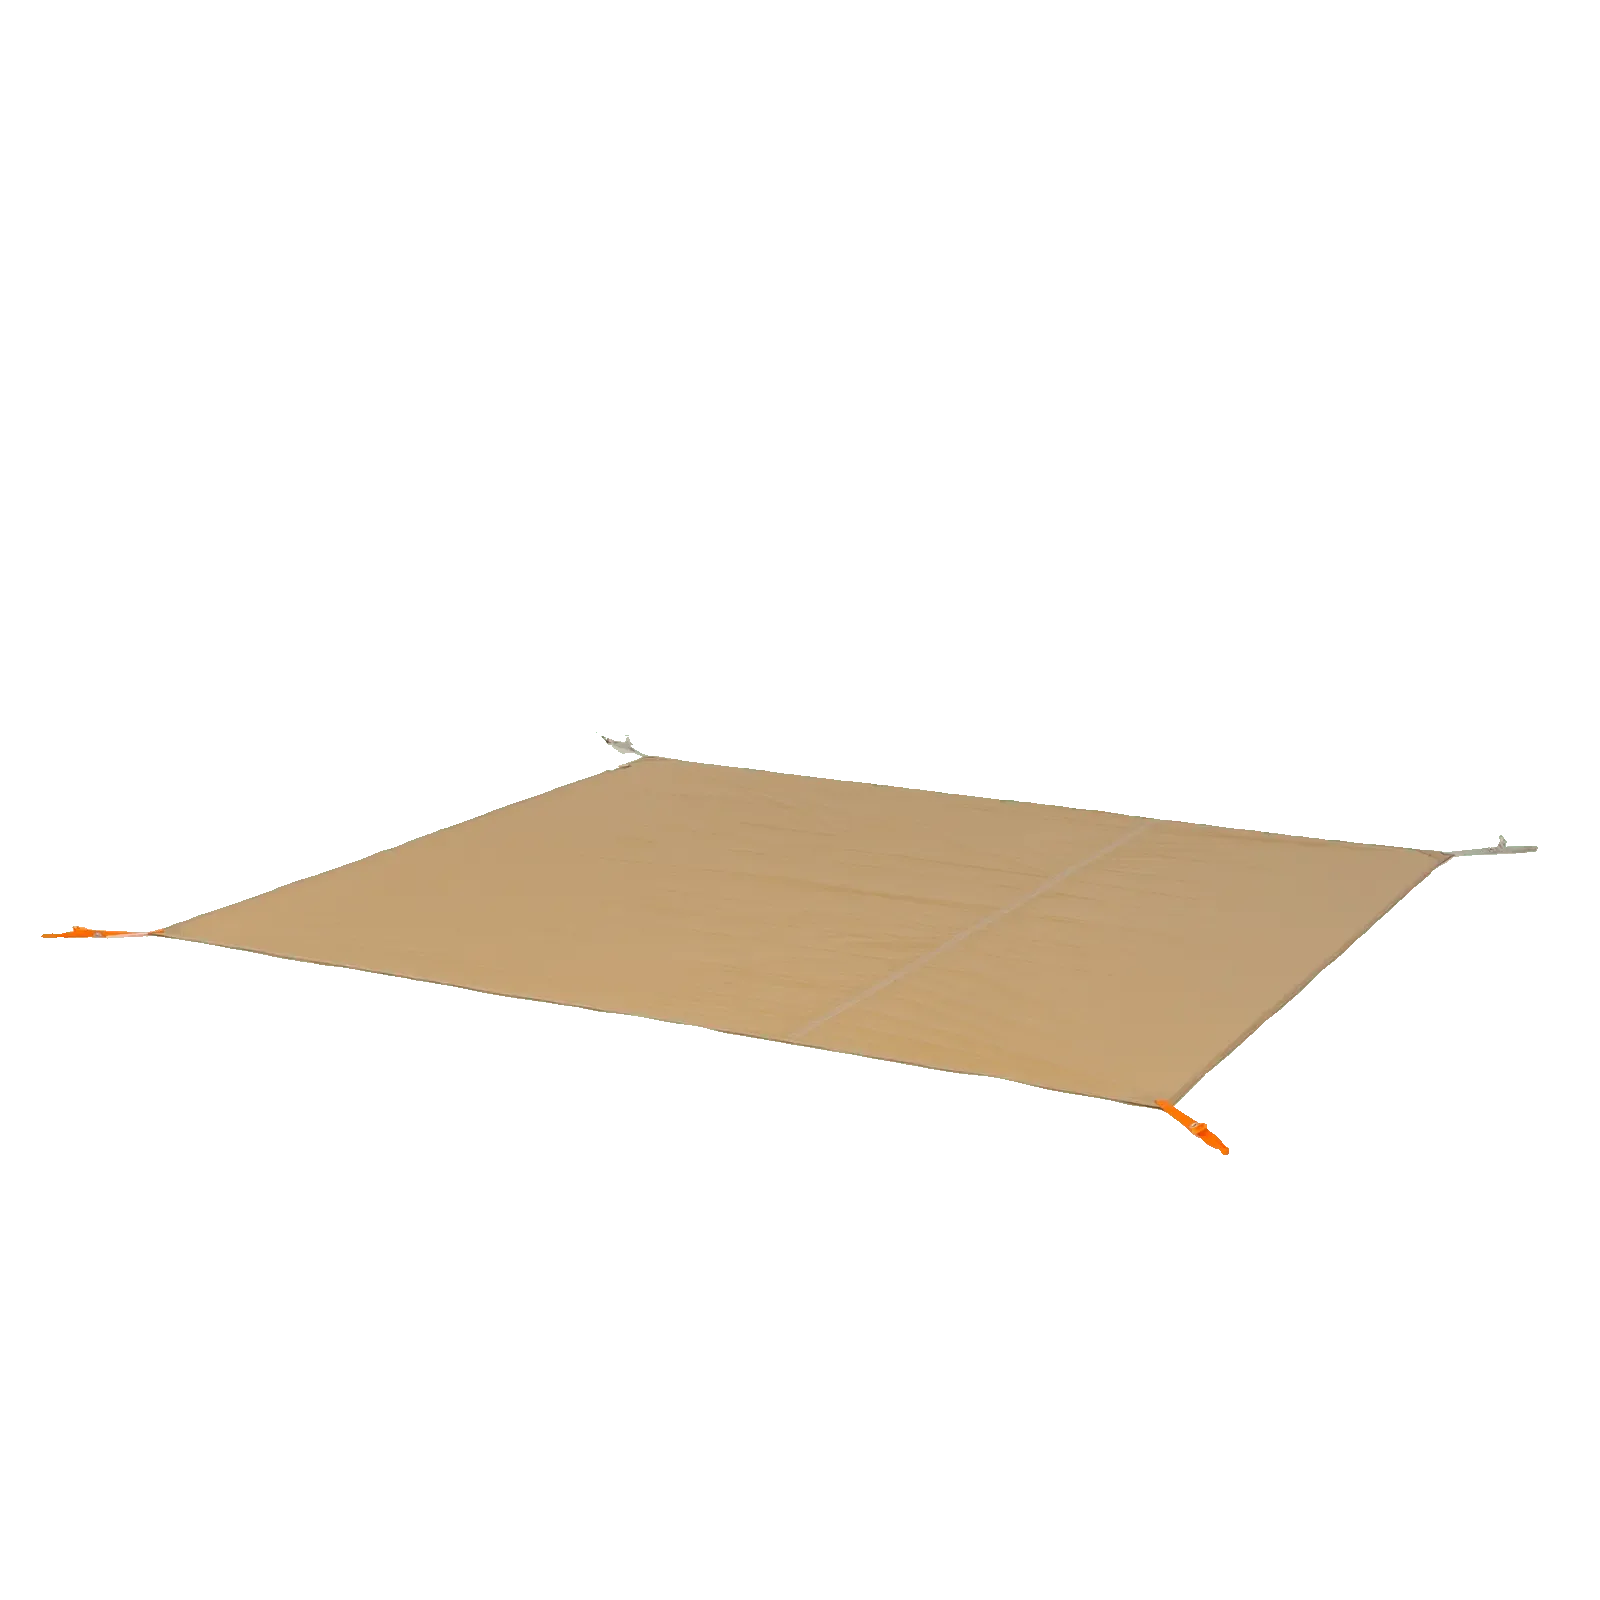
- Add a footprint before you pitch: The record recommends a Sea to Summit footprint, sold separately, to extend the life of the tent floor. Place it under the tub floor before you set up the inner.
- Clip or attach the inner to your existing structure: The supplied information does not describe the attachment method. Follow the setup you already use for your TR2 Plus inner, since this replacement is designed to work with that tent.
- Leave the mesh exposed for airflow: The dark grey mesh walls are intended for airflow and visibility. In warm weather, use the inner without the fly where conditions allow, so the mesh can do its job.
Managing condensation on a mesh inner
Condensation is a normal part of tent camping, and a mesh inner is your first line of defense. The 15D polyester mesh is described as ultra-lightweight and built for maximum ventilation, which helps moist air escape rather than collect on the walls. The dark grey color also makes it easier to see through the mesh and spot any buildup.
The supplied record does not give specific ventilation settings or condensation-prevention procedures. What it does confirm is that this inner is intended for additional airflow when used with your TR2 Plus tent. In practice, that means keeping the mesh clear of gear, avoiding blocking the lower panels, and using the inner in warm conditions where airflow matters most. If condensation does form, wipe the mesh gently rather than scrubbing it.
Cleaning a tent inner without damaging the mesh
The record does not supply a full washing procedure, so keep cleaning conservative and avoid anything that could stress the 15D mesh or the coated floor.
- Shake out loose dirt first: Turn the inner inside out and shake or brush off sand and debris before it works into the mesh.
- Spot clean with a damp cloth: Use plain water and a soft cloth on the floor and mesh. Avoid harsh cleaners, which the supplied information does not support.
- Air-dry completely before packing: Moisture left in the mesh or tub floor can lead to mildew. Let the inner dry fully in the shade before storing it.
- Do not machine wash or tumble dry: The record gives no washing instructions, so hand cleaning and air drying are the safest approach for the 15D mesh and coated floor.
Packing tips for the Telos TR2 Inner Tent
- Bring your own stuff sack: The replacement stuff sack is not included. Use a sack from your TR2 Plus setup or a separate one that fits the inner.
- Pack the inner separately from the fly: Keeping the inner and fly in separate sacks makes it easier to set up in rain and keeps a wet fly away from the mesh.
- Fold rather than stuff the floor: The 20D nylon tub floor is light and waterproof, but repeated tight stuffing can stress the coating. A loose fold helps protect it.
- Keep poles and lightbar with the fly: Since the pole set and lightbar are not included with the inner, store them with your TR2 Plus fly so the full kit stays together.
When a replacement inner makes sense
A replacement inner is useful when your original mesh is damaged or when you want a warmer-weather configuration for your Telos TR2 Plus. The Telos TR2 Inner Tent gives you the mesh inner and tub floor; you reuse the poles, fly, and lightbar you already own. Before you buy, check that you have those parts and a stuff sack, because none of them come with this inner. If you are missing the fly or poles, factor those separate purchases into your decision.
The record does not confirm the inner's packed size or weight, so if those numbers matter for your trip, treat them as unknown rather than assuming. What is clear is the intended use: a two-person mesh inner for airflow and visibility, with a waterproof tub floor and a recommendation to add a footprint for floor protection.