Quick answer
Most TIE Advanced build problems come down to three things: parts that need test-fitting before glue, joints that need a little support while they cure, and paint or decals applied before the surface is ready. Fix the fit first, then the joints, then the finish. If a part is badly warped or a clear canopy is cracked, stop and contact the retailer or manufacturer rather than forcing it.
The TIE Advanced is a popular Star Wars kit, but it has a few quirks that trip up builders. The good news: nearly every problem has a simple diagnosis and a fix you can do at your workbench.
This guide walks through the symptoms you will actually see, the likely causes, the corrective action, and the point where you should stop rather than make things worse.
Parts do not line up or gaps appear at seams
Symptom: the fuselage halves or wing panels leave a visible gap, or a part sits proud of the surface. Likely cause: sprue nubs or mold seams left on the mating surfaces, or the part was removed from the sprue with a twist that slightly bent it. Corrective action: scrape the mating edges with a hobby knife or sanding stick, then test-fit without glue. If the gap persists, warm the part slightly in warm water and gently bend it back, holding it until it cools.
If the gap is small, a little filler or stretched sprue can close it. If the gap is large and the part is clearly warped beyond gentle correction, stop. Forcing it will distort the surrounding panels and ruin the look.
- Always dry-fit before glue, especially on the wing struts and fuselage halves.
- Use a sanding stick rather than a file to avoid removing too much material.
- Keep a damp cloth nearby to wipe away dust before painting.
Joints feel weak or the model wobbles
Symptom: the wings droop, the stand mount feels loose, or a joint cracks when you handle the model. Likely cause: too little glue, glue applied to painted surfaces, or handling the model before the joint has fully cured. Corrective action: re-glue with a small amount of liquid cement, hold the parts in position with tape or a clamp, and let it cure overnight. If the joint is load-bearing, add a small strip of styrene or a bit of epoxy for reinforcement.
If the joint has already cracked the plastic, stop and assess. A cracked load-bearing part often needs a replacement; contact the retailer or manufacturer rather than trying to hide it with filler.
- Glue bare plastic to bare plastic for the strongest bond.
- Use tape or a rubber band to hold parts while they cure.
- Let joints cure fully before moving on to painting.
Paint looks uneven, streaky, or peels
Symptom: brush marks, a patchy finish, or paint that lifts when you touch it. Likely cause: painting over bare, glossy plastic without a primer, or applying thick coats instead of thin ones. Corrective action: wash the parts with mild soapy water to remove mold release, let them dry, then apply thin coats of paint, letting each coat dry before the next. For acrylics, a primer helps the paint grip.
If the paint has already peeled, strip it with a hobby paint remover or isopropyl alcohol, then start again with a clean, primed surface. If the plastic itself is damaged by a harsh solvent, stop; that part may need replacing.
- Thin coats always beat one thick coat.
- Let paint cure fully before handling or masking.
- Use a primer designed for model plastics.
Decals silver, tear, or will not stick
Symptom: decals look cloudy, refuse to conform to curves, or tear when you slide them. Likely cause: a glossy surface, not enough water, or old decals that have become brittle. Corrective action: apply a gloss clear coat first, use plenty of water, and slide the decal into place with a soft brush. A decal-setting solution helps it conform. If a decal tears, you can often piece it back together on the model.
If the decal sheet is too old and shatters on contact, stop. You can paint the markings instead or look for an aftermarket decal sheet, but forcing old decals will only make a mess.
- Gloss coat before decals, flat coat after.
- Use warm water, not hot, to avoid curling.
- Have a decal-setting solution on hand for curved surfaces.
Clear parts are foggy, scratched, or cracked
Symptom: the canopy looks cloudy or has a visible crack. Likely cause: glue fumes from solvent cement, or handling with bare fingers that left oils. Corrective action: if it is only foggy, you can sometimes polish it with a plastic polish. If it is cracked, stop. A cracked canopy is a structural failure and will only get worse. Contact the retailer or manufacturer for a replacement part.
To avoid fogging in the first place, use a canopy glue or white glue for clear parts, and avoid solvent cement near them.
- Test-fit the canopy before gluing.
- Use a dedicated clear-part glue.
- Handle clear parts with gloves or a soft cloth.
Diagnosis table: symptom, cause, fix, and stop point
- Gaps at seams: Cause: sprue nubs or slight warping. Fix: scrape mating edges, test-fit, gently bend warped parts with warm water. Stop if the part is badly warped; forcing it will distort the model.
- Weak or wobbly joints: Cause: too little glue or handling before cure. Fix: re-glue bare plastic, clamp, and cure overnight. Stop if the plastic has cracked; seek a replacement part.
- Uneven or peeling paint: Cause: painting on glossy plastic or applying thick coats. Fix: wash parts, prime, and apply thin coats. Stop if the plastic is damaged by solvent; replace the part.
- Decals silver or tear: Cause: glossy surface or old decals. Fix: gloss coat, use water and setting solution. Stop if the decal sheet shatters; paint markings or buy aftermarket decals.
- Foggy or cracked clear parts: Cause: solvent fumes or handling. Fix: polish if foggy; replace if cracked. Stop if cracked; contact the retailer or manufacturer for a replacement.
Products that help with these fixes
- Matt "Greyish Blue" (RAL 7031) Aqua Color - 18ml: The popular Aqua Color colors are available in all 88 shades. The model maker no longer has to make compromises and can rely on this acrylic paint system for all his color wishes. The advantages of this paint system: 'Revell Aqua Color' - colors in completely new 18 ml containers can be ideally processed: • Colors can be diluted with water • Colors have a mild odor • Colors are not flammable • Colors contain... A water-dilutable acrylic like this is forgiving for brush painting and easy to clean up, which helps when you are fixing uneven paint on a TIE Advanced.
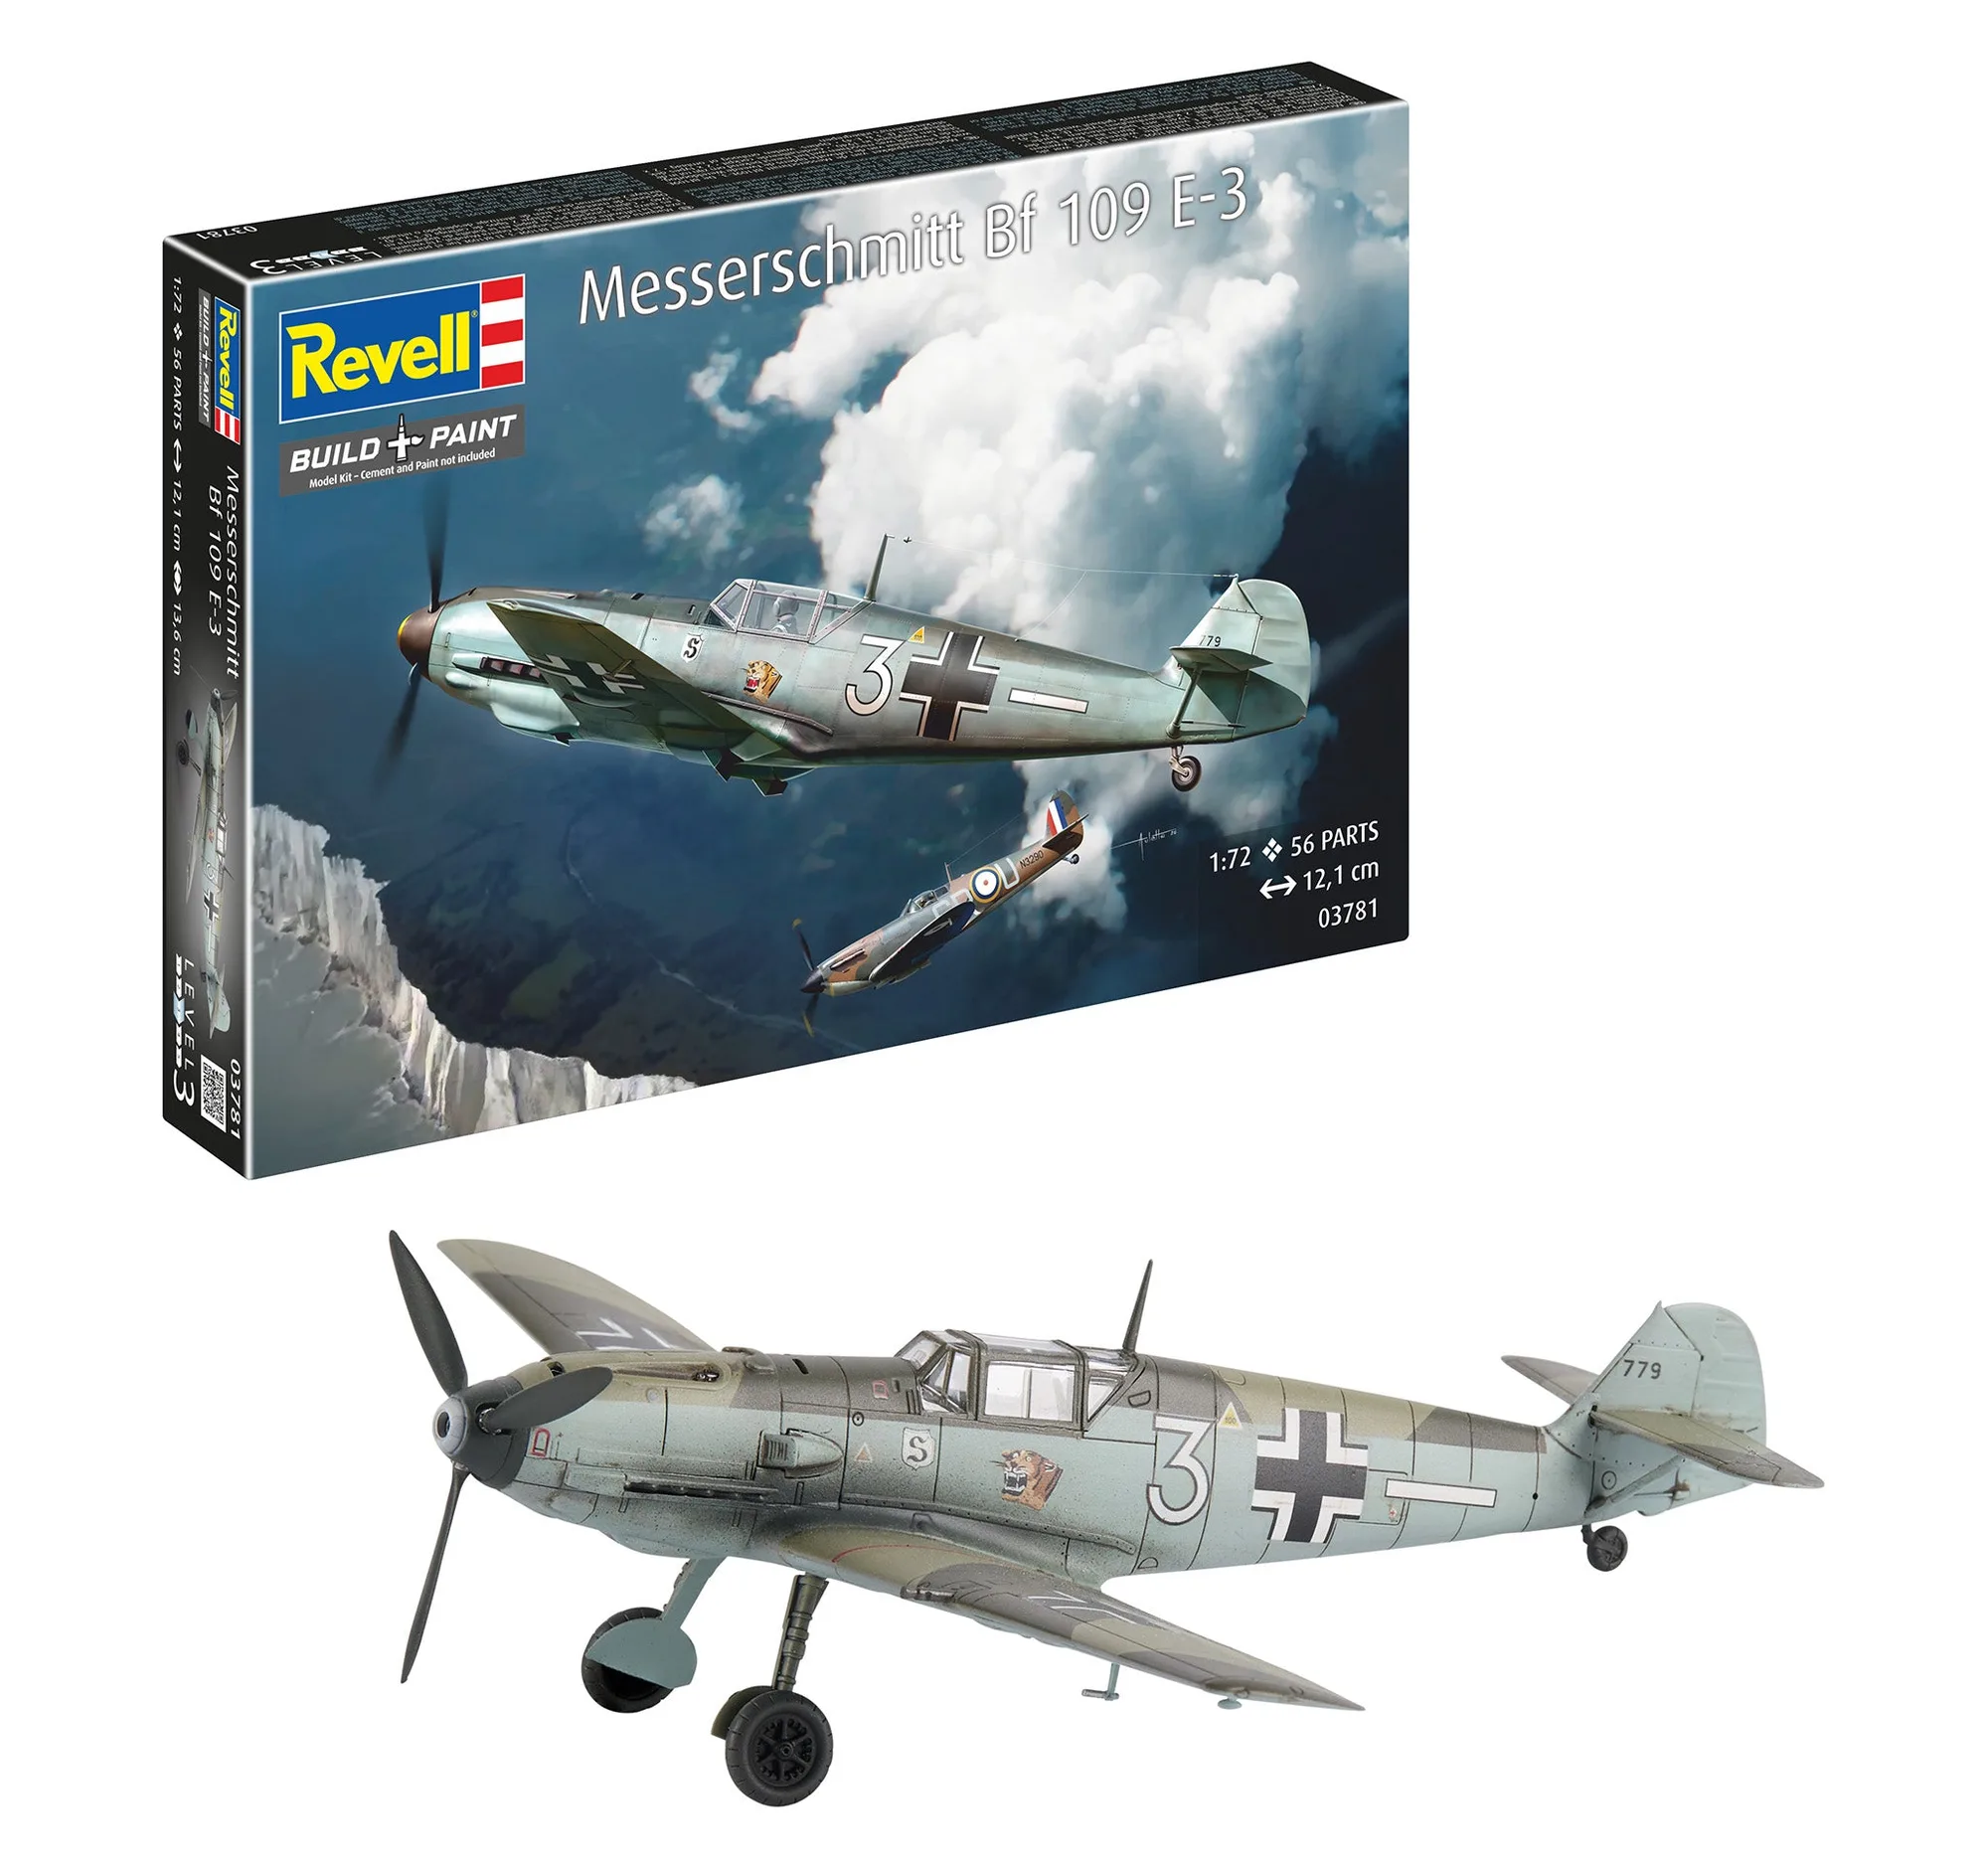
- Starter kit Messerschmitt Bf109E-3: Starter Kit Messerschmitt Bf109E-3: Your start into the world of fighter pilotsIs every beginning difficult? Not with this set! Getting started with model making often fails because of the question: "Which colors do I need and which glue is the right one?" With the starter kit for the Messerschmitt Bf109E-3 we take these worries away from you. You receive an “all-round, worry-free package” that was specially... If you are new to model building and want to practice fit, glue, and paint techniques before tackling a TIE Advanced, a starter kit that includes the basics is a lower-risk way to learn.
Most TIE Advanced build problems are fixable with patience and the right technique. Work through fit, then joints, then finish, and know when to stop and ask for a replacement part. That way you end up with a model you are proud to display.