Quick Answer
To achieve stable rocket flights, start by checking your rocket's center of gravity (CG) and center of pressure (CP). Ensure the CG is ahead of the CP by at least one body tube diameter, then choose the right motor and launch conditions. For example, kits like the Graduator are designed with pre-slotted airframes that help maintain stability, but you still need to verify your build.
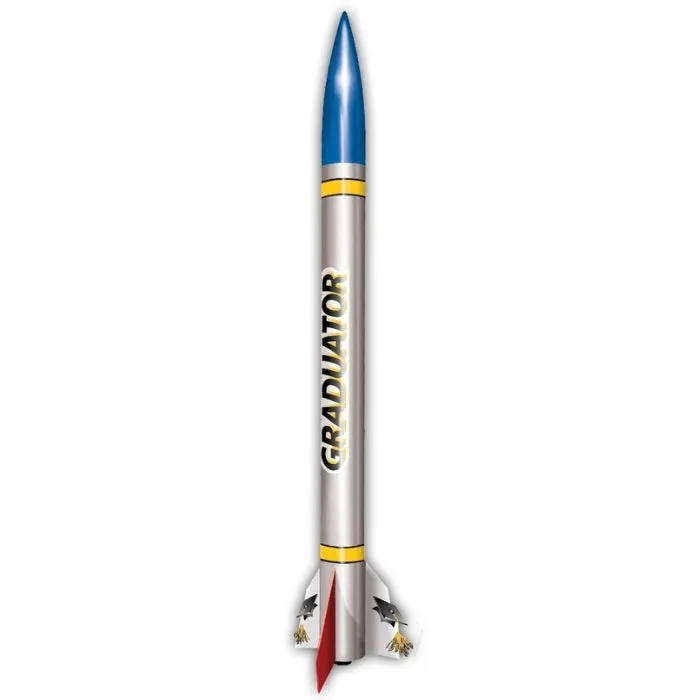
Graduator
A stable rocket flight is the difference between a satisfying launch and a wobbly, unpredictable trajectory. Whether you're flying a low-power model in a park or stepping up to high-power rocketry, the principles of stability remain the same. In this guide, we'll walk you through practical steps to ensure your rocket flies straight and true, drawing on tips that apply to any kit, including those from LOC Precision.
Understanding the basics of rocket stability isn't just for engineers—it's essential for every rocketeer. By checking a few key factors before launch, you can avoid many common issues like veering off course or tumbling. Let's explore how to prepare your rocket for a successful flight.
Check Center of Gravity and Center of Pressure
The most critical step in achieving stable rocket flights is ensuring your rocket's center of gravity (CG) is located ahead of its center of pressure (CP). The CP is the point where aerodynamic forces balance, and if it's too far forward, the rocket can become unstable. As a rule of thumb, the CG should be at least one body tube diameter ahead of the CP.
To find the CG, balance your fully assembled rocket (with motor and recovery wadding) on a ruler or your finger. Mark that point. For the CP, you can use a swing test or software like OpenRocket. Many kits include this information, but it's always wise to verify. For instance, the Graduator from LOC Precision includes a factory pre-slotted airframe and through-the-wall fin construction, which helps keep the CP consistent, but you should still measure after adding paint or modifications.

recovery wadding
- Always measure CG with the motor and recovery items installed.
- If the CG is too close to the CP, add nose weight to move it forward.
Select the Right Motor for Your Rocket
Motor selection directly impacts stability. A motor that's too weak may not provide enough thrust to reach stable speed, while one that's too powerful can cause excessive speed and stress. For high-performance kits like the Graduator, which can fly on a D12-3 motor in a backyard or an H motor for Level 1 high power, it's crucial to start with the recommended motor range.
For lighter rockets like the Skinnie Minnie Magg 5.5", which is designed to fly on G motors but can handle some Level 1 motors, using a motor at the lower end of the range often produces more stable flights, especially in windy conditions. Always check the kit's recommended motor list and start with the lowest impulse for your first flights.
- Avoid overpowering a rocket with a motor it wasn't designed for.
- Consider the launch site size—larger fields allow for higher-power motors.
Ensure Proper Fin Alignment
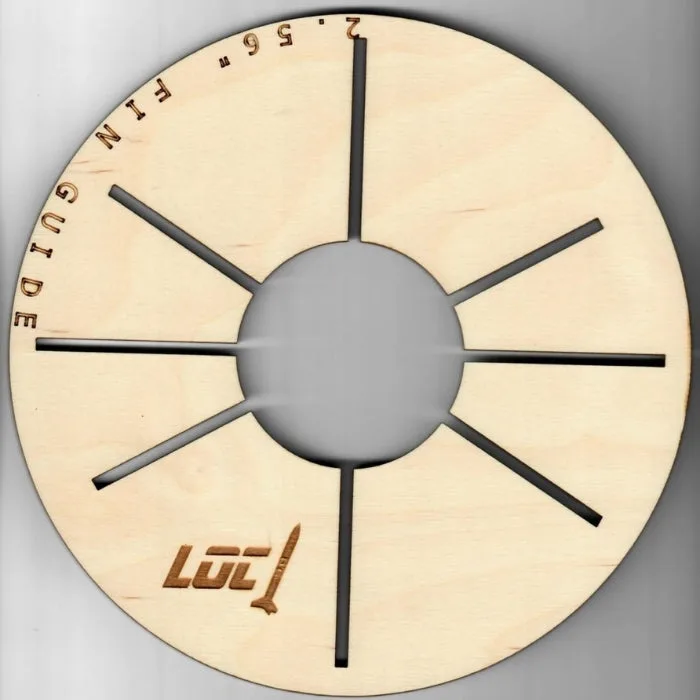
Fins are the primary stabilizers of a rocket. Misaligned fins can cause the rocket to corkscrew or veer off course. When building, use a fin alignment guide or a simple ruler to ensure each fin is perpendicular to the body tube and evenly spaced. Through-the-wall fin construction, as seen in the Graduator, attaches fins directly to the motor mount, providing a stronger and more accurate alignment.
After a flight, inspect your fins for damage or warping. Even a slight bend can affect stability on the next flight. For rockets with removable fins, like some high-power models, double-check that each fin is securely seated before launching.
- Use a fin jig to ensure perfect alignment during assembly.
- Test fin attachment by gently wiggling each fin to check for looseness.
Launch Conditions Matter
Even a perfectly stable rocket can have issues if launched in high winds. For stable rocket flights, launch in winds under 10 mph, ideally with a launch rod that's long enough to allow the rocket to reach sufficient speed before leaving the rod. A common rule is to use a rod that extends at least four times the rocket's diameter.
Also, ensure the launch rod is perfectly vertical. A tilted rod can cause the rocket to angle into the wind, leading to instability. For high-power rockets, always follow club safety guidelines and check wind conditions before setting up.
- Use a launch pad with a rail or rod that matches your rocket's size.
- If the wind is gusty, consider waiting for calmer conditions.
Recovery System Setup
While recovery doesn't affect the upward flight, a tangled or improperly packed parachute can cause the rocket to come down hard, damaging fins and affecting future stability. Ensure your recovery system is packed neatly and that the shock cord is attached securely. For rockets with dual deployment capability, like the Graduator which can include a payload for optional dual deployment, practice packing the main and pilot chutes separately.
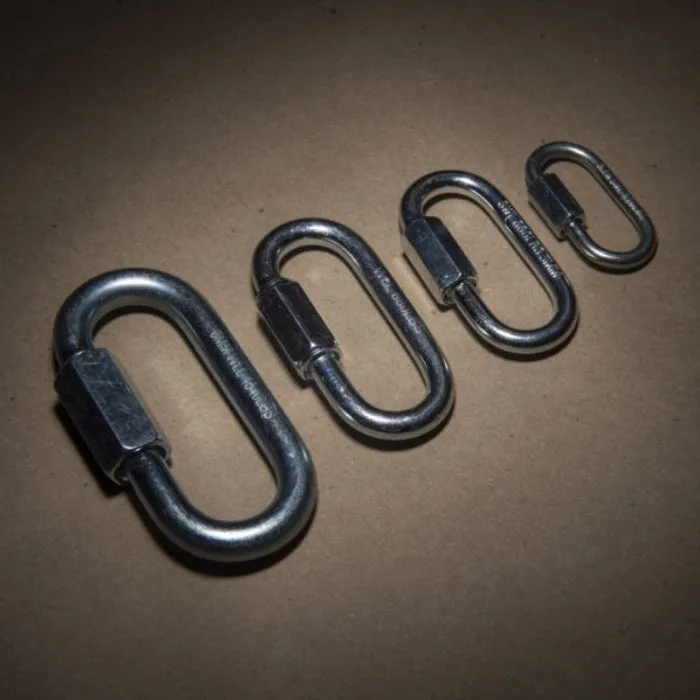
Use quality components like chain eye connectors to attach your recovery harness. These connectors are rated for various loads—from 440 to 2200 pounds—so choose one that matches your rocket's weight. For example, the CEC-1 is suitable for smaller rockets, while larger high-power rockets may need a CEC-3 or higher.
- Always use a recovery harness that's rated for your rocket's weight.
- Check for wear on shock cords and replace if frayed.
Step-by-Step Stability Checklist
- Measure CG and CP: Assemble your rocket with the intended motor and recovery gear. Balance it to find the CG, then calculate or test for CP. Ensure CG is at least one caliber (body diameter) ahead of CP. If not, add weight to the nose or use a heavier motor.
- Choose the Right Motor: Refer to your kit's recommended motor range. For first flights, pick the lowest impulse motor to allow a slower, more stable ascent. Avoid overpowering; it can cause instability at high speeds.
- Check Fin Alignment: Before each flight, inspect fins for straightness and secure attachment. Use a fin alignment tool if needed. Misaligned fins are a common cause of unstable flights.
- Verify Launch Conditions: Launch only in winds under 10 mph. Ensure the launch rod is vertical and long enough for your rocket to reach stable speed. If conditions are marginal, postpone the launch.
- Pack Recovery System Properly: Pack your parachute and shock cord carefully to avoid tangles. Use a quick link or chain eye connector rated for your rocket's weight. A clean recovery deployment prevents damage that could affect future flights.
Product Facts for Stability
- Graduator: First in the EXPLORER SERIES of kits, which include factory pre-slotted airframe and through-the-wall fin construction, the GRADUATOR is a single 29mm motor, high performance design. This kit can fly on a D12-3 motor in the back yard or graduate you to Level 1 high power on an H motor with the club. Now with included Fire Blanket and payload for optional dual deployment capability! The pre-slotted airframe and through-the-wall fins help ensure accurate fin alignment, which is crucial for stability. Its versatility in motor selection allows you to start with low-power motors for easier stable flights before moving up.
- Skinnie Minnie Magg 5.5": We're taking it back to the beginning! The Skinnie Minnie Magg is an homage to the original, lightweight Minie-Magg from 1986, which was designed to be the largest production kit that you can fly without a certification. With 1/8 inch fins and rings and the absence of shock cord mounting hardware, this svelte beauty goes up great on G motors yet is robust enough to fly on some Level 1 motors. A 38mm motor mount and... This lightweight design is forgiving for stability checks, but the thin fins require careful handling. Its motor range allows you to choose a G motor for predictable, stable flights that are perfect for practicing your stability checks.
Stable rocket flights are achievable with careful preparation and attention to detail. By checking your rocket's stability, choosing the right motor, and ensuring proper assembly and launch conditions, you'll enjoy more successful launches and fewer lost rockets. Remember, each flight is a learning opportunity—keep notes on what works and adjust accordingly.