Quick answer
Set up a toddler workbench in a quiet corner of the playroom, offer just a few pretend play tools at first, and join in for short bursts of guided play. This simple routine supports fine motor skills, imaginative play, and early problem-solving without turning play into a lesson.
Why a workbench earns its floor space
A toddler workbench gives children a dedicated spot to hammer, twist, and tinker—actions that build hand strength and hand-eye coordination. Unlike open-ended toys that can overwhelm, a workbench presents clear affordances: a peg to pound, a bolt to turn, a tool to grip. That clarity helps toddlers stay engaged longer and practice sequences like pick up, aim, and strike.
Pretend play tools also invite imaginative play. A child can be a builder, a fixer, or a helper, narrating actions and assigning roles. That storytelling is where language and social skills grow. The workbench becomes a stage for “I’m fixing the door” or “Your turn with the wrench,” which is far richer than passively watching a screen.
Choosing a workbench that fits your playroom
Look for a workbench sized to your child’s height so their feet rest flat and tools reach comfortably. Check stability—a wobble invites frustration or unsafe climbing. Fewer, chunkier tools are better than a crowded set; toddlers focus on one action at a time. If you want a wooden tool play idea that lasts, choose a workbench with smooth edges and parts that are easy to wipe clean.
The Lalo Workbench is a practical example: it assembles in under five minutes, which matters if you want play to start without a project. Its tools are included, so you don’t need to source separate pieces. Just note that the catalog doesn’t specify wood type or exact dimensions, so measure your space and check the product page for details before buying.
Setting up the playroom workbench
Place the workbench against a wall or low shelf to reduce tipping risk and define a “workshop” zone. Keep a small basket nearby for tools—this makes cleanup part of the routine. Avoid placing it next to a climbing structure or ride-on toys, which can turn focused play into chase games. A rug underneath softens noise and catches small parts.
Rotate tools every week or two: keep out two or three and store the rest. Novelty drives engagement, and rotation prevents the workbench from becoming background furniture. If you have multiple children, set a visual timer for turns so sharing is predictable.
Guiding pretend play without taking over
Start by modeling one action, then hand the tool to your child. Narrate what you see: “You’re turning the bolt—it’s going in!” This reinforces vocabulary and gives them language for their own play. Resist the urge to correct their grip constantly; fine motor skills develop through repetition and experimentation.
Introduce simple problems: “The table is wobbly. Which tool could fix it?” This invites planning and tool selection. Follow their lead—if they turn the workbench into a rocket, go with it. Imaginative play toddler-style often veers from realism, and that’s where creativity grows.
Step-by-step: Start workbench play the right way
- 1. Pick a stable, low-traffic spot: Place the workbench against a wall in a corner away from climbing toys. Check that it doesn’t wobble when your child leans on it. Mistake to avoid: putting it in the middle of the room where it becomes a hurdle or a tipping risk.
- 2. Introduce one tool at a time: Offer a single hammer or wrench first. Show one action, then let your child try. Add a second tool only when they seem ready for variety. Checkpoint: your child can pick up and use the tool without immediate frustration.
- 3. Model pretend play with simple stories: Say, “Let’s fix the squeaky door,” and demonstrate turning a bolt. Then ask, “What should we fix next?” Mistake to avoid: quizzing your child or turning play into a test; keep it playful and follow their ideas.
- 4. Set up a take-apart and put-away routine: Before cleanup, ask your child to “park” each tool in the basket. Sing a short song or count tools together. Checkpoint: tools end up in the basket, not scattered—this builds responsibility and makes next play easier.
- 5. Rotate tools weekly: Keep two or three tools out and store the rest. Swap them every week or two to renew interest. Mistake to avoid: leaving every tool out at once, which can overwhelm and reduce focused play.
Product facts that matter for workbench play
- Workbench: Safe, sturdy, and functional. And with easy assembly that takes less than 5 minutes! The Workbench is the perfect place for your little one to tackle handy projects, equipped with all the tools they need to get the job done. Quick assembly means less setup frustration and more playtime; included tools save you from buying extras, and sturdiness supports safe hammering and turning.
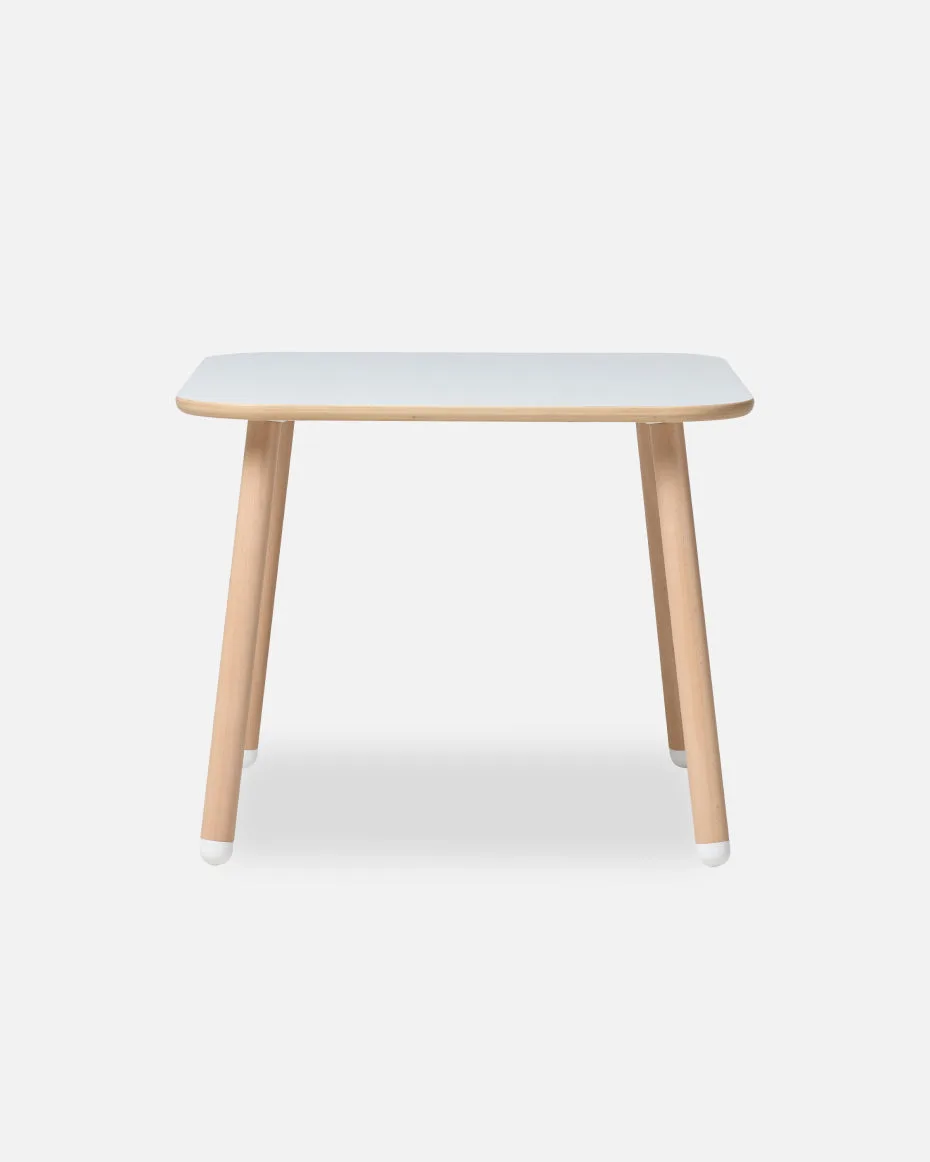
- The Play Table: The perfect table for playdates, arts & crafts, snack time and more. The Play Table sets up in minutes, no tools needed, and wipes clean just as fast. A nearby table gives kids a surface to “build” on or set tools down, and its wipe-clean finish handles paint, glue, or snack spills during extended play.