Quick Recommendation
Use a high‑quality, UV‑resistant top coat after a proper primer; apply three thin layers, allowing full cure between coats for lasting protection.
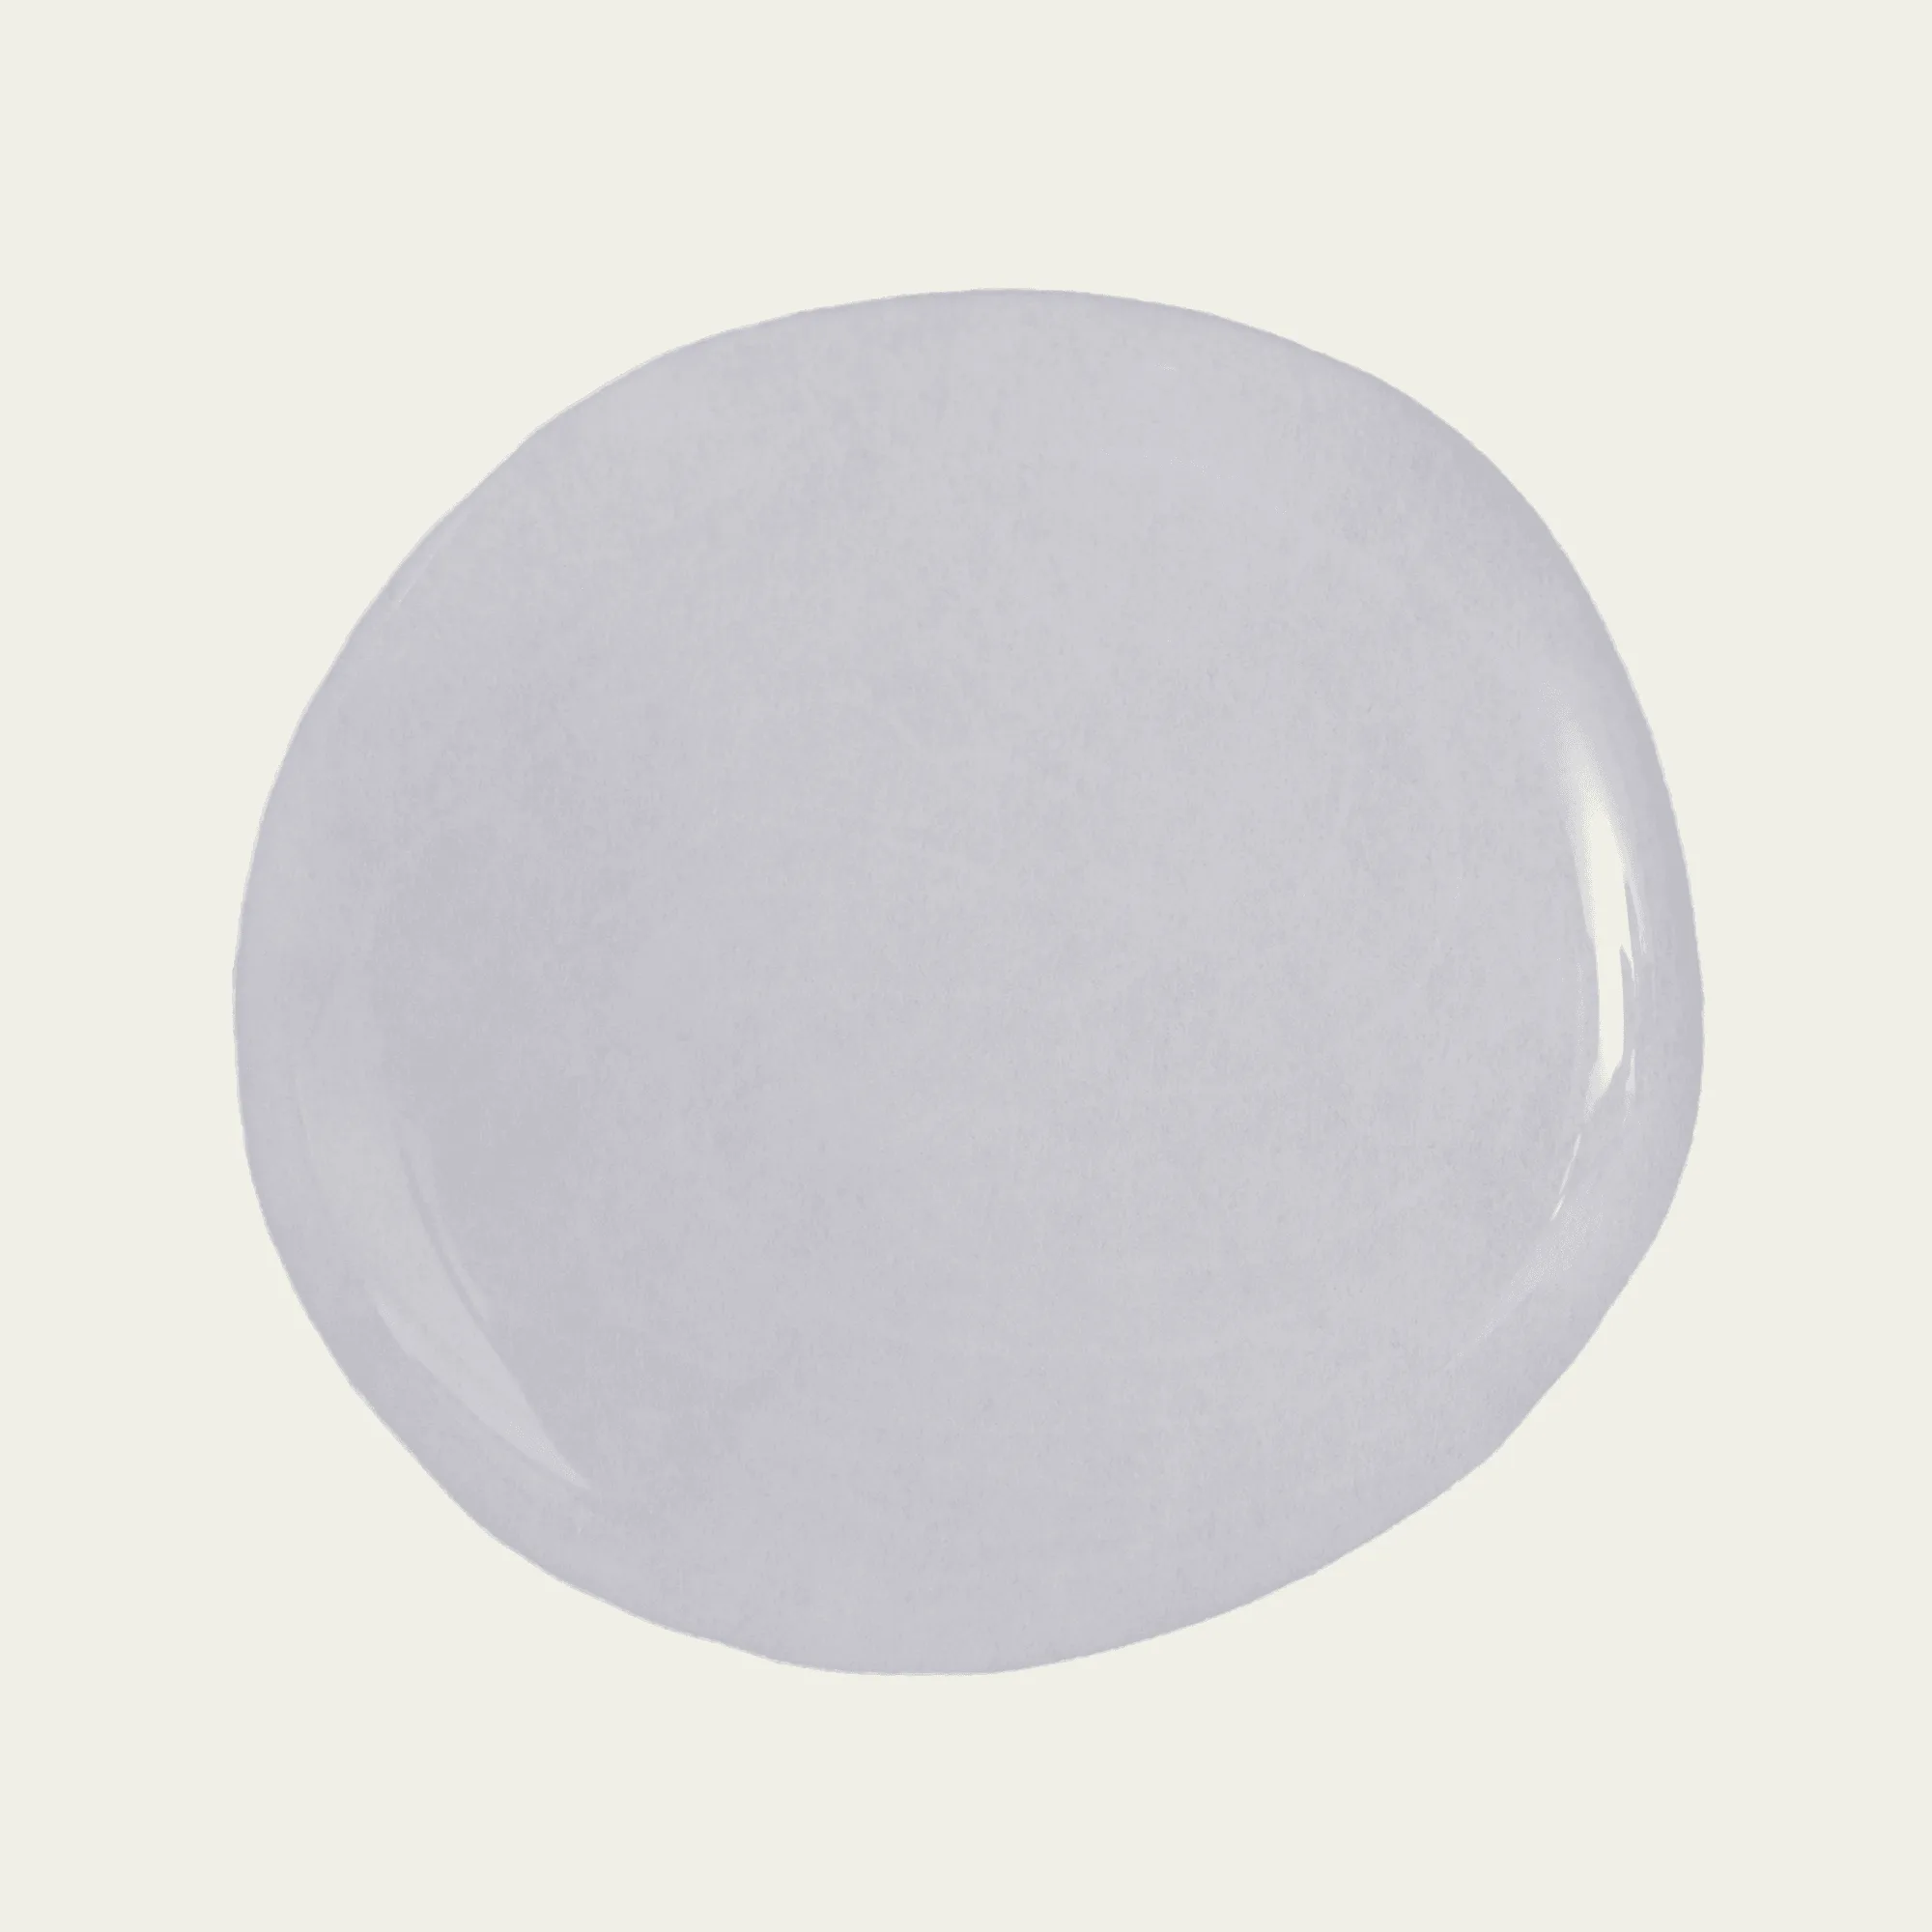
top coat
Outdoor metal sculptures face relentless exposure to rain, sunlight, and temperature swings, which can lead to rust, fading, and surface deterioration.
rust
A dedicated top coat creates a weatherproof barrier, sealing the metal and preserving its visual impact for years while keeping maintenance low.
Preparation and Surface Cleaning
Begin by removing dust, grime, and any existing loose paint. Use a soft brush or low‑pressure washer, then wipe the surface dry with a lint‑free cloth. Any residue left behind will compromise adhesion, causing the top coat to peel or bubble later.
If the metal shows signs of rust, treat it with a rust converter or fine sandpaper before moving on. This step ensures the protective layer bonds directly to the metal rather than to oxidized spots.
- Tip: Test a small hidden area after cleaning to verify the surface is completely dry before applying any coating.
Applying the Protective Coating
Apply a compatible primer or base coat designed for metal. Once dry, brush on the top coat in three thin, even layers, allowing the recommended cure time (usually 30‑60 minutes) between each coat. Thin layers prevent runs and promote a uniform shield.
Finish with a clear, UV‑blocking sealant if extra sun resistance is needed. This final layer adds an extra barrier against fading and helps maintain color vibrancy.
- Common mistake: Using heavy coats that look glossy at first but crack once the film cures. Stick to thin applications.
Step‑by‑Step Protection Process
- 1. Clean the sculpture: Remove all dirt, grease, and loose paint with a soft brush and mild detergent; rinse and dry thoroughly. Checkpoint: Ensure the surface is completely dry; moisture trapped under the coat leads to bubbling.
- 2. Apply primer/base coat: Use a metal‑compatible primer, spreading a thin, even layer; let it cure according to the manufacturer’s instructions. Common mistake: Skipping primer on porous metal, which reduces adhesion of the top coat.
- 3. Apply top coat layers: Brush on three thin coats of a UV‑resistant top coat, allowing 30‑60 minutes between coats for proper drying. Checkpoint: Verify each layer is fully dry before adding the next to avoid streaks and uneven protection.
Nail Polish Products That Double as Top Coats
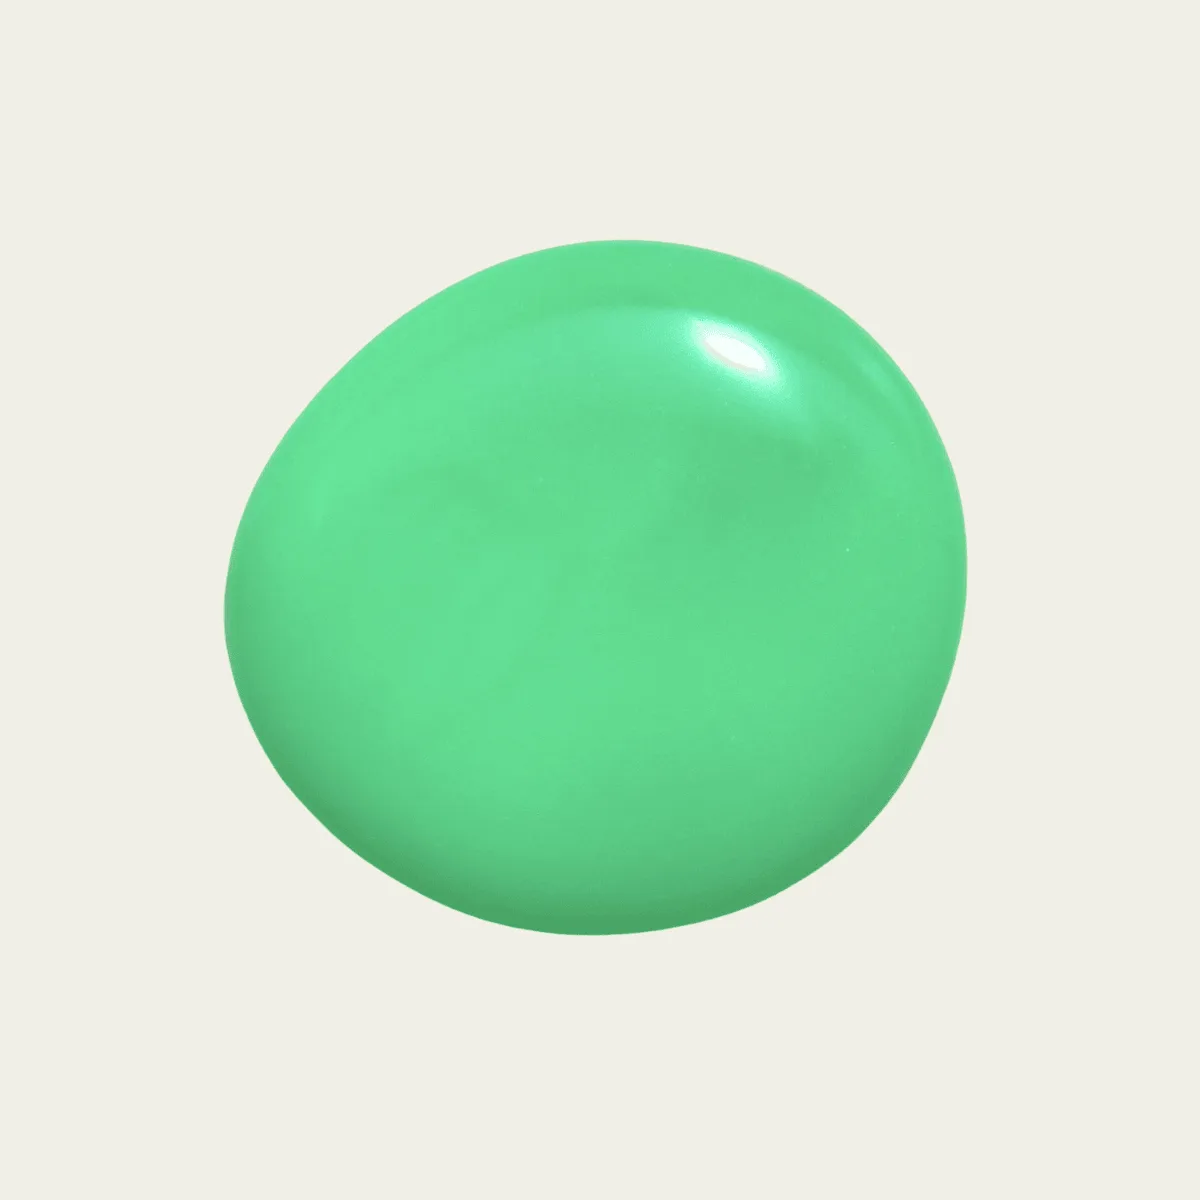
- CHLORINE (matte): Matte jelly seagrass green. This is a soft, matte green polish with a cool undertone and velvet finish. This polish is a jelly and meant to show the nail line. For full opacity it will require 3-4 coats. The matte, jelly consistency allows it to be brushed on thinly, creating a flexible, weather‑resistant film ideal for small metal details.
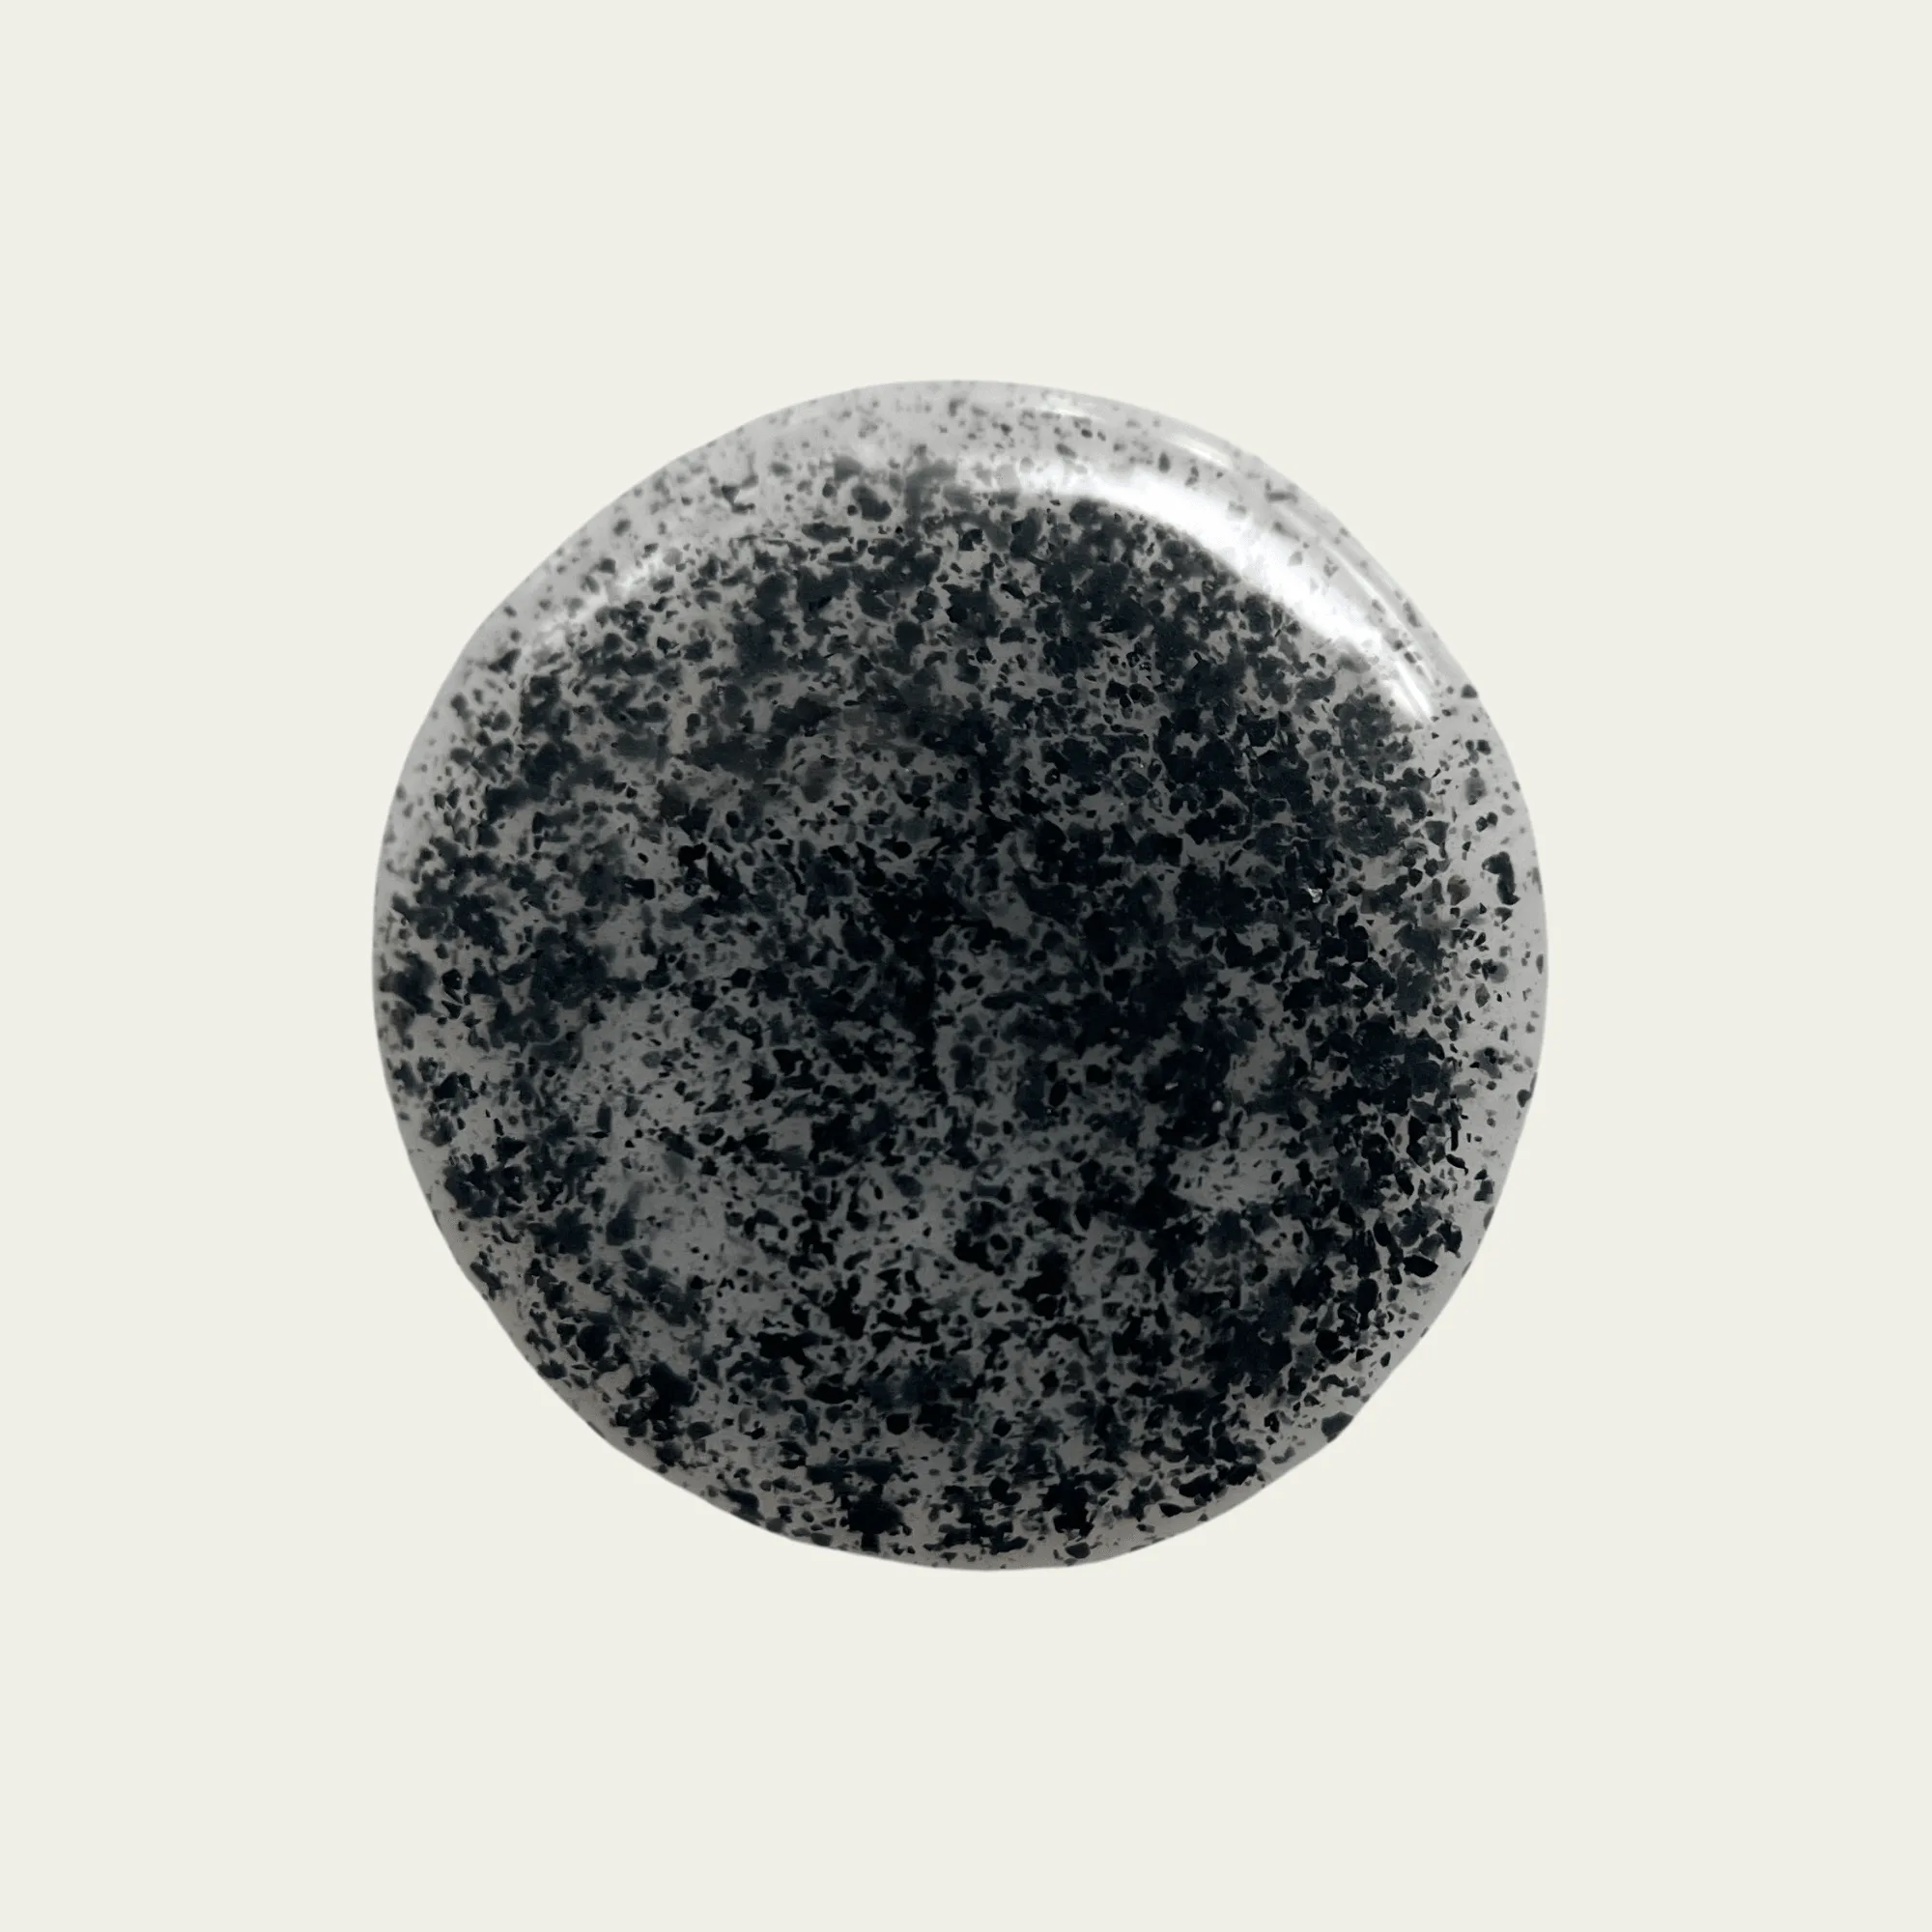
- BLACK TOURMALINE: Minas Gerais, BR (Dust to Dust) (Wholesale): Black Tourmaline from Minas Gerais, BR. This pigment is part of the Dust To Dust collection. This polish is sheer with pieces of black tourmaline, offering texture and larger pigment particles. The embedded mineral particles add abrasion resistance, making the polish a durable protective top coat for textured metal surfaces.
By following these steps, you’ll create a durable, weatherproof shield that keeps your outdoor metal sculptures vibrant and rust‑free, letting your art shine through every season.