Quick Answer
To assemble the Traitors Gate kit, pop out the laser-cut parts, dry-fit them, glue with PVA or super glue, and let each joint cure before moving on. The kit needs no paint, so focus on clean joints and alignment for a sturdy finish.
Why the Traitors Gate Kit Is a Good First Build
The Traitors Gate kit from Sarissa Precision is printed in Sarissa-CMYK colour, which means the parts arrive with a detailed finish that does not require painting. This makes it an ideal project if you want a table-ready piece without investing time in priming and painting.
Because the kit is supplied unassembled, you control the build quality. A little patience during dry-fitting and gluing will give you a gate that looks clean and holds up during games.
The kit's connection to Tollingchester's harbour adds a nice narrative touch, but the assembly process is straightforward enough for beginners.
Step-by-Step Assembly Guide
- Step 1: Prepare Your Workspace: Lay out all the laser-cut sheets and identify each part using the instruction sheet. Keep a damp cloth, PVA glue or super glue, and a hobby knife or sanding stick ready. Check that you have all parts before you start; missing pieces are easier to fix before assembly.
- Step 2: Pop Out Parts Carefully: Gently push each part out of the sheet. If a part resists, use a hobby knife to cut any tiny tabs. Avoid forcing parts, as MDF can tear. Sand any rough edges lightly to ensure clean joints.
- Step 3: Dry-Fit Before Gluing: Assemble the gate loosely without glue to check how the tabs and slots fit. This lets you see if any part needs trimming and helps you plan the gluing order. Dry-fitting prevents the frustration of discovering a misaligned part after glue sets.
- Step 4: Glue in Stages: Apply a thin layer of PVA glue or super glue to the tabs and slots, then press the parts together. Work in sections—glue the base first, then the walls, then the gate details—and let each section cure fully. Patience pays: a fully cured joint is stronger than a rushed one.
- Step 5: Reinforce Stress Points: For areas that get handled a lot, like the gate's moving parts or corners, add a small extra bead of glue along the inside seams. This prevents breakage during gameplay. Check that moving parts still move freely before the glue dries completely.
- Step 6: Final Check and Touch-Ups: Once the glue is dry, inspect the model for any gaps or loose tabs. If needed, apply a tiny amount of glue to fill gaps. Since the kit is pre-coloured, avoid sanding the visible surfaces to prevent scratching the print. A quick inspection now saves you from discovering a loose part mid-game.
Product Facts
-
Traitors Gate: This set comes printed in luxurious, hard-wearing Sarissa-CMYK colour and is supplied unassembled with full instructions. You can skip painting and still get a durable, good-looking finish, as long as you follow the instructions and glue carefully.
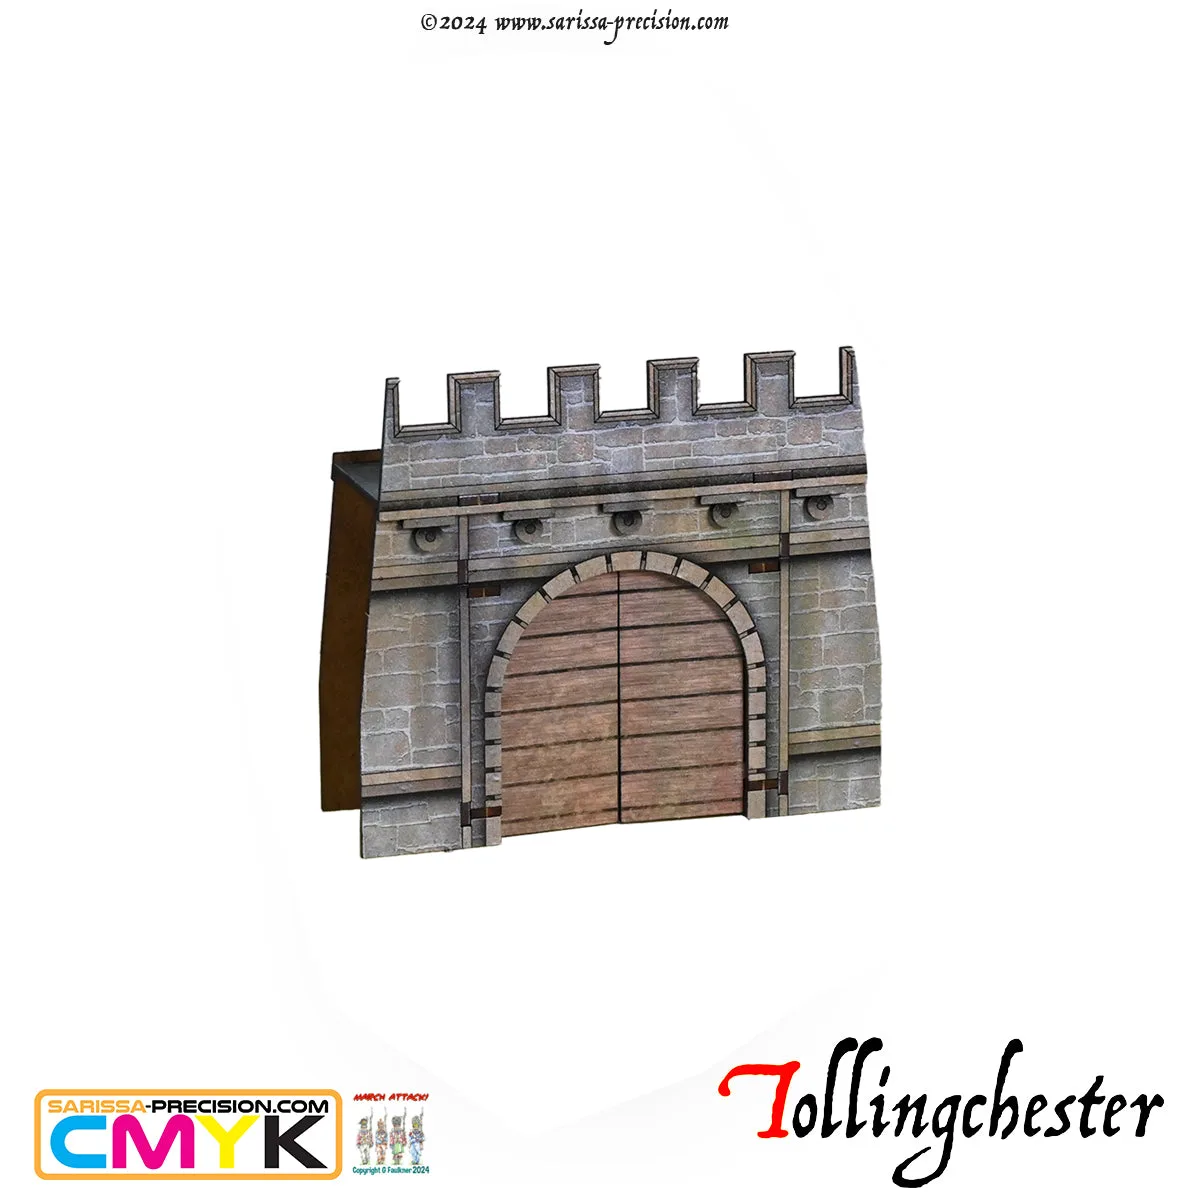
Traitors Gate