Quick answer
For a carry-on, choose a small-format kit with a finished design area of about 4 to 5 inches, a mesh count that matches your eyesight and light conditions, and a single pair of compact stretcher bars. Pack two spare needles, a thread cutter you can fly with, and only the threads for the current project. A portable needlepoint kit like Petal One or the Seashore Crab Needlepoint Kit fits this brief; if you prefer to pick your own threads, the Taurus or Leo canvas with the optional thread pack keeps the project compact.
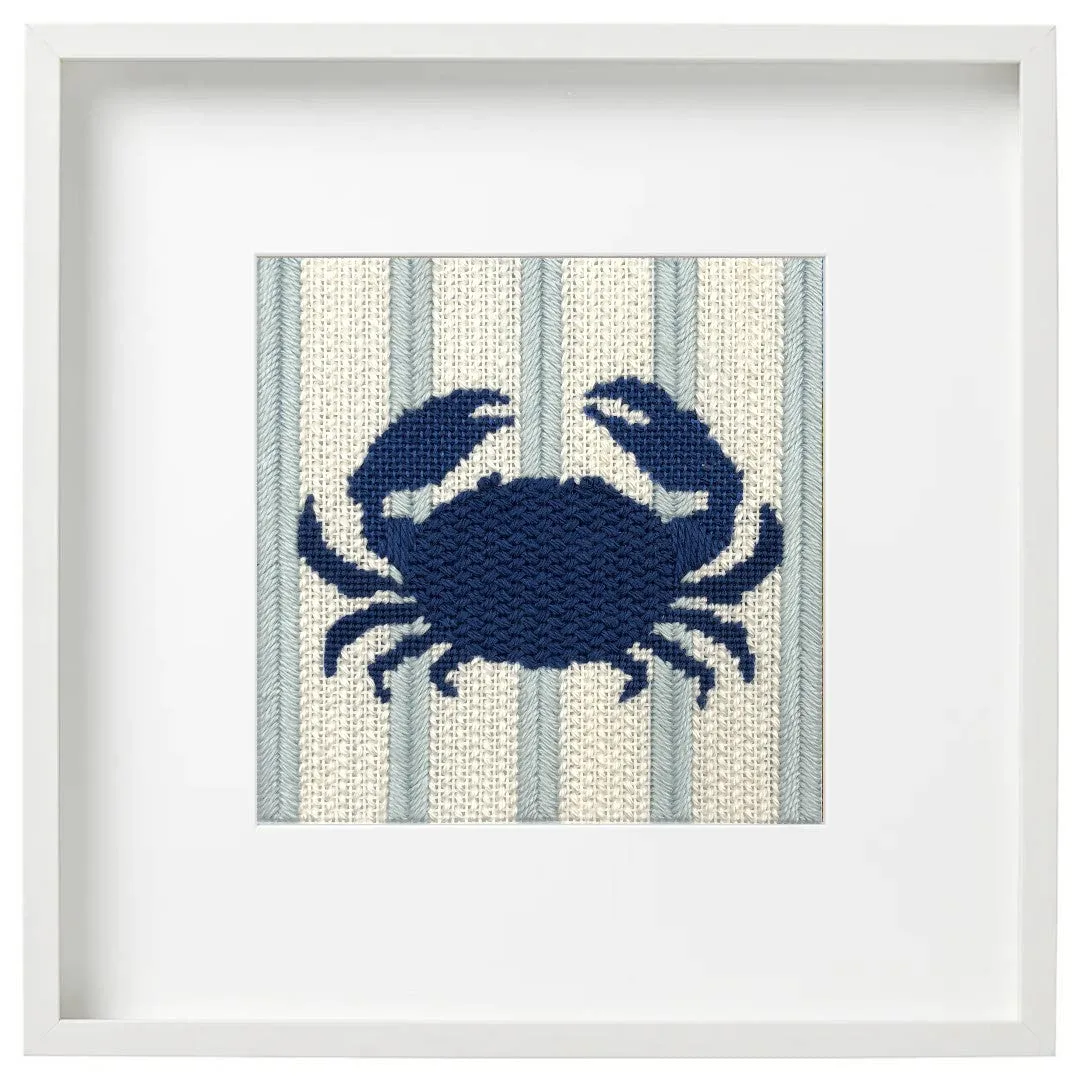
Seashore Crab Needlepoint Kit
A carry-on bag has hard limits: space, weight, and what security will let through. Needlepoint can still travel well if you treat the project as a small kit rather than a full stitching basket. The goal is a portable needlepoint kit that you can open on a tray table, stitch for twenty minutes, and close without losing a needle or a strand of thread.
This guide gives you decision rules for choosing travel needlepoint projects and the tools that support them. It focuses on what actually changes the experience on a plane or vacation: design size, mesh count, thread type, stretcher bars, and the small accessories that keep a project contained. It does not cover blocking or finishing, which belong at home.
Start with the finished design size, not the kit box
The single number that decides whether a project travels well is the finished design area. A 4-inch round or a 5-inch square fits on a tray table, in a seat-back pocket, and in a small project bag. A 10-inch canvas does not, even if the kit itself is compact. Check the design area before the canvas size, because a small design can sit on a larger canvas with margins.
For a first travel project, aim for a finished design area between 4 and 5 inches. That is large enough to be satisfying over a week-long trip and small enough that you can finish it without rushing. If you already know you stitch slowly in motion, go smaller. If you have a long flight and want a project that lasts, two 4-inch projects beat one 8-inch project because you can pack them flat and switch when your eyes tire.
- Measure the design area, not the canvas edge, when comparing kits.
- A 4-inch round fits most tray tables with room for a thread bag.
- Two small projects pack flatter than one large one.
Match mesh count to your travel conditions
Mesh count is stitches per inch, and it changes how the project behaves in motion and in poor light. A 13-count canvas has larger holes, so it is easier to see and easier to stitch when the cabin lights are dim or the plane is vibrating. An 18-count canvas gives finer detail but demands more light and steadier hands, which can be frustrating on a tray table.
If you are new to needlepoint or usually stitch in low light, choose 13-count for travel. If you have stitched for years and want a crisp, detailed result, 18-count is manageable with a clip-on light and a magnifier. The trade-off is real: 13-count finishes faster and is more forgiving; 18-count looks more refined but is less pleasant when you are tired or the ride is bumpy.
- 13-count: easier to see, faster to stitch, better for beginners and dim light.
- 18-count: finer detail, needs good light and steady hands.
- Pack a clip-on light if you choose 18-count for a night flight.
Choose threads and needles that stay contained
Thread choice affects tangles more than almost anything else in a carry-on. Single-ply wool threads and silk-blend threads behave differently: wool is soft and forgiving, while silk blends have a smooth, lustrous finish that can slide and tangle if you cut long strands. For travel, cut strands shorter than you would at home, around 12 to 14 inches, and keep only the colors for the current project in your bag.
Needles are the other containment issue. A size 22 tapestry needle is a common choice for 13- and 18-count canvas, and two needles is the right number to pack: one in the canvas and one spare. A magnetic needle minder or a small needle case prevents the classic lost-needle search under an airplane seat. If you use a thread cutter, choose a blade-free or enclosed style and check your airline's current rules before you fly.
- Cut strands to 12–14 inches to reduce tangling in motion.
- Pack two size 22 tapestry needles: one working, one spare.
- Use a needle minder or small case so a dropped needle stays findable.
Decide whether to bring stretcher bars
Stretcher bars keep a project square and tensioned, but they add bulk. For travel, mini stretcher bars are the practical compromise: they are short, they slide together without tools, and they hold a small canvas firmly. Traditional wooden bars can require more force to assemble and take up more room, which matters when every inch of a carry-on counts.
If your kit canvas is already mounted or you are working a small round, you may not need bars at all. If you do bring them, choose a length that matches your design plus a small margin. Bars that are too long will not fit in your project bag; bars that are too short will not tension the canvas. Test the fit at home before you pack.
- Mini bars slide together without hammering, which is easier in a hotel room.
- Match bar length to design size plus a small margin.
- If you skip bars, roll the canvas rather than folding it.
Pack a project bag that opens flat
A project bag that opens flat gives you a stable work surface on a tray table and keeps threads from rolling away. Look for a bag with a main compartment for the canvas, a smaller pocket for needles and a thread cutter, and enough structure that it does not collapse when you set it down. A zip-top pouch works in a pinch, but a flat-opening bag is easier to use in a tight seat.
Keep the bag to one project. Multiple projects in one bag means multiple thread sets, multiple needle counts, and more decisions when you are tired. If you want a backup project for a long trip, pack it in its own small pouch so you can swap without unpacking everything.
- Flat-opening bag = instant work surface on a tray table.
- One project per bag keeps threads and needles from mixing.
- Pack a backup project in a separate pouch, not the same bag.
Decision rules for packing needlepoint
- Rule 1: Design area under 5 inches: If the finished design area is larger than about 5 inches, it will crowd a tray table and be awkward in a seat-back pocket. Choose a 4-inch round or a 5-inch square for travel. Measure the design area before you buy or pack.
- Rule 2: 13-count for low light, 18-count for detail: Choose 13-count if you stitch in dim cabins, wear reading glasses, or are new to needlepoint. Choose 18-count only if you have good light and steady hands, and pack a clip-on light. Mesh count is the biggest comfort decision for travel.
- Rule 3: One project, two needles, short strands: Pack one project per bag, two size 22 tapestry needles, and strands cut to 12–14 inches. This combination prevents most tangles and lost-needle searches. Containment beats variety on a plane.
- Rule 4: Bars only if they fit the bag: Bring mini stretcher bars only if the assembled length fits your project bag and matches your canvas size. If not, roll the canvas and stitch in hand. Test the bar-and-bag fit at home before you fly.
Products that fit the travel brief
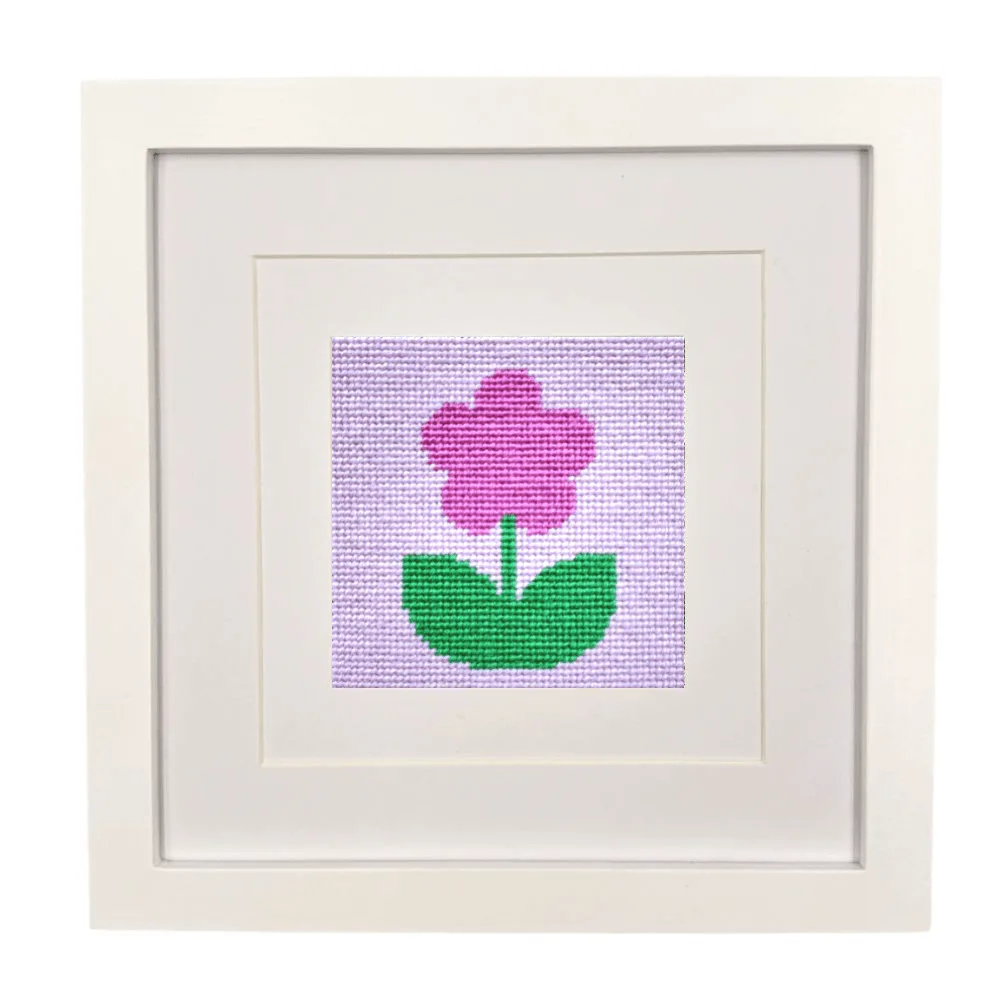
- Petal One | Best Needlepoint Starter Kit: Features a manageable 4" x 4" design area on 13-count needlepoint canvas, with premium single-ply wool threads chosen for their soft texture. The small 13-count design is easy to see and quick to stitch on a tray table, and the wool threads are forgiving for beginners traveling with a first project.
- Seashore Crab Needlepoint Kit: Includes a 5" x 5" canvas on 18-count, a generous supply of Pepperpot Silk and Essentials wool/silk blend, two Bohin stainless steel size 22 needles, how-to-needlepoint instructions, and a vibrant stitch guide with decorative stitch suggestions. The 5-inch 18-count canvas is still carry-on friendly, and the included needles and thread mean you can pack the kit without sourcing extras; the silk blend needs shorter strands to stay tangle-free in motion.
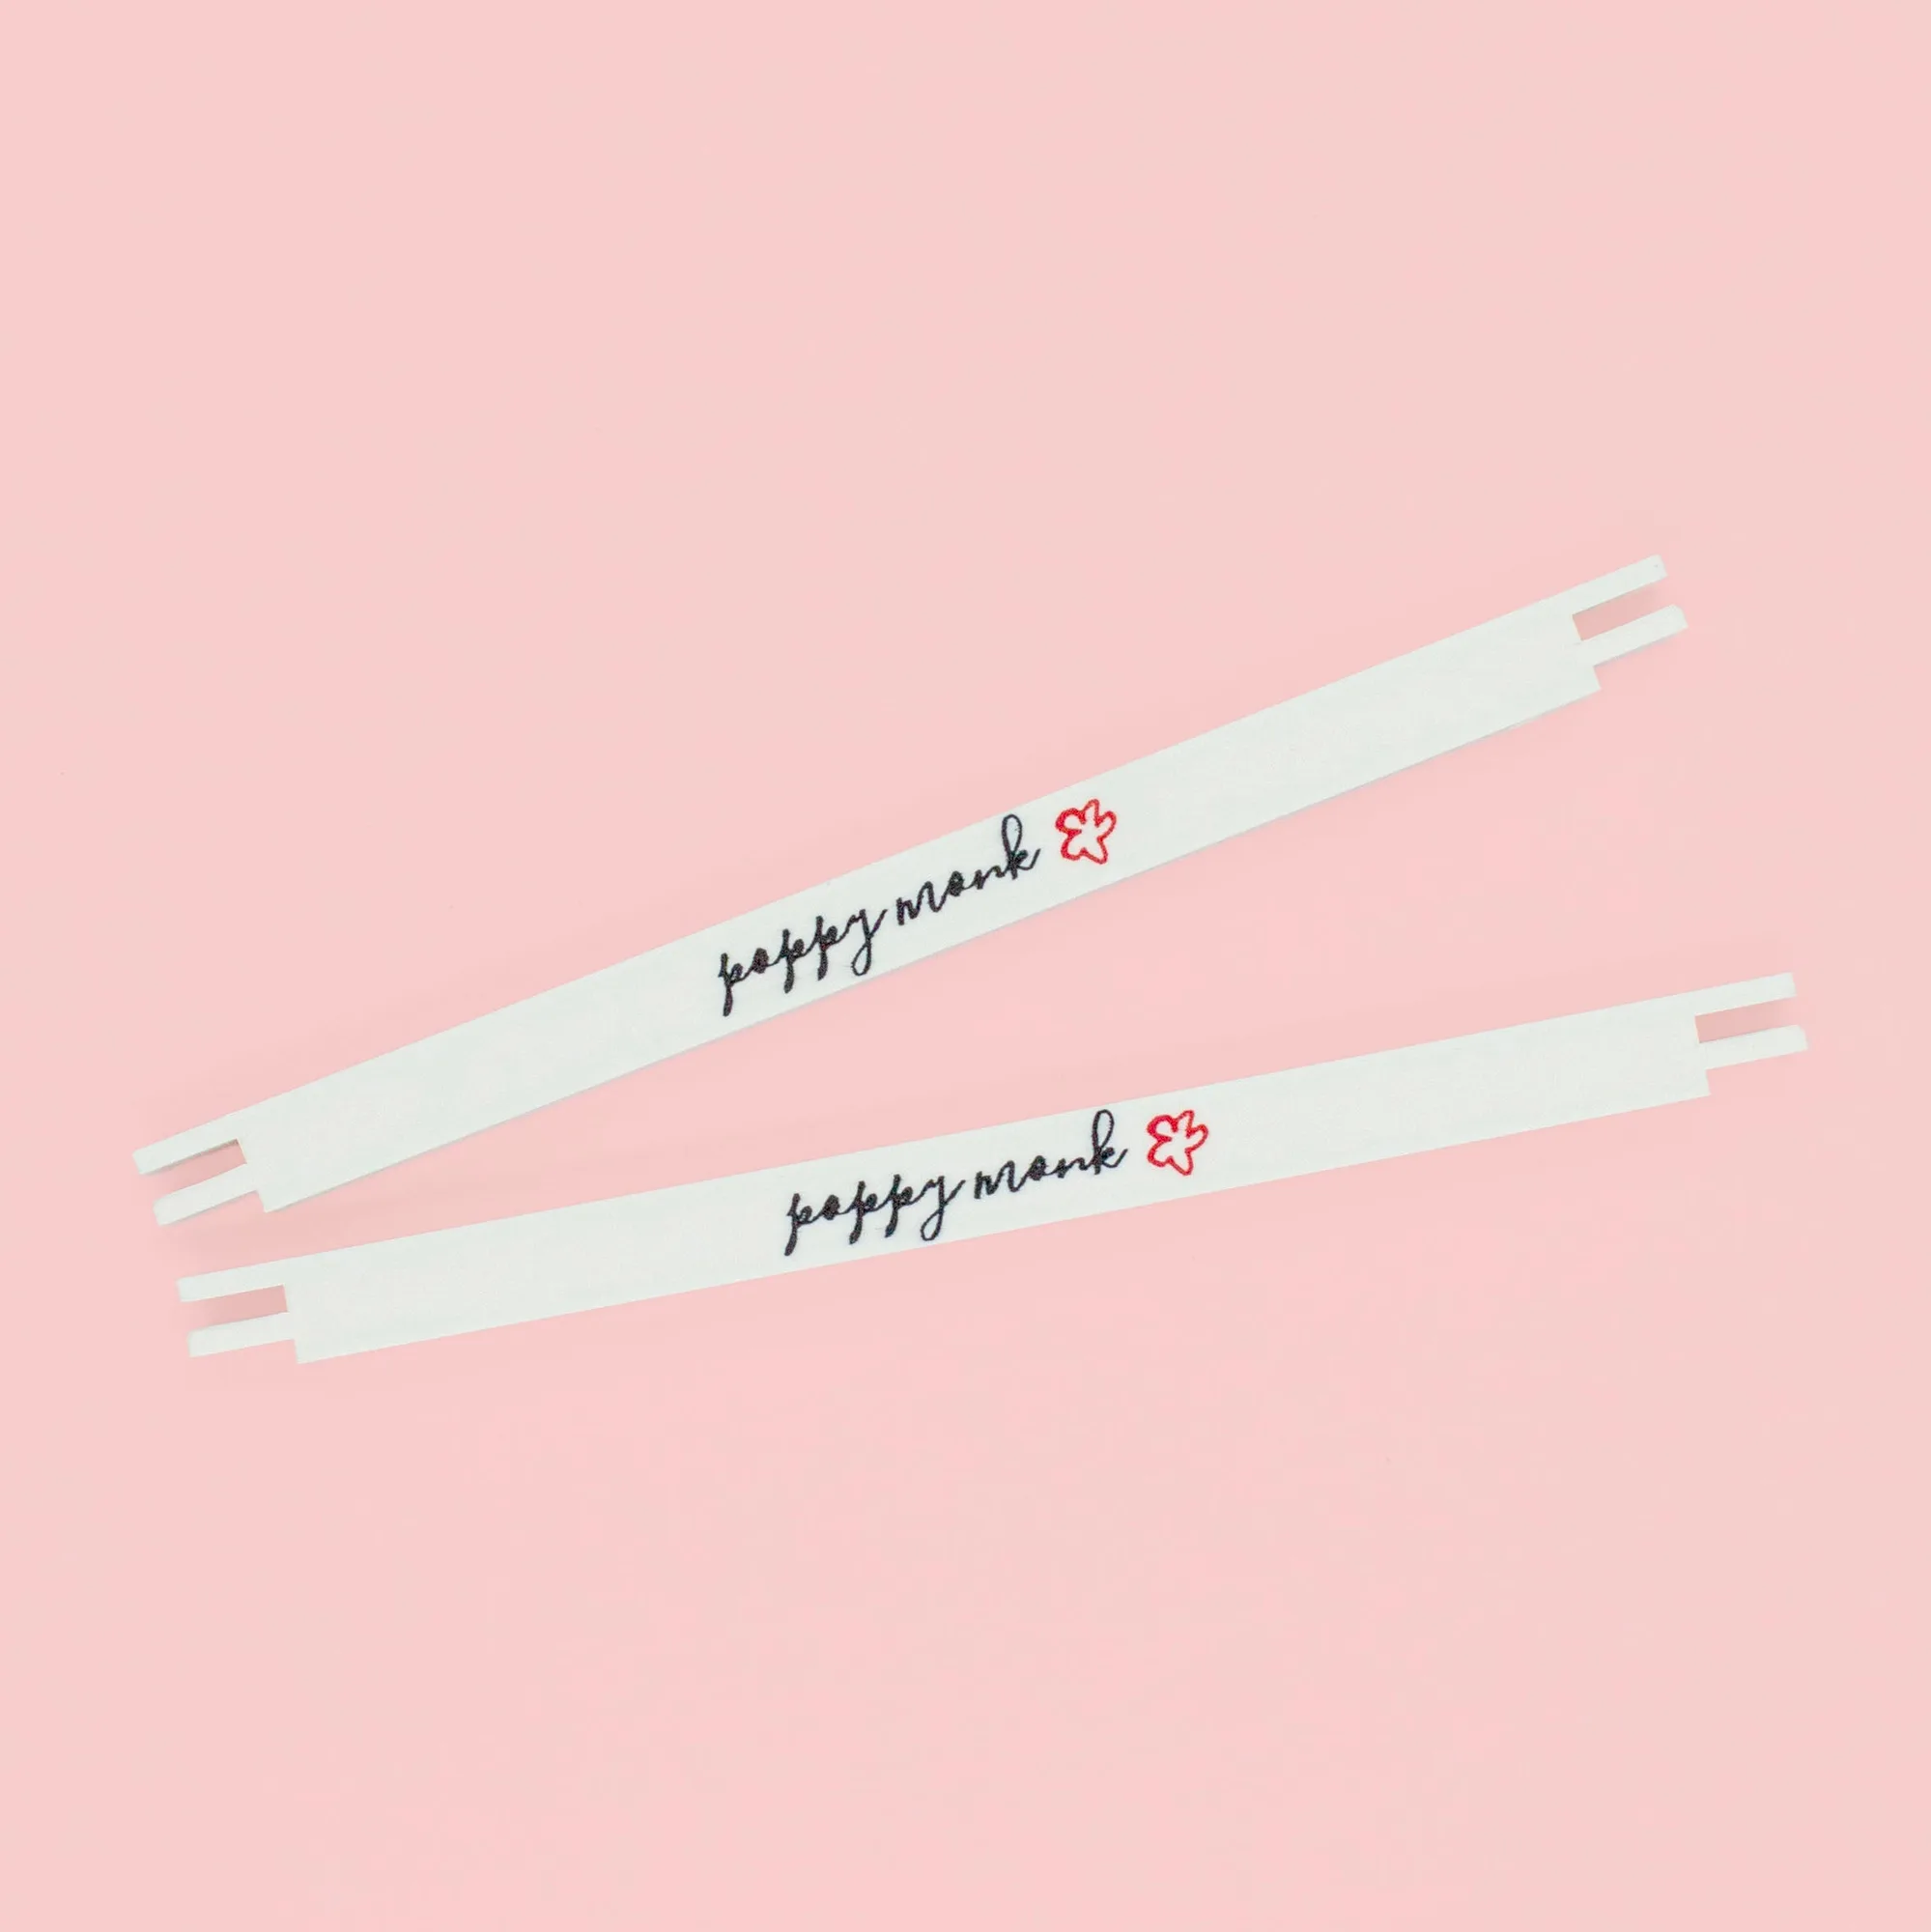
- Poppy Mini Stretcher Bars 8 inch | Two Per Packet: A pair of 3D-printed plastic mini stretcher bars with the Poppy Monk logo, 8 inches in length, made of plastic so they slide together more easily than traditional wooden bars, with the size engraved. They assemble without tugging or hammering, which is easier in a hotel room or on a layover, and the 8-inch length suits small travel canvases while staying packable.
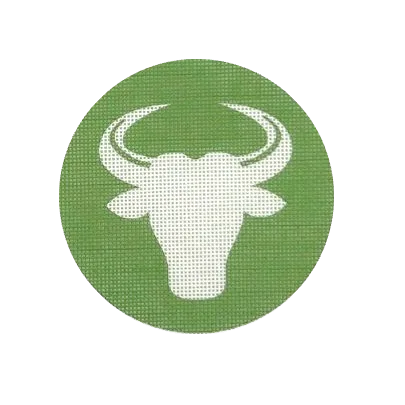
- Taurus Needlepoint Canvas + Optional Thread Pack: A 4-inch needlepoint Zodiac round with a simple bull design in green and cream, available with an optional thread pack. The 4-inch round is one of the smallest finished formats here, so it fits a tray table easily; choosing the optional thread pack keeps the project self-contained if you do not already own the colors.
Who this travel setup is for
Best for
- Stitchers who want a portable needlepoint kit for a plane, train, or hotel room
- Beginners who need a small, forgiving first project with clear instructions
- Travelers who prefer to pick their own threads for a compact canvas
Not for
- Stitchers who want a large, complex canvas that takes weeks to finish
- Anyone who needs to bring an entire thread stash or multiple large projects
- Travelers who cannot check current airline rules on needles and cutters before flying
Travel needlepoint works when the project is small, the mesh matches your light and eyesight, and the tools stay contained. Pick a 4- to 5-inch design, pack two needles and short strands, and bring mini stretcher bars only if they fit your bag. That setup lets you stitch on a plane or vacation without turning your carry-on into a craft room.