Quick answer
Use a clean nail clipper or small scissors to trim excess length, then file gently to shape. Aim for a smooth short almond or rounded silhouette that matches your natural nail curve while preserving the pearl accents.
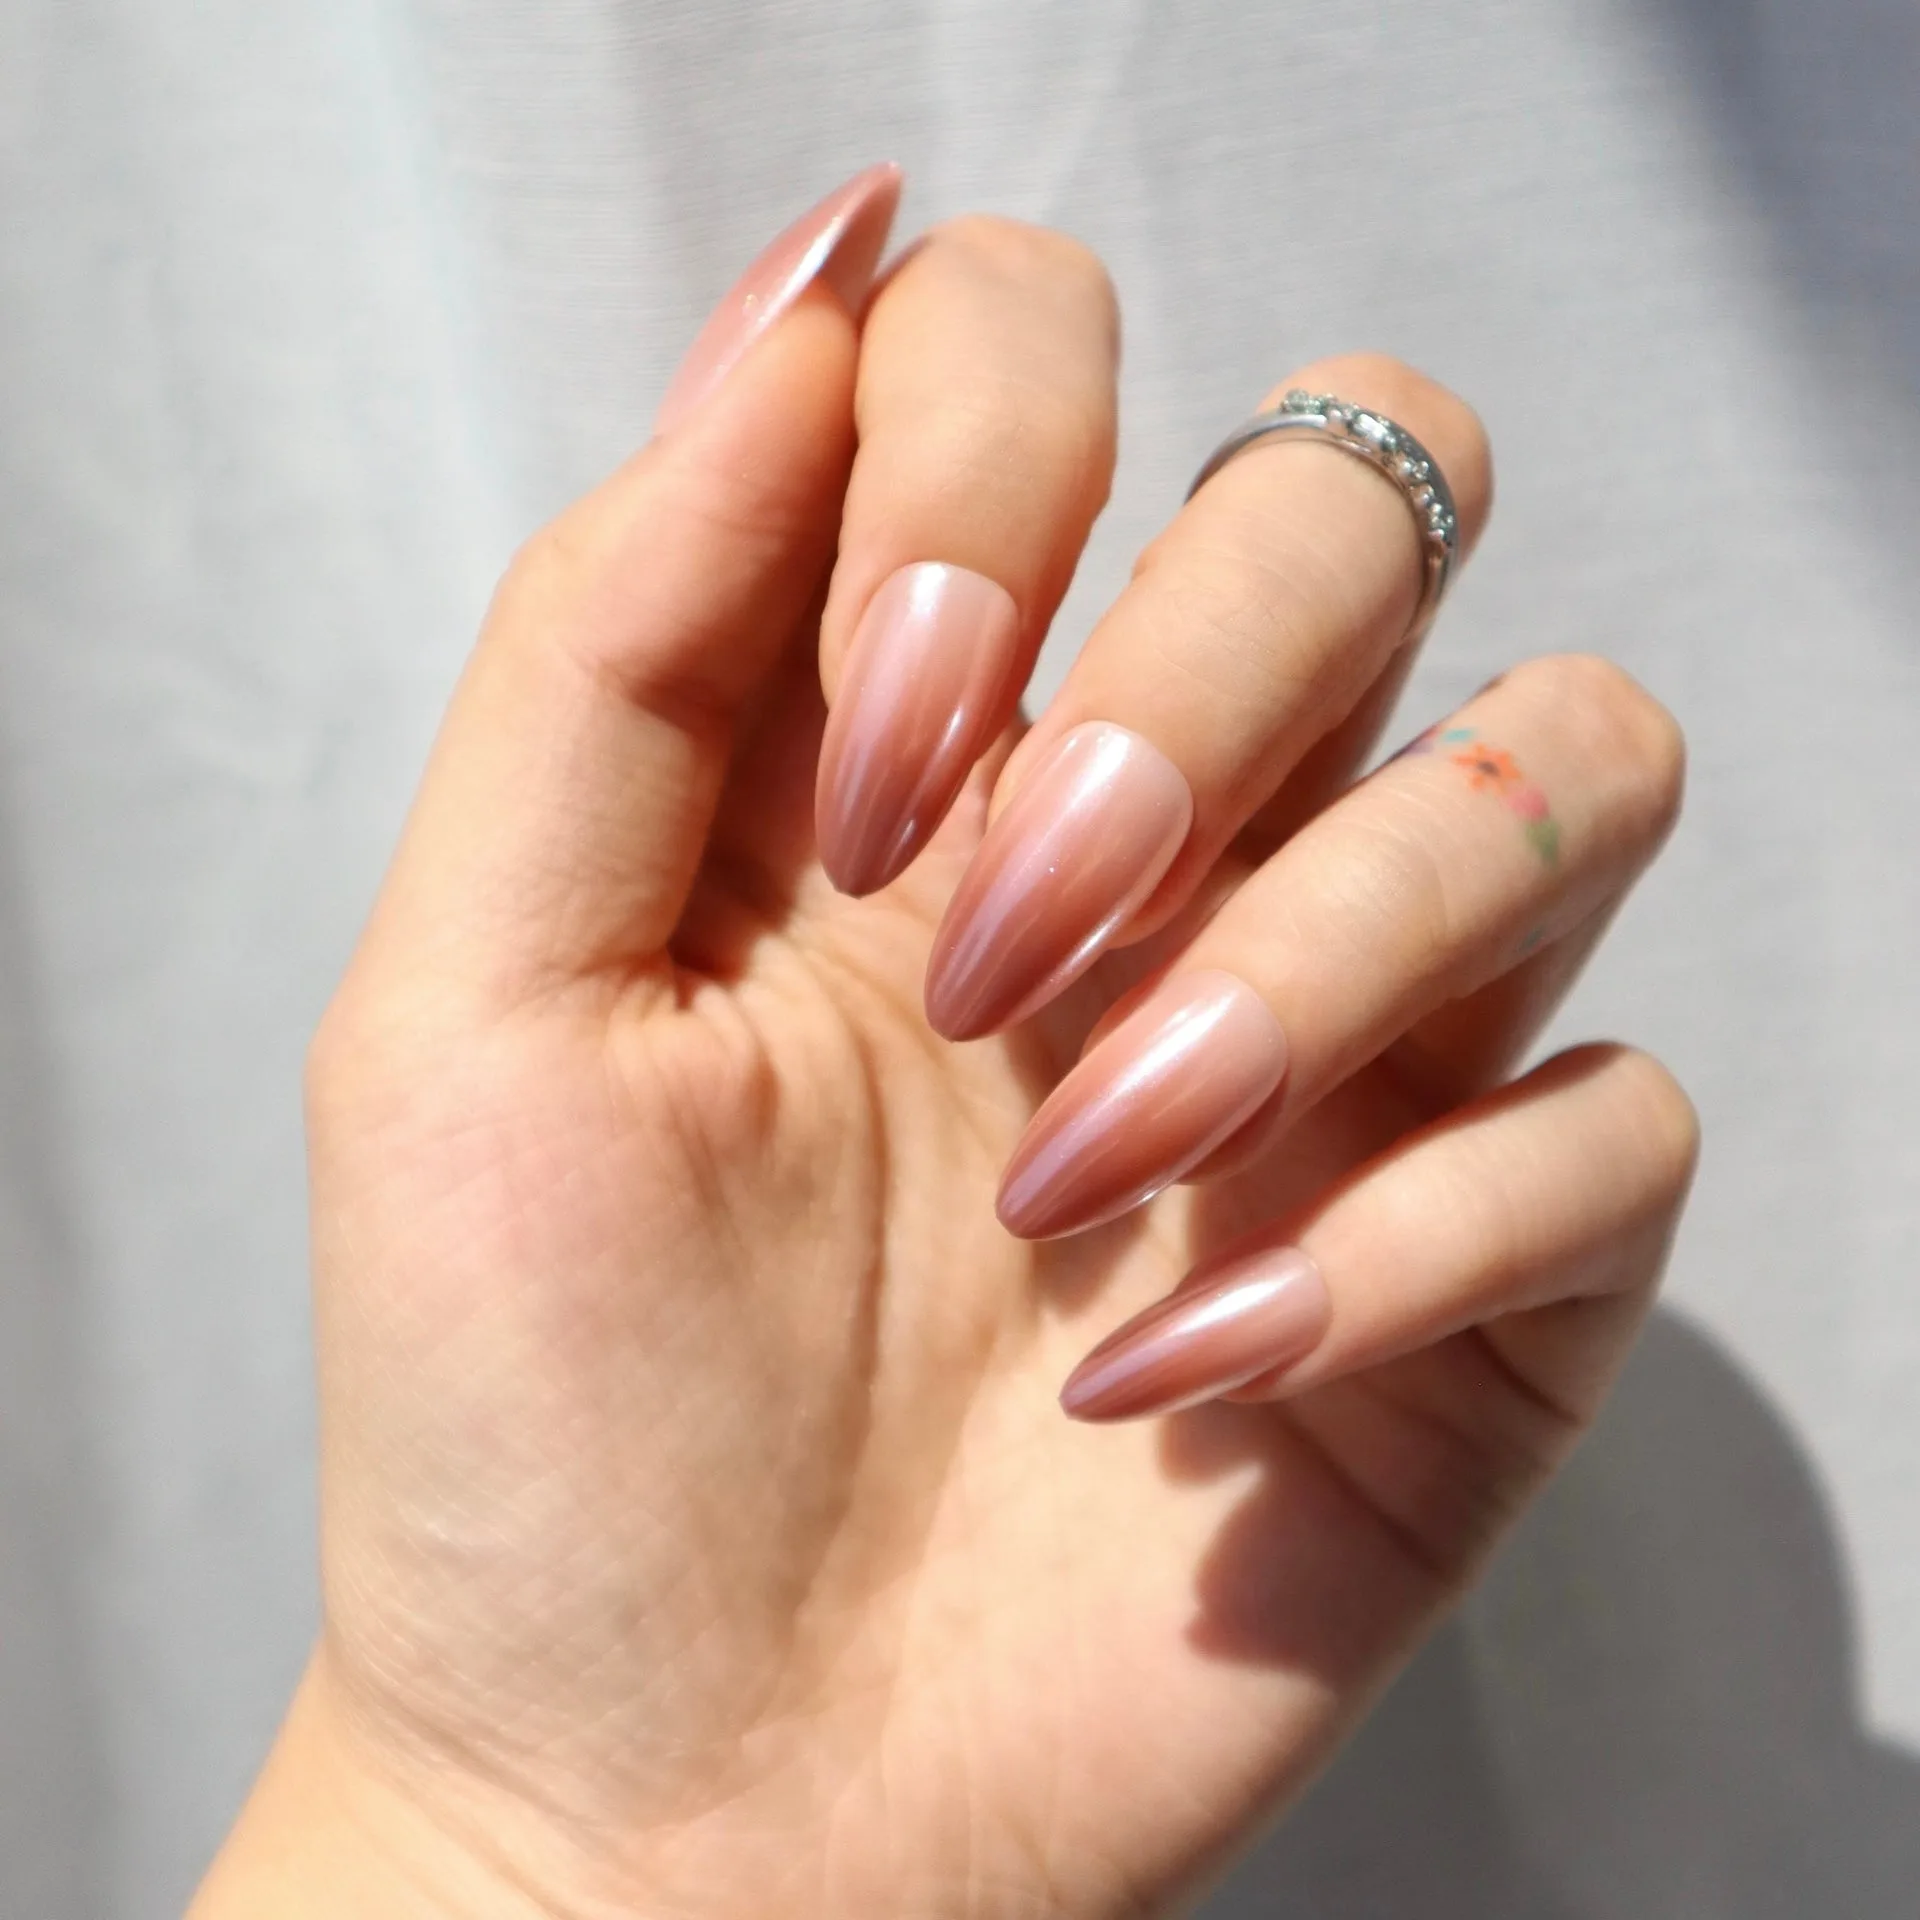
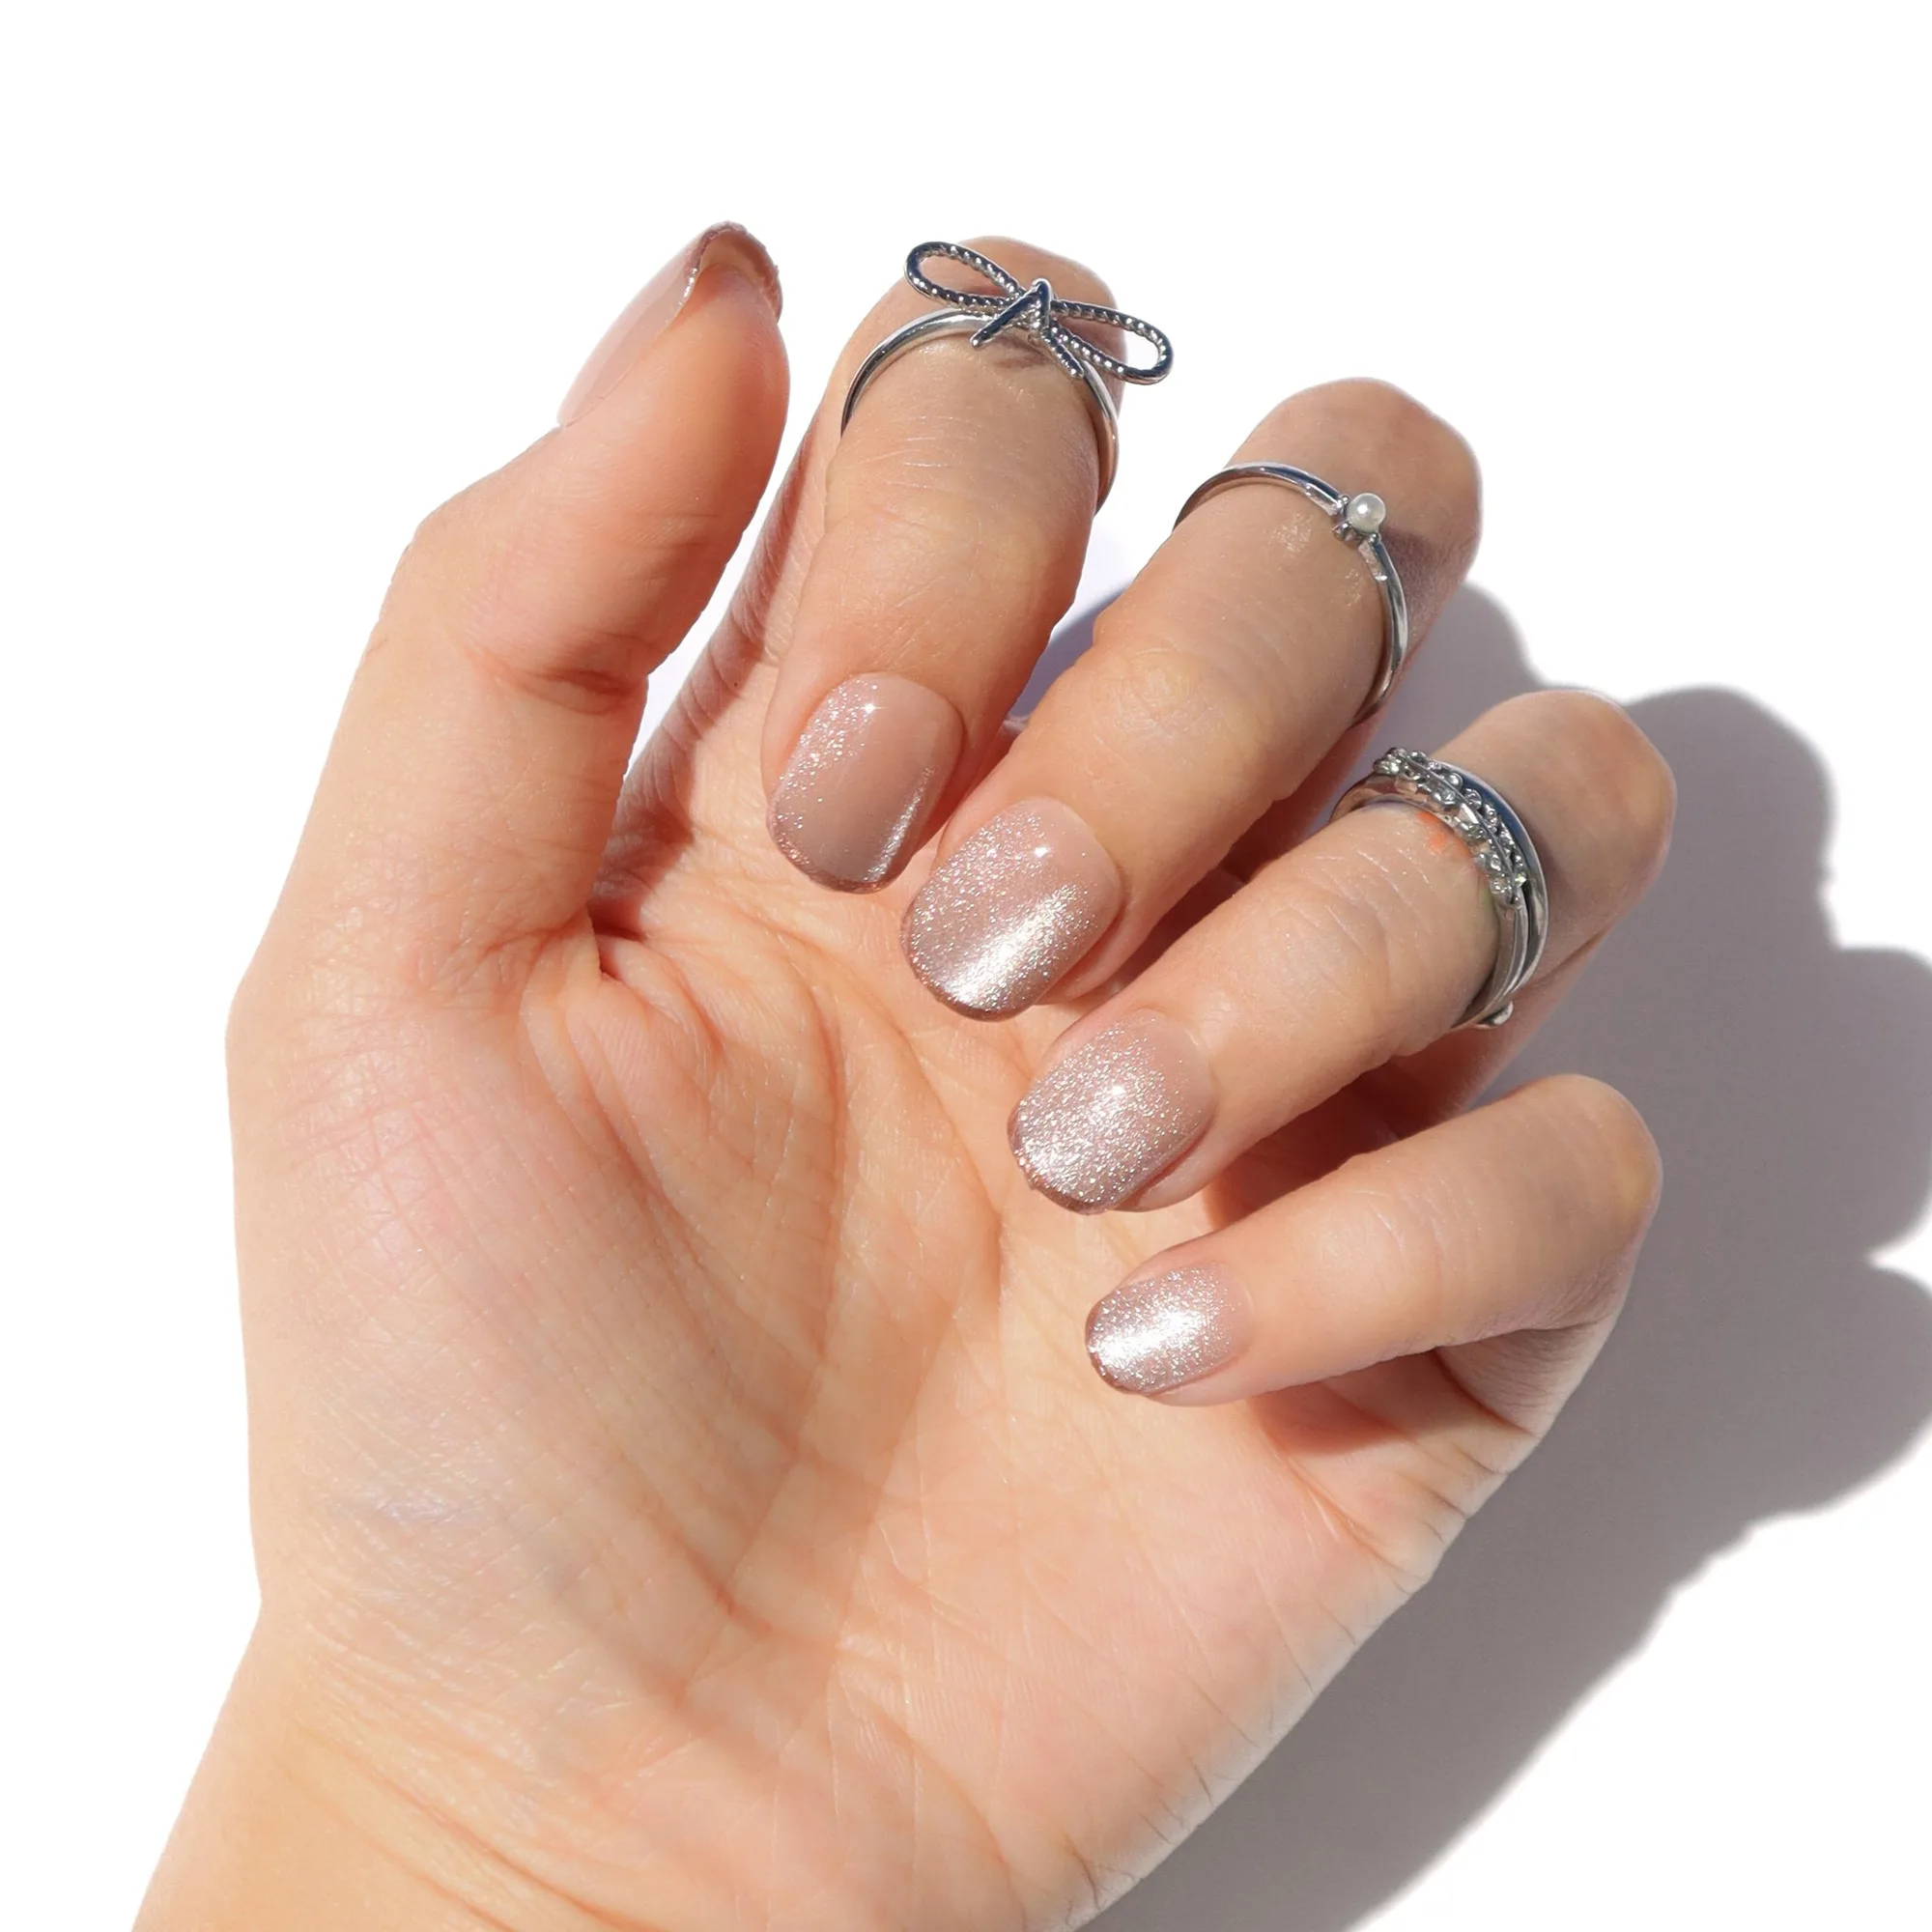
https://nailreformationnyk.com/products/blush-pearl-cae515bb1cc7f31c1ffab0fc-2483364Blush pearl false nails give a romantic, luxe look, but they often need a little tailoring to suit your hand. Whether the set is slightly long or the shape doesn't match your natural nail, a quick trim and proper filing can make them look custom‑fit and comfortable.
This guide walks you through the essential tools, common mistakes to avoid, and step‑by‑step actions so you can shape your false nails correctly without damaging the delicate pearl details.
Tools You'll Need
Gather a pair of sharp nail clippers or small manicure scissors, a fine‑grain nail file, a cuticle pusher, and a clear protective top coat. Having a well‑lit workspace and a soft surface to rest the nails prevents accidental breakage.
Optional: a small buffer can smooth any rough edges after filing, and a quick‑dry spray helps seal the finish if you plan to wear the nails for an extended period.
- Keep clippers clean to avoid tugging the delicate lace or pearl gems.
Step‑by‑Step Trimming Process
Start by measuring the length you need. Place the false nail against your natural nail and mark the excess with a tiny dab of clear polish. Clip just beyond the mark, cutting straight across to maintain the short almond shape.
File the trimmed edge with gentle strokes, following the natural curve of your finger. Use a fine‑grain file to avoid chipping the pearl‑like gems. Check frequently – over‑filing can thin the nail and reduce durability.
- Common mistake: filing too aggressively, which can loosen the lace accents.
Your step‑by‑step trimming routine
- Step 1: Gather tools: Lay out clippers, a fine‑grain file, cuticle pusher, and a clear top coat on a clean surface. Checkpoint: Ensure all tools are clean and dry before you begin.
- Step 2: Trim to desired length: Clip just beyond the marked excess, keeping the cut straight across to maintain shape. Mistake to avoid: Cutting too deep, which can shorten the nail beyond comfort.
- Step 3: Shape and file: File gently along the natural curve, smoothing edges without pressing on lace or pearls. Checkpoint: Pause frequently to compare with your natural nail; stop when the edge feels smooth and even.
Product examples and why they matter
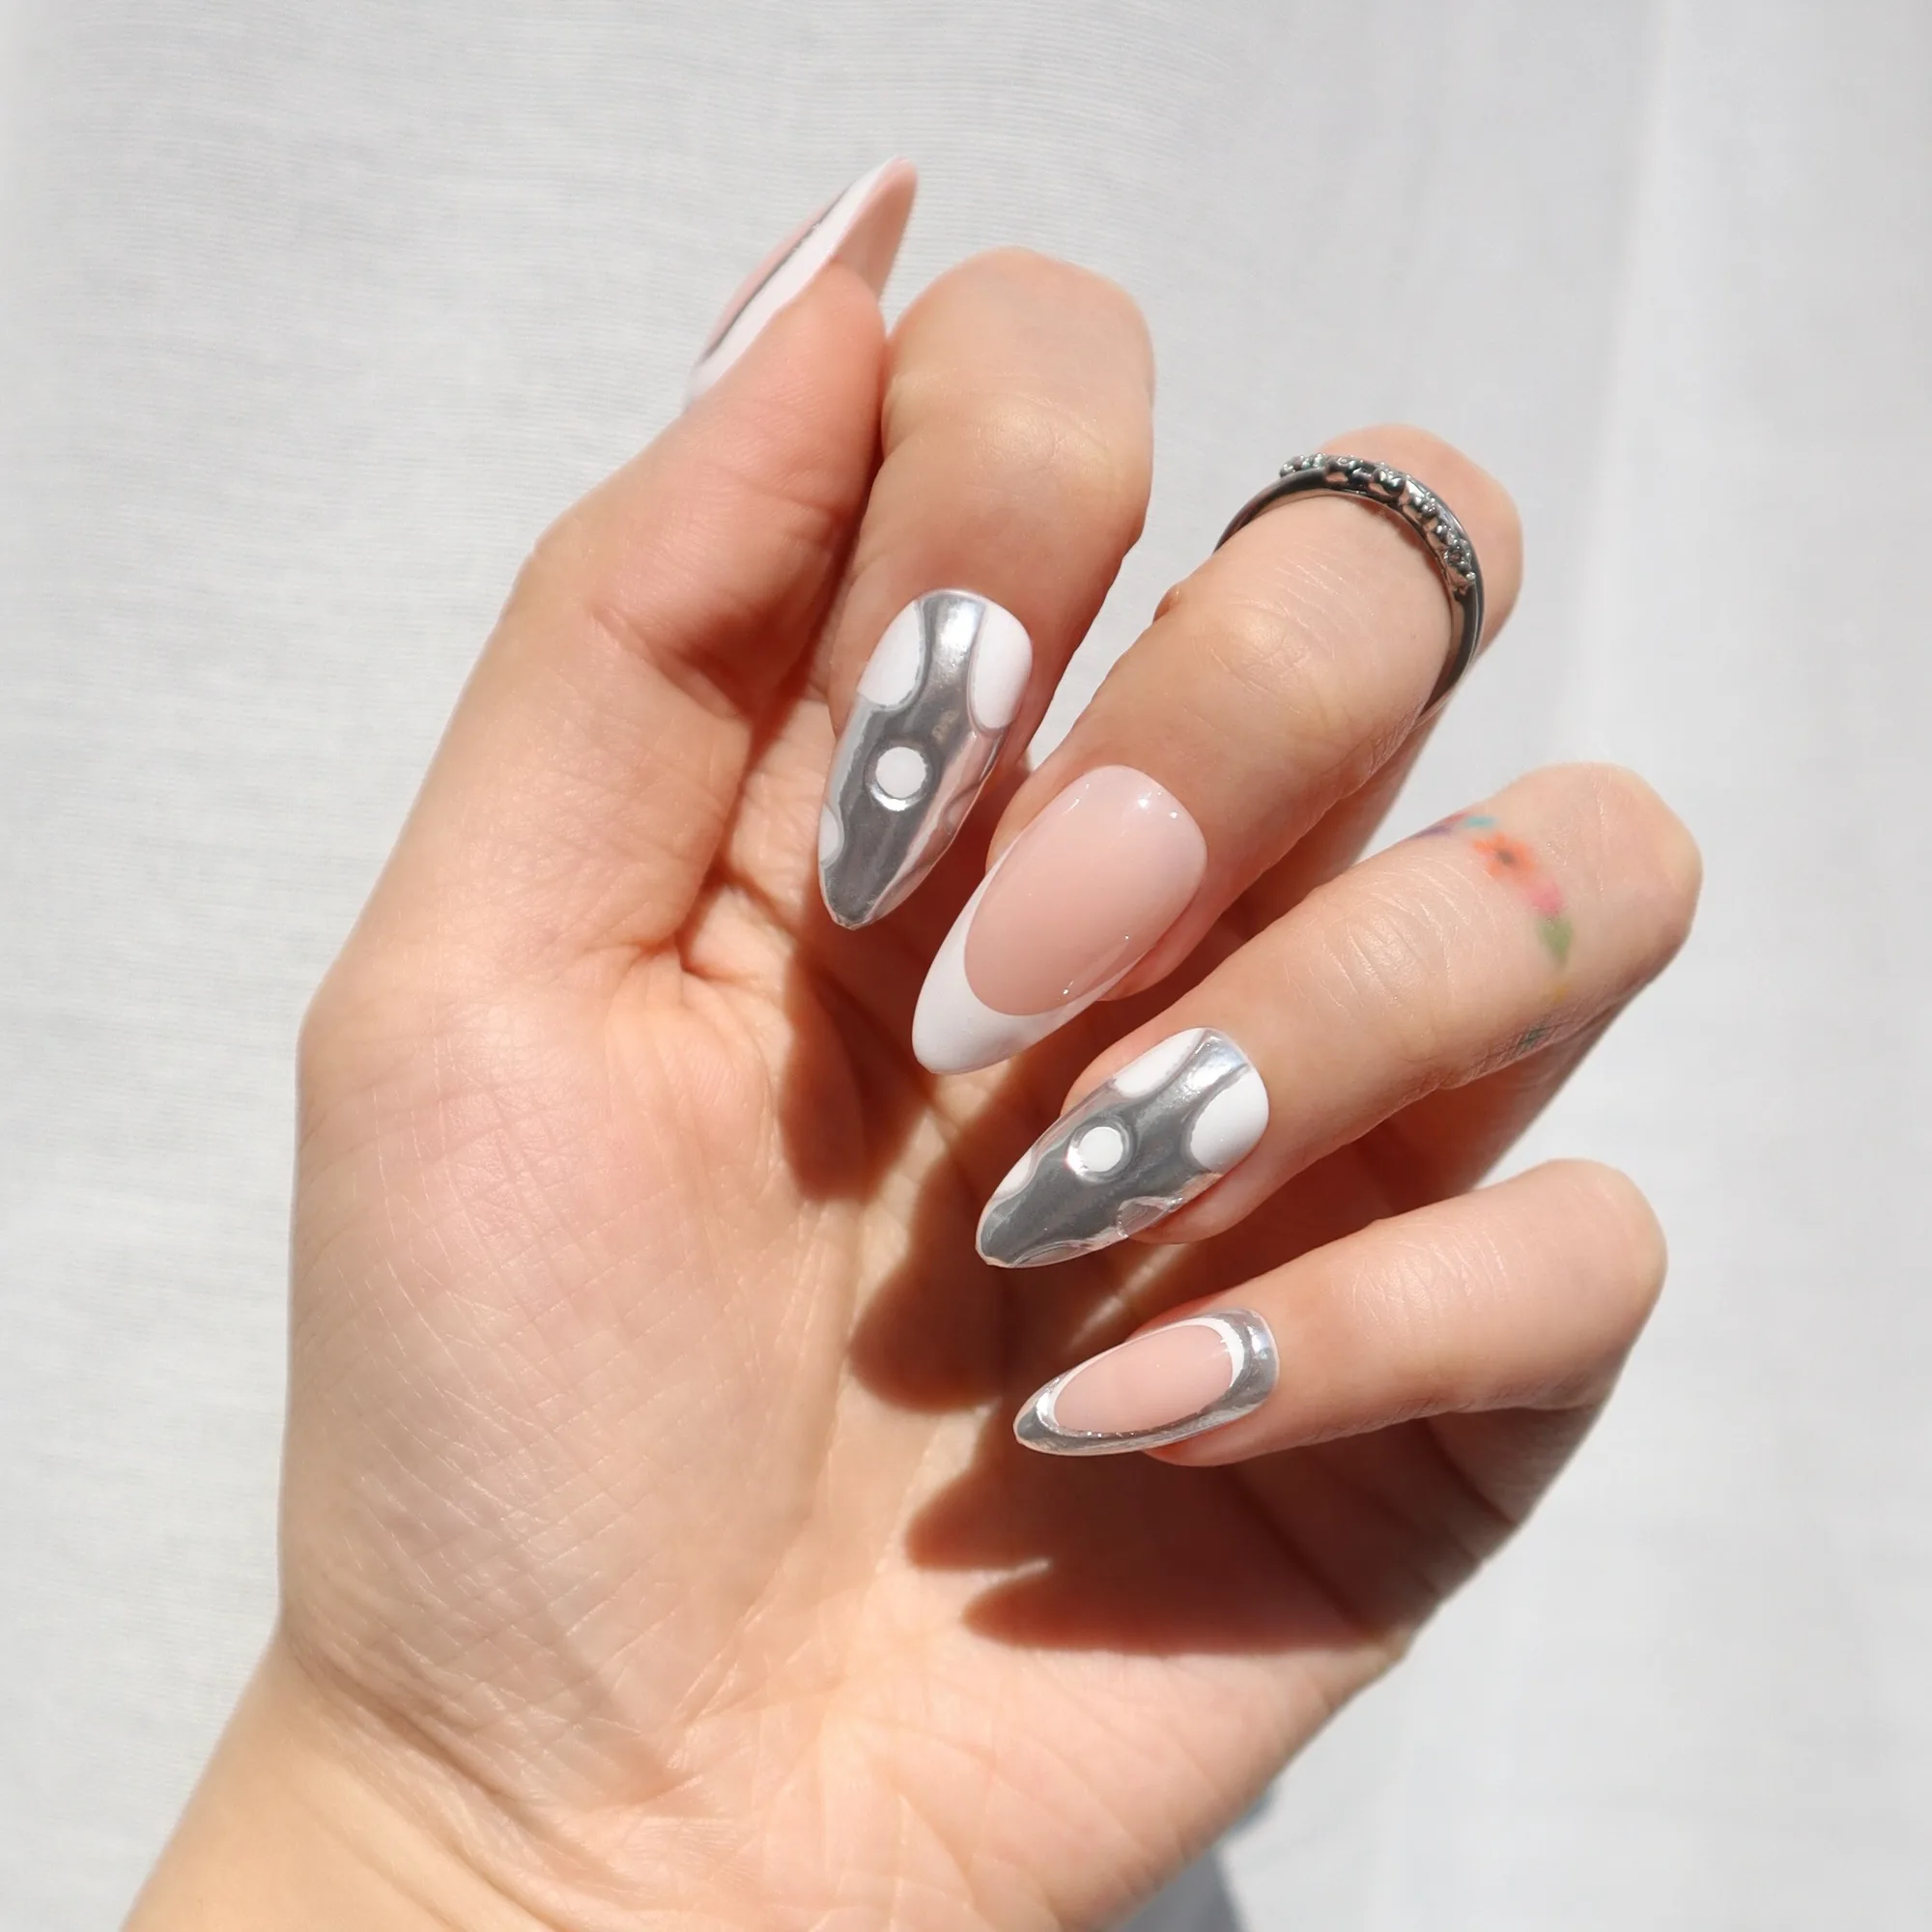
- Pearl Garter: The Pearl Garter press-on nail set pairs a nude base with white lace‑inspired accents and pearl‑like gem details. Designed in a short almond shape, the set feels soft, feminine, and lightly bridal without becoming too formal. Its short almond silhouette makes it an ideal candidate for trimming; the lace and gems stay intact when you file carefully, giving a custom fit while preserving the romantic look.
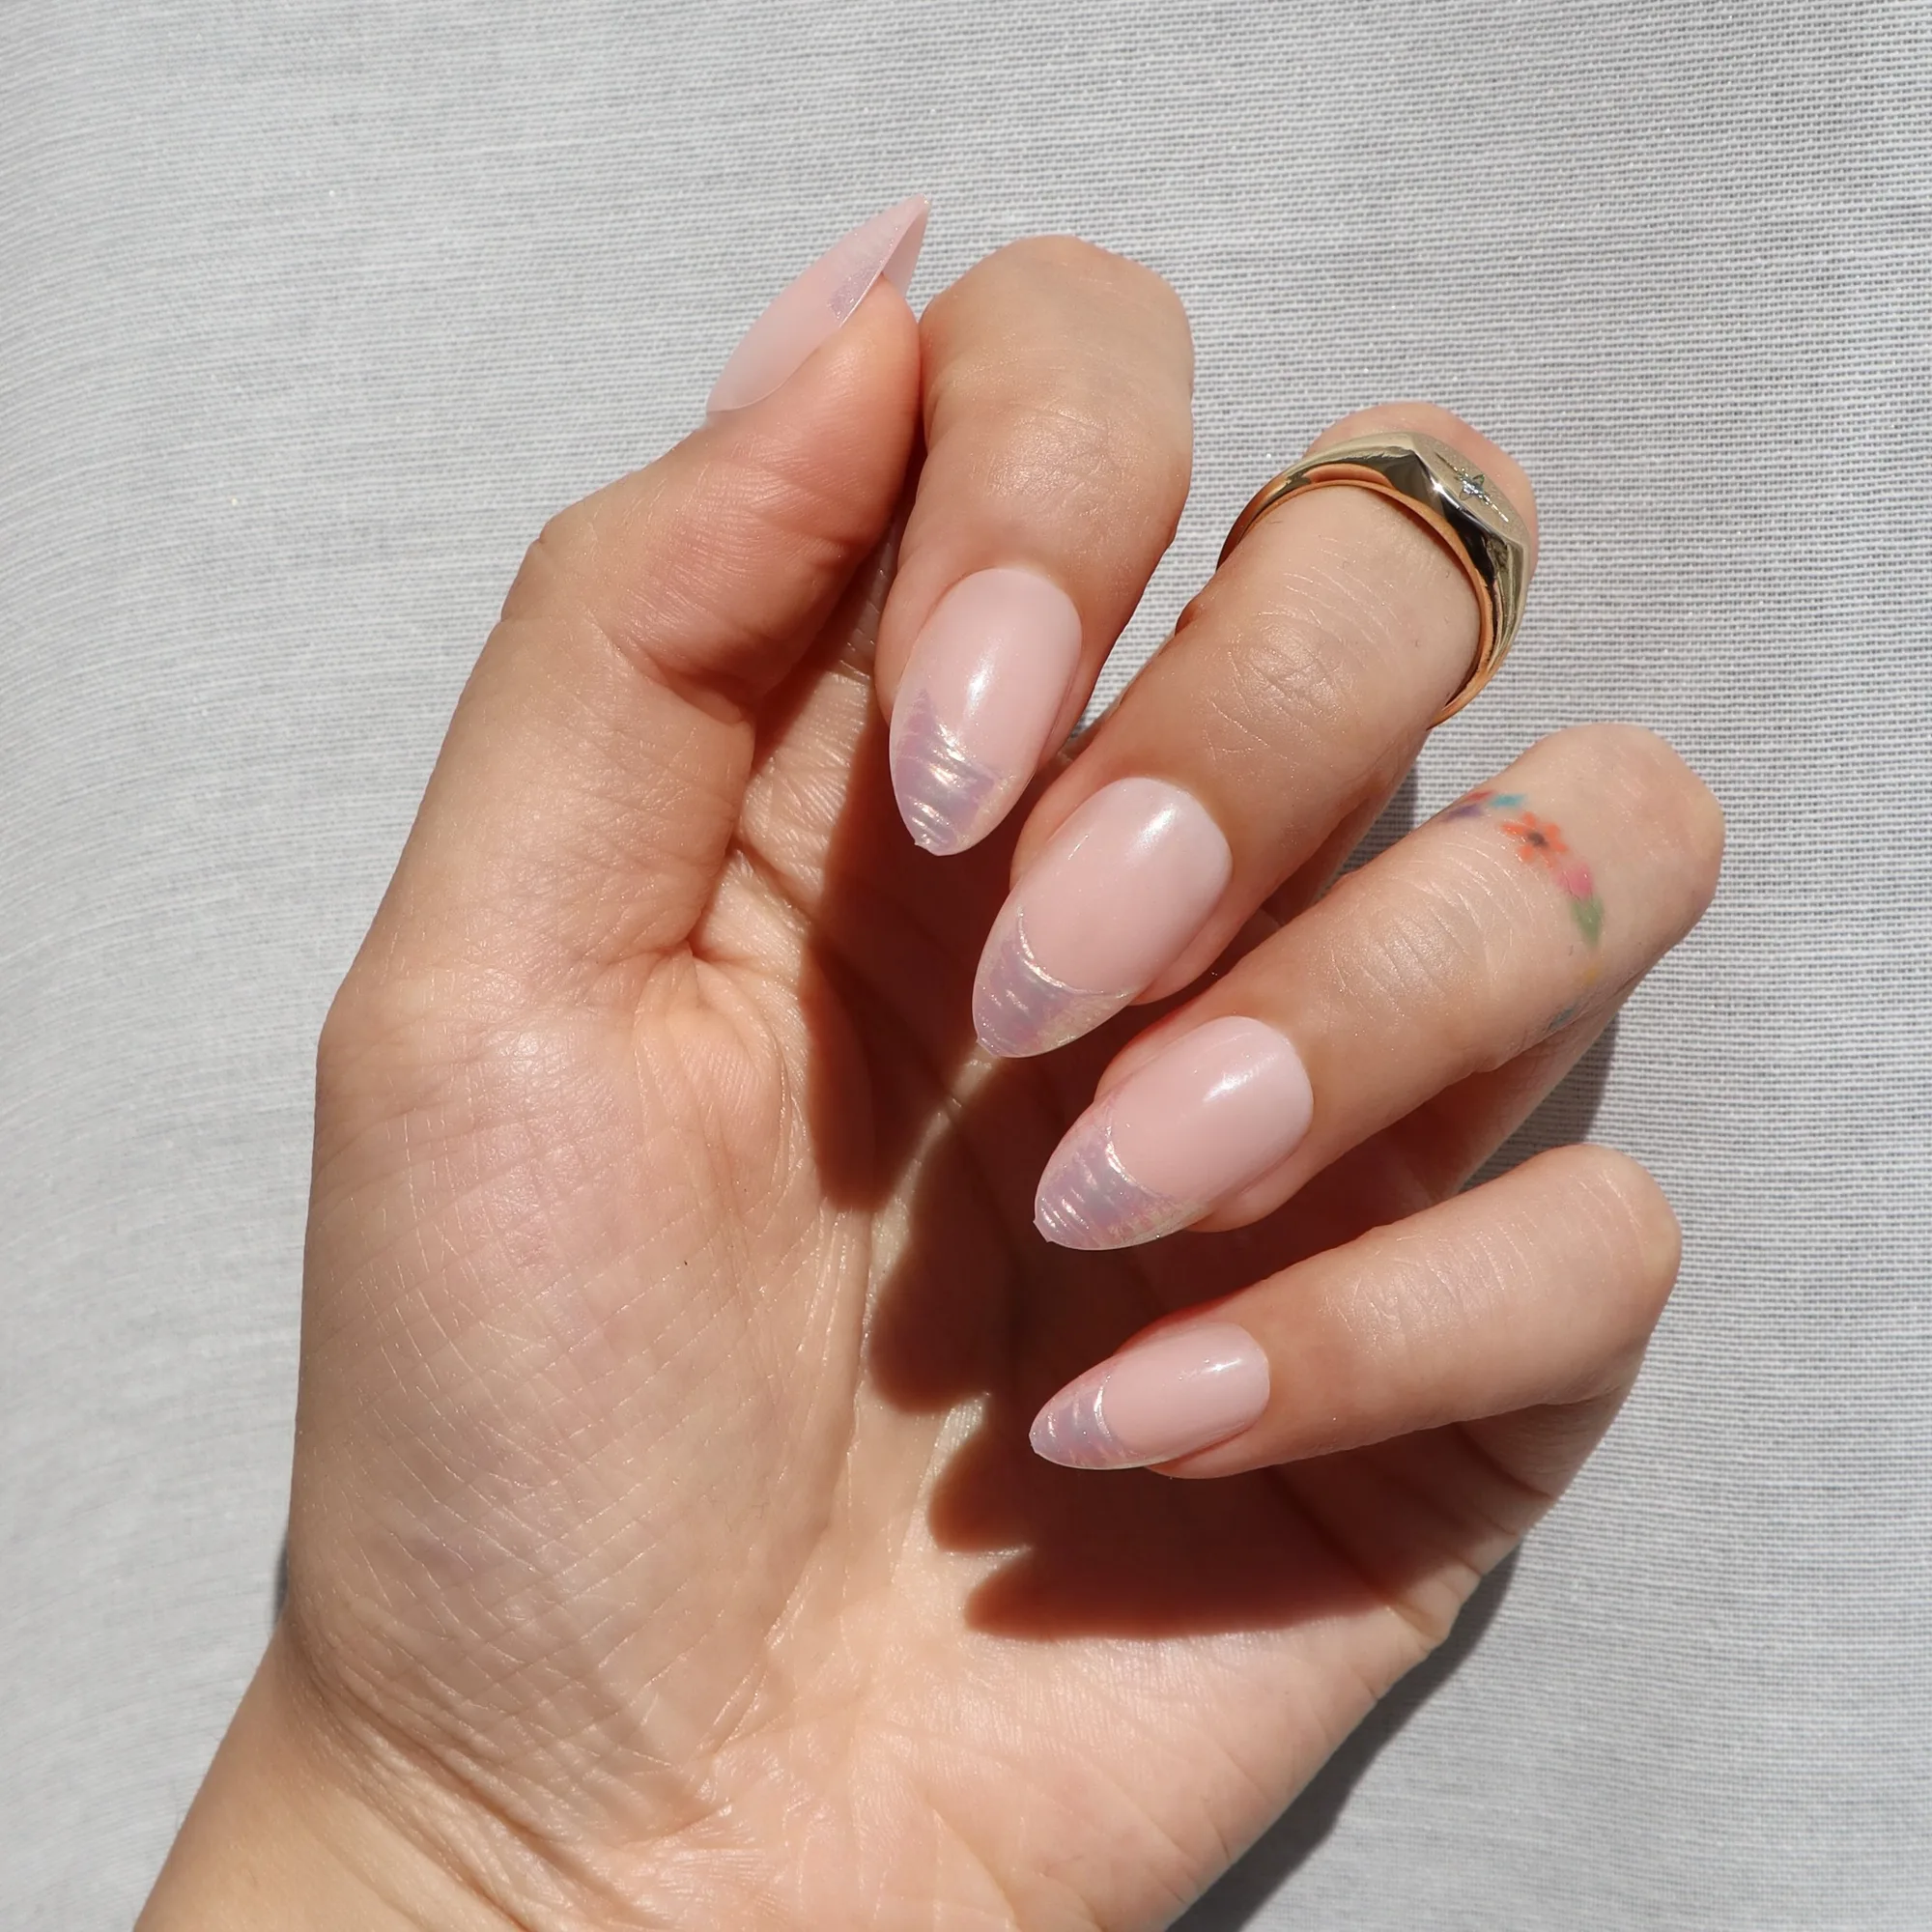
- Sea Dream: The Sea Dream press-on nails feature a sophisticated multi‑color palette of soft purple, white, pink, and blue, each topped with a glass‑like gloss, sculpted 3D shell textures, and hand‑placed pearl accents. The 3D shell textures illustrate how delicate surface details can be protected during shaping, reminding you to use light filing strokes to keep the tactile elements intact.
With the right tools and a careful hand, trimming and shaping blush pearl false nails is simple. Follow these steps, respect the delicate accents, and enjoy a flawless, custom‑fit manicure every time.