Quick answer
Place the tripod stand on a flat, stable surface at eye level, extend the legs evenly, and tighten every adjustment point before mounting your device. For video calls, angle the screen slightly toward your face and keep the tripod base clear of desk clutter.
Why placement matters more than angle
A stable tripod stand starts with where you put it. On a desk, the surface should be level and free of vibration sources like a nearby speaker or a wobbly keyboard tray. Placing the tripod near the front edge gives you easier reach for adjustments, but keep all three feet fully on the surface—never let one foot hang off.
For video calls, the goal is to have the camera at roughly eye level so you appear naturally framed. That may mean extending the center column or legs more than you would for overhead photos. Check that the tripod remains stable at that height before you mount the device.
When a tripod stand is not the right tool
If you need to switch between portrait and landscape orientation frequently during a call, a tripod with a quick-release plate or a dedicated phone holder may be faster. Also, a tripod stand is not ideal for very heavy tablets unless the stand is rated for that weight—check the product specifications first. For simple desk use with a phone, a compact tripod stand is often enough.
Tripod stand setup steps
- Choose a flat, stable surface: Place the tripod on a solid desk or table, away from edges and vibration. Check that all three feet sit fully on the surface and the area is clear of cables or clutter. A wobbling surface will undermine every later adjustment, so fix it first.
- Extend the legs evenly: Loosen the leg locks and extend each leg to the same length. Tighten the locks firmly but do not overtighten. For desk use, keep the legs at a moderate spread to save space while staying stable. Uneven legs cause a tilted base that is hard to correct with the head alone.
- Set the height for eye level: Raise the center column or adjust leg length so the camera sits at about eye level when you are seated. For video calls, this avoids a low or high angle. Confirm the tripod does not feel top-heavy before mounting the device. Test stability by gently pressing down on the top before adding your device.
- Mount your device securely: Attach your phone or tablet to the tripod head using the appropriate holder. Make sure the device is centered and the clamp is tight. Give it a gentle wiggle to confirm it will not slip. If the device shifts, stop and re-tighten before continuing.
- Adjust the angle for framing: Loosen the head or ball joint, tilt the screen slightly toward your face, and tighten. For video calls, check that your head and shoulders are in frame. For photos, adjust until the subject is centered. Make small changes and re-check the framing on screen after each adjustment.
- Tidy cables and confirm stability: Route any charging cables so they do not pull on the device or tripod. Gently tap the desk near the tripod to check for wobble. If it moves, lower the height or widen the legs slightly. A final stability check prevents mid-call shifts.
Product facts
-
Tripod Stand: Sturdy tripod design for secure placement on flat surfaces A stable base reduces the chance of tipping during calls or photos, especially when you adjust the angle.
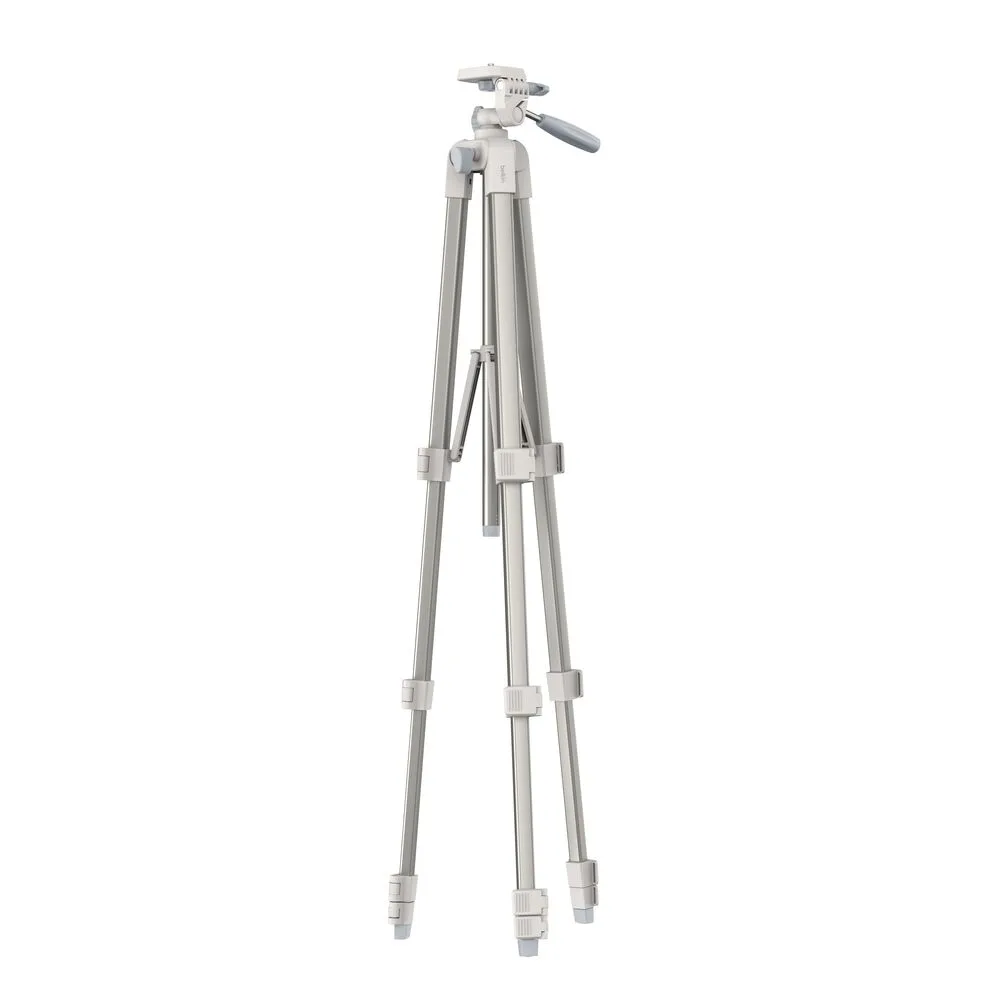
Tripod Stand
-
Tripod Stand: Adjustable legs and center column for flexible height and angle You can set the camera at eye level for video calls and fine-tune the angle without moving the whole stand.
-
Tripod Stand: Compact and portable, making it easy to carry on the go If you move between rooms or take it to another location, the stand folds down and sets up quickly.