If you're new to woodworking, a plunge router might seem intimidating. But with the right guidance, it becomes one of the most versatile tools in your shop. Whether you're cutting grooves, shaping edges, or creating intricate joinery, a plunge router offers precision and control that other tools can't match.
In this guide, we'll walk you through everything you need to know to start using a plunge router confidently. From understanding its parts to mastering essential techniques, you'll soon be tackling projects with ease.
What is a Plunge Router?
A plunge router is a type of router where the motor and bit can be lowered vertically into the workpiece. Unlike a fixed-base router, which requires you to adjust the bit depth manually before starting, a plunge router lets you start with the bit above the surface and plunge it down to the desired depth. This makes it ideal for tasks like cutting mortises, inlays, and stopped grooves.
The key components of a plunge router include the base, the motor, the plunge mechanism, and the depth stop. The base sits flat on the workpiece, while the motor slides up and down along two guide rods. The depth stop allows you to set the maximum depth of the cut, and the plunge lock secures the motor in place once you've reached the desired depth.
- Plunge routers are perfect for making internal cuts that don't go through the entire workpiece.
- They offer better visibility of the bit as you work, which improves accuracy.
- Many models come with adjustable depth stops for repeatable cuts.
Setting Up Your Plunge Router
Before you start routing, it's crucial to set up your tool correctly. First, unplug the router and install the appropriate bit. Use a collet wrench to loosen the collet, insert the bit, and tighten securely. Make sure the bit is sharp and suitable for your material.
Next, adjust the depth of cut. For most operations, you'll want to make multiple passes, especially when cutting deep grooves. Set the depth stop to a shallow depth for the first pass, then gradually increase it. Always wear safety glasses and hearing protection, and consider using a dust extraction system to keep your workspace clean.
- Always unplug the router when changing bits.
- Use a router table or edge guide for greater stability on large pieces.
- Test your depth settings on scrap wood before working on your actual project.
Basic Plunge Router Techniques
One of the most common uses for a plunge router is cutting grooves and dadoes. To do this, mark your cut lines, then set the router to the desired width and depth. Place the router on the workpiece with the bit centered over the cut line, start the motor, and slowly plunge the bit down. Move the router along the line at a steady pace, keeping the base flat against the surface.
Another essential technique is edge profiling. Whether you're rounding over edges or creating decorative profiles, a plunge router with a piloted bit can produce clean, consistent results. Attach a fence or use a bearing-guided bit to control the cut. For freehand work, practice on scrap pieces to get a feel for the tool's movement.
- Always rout in the direction opposite to the bit's rotation to avoid tear-out.
- For deep cuts, make multiple passes, increasing depth by about 1/8 inch each time.
- Use a straightedge guide for perfectly straight cuts.
Advanced Tips and Accessories
Once you're comfortable with the basics, you can explore more advanced techniques like dovetail joinery, inlay work, and template routing. A plunge router can be used with a template guide bushing to follow patterns, allowing you to replicate shapes with precision.
Investing in quality accessories can greatly enhance your routing experience. For example, a plunge router base like the one on the Festool T18+3 Cordless Drill - Basic is not directly related, but having a reliable drill for pilot holes is essential. Similarly, a Festool Cordless Drill C 18 – Basic can be handy for pre-drilling before routing. While these are drills, they complement your routing tasks by ensuring accurate holes for screws and hardware.
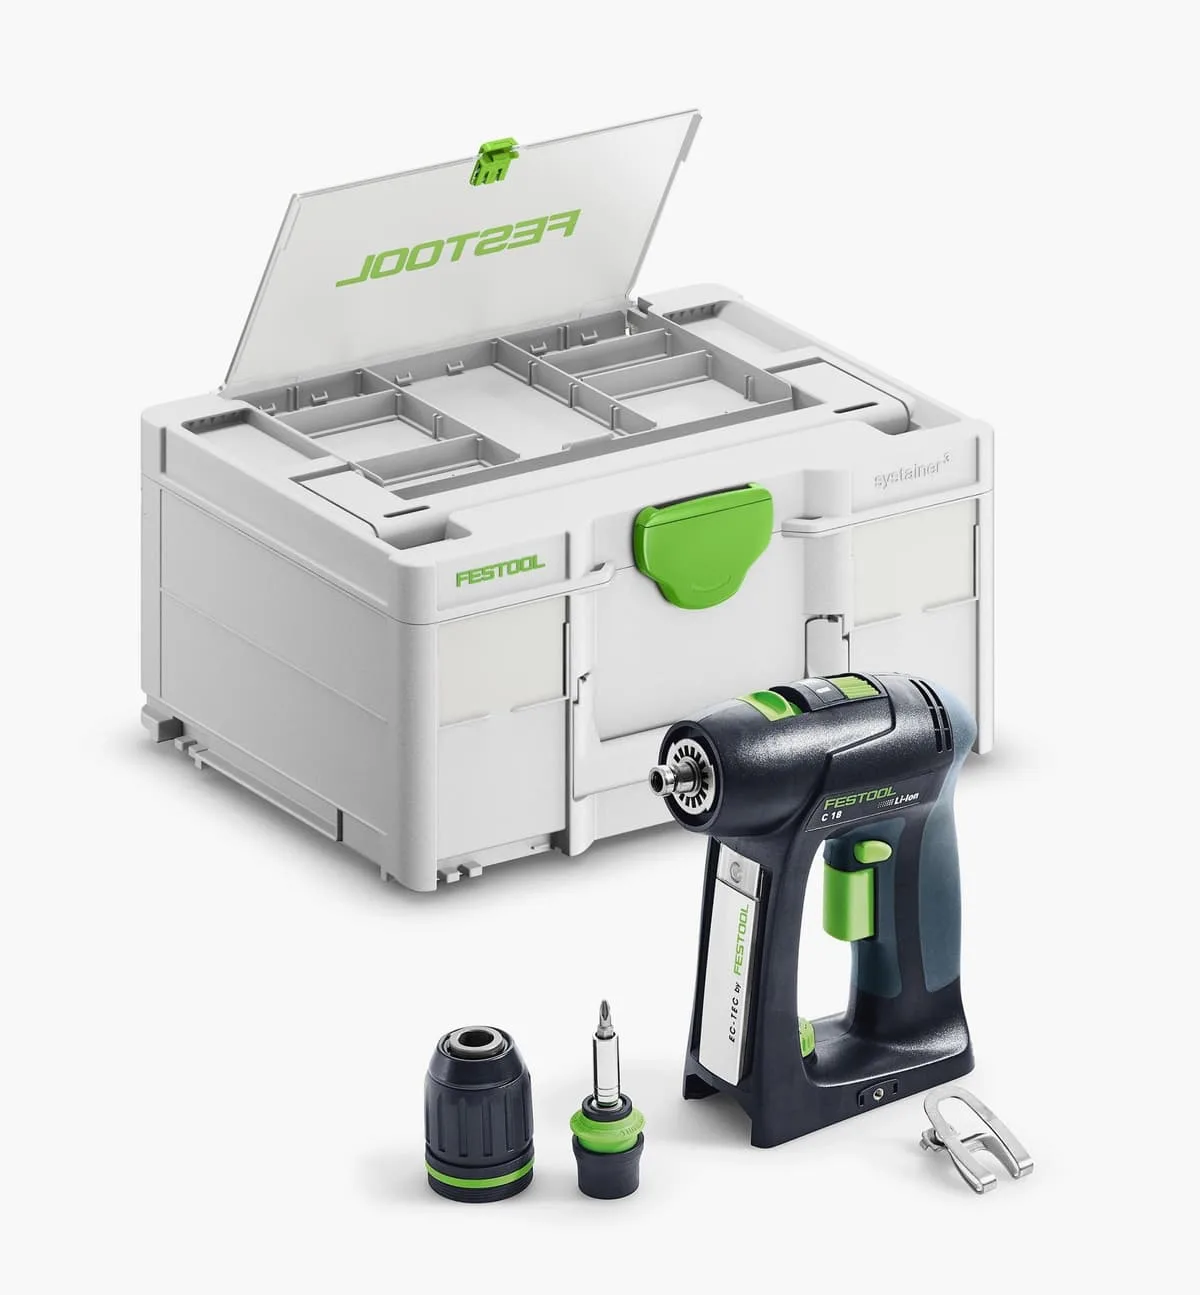
Festool Cordless Drill C 18 – Basic
- Use a router lift for table-mounted operations to adjust depth from above.
- Consider a plunge router with a dust port to connect to a shop vac for cleaner cuts.
- Practice on scrap wood to perfect your technique before working on final pieces.
Safety First: Essential Precautions
Safety should always be your top priority when using power tools. Plunge routers spin at high speeds, so it's essential to handle them with care. Always wear safety glasses to protect your eyes from flying debris, and use ear protection to guard against hearing damage.
Keep your hands away from the bit and use push sticks or featherboards when working on small pieces. Ensure the router is unplugged when changing bits or making adjustments. Also, make sure your workpiece is securely clamped to prevent it from moving during the cut.
- Never force the router; let the bit do the cutting.
- If you feel vibration or hear unusual noises, stop and check the bit and collet.
- Keep your workspace well-lit and free of clutter.
With these tips and techniques, you're well on your way to mastering the plunge router. Remember to start with simple projects, practice regularly, and always prioritize safety. For a reliable plunge router that delivers professional results, consider the Festool T18+3 Cordless Drill - Basic, which, while a drill, is part of the Festool system that includes routers. Explore our selection at Lee Valley Tools to find the perfect tools for your workshop.