Quick Answer
Apply Ultimate Wing lashes by measuring and trimming the band, applying adhesive, and pressing the clusters onto your lash line from inner to outer corner for a dramatic winged effect.
Why Ultimate Wing Lashes Give a Dramatic Look
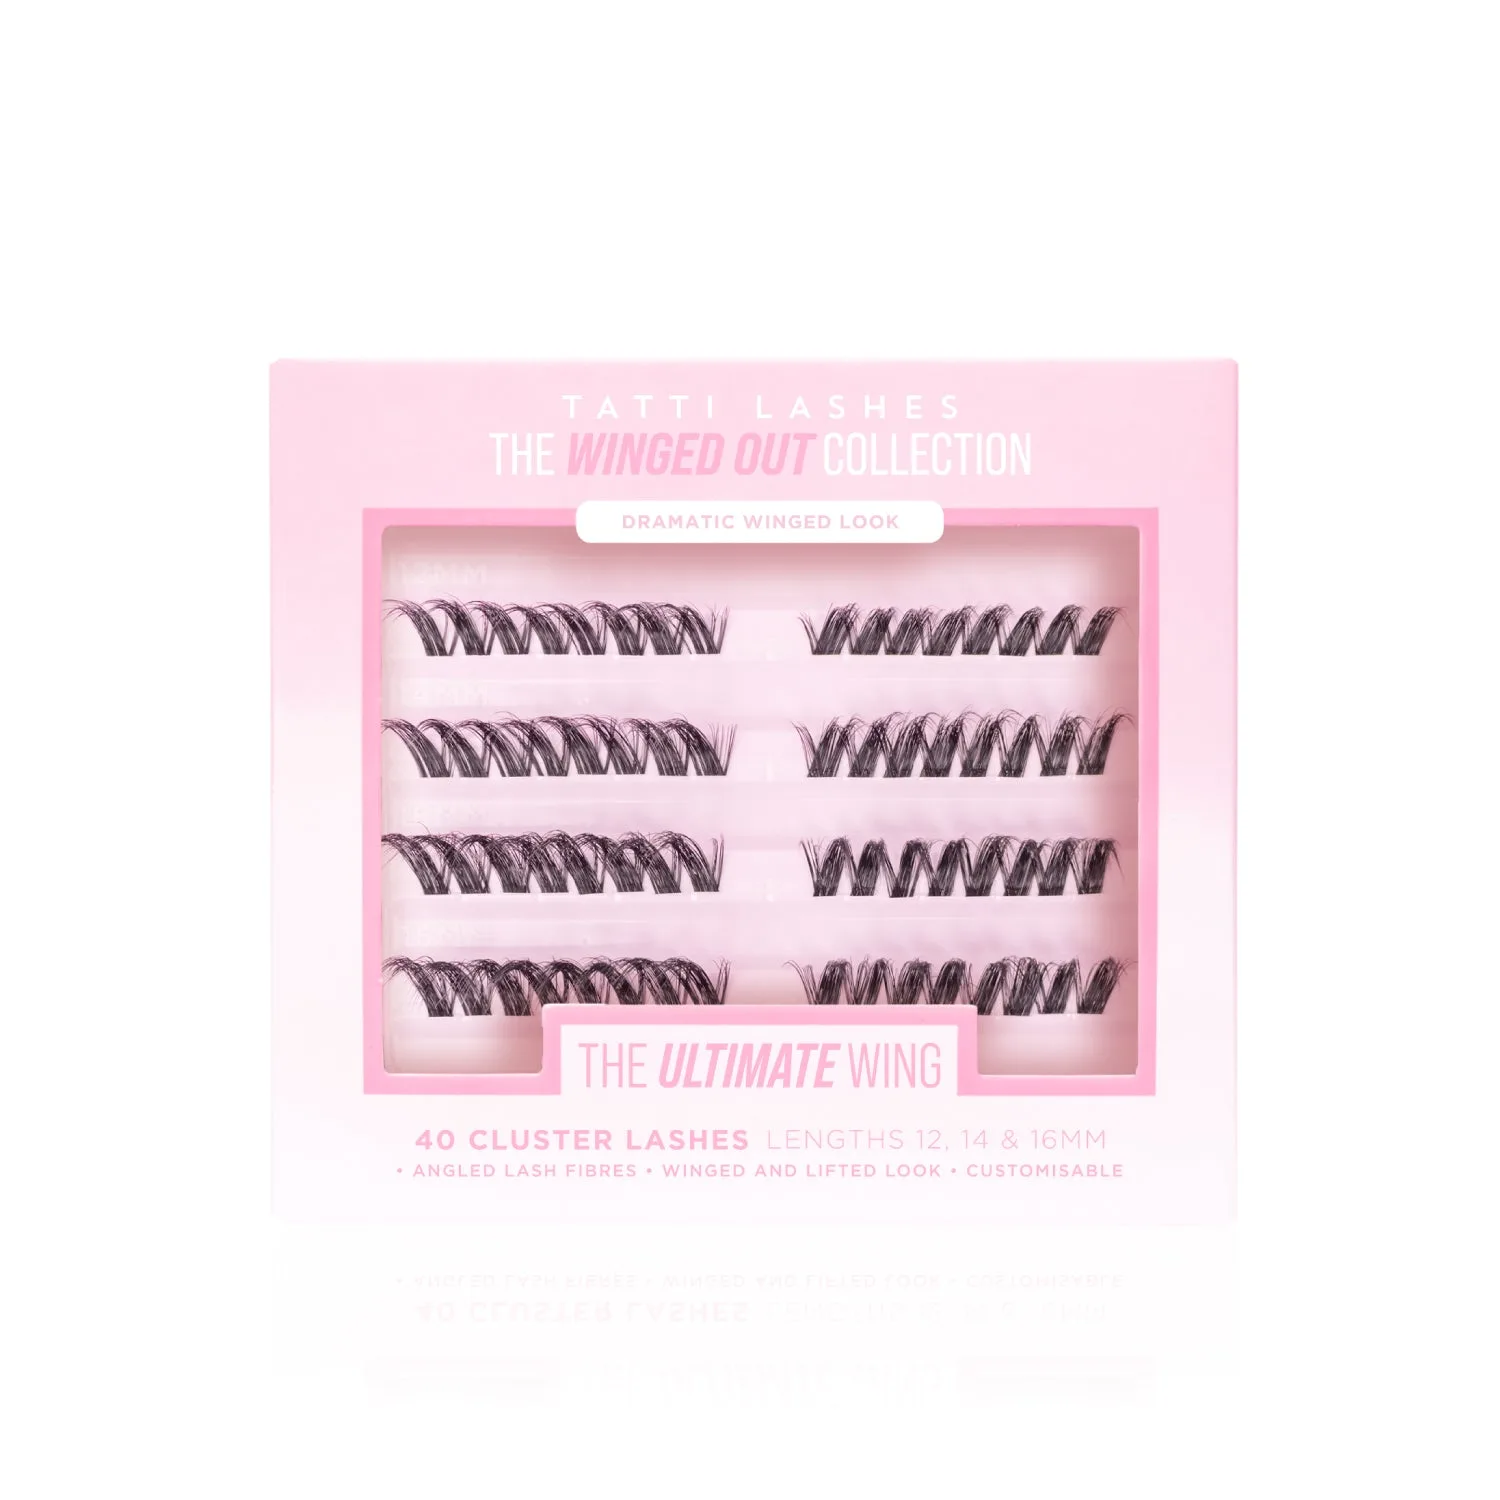
Ultimate Wing lashes feature fuller clusters set on a seamless, clear lash band. The fibres flick outward at the ends, which creates that sassy winged shape without needing extra liner or shadow tricks.
The two defined sections per cluster make placement faster and easier than traditional strip lashes, so you can build intensity gradually—perfect for events where you want a bold but polished eye.
Trade-Off: Customizable but Requires Some Practice
Because the clusters are designed to be fully customisable, you can trim or rearrange them to suit your eye shape. That flexibility is great, but it also means you need to plan where each cluster goes before applying. Rushing this step often leads to uneven spacing or a less dramatic effect.
If you are new to cluster lashes, practice on a dry run first: hold the clusters along your lash line without adhesive to map out placement. This saves time and avoids mistakes.
Step-by-Step Application for a Dramatic Winged Look
- Measure and Trim: Hold the lash band against your upper lash line. Mark where your natural lash line ends (usually around the outer corner). Trim any excess from the outer edge only, never the inner corner, to maintain the winged shape. Trim less than you think—you can always cut more, but you can't add back.
- Apply Adhesive: Apply a thin, even layer of lash adhesive along the clear band. Wait 20–30 seconds until the glue becomes tacky. This prevents slipping and helps the band stay put. If the adhesive is too wet, the lashes will slide; if too dry, they won't stick. Aim for a tacky feel.
- Place the First Cluster: Starting at the inner corner, press the first cluster onto your lash line as close to your natural lashes as possible. Use tweezers or your fingers, and hold for 10 seconds. Placement at the inner corner sets the angle for the whole look—keep it close to the base of your lashes.
- Continue with Remaining Clusters: Work outward, placing each cluster slightly overlapping the previous one. For a dramatic wing, angle the last cluster upward toward your brow tail. Press each cluster firmly for a few seconds. Overlapping the clusters prevents gaps and creates a seamless, full look.
- Blend and Set: Once all clusters are applied, gently press your natural lashes and the false clusters together with your fingers or a lash curler. Apply a light coat of mascara if needed to blend. Avoid pulling or tugging. Blending helps the clusters look like your own lashes, not separate pieces.
- Check and Secure: Look straight into a mirror and check that all clusters are securely attached. If any corner is lifting, press it down with a bit of extra adhesive using a toothpick or the back of a brush. A quick check before you head out saves you from mid-event fixes.
Product Spotlight
-
Ultimate Wing: Ultimate Wing’s fuller clusters give instant length, lift, and volume, with fibres that flick outward at the ends. This design naturally creates a winged look, so you can skip heavy eyeliner and still get a dramatic, sassy effect.
Ultimate Wing
-
Ultimate Wing: The clusters are set on a seamless, clear lash band with two defined sections per cluster. The clear band blends into your lash line, and the two sections make application faster and easier, especially for beginners.