Quick answer
A TAMIYA Basic Drill Set paired with a pin vise gives you controlled, precise drilling for small model kit parts and delicate doll modifications without the risk of power tools.
Why a basic drill set works for pin vise work
Pin vises are hand-held rotary tools that rely on your manual dexterity rather than motor power. This makes them ideal for tiny, fragile parts where even a low-speed rotary tool could cause melting or breakage. The TAMIYA Basic Drill Set includes bits from 1 mm up to 3 mm, covering the most common hole sizes for model kits and doll ear piercing.
The trade-off is speed: hand drilling takes more time and effort than a power tool. But the control you gain means fewer ruined parts and cleaner holes, especially in soft plastics or resin.
Choosing the right bit size
Start with the smallest bit that will work for your task. For example, piercing an SD doll's ears typically uses a 1 mm or 1.5 mm bit. For model kit peg holes, match the bit to the peg diameter. The TAMIYA set gives you five common sizes, so you can step up gradually if needed.
A common mistake is jumping to a larger bit too soon, which can crack the part. Always test on scrap material first.
Step-by-step guide to drilling with a pin vise
- Secure the part: Hold the model part firmly in a clamp or on a sticky mat so it cannot spin or slip. If you hold it by hand, you risk the bit walking and scratching your fingers. Use a clamp or sticky mat to keep the part stable and your hands safe.
- Mark the drilling spot: Use a sharp pencil or a scribe to make a small indentation at the exact drilling location. This gives the drill bit a starting point and prevents it from sliding across the surface. A scribed mark is more accurate than a pencil mark alone.
- Insert the correct bit into the pin vise: Loosen the collet, insert the bit from the TAMIYA Basic Drill Set, and tighten firmly. Make sure the bit is centered and straight. A wobbling bit will enlarge the hole unevenly. Double-check that the bit is straight before you start drilling.
- Start drilling slowly: Apply light, even pressure and rotate the pin vise clockwise. Let the bit do the cutting—forcing it can cause the plastic to crack or the bit to snap. For hard materials, back out occasionally to clear debris. If you feel resistance, stop and clear the flutes rather than pushing harder.
- Check depth and fit: Stop periodically to test the hole depth with a pin or the part you intend to insert. Drilling too deep can weaken the part or break through the other side. Measure twice, drill once—check fit as you go.
Product facts
-
TAMIYA Basic Drill Set: Includes bits in sizes: 1 mm, 1.5 mm, 2 mm, 2.5 mm, 3 mm. Designed for small, delicate drilling jobs like piercing an SD's ears and model kit work. You get a range of precision bits in one set, so you can match the hole size exactly to your part without buying individual bits.
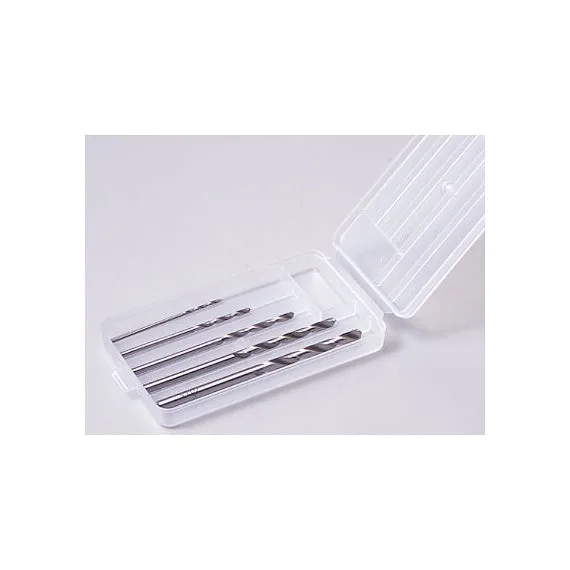
TAMIYA Basic Drill Set