Quick answer
A universal manual hotshoe flash works with any film camera that has a hotshoe, but you need to set the correct shutter speed, match the flash guide number to your distance, and use manual exposure mode.
Why manual flash works for film cameras
Many vintage and modern film cameras lack TTL flash metering, so a manual flash gives you full control. The ACI Universal Manual Hotshoe Flash is a simple, tested option that includes batteries and a 90-day warranty, making it a low-risk entry into flash photography.
Because the flash output is fixed, you adjust exposure by changing aperture or distance. This is the same technique used by generations of film photographers.
Trade-offs to know
Without automatic power adjustment, you must calculate exposure manually or use a flash meter. This adds a step but teaches you the fundamentals of flash photography.
The flash is designed for hotshoe mounting, so off-camera use requires a sync cord or optical slave trigger. The unit's manual says it works with any hotshoe-equipped camera, but check your camera's sync voltage if it's an older electronic model.
Step-by-step setup and use
- Insert batteries and mount the flash: Open the battery compartment and insert two AA batteries (included). Slide the flash foot into your camera's hotshoe until it clicks. Tighten any locking ring if present. Common mistake: inserting batteries backwards. Check polarity markings inside the compartment.
- Set your camera to manual mode and choose a shutter speed: Set the camera to manual exposure mode. Use a shutter speed at or slower than your camera's flash sync speed (typically 1/60s or 1/125s for focal-plane shutters, 1/30s for leaf shutters). Faster speeds will clip the flash. Check your camera manual for the exact sync speed. Using a faster speed results in a black bar across the frame.
- Calculate the aperture using the flash guide number: Find the flash guide number (GN) in the user manual or on the flash body. Divide GN by the subject distance (in feet or meters) to get the f-stop. Example: GN 40 at 10 feet = f/4. If no guide number is listed, start at f/5.6 at 10 feet and bracket by one stop in each direction.
- Test fire and adjust: Press the test button on the flash to ensure it fires. Take a photo, then review the negative or slide. If too bright, stop down the aperture or move the flash farther away. If too dark, open up or move closer. Keep a notebook of distance-aperture combos for repeatable results. Film latitude helps, but consistent exposure saves film.
- Use off-camera (optional): Attach a PC sync cord or optical slave trigger to the flash's sync port. Mount the flash on a stand or hold it off-camera for directional lighting. The hotshoe connection is not needed for off-camera use. Without a sync cord, the flash may not fire if the optical slave isn't sensitive enough. Test in the actual lighting conditions.
Product facts
-
ACI - Universal Manual Hotshoe Flash: Condition: New, fully tested as working, comes with 90 day warranty. Requires 2 x AA batteries (included). You receive a ready-to-use flash with batteries included, and the warranty covers any defects, reducing the risk of buying used gear.
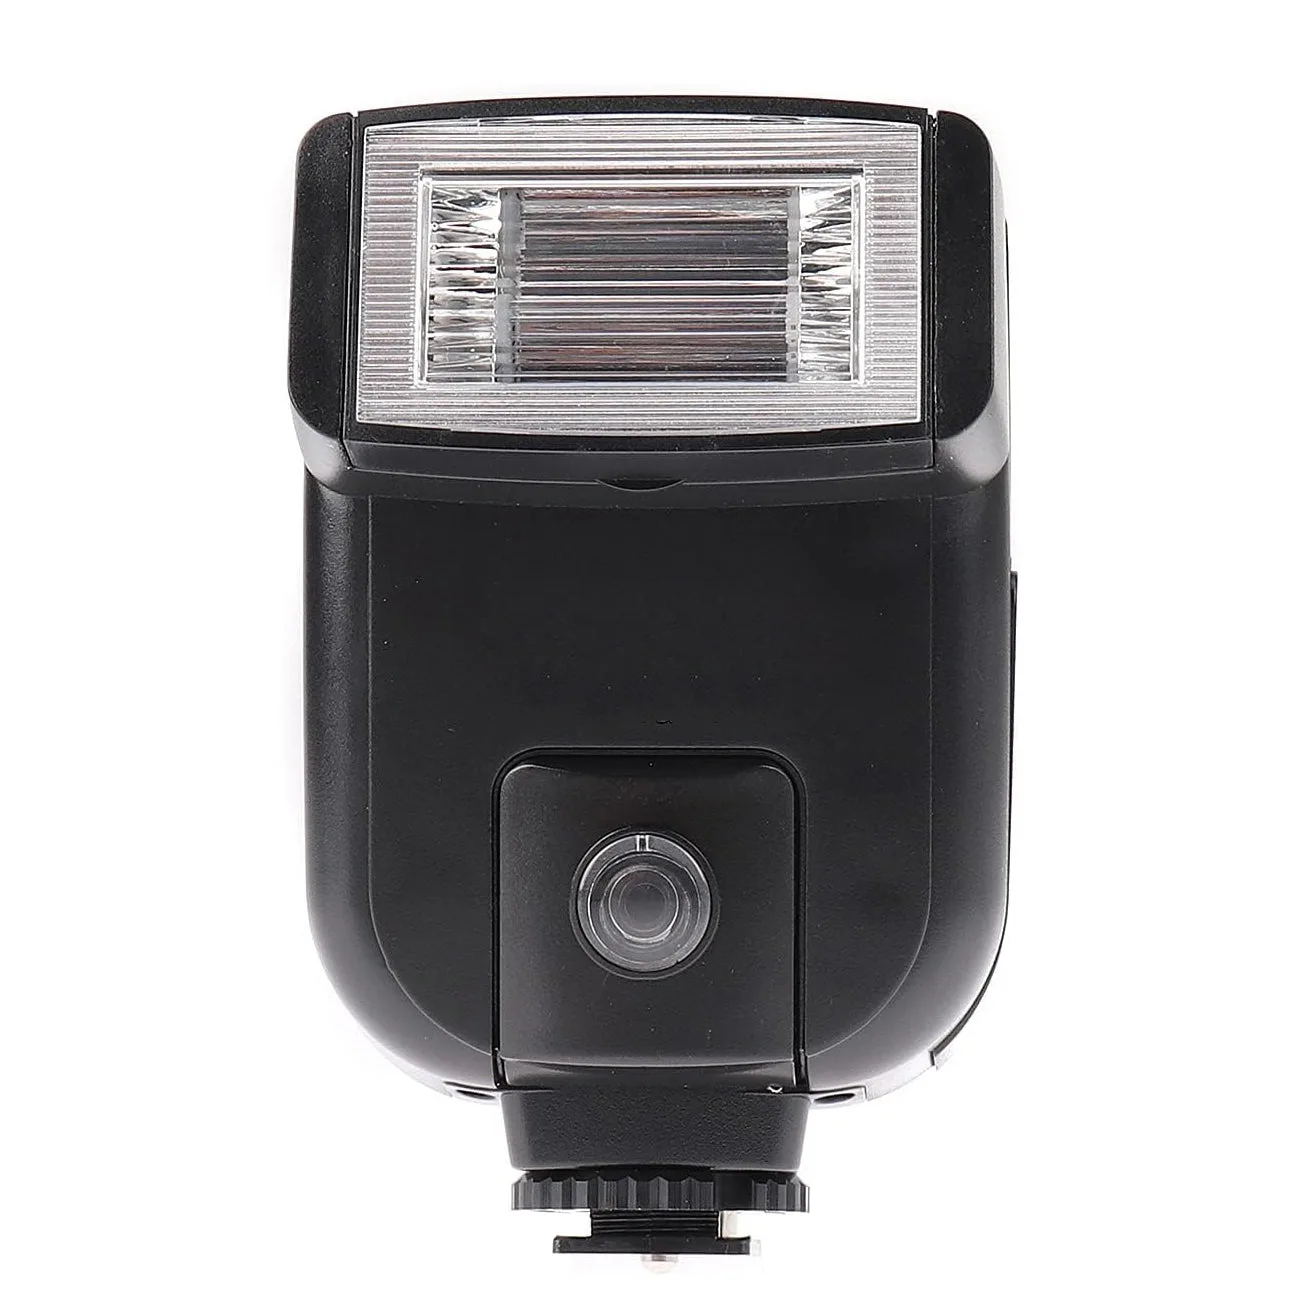
ACI - Universal Manual Hotshoe Flash