Quick Answer
To get cute bunny nails for spring, apply nail art bunnies with a gel top coat and encapsulate them for a smooth, long-lasting finish. Start with a light pastel base to make the silver holographic bunnies pop.
Why Encapsulation Matters for 3D Nail Art
Nail art bunnies are whimsical 3D pieces, and if you just stick them on top of your nail, they can catch on hair and clothing or peel off quickly. Encapsulating them under a layer of gel top coat or builder gel keeps them secure and gives your nails a smooth, professional finish.
The catalog notes that these bunnies are incapsulated recommended, which means you should plan your design with an extra layer of gel in mind. This adds a bit of thickness, so it's best to use them on natural nails or extensions that can handle the extra bulk.
Because the bunnies come in a 15g container, you'll have plenty for multiple manicures. Store them in a cool, dry place to keep the adhesive backing fresh.
Color and Lighting Considerations
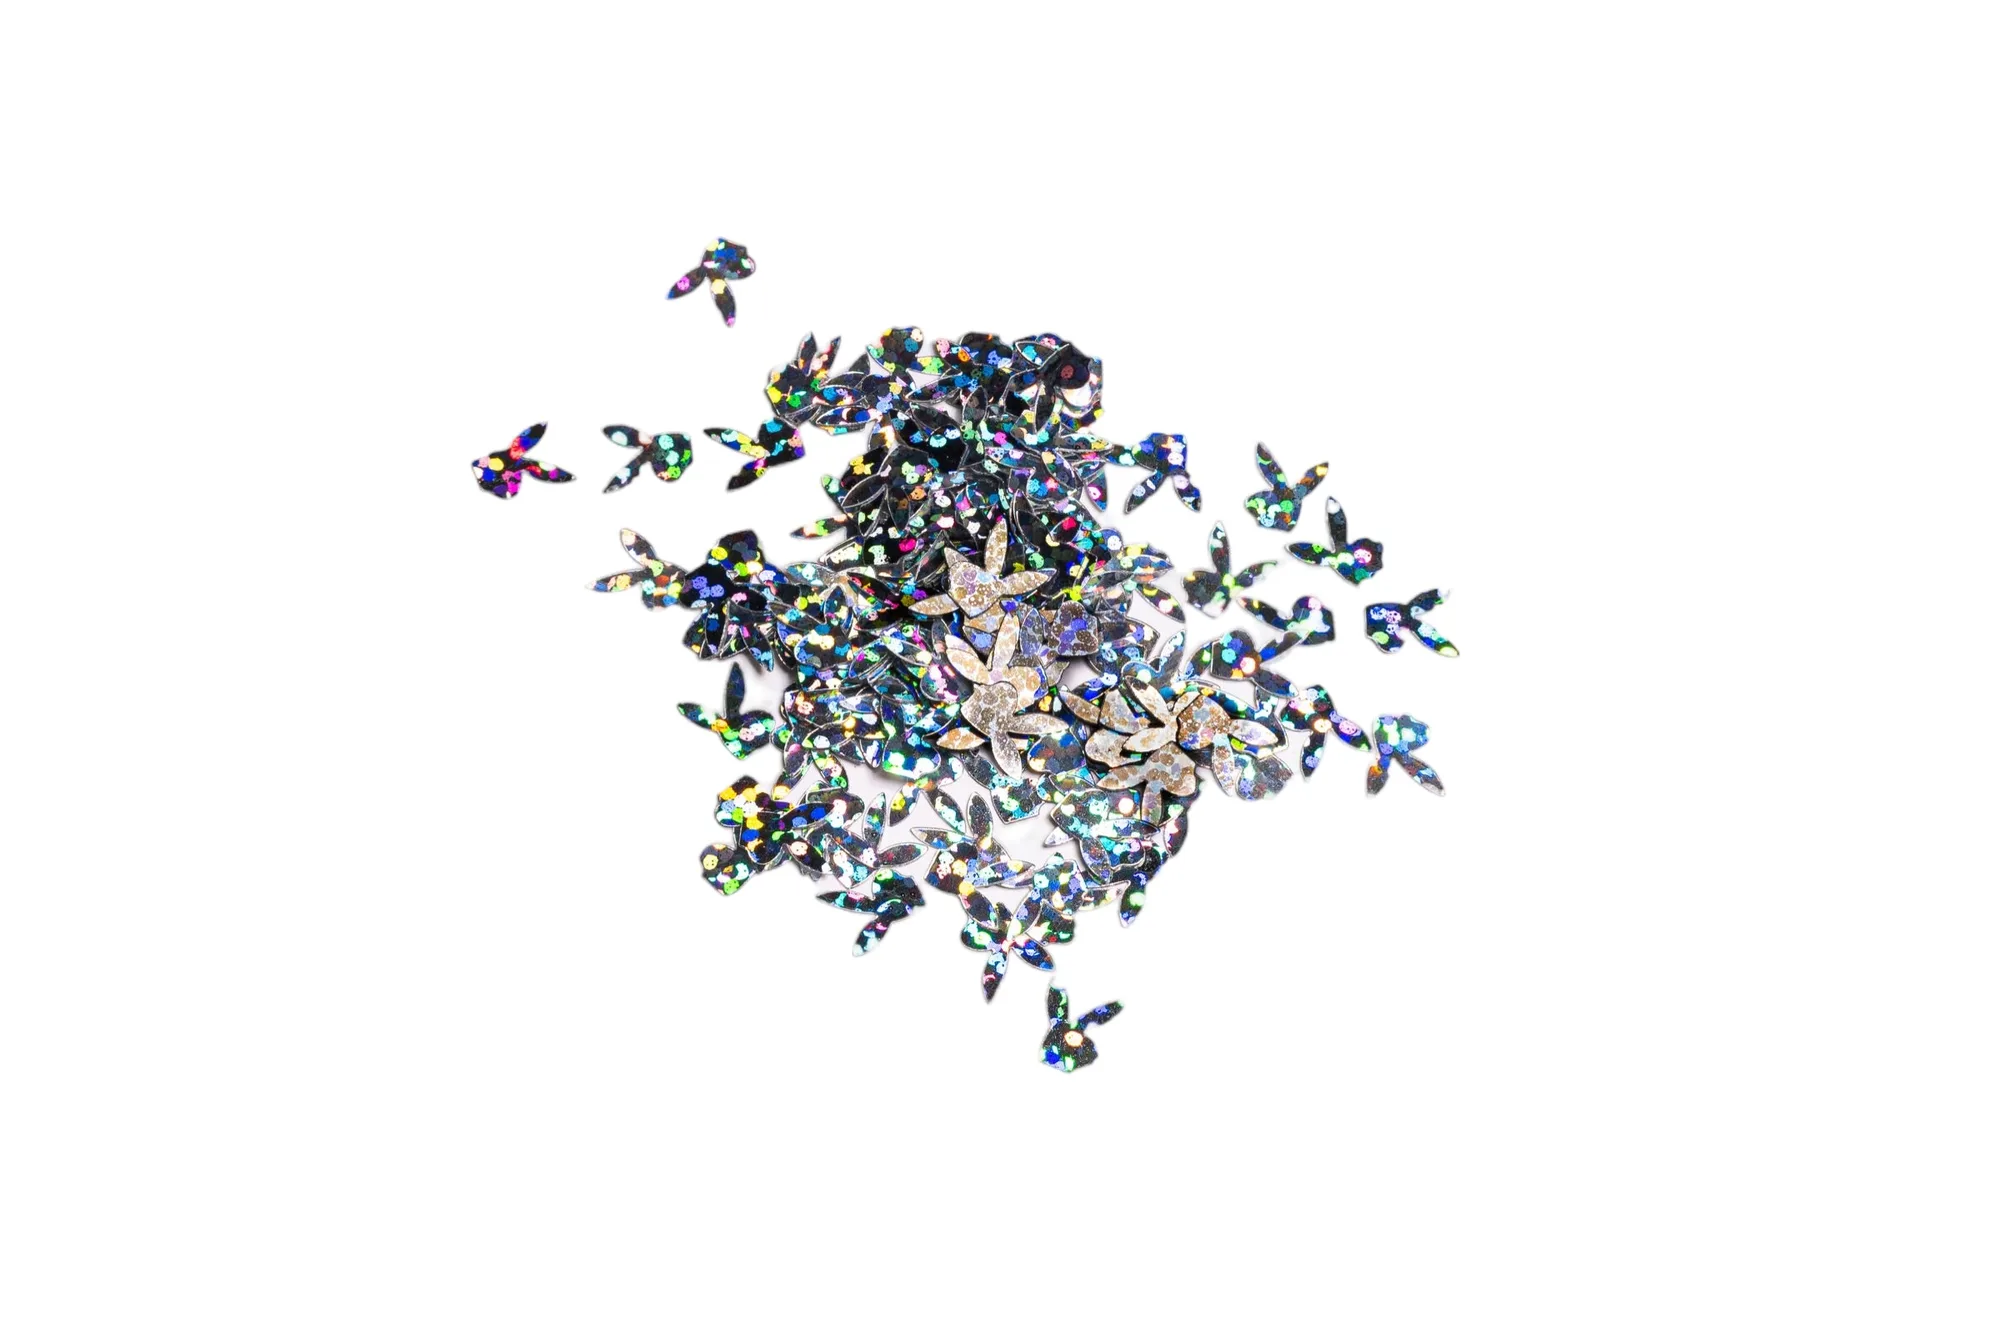
The silver holographic finish of the bunnies shifts in the light, so they look different depending on your lighting and monitor settings. In bright sunlight, they'll flash rainbow colors; in dim light, they may just look silver. Test one on a nail wheel first to see how it looks in your usual environment.
To make the bunnies stand out, choose a pastel base like soft pink, baby blue, or mint green. Avoid busy patterns that compete with the holographic effect.
Step-by-Step Application Guide
- Prep Your Nails: Clean your nails, push back cuticles, and apply a base coat. Let it cure if using gel. This ensures the bunnies adhere well and prevents lifting. Check that your base coat is fully cured before moving on.
- Apply a Pastel Base Color: Paint your nails with a pastel polish – pink, blue, or lavender work best. Cure or dry completely. The light base makes the silver holographic bunnies stand out. Wait until the base is completely dry to avoid smudging.
- Place the Bunnies: Using tweezers, pick up a nail art bunny and place it on the nail. Press gently to secure. Avoid touching the adhesive with your fingers to keep it sticky. If the bunny doesn't stick, apply a tiny dot of gel glue to the back.
- Encapsulate with Gel Top Coat: Apply a generous layer of gel top coat over the bunny, making sure to cover the edges completely. Cure under the lamp. This smooths the surface and locks the bunny in place. If the bunny still feels rough, add a second top coat layer and cure again.
- Finish and Clean Up: Wipe off the tacky residue with a cleanser, then apply cuticle oil around the nails. This keeps the skin moisturized and gives a clean, professional look. Avoid using your nails as tools for the first 24 hours to let the gel fully harden.
Product Facts
-
Nail Art Bunnies: Whimsical bunnies in silver holographic come in 15g container. Incapsulated recommended. Encapsulating the bunnies under gel keeps them smooth and durable, and the 15g container gives you enough for multiple spring manicures.
Nail Art Bunnies