Quick Answer
Solid-wood pocket-hole plugs let you hide or accent pocket holes with a flush, sandable surface that matches your project wood. The key is to glue them in, trim flush, and sand smooth.
Why Choose Solid-Wood Plugs Over Plastic
Solid-wood plugs accept stain and finish just like the surrounding lumber, so they blend in rather than stand out. Plastic plugs are faster to install but leave a visible circle that can't be sanded or stained. If your project will be seen and finished, solid wood is the better choice.
The trade-off is that solid-wood plugs require a little more care during installation. They must be glued, trimmed, and sanded flush, which adds a few minutes per hole. For hidden joinery inside cabinets or shop fixtures, plastic plugs still work fine.
Matching Wood Species for a Seamless Look
For the most invisible repair, choose plugs made from the same species as your project board. Oak plugs work well with oak plywood or solid oak, but they will stand out on walnut or maple. When you can't match exactly, you can use a contrasting wood for a deliberate accent look.
Solid-wood plugs are trimmable, which means you can sand or plane them flush without damaging the surrounding surface. That gives you more control over the final appearance compared to pre-finished plastic plugs.
Step-by-Step: Installing Solid-Wood Pocket-Hole Plugs
- 1. Select the Right Plug Size: Choose a plug that matches your pocket-hole diameter (Micro or Standard). For Micro plugs, ensure your material is between 1/2" and 1 1/2" thick. Standard plugs fit stock from 13 mm to 38 mm thick. Using the wrong size plug leaves a gap or requires excessive trimming.
- 2. Apply Wood Glue to the Plug: Put a small drop of wood glue into the pocket hole and on the plug's tapered end. Insert the plug with the grain direction matching the surrounding wood for a less visible seam. Too much glue can squeeze out and stain the surface; wipe away excess immediately.
- 3. Tap the Plug into Place: Use a mallet or hammer to gently tap the plug until it sits slightly above the surface (about 1/32"). This ensures it fills the hole completely and leaves material for trimming. Driving the plug too deep leaves a recess that is hard to fill and sand evenly.
- 4. Let the Glue Cure: Wait at least 30 minutes for the glue to set before trimming. For best results, allow a full hour or follow the glue manufacturer's recommended clamp time. Trimming before the glue cures can pull the plug out or create a loose fit.
- 5. Trim the Plug Flush: Use a flush-cut saw or a chisel to cut the plug down to the surface. For curved or tight areas, a sharp chisel works better than a saw. Sand the area with 120-grit sandpaper to level any remaining high spots. A dull blade or chisel can tear the wood fibers rather than cut cleanly.
- 6. Sand and Finish: Progress through 150- and 220-grit sandpaper to blend the plug into the surrounding surface. Apply stain or finish as desired. The solid wood will absorb the finish the same as the rest of the board. Skipping the finer grits leaves visible sanding scratches around the plug.
Products Mentioned
-
Micro™ Solid-Wood Pocket-Hole Plugs--Oak: Hide or decoratively accent your exposed Micro pocket holes with these high-quality, trimmable, solid-wood plugs. For use with materials from 1/2"- to 1 1/2"-thick stock. These oak plugs are ideal for matching oak projects and can be trimmed flush for a seamless finish.
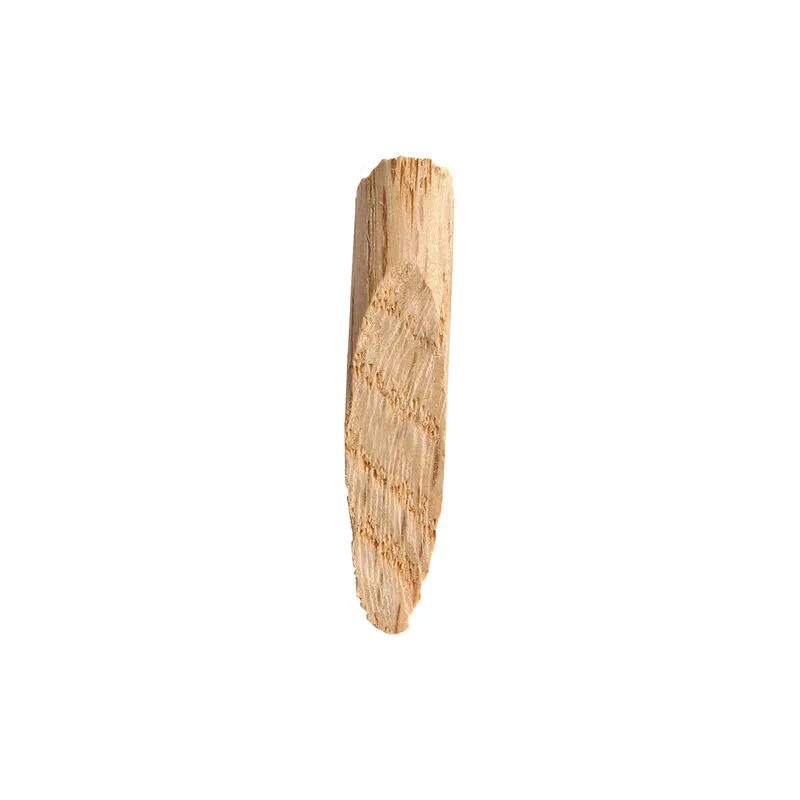
Micro™ Solid-Wood Pocket-Hole Plugs--Oak
-
Solid-Wood Standard Pocket-Hole Plugs: Suitable for materials ranging from 13 mm to 38 mm thick. Easy installation – simply glue it in place. Sand down or trim flush after installation. Standard solid-wood plugs work with most common material thicknesses and are easy to sand flush for a professional look.
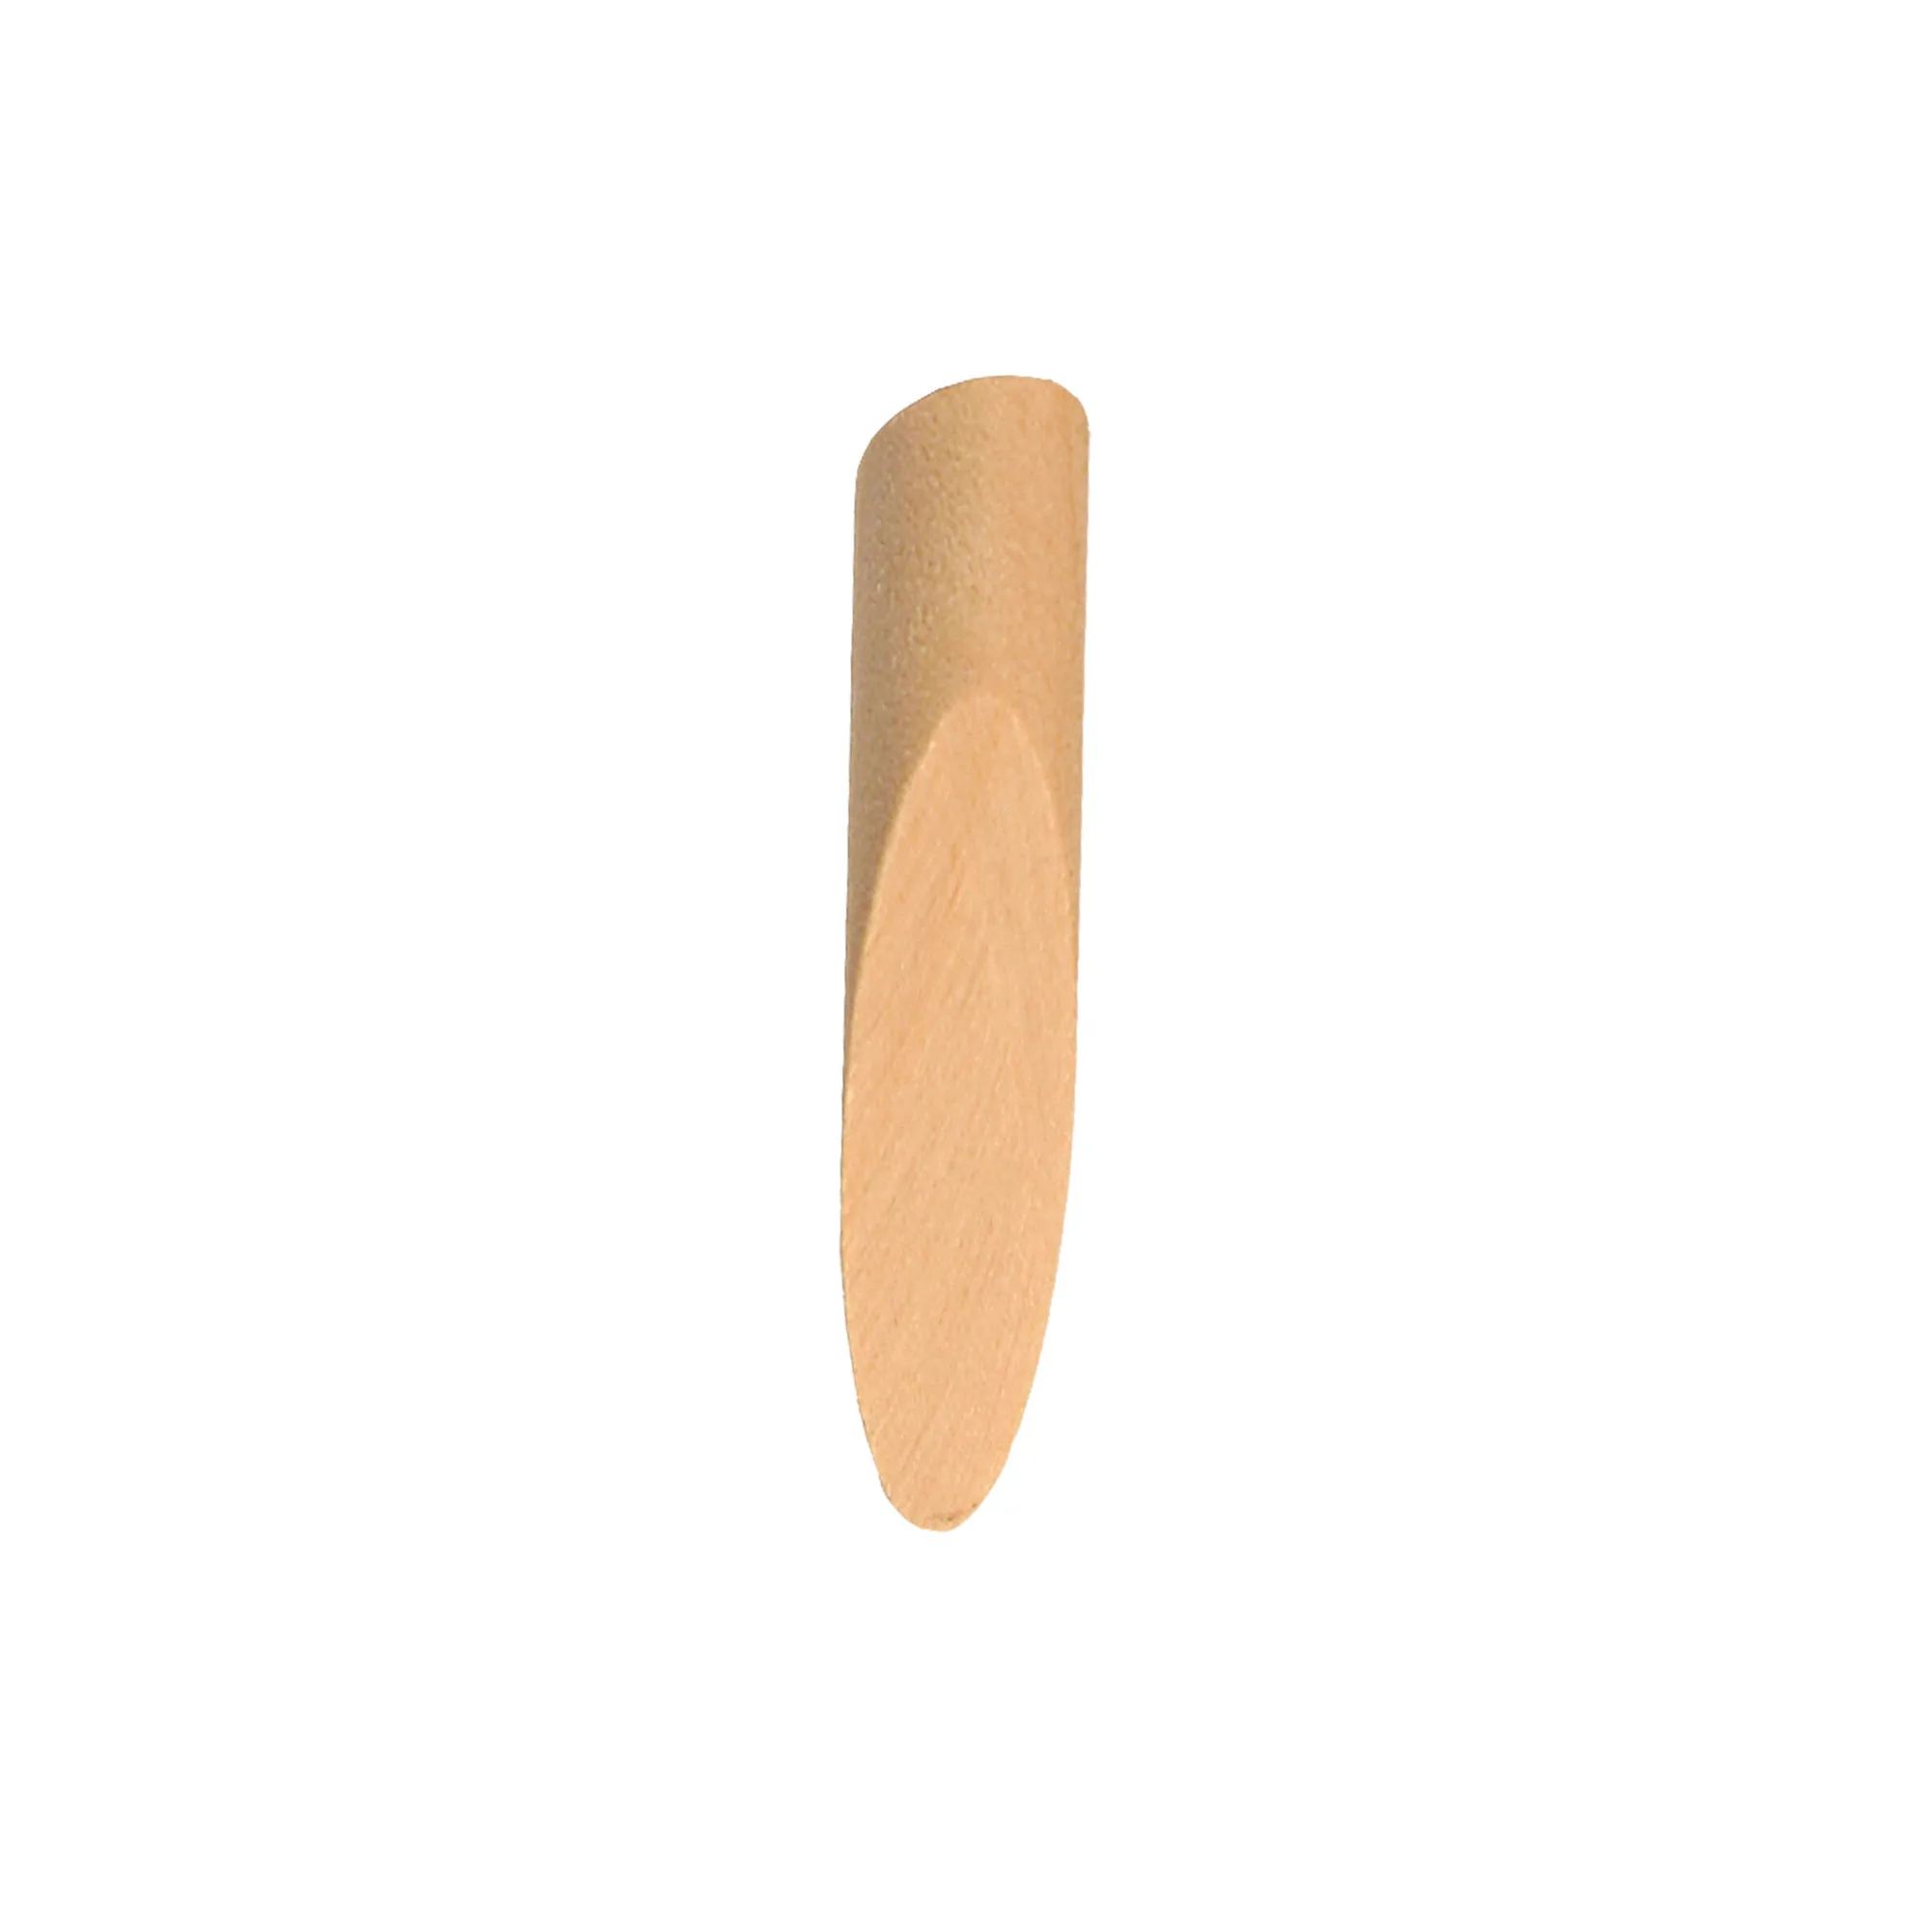
Solid-Wood Standard Pocket-Hole Plugs